




SBMB PRESET BUNDLE 1
THE PRESET COLLECTION
Five editing styles. One creative vision.
A collection of five Lightroom presets designed to bring your images to life.
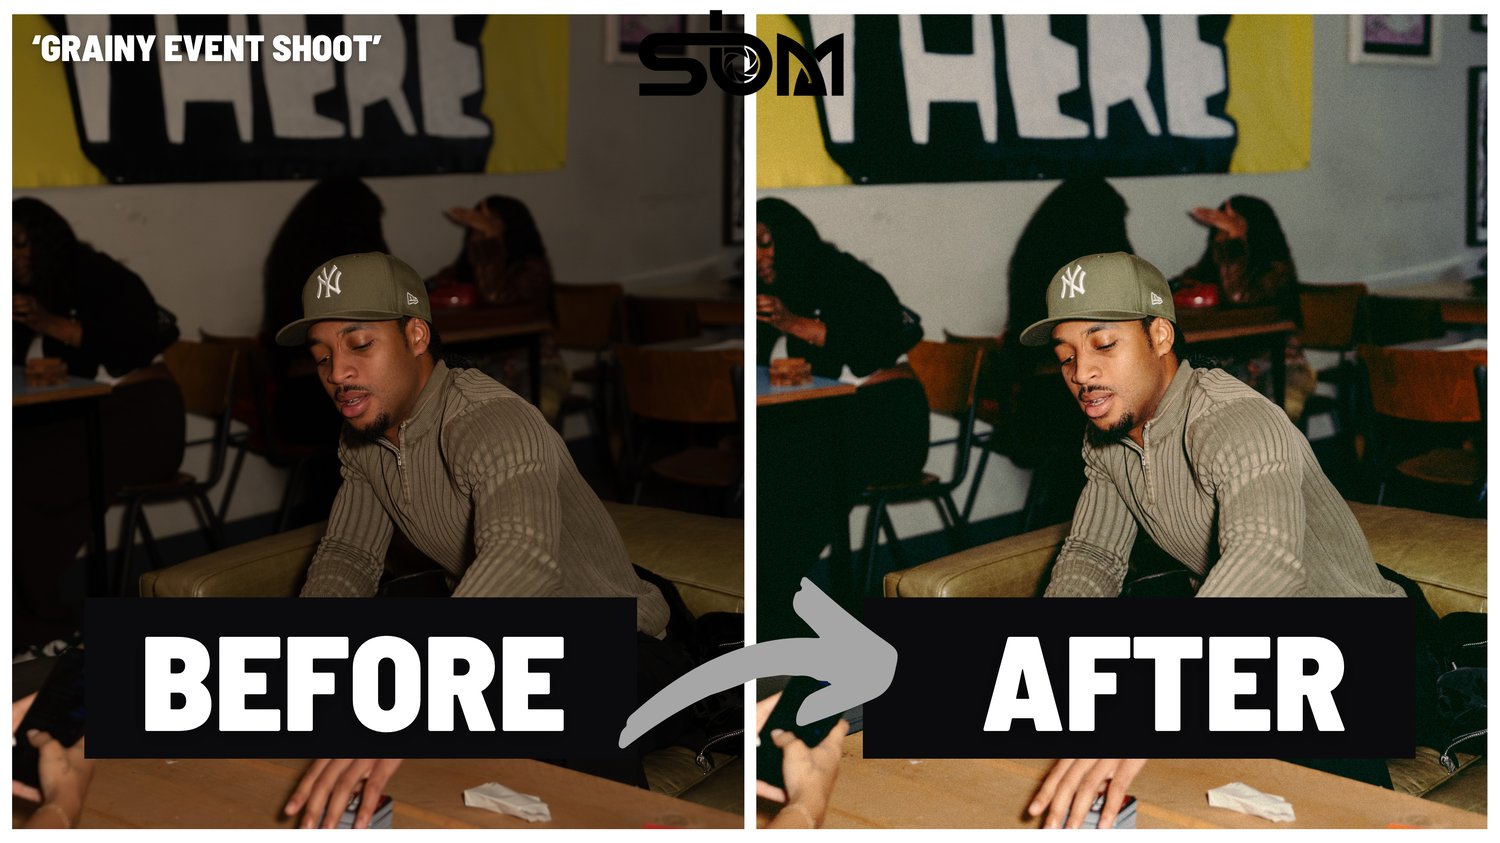
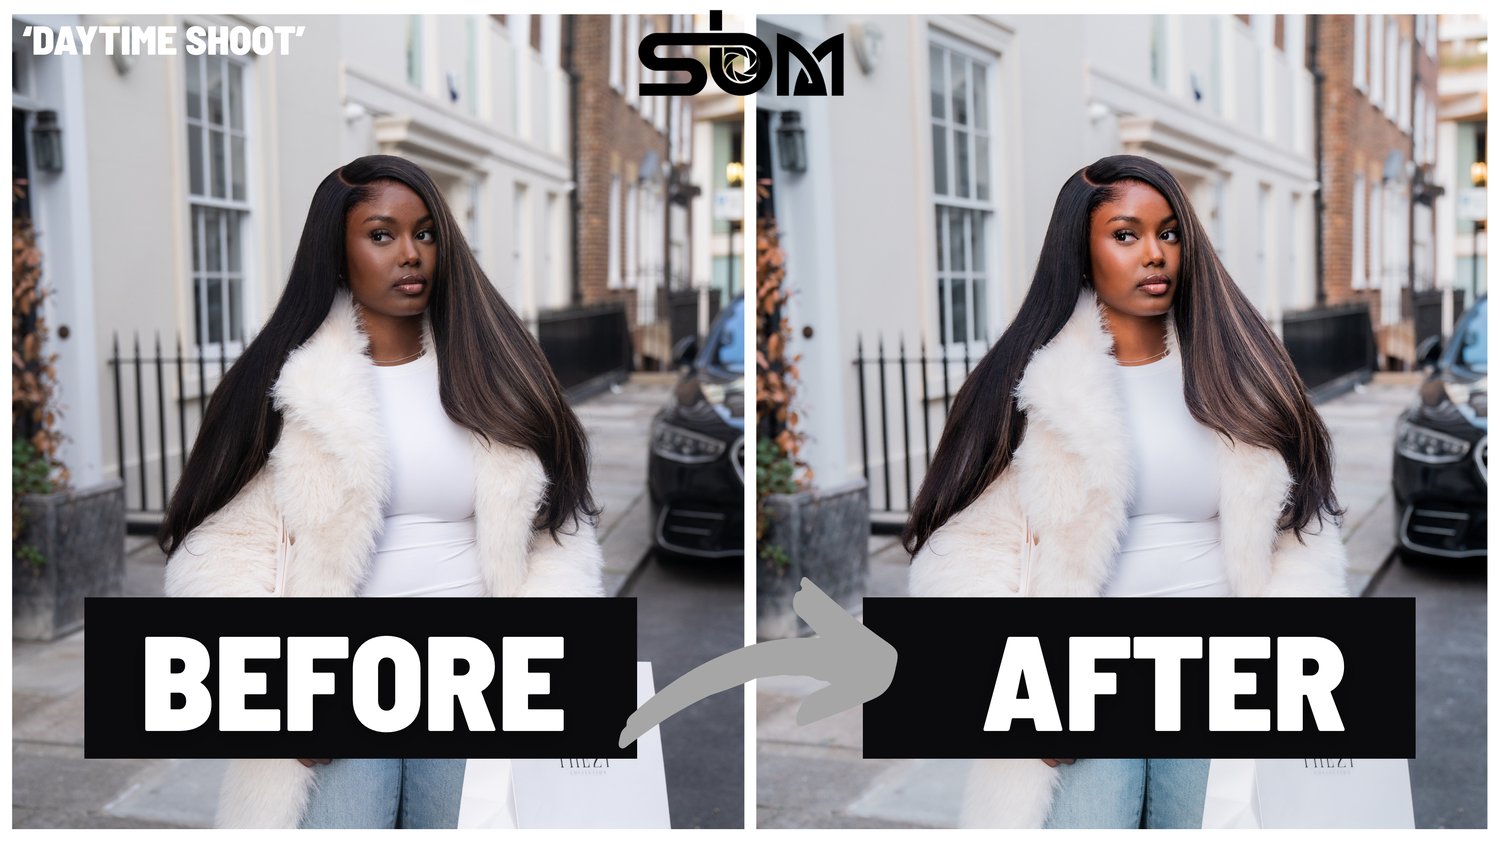
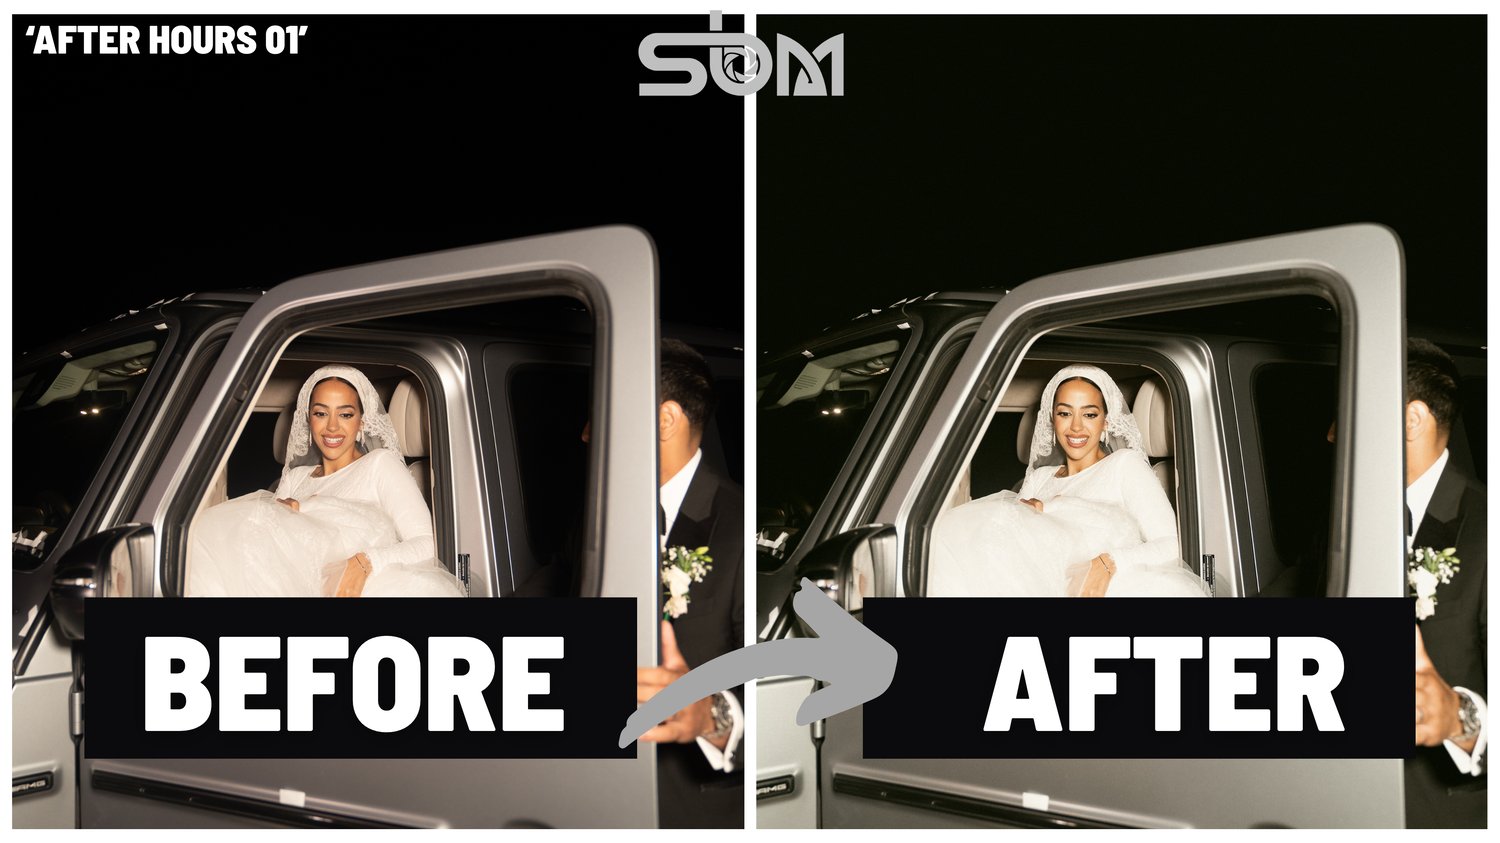
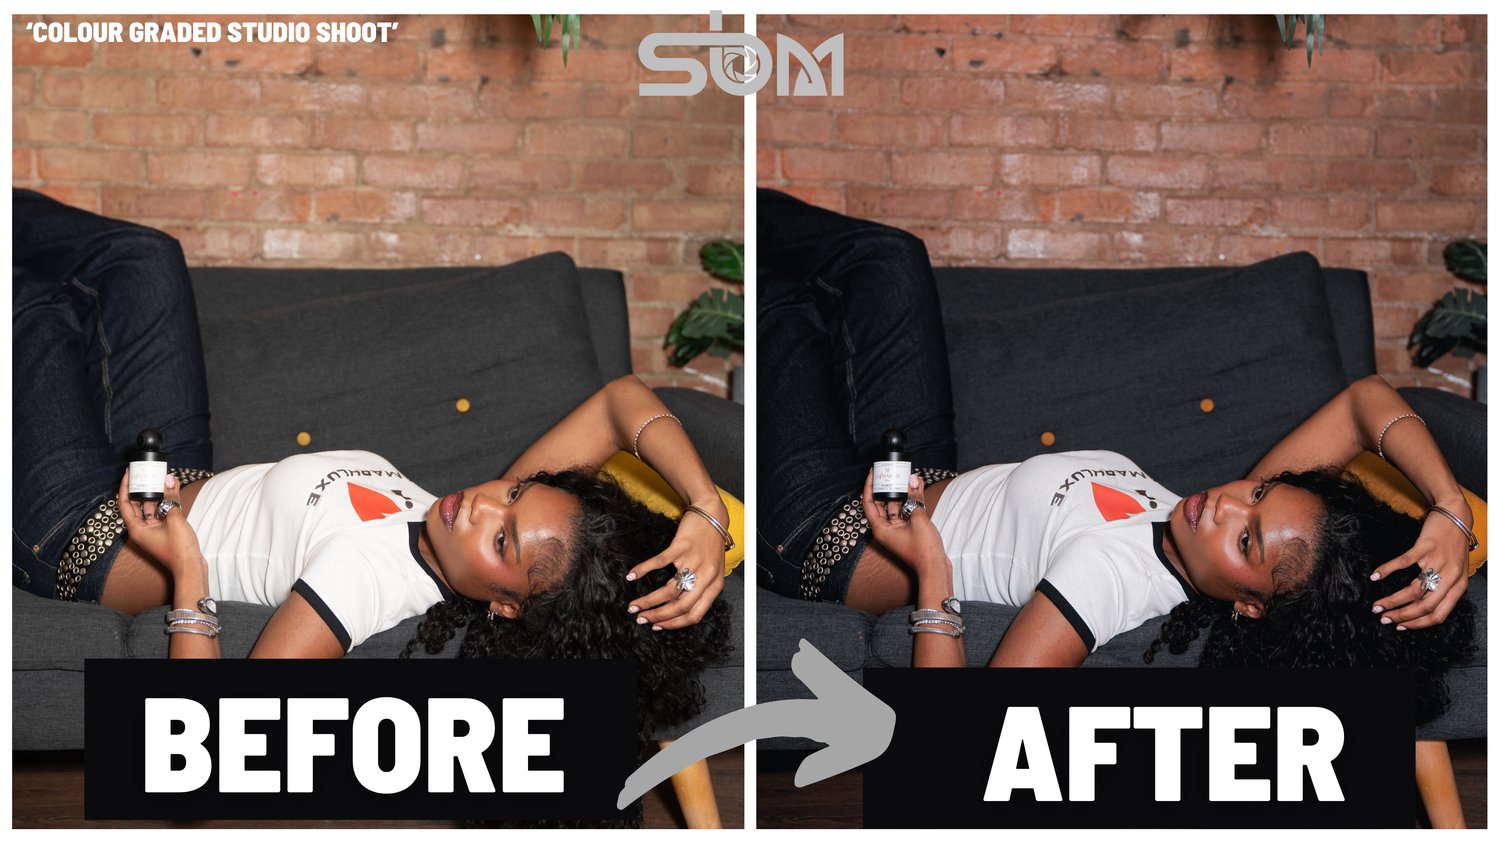
From after hours flash photography to daytime shoots, colour-graded studio portraits and grainy event imagery, each preset offers a different look to complement your creative vision.
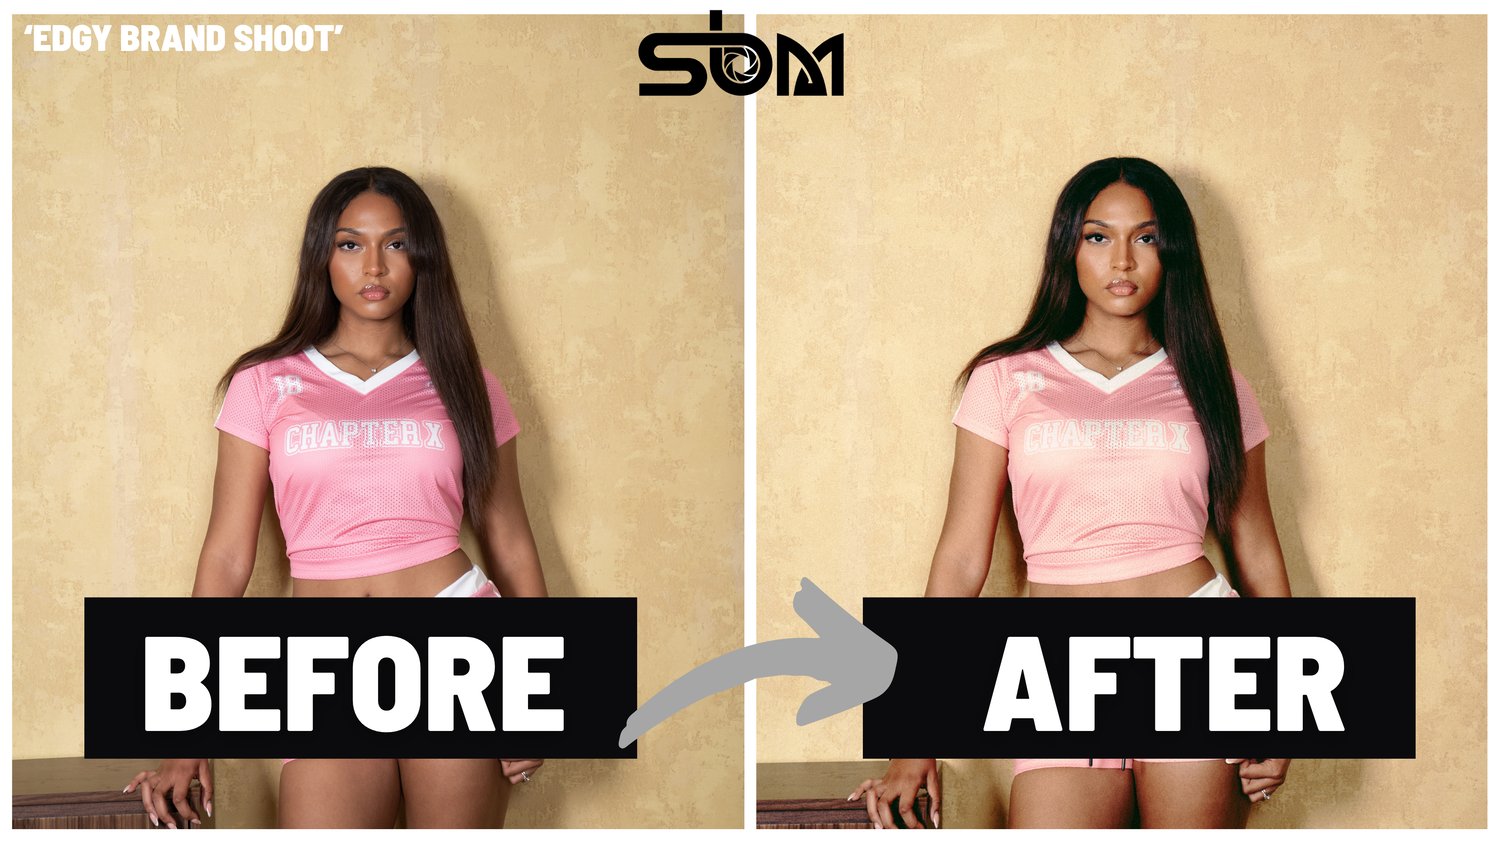
Developed from my own approach to photography and colour grading, this collection is for photographers and creatives looking to achieve distinctive, editorial inspired imagery without starting every edit from scratch.
Whether you’re shooting portraits, events, studio sessions or brand campaigns, these presets give you a starting point to develop your own visual style.
THE COLLECTION INCLUDES
AFTER HOURS 01
DAYTIME SHOOT
COLOUR GRADED STUDIO SHOOT
GRAINY EVENT SHOOT
EDGY BRAND SHOOT
PLEASE NOTE
Presets are designed to enhance your editing workflow, not replace it. Results will vary depending on lighting, exposure, camera settings and the original image. Minor adjustments may be needed to achieve your desired look.
HOW TO DOWNLOAD & USE YOUR PRESETS
Follow the steps below to get started.
STEP 1: DOWNLOAD YOUR PRESETS
After purchasing, open the download link provided on the confirmation page or in your purchase email.
Download the preset collection ZIP file to your device.
If the file downloads as a ZIP, extract or unzip it to access the individual preset files.
Keep the files somewhere easy to find.
Please note: Do not try to import the ZIP file directly into Lightroom unless your version specifically supports it.
STEP 2: IMPORT YOUR PRESETS INTO LIGHTROOM
LIGHTROOM DESKTOP
Open Adobe Lightroom on your computer.
Open a photograph you want to edit.
Open the Presets panel.
Select the option to import presets. Depending on your Lightroom version, this may be available through the Presets panel menu.
Locate the extracted preset files and select the .XMP files.
Import them and check that they appear in your preset collection.
You can now apply your presets to your photographs.
LIGHTROOM MOBILE
If you use Lightroom on your phone, you may need to import the presets through Lightroom desktop and ensure your photographs and presets sync through your Adobe account.
The exact process depends on your Lightroom version and the files included in your purchase. Please check the installation instructions supplied with your download.
STEP 3: APPLY A PRESET
Open a photograph in Lightroom.
Navigate to the Presets panel.
Select the preset you want to try.
Preview the result before making any further adjustments.
Once you’re happy with the look, continue editing as needed.
Your collection includes:
AFTER HOURS 01
DAYTIME SHOOT
COLOUR GRADED STUDIO SHOOT
GRAINY EVENT SHOOT
EDGY BRAND SHOOT
Each preset is designed for a different style and shooting environment.
STEP 4: FINE TUNE YOUR EDIT
Presets are a starting point, not a one-click guarantee that every photograph will look identical.
For the best results, you may need to adjust:
Exposure: Brightness of the image.
White balance: Temperature and tint.
Contrast: The difference between light and dark areas.
Highlights and shadows: Detail in brighter and darker areas.
Colour: Fine-tune individual colours to suit your image.
Results will vary depending on lighting, camera settings, exposure and the original photograph.
TIPS FOR THE BEST RESULTS
Start with a well exposed photograph.
Experiment with different presets to find the best match for your image.
Adjust the settings to complement your subject and lighting.
Don’t be afraid to make the preset your own.
The aim is to make your workflow more efficient while allowing you to develop your own creative style.
HAPPY EDITING!
Thank you for supporting my work and being part of the journey. I can’t wait to see what you create.
Tag me in your edits so I can see how you use THE PRESET COLLECTION.
£30 | Digital download