

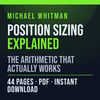

Position Sizing Explained — Measured (PDF Guide)
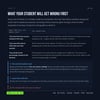
You were told to risk one or two per cent and then left to work the position size out from the account balance. Sizing from the balance lets the stop distance quietly decide the loss, so your worst case is whatever the chart happened to be doing that day.
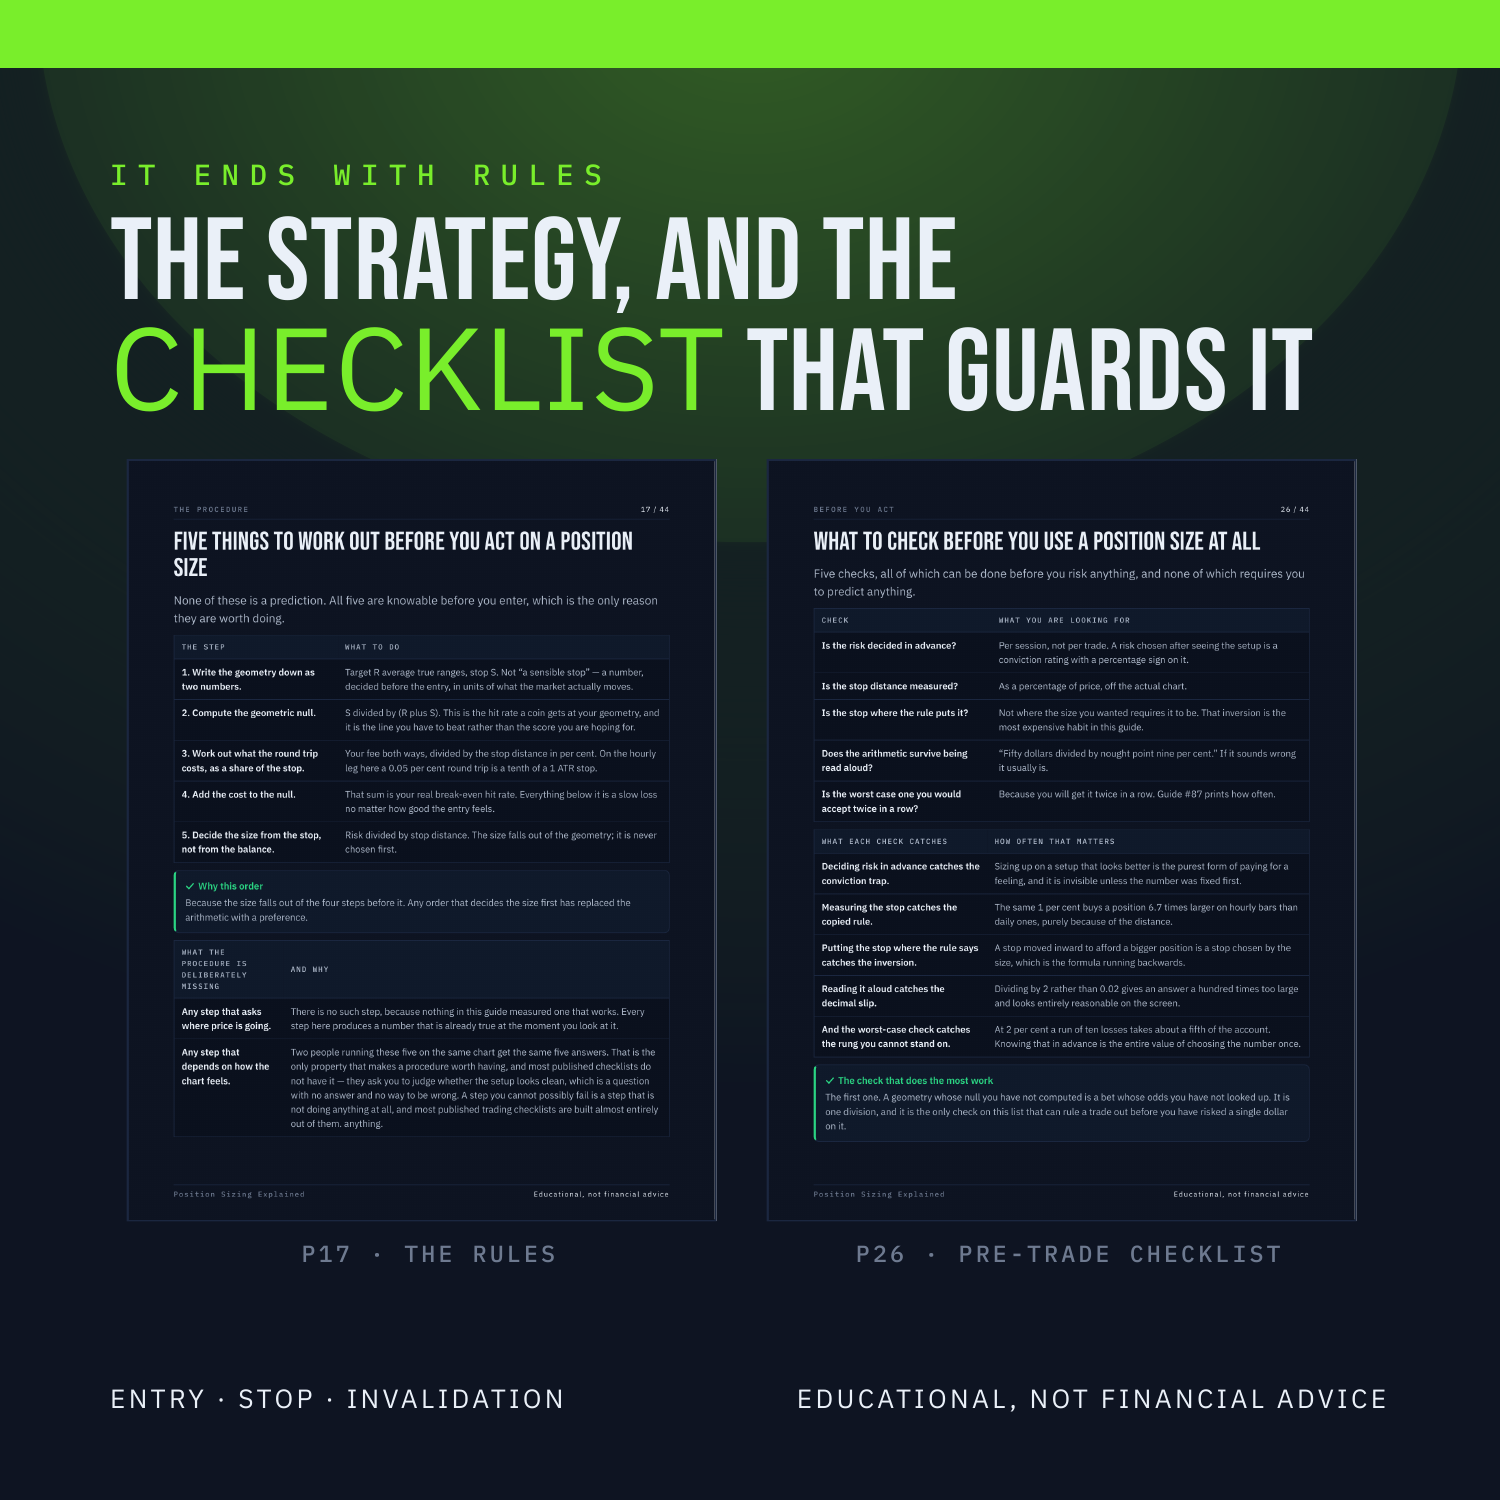
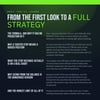
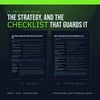
This guide sizes every position from the stop distance instead, with the arithmetic written out in full and the real size of an hourly and a daily bar measured on 112,130 bars. Every figure is a division you can repeat on a calculator. This is a 44-page PDF that teaches Position Sizing from the first thing you see on the screen through to a written strategy with an entry, a stop and an explicit rule for when the trade is wrong.
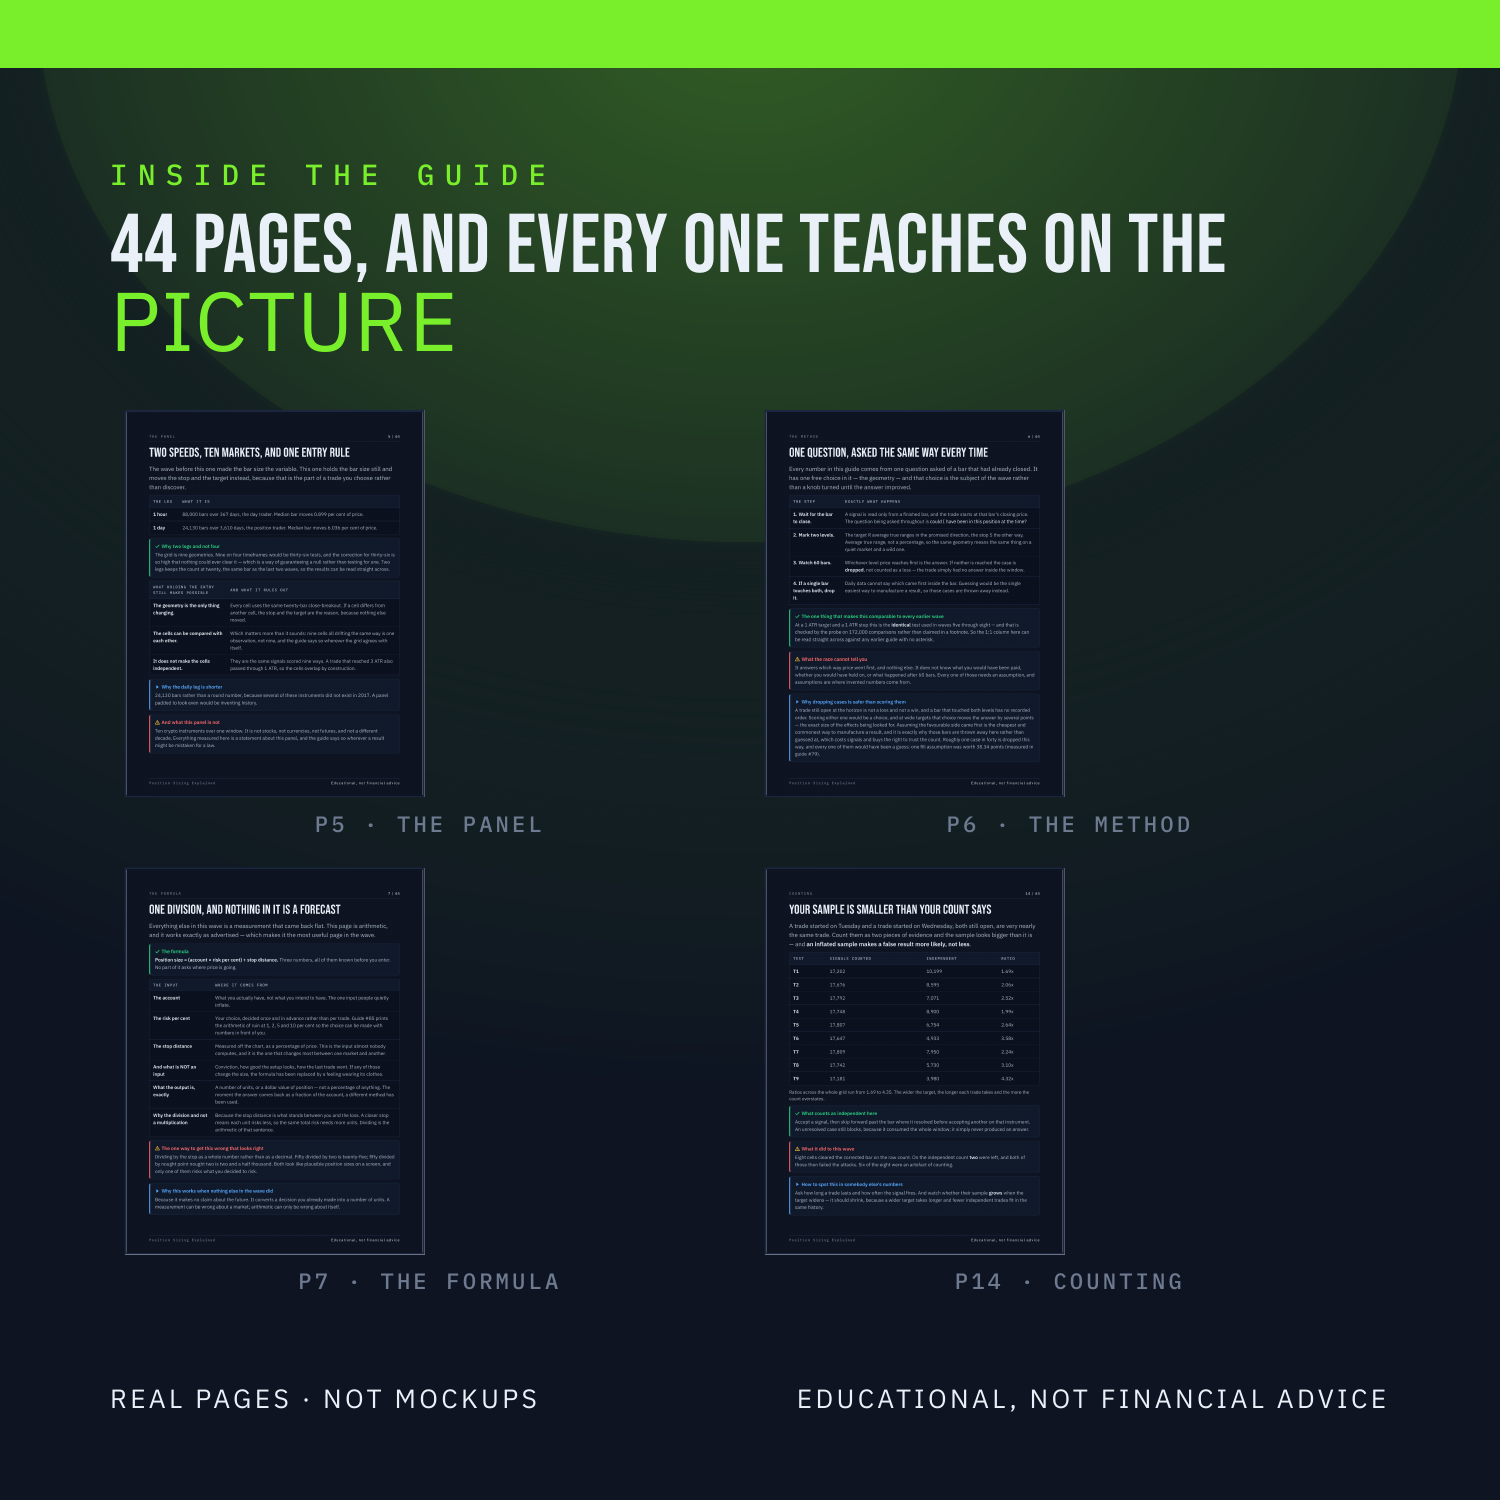
Nothing is taught underneath a chart. Every label sits on the candle, the line or the level it is describing, on real BTC, ETH, SOL and LINK charts. There are three quizzes on real charts, each followed by the same chart re-shown annotated with the reasoning, plus faded practice pages where the first steps are filled in and you finish the rest.
WHAT'S INSIDE
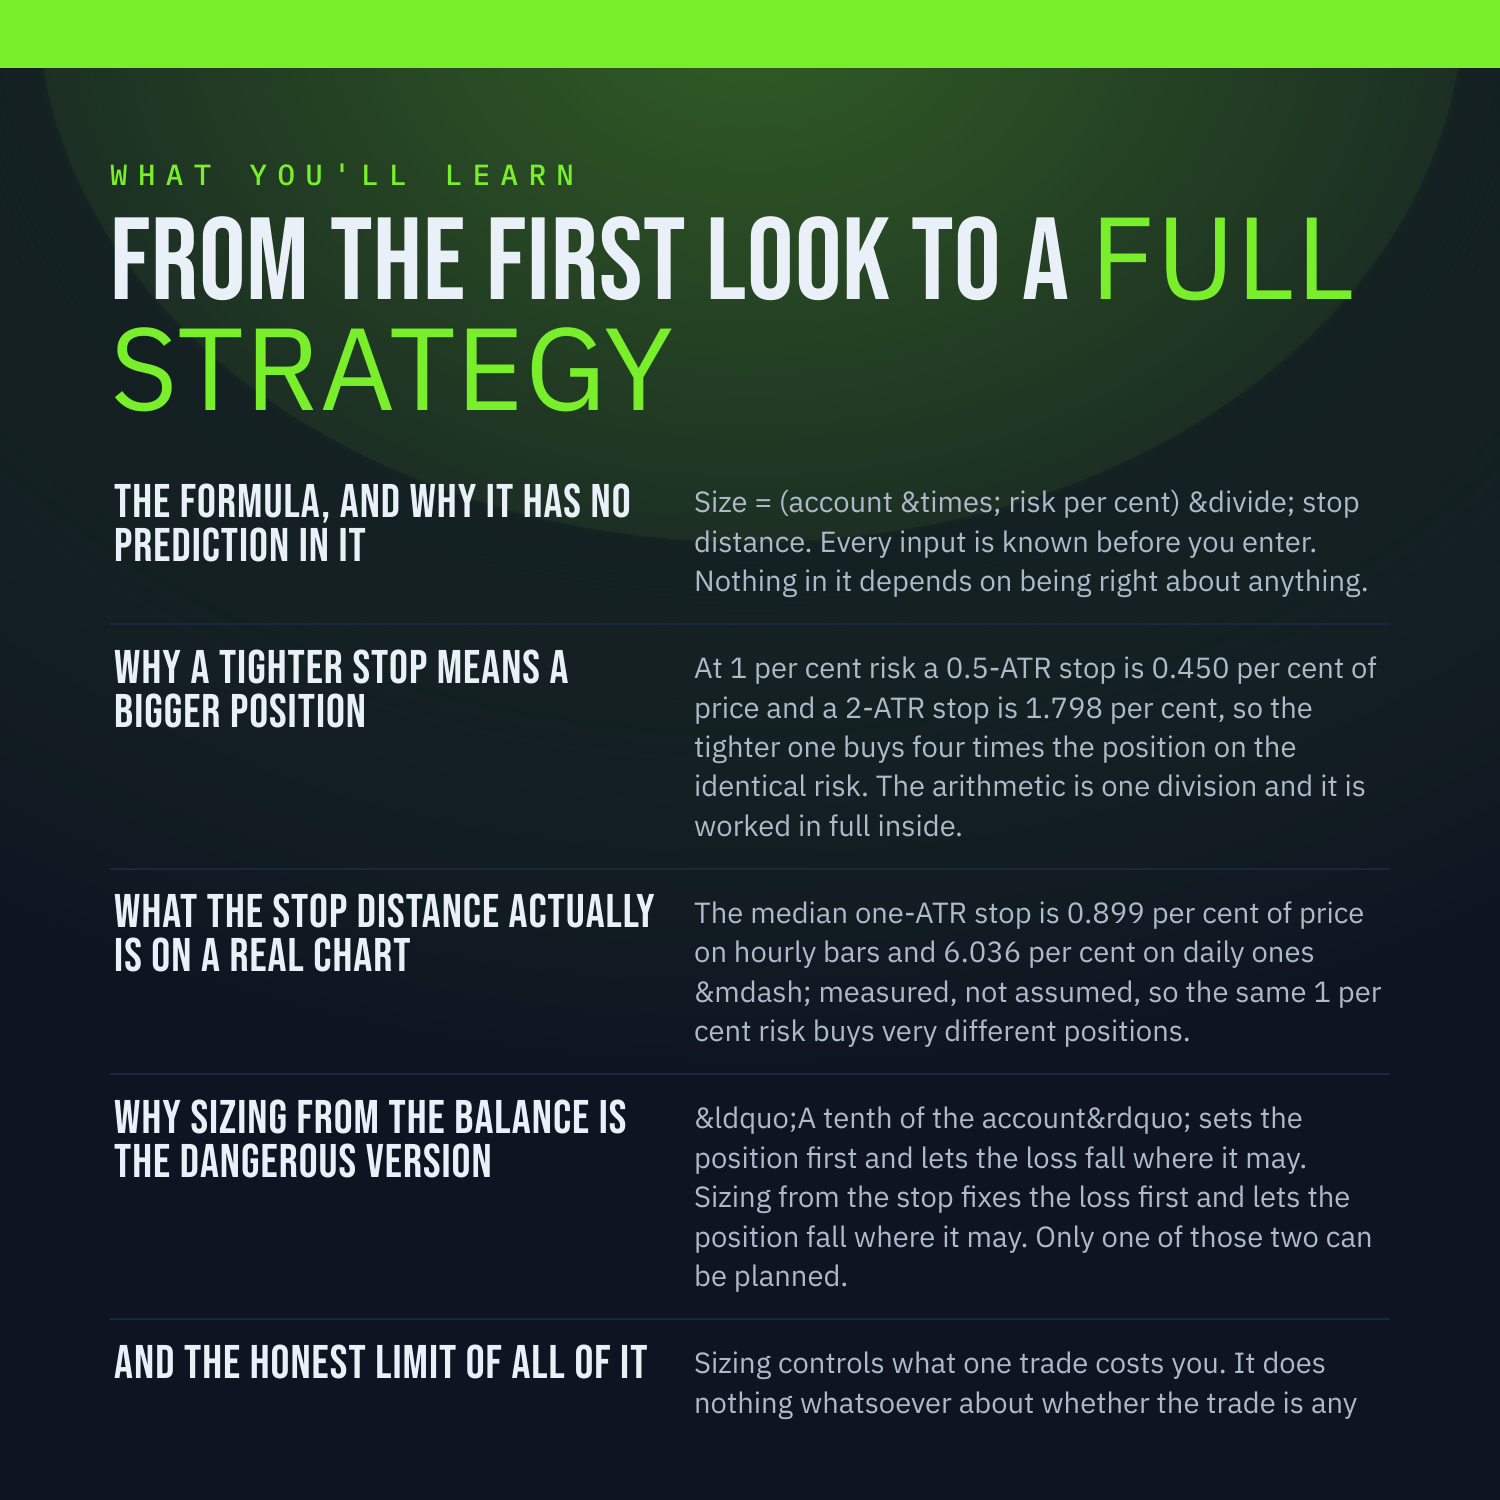
The formula, and why it has no prediction in it -- Size = (account × risk per cent) ÷ stop distance. Every input is known before you enter. Nothing in it depends on being right about anything.
Why a tighter stop means a BIGGER position -- At 1 per cent risk a 0.5-ATR stop is 0.450 per cent of price and a 2-ATR stop is 1.798 per cent, so the tighter one buys four times the position on the identical risk. The arithmetic is one division and it is worked in full inside.
What the stop distance actually is on a real chart -- The median one-ATR stop is 0.899 per cent of price on hourly bars and 6.036 per cent on daily ones -- measured, not assumed, so the same 1 per cent risk buys very different positions.
Why sizing from the balance is the dangerous version -- "A tenth of the account" sets the position first and lets the loss fall where it may. Sizing from the stop fixes the loss first and lets the position fall where it may. Only one of those two can be planned.
And the honest limit of all of it -- Sizing controls what one trade costs you. It does nothing whatsoever about whether the trade is any good, and nothing in this wave's twenty tests found a geometry that was.
WHAT YOU'LL BE ABLE TO DO
Size any position from the stop distance in one division.
Say why a tighter stop buys a larger position at the same risk.
Convert an average true range into a stop distance in per cent.
Spot a sizing rule that fixes the position instead of the loss.
State what sizing can and cannot protect you from.
AN HONEST NOTE
Position Sizing is a clue, not a crystal ball. It describes what price has already done. This guide contains no win-rates, no backtest results and no promises about what you will make, because nobody can verify those and you should not trust anyone who prints them. What it hands you instead is a set of rules you can test yourself on TradingView in an afternoon. Educational, not financial advice.
Instant download. 44 pages, PDF.