




Stop Loss Placement Explained — Measured (PDF Guide)
You were told to put the stop below the structure, or outside the noise, and nobody ever counted how often each distance is actually reached. A stop that feels safe and a stop that is far end up being the same decision, made by feel.
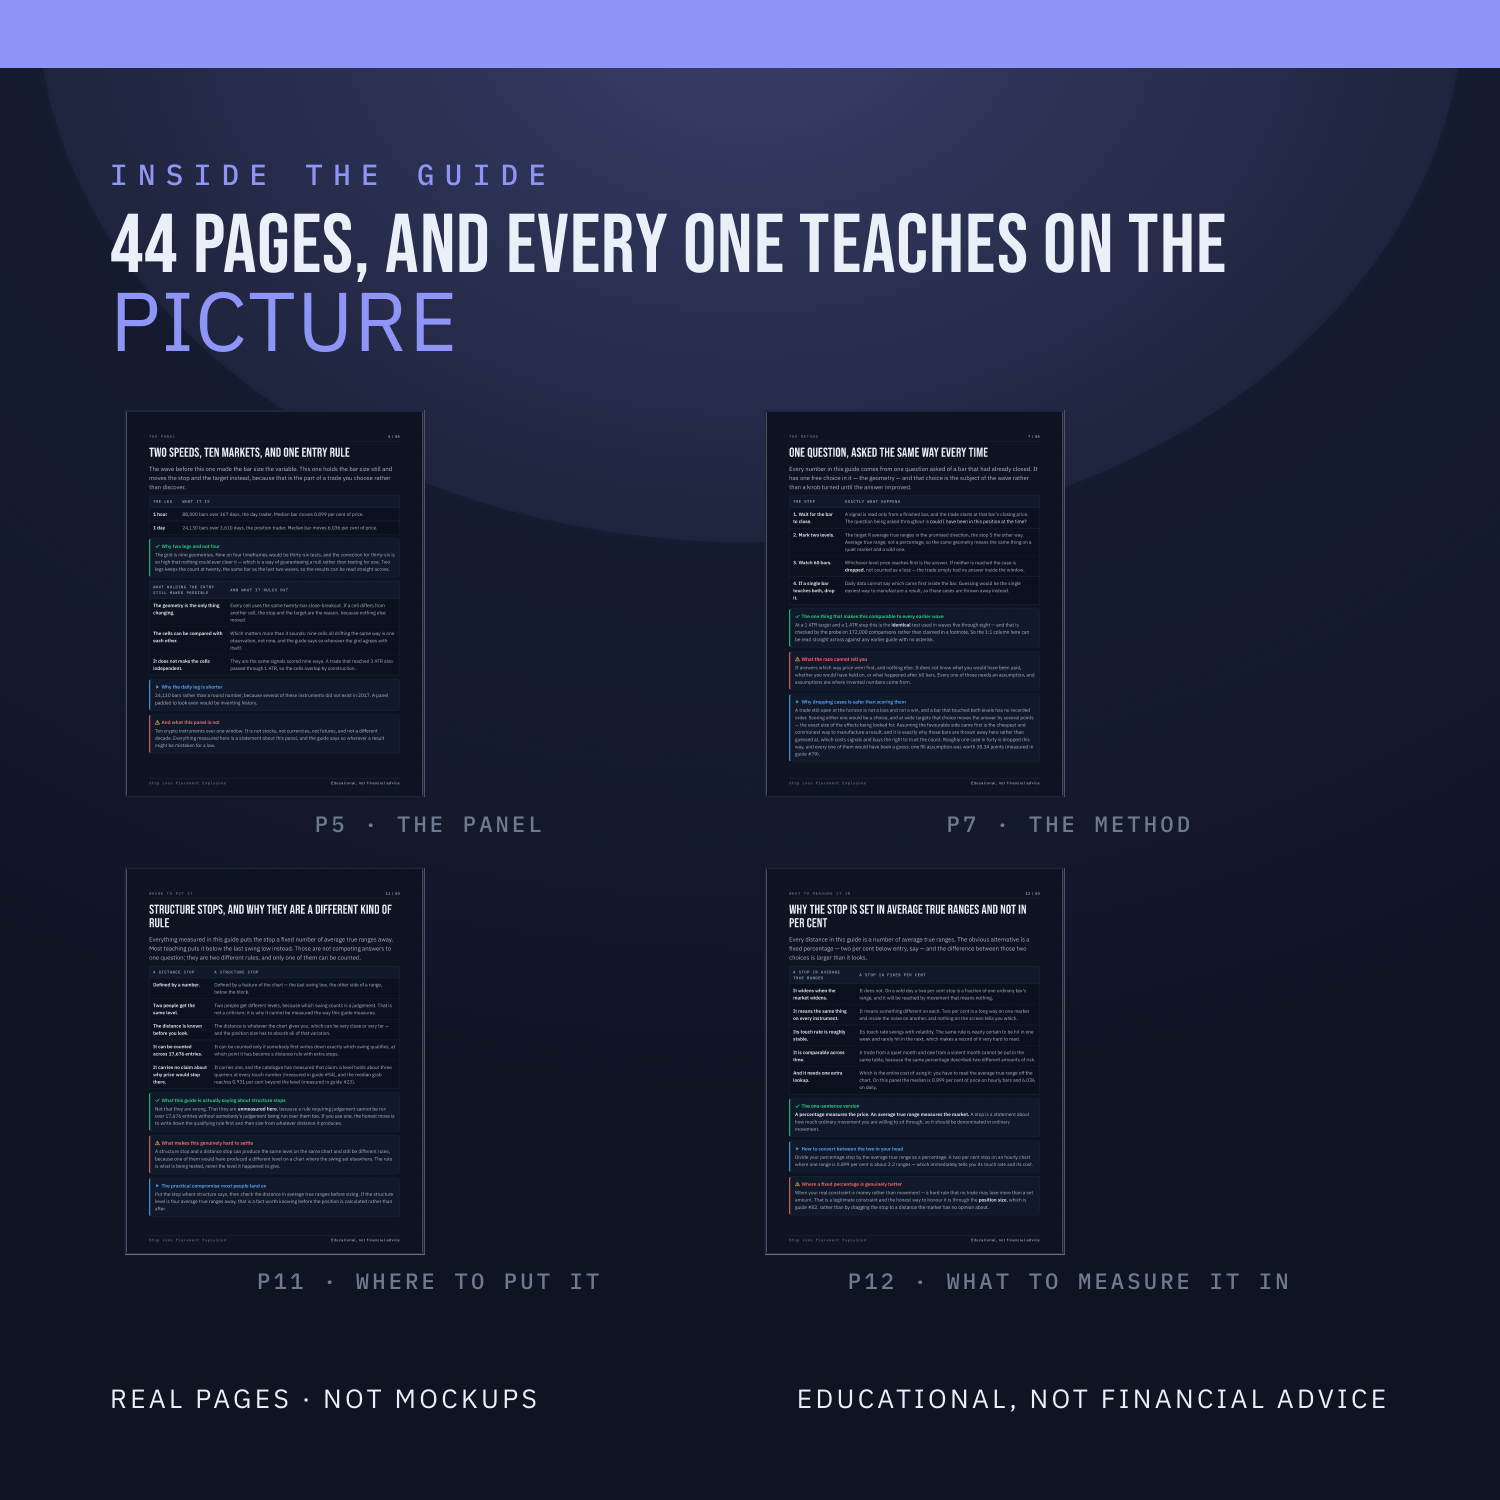
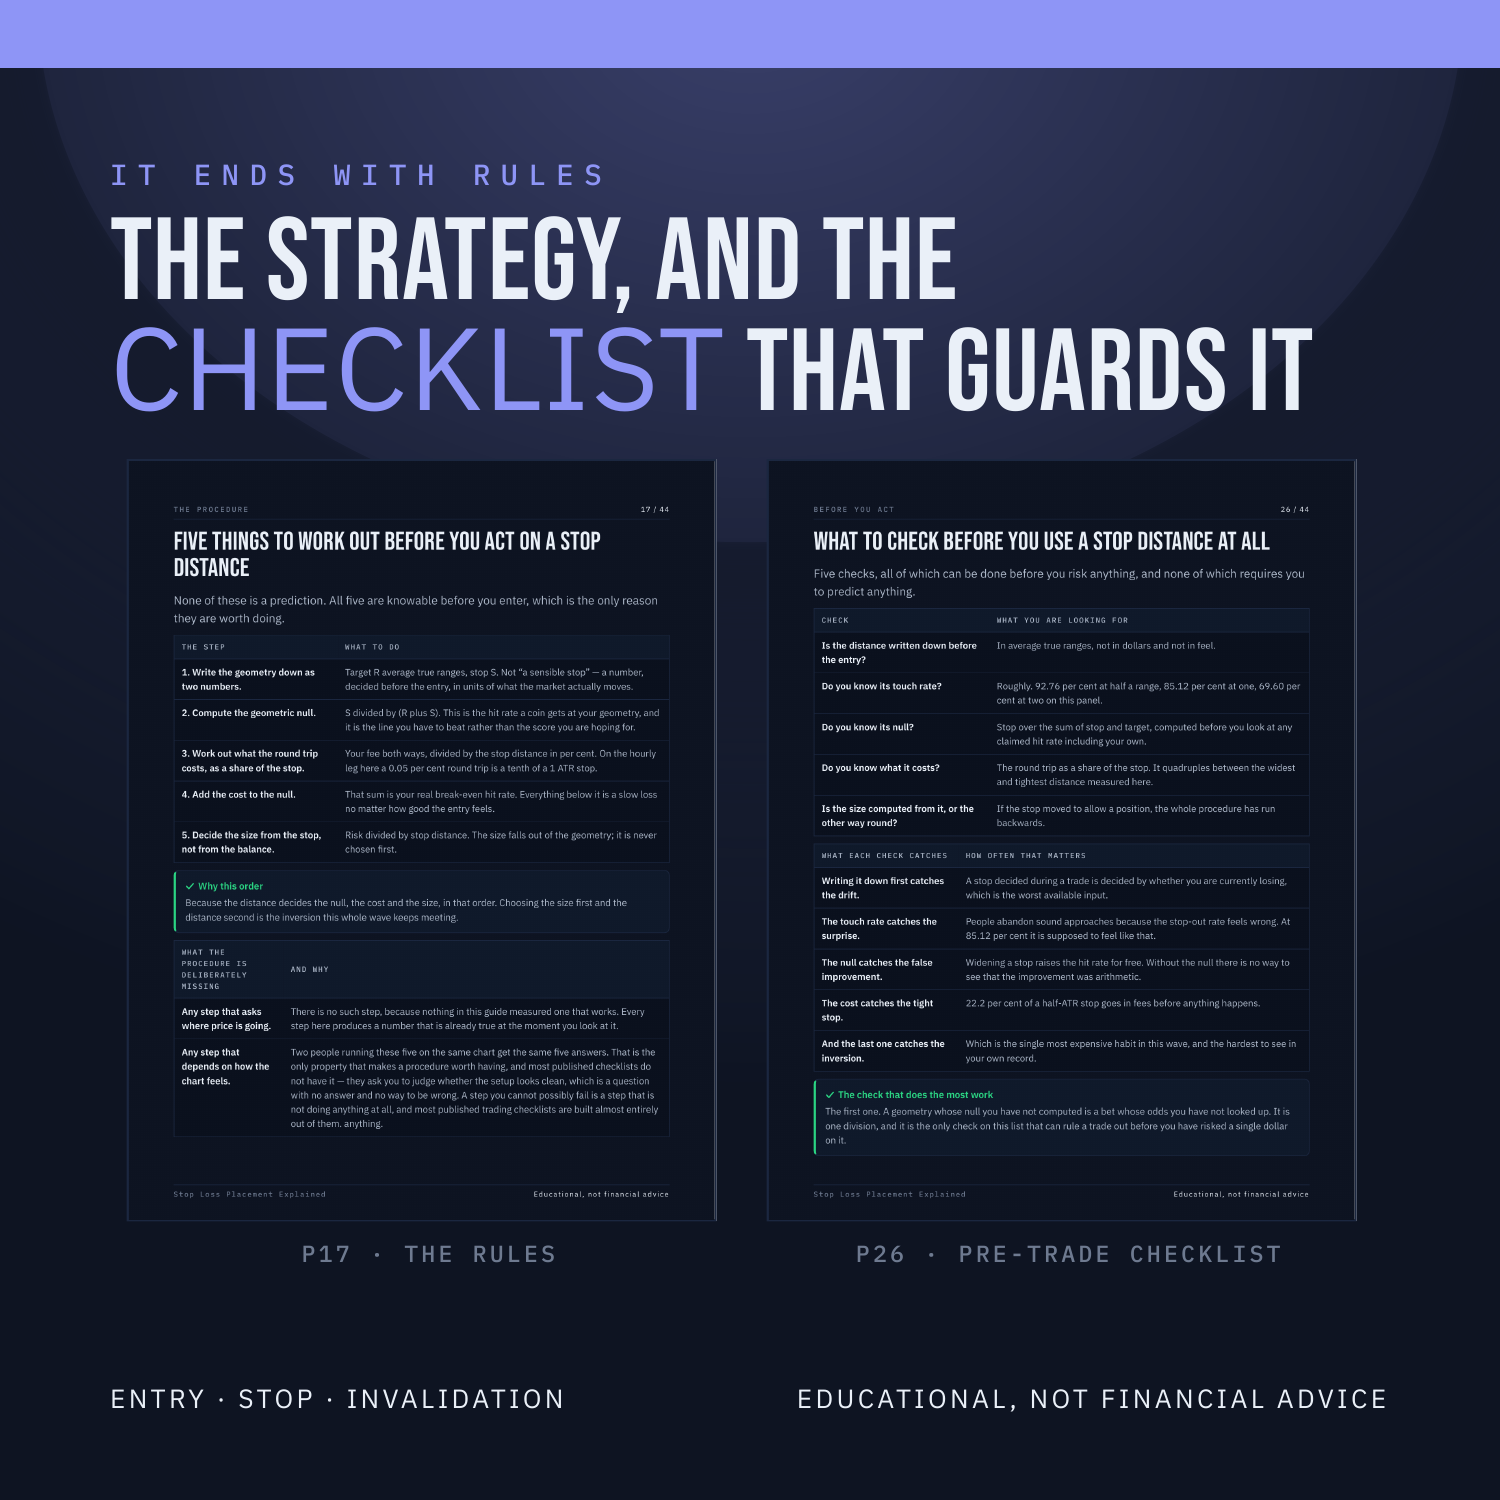
This guide counts how often a half, a one and a two average-true-range stop gets touched, on an hourly and a daily leg, and shows what each distance does to the number you then have to beat. It is a count, with its sample size printed beside it. This is a 44-page PDF that teaches Stop Loss Placement from the first thing you see on the screen through to a written strategy with an entry, a stop and an explicit rule for when the trade is wrong.
Nothing is taught underneath a chart. Every label sits on the candle, the line or the level it is describing, on real BTC, ETH, SOL and LINK charts. There are three quizzes on real charts, each followed by the same chart re-shown annotated with the reasoning, plus faded practice pages where the first steps are filled in and you finish the rest.
WHAT'S INSIDE
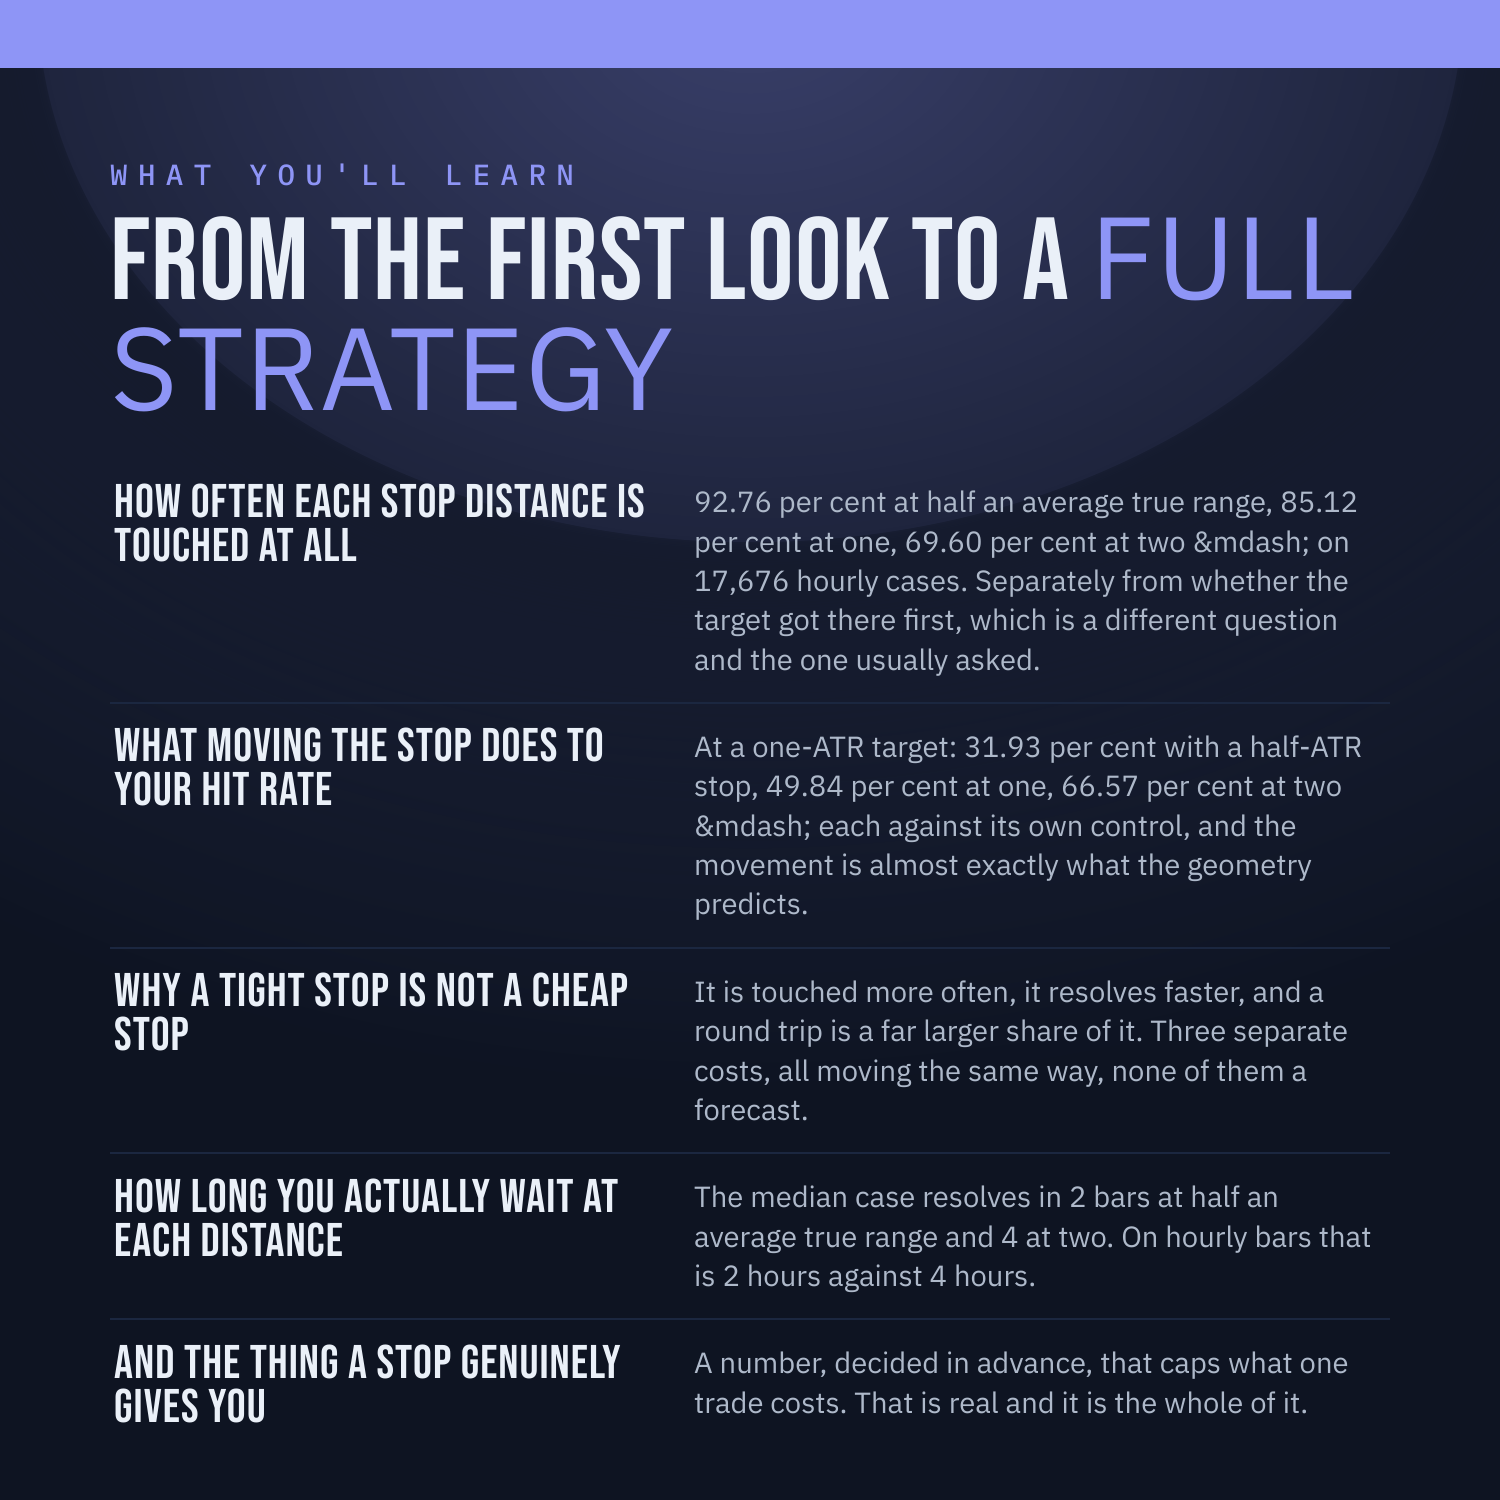
How often each stop distance is touched at all -- 92.76 per cent at half an average true range, 85.12 per cent at one, 69.60 per cent at two -- on 17,676 hourly cases. Separately from whether the target got there first, which is a different question and the one usually asked.
What moving the stop does to your hit rate -- At a one-ATR target: 31.93 per cent with a half-ATR stop, 49.84 per cent at one, 66.57 per cent at two -- each against its own control, and the movement is almost exactly what the geometry predicts.
Why a tight stop is not a cheap stop -- It is touched more often, it resolves faster, and a round trip is a far larger share of it. Three separate costs, all moving the same way, none of them a forecast.
How long you actually wait at each distance -- The median case resolves in 2 bars at half an average true range and 4 at two. On hourly bars that is 2 hours against 4 hours.
And the thing a stop genuinely gives you -- A number, decided in advance, that caps what one trade costs. That is real and it is the whole of it. Nothing measured here made a stop distance predict direction.
WHAT YOU'LL BE ABLE TO DO
Say how often a stop at any distance is touched inside the horizon.
Tell the touched question from the reached-first question.
Price a stop distance in costs rather than in comfort.
Say how long a trade at each distance takes to resolve.
Recognise a stop chosen to justify a position size.
AN HONEST NOTE
Stop Loss Placement is a clue, not a crystal ball. It describes what price has already done. This guide contains no win-rates, no backtest results and no promises about what you will make, because nobody can verify those and you should not trust anyone who prints them. What it hands you instead is a set of rules you can test yourself on TradingView in an afternoon. Educational, not financial advice.
Instant download. 44 pages, PDF.