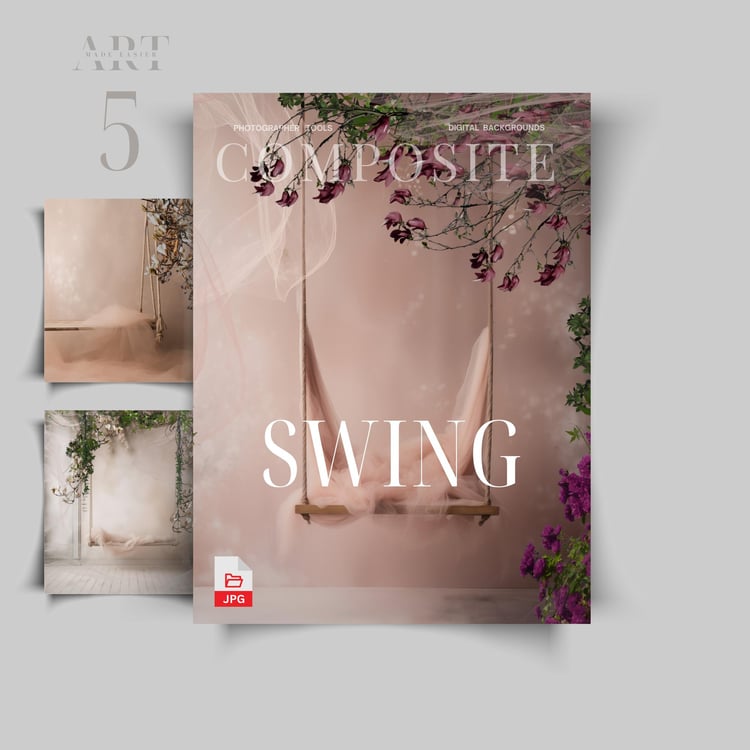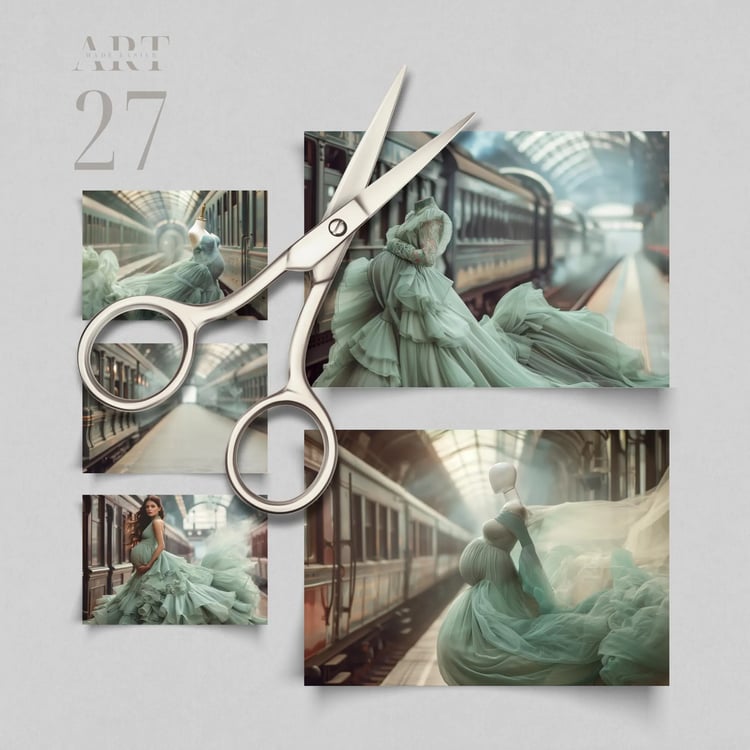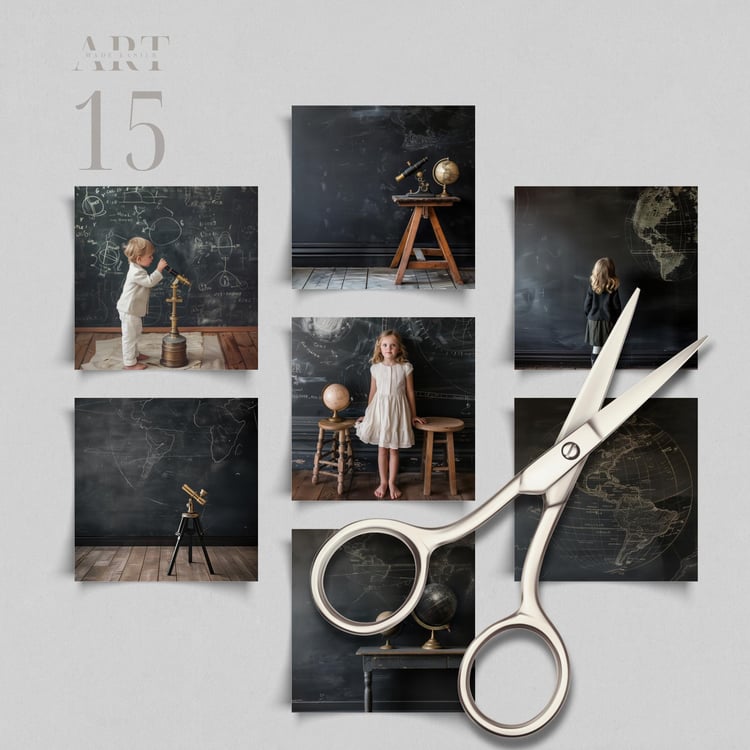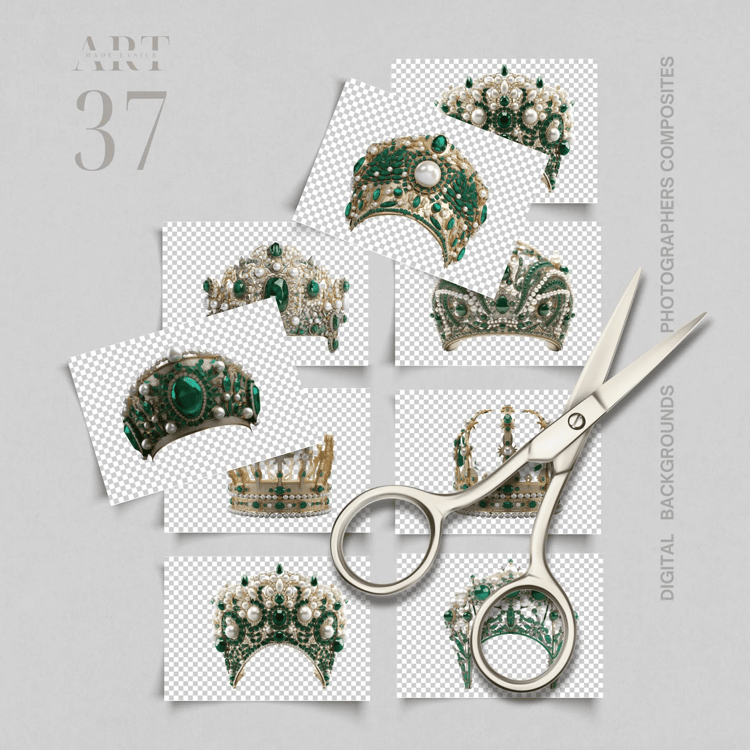

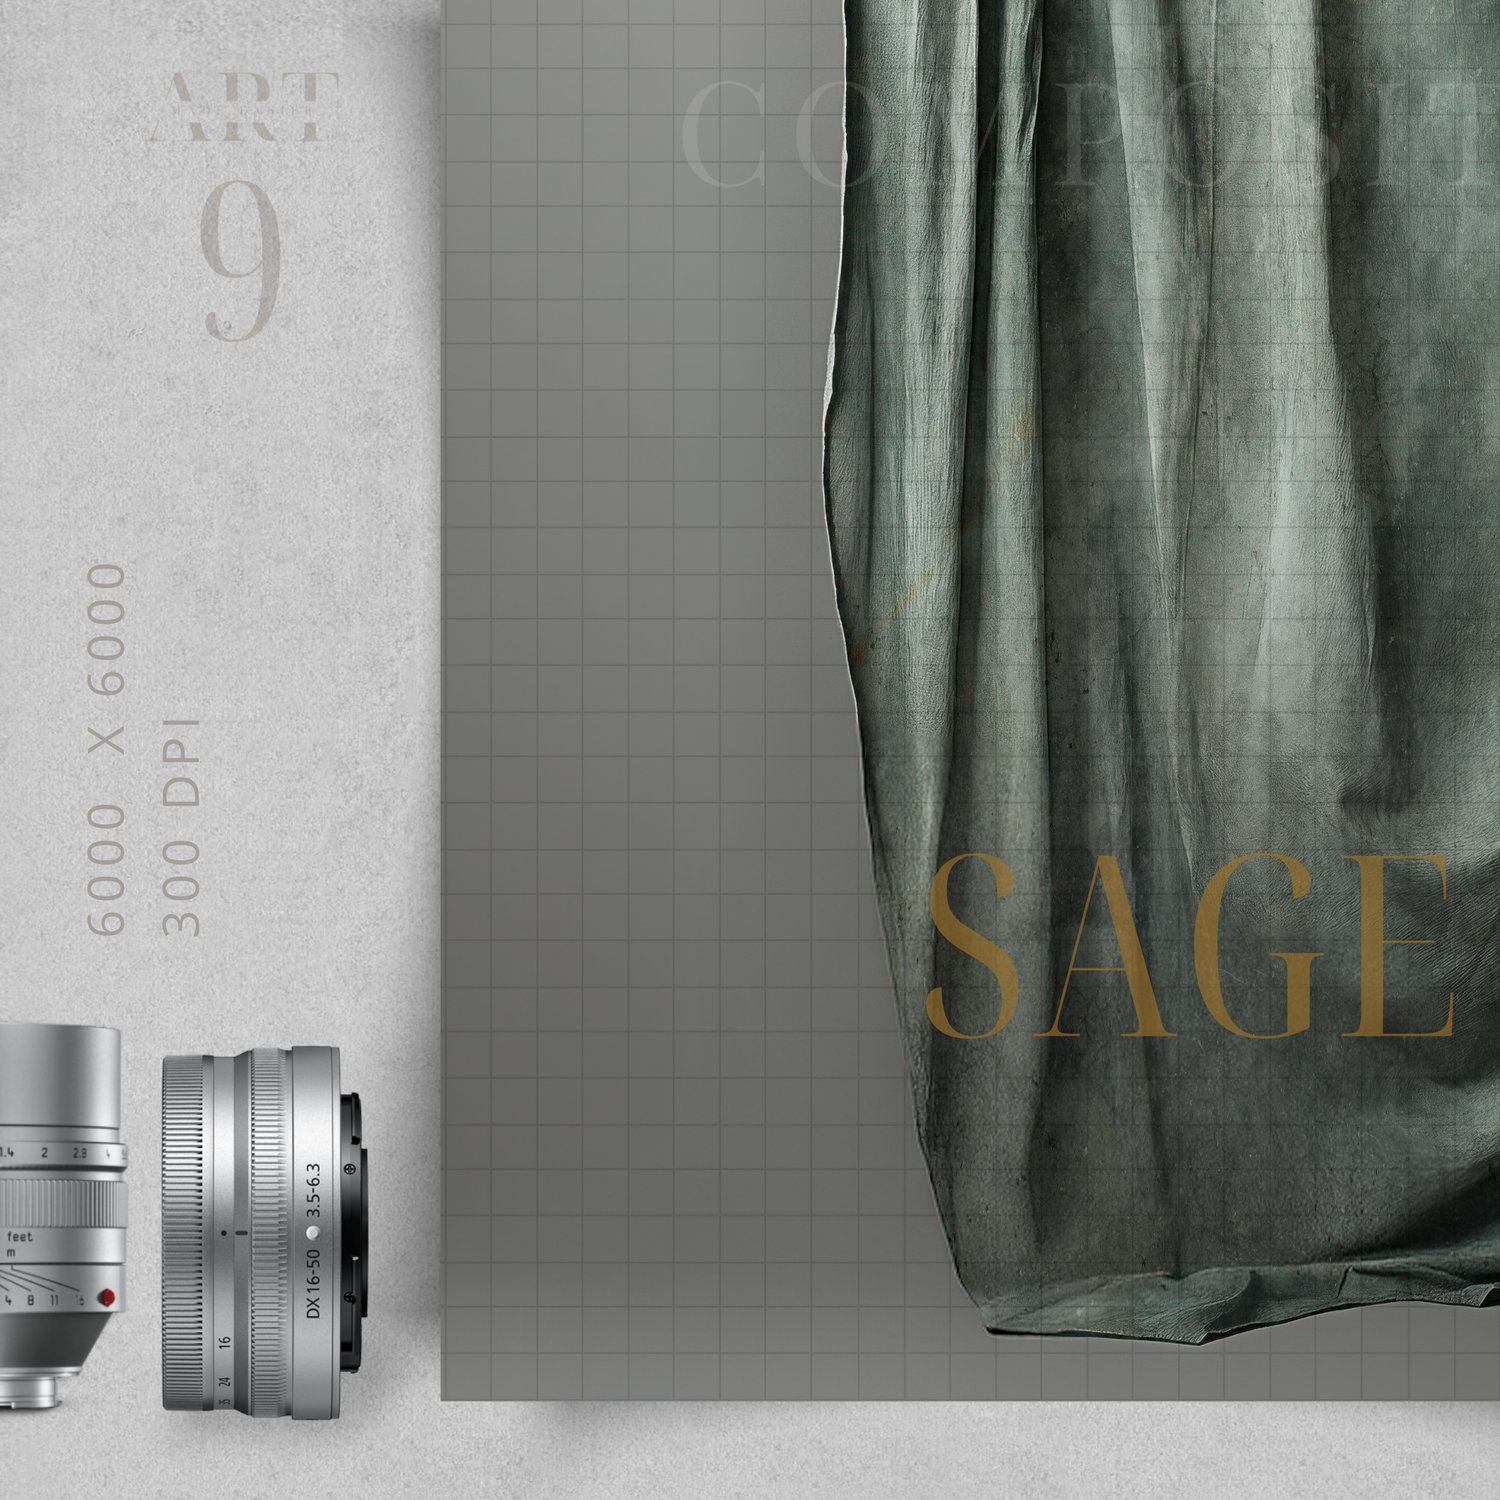
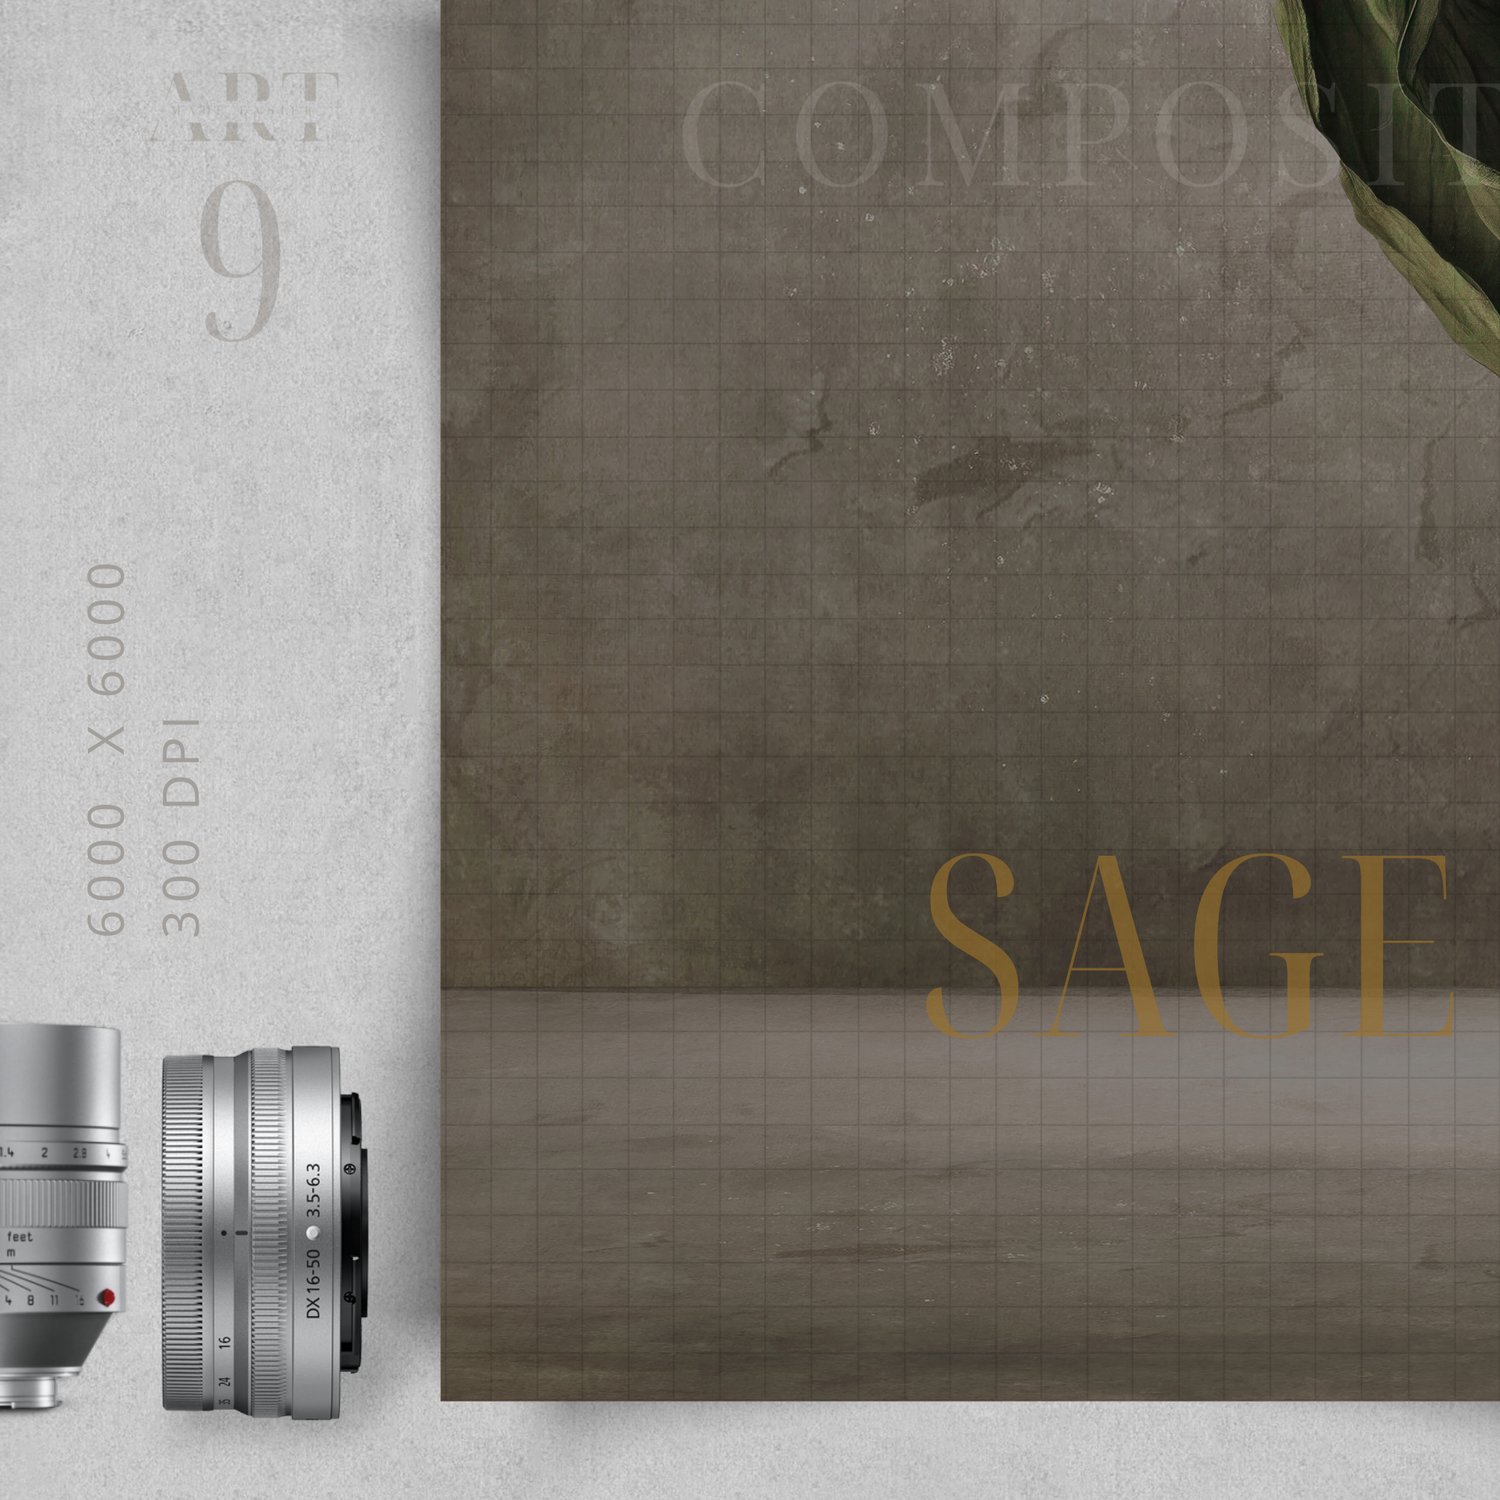
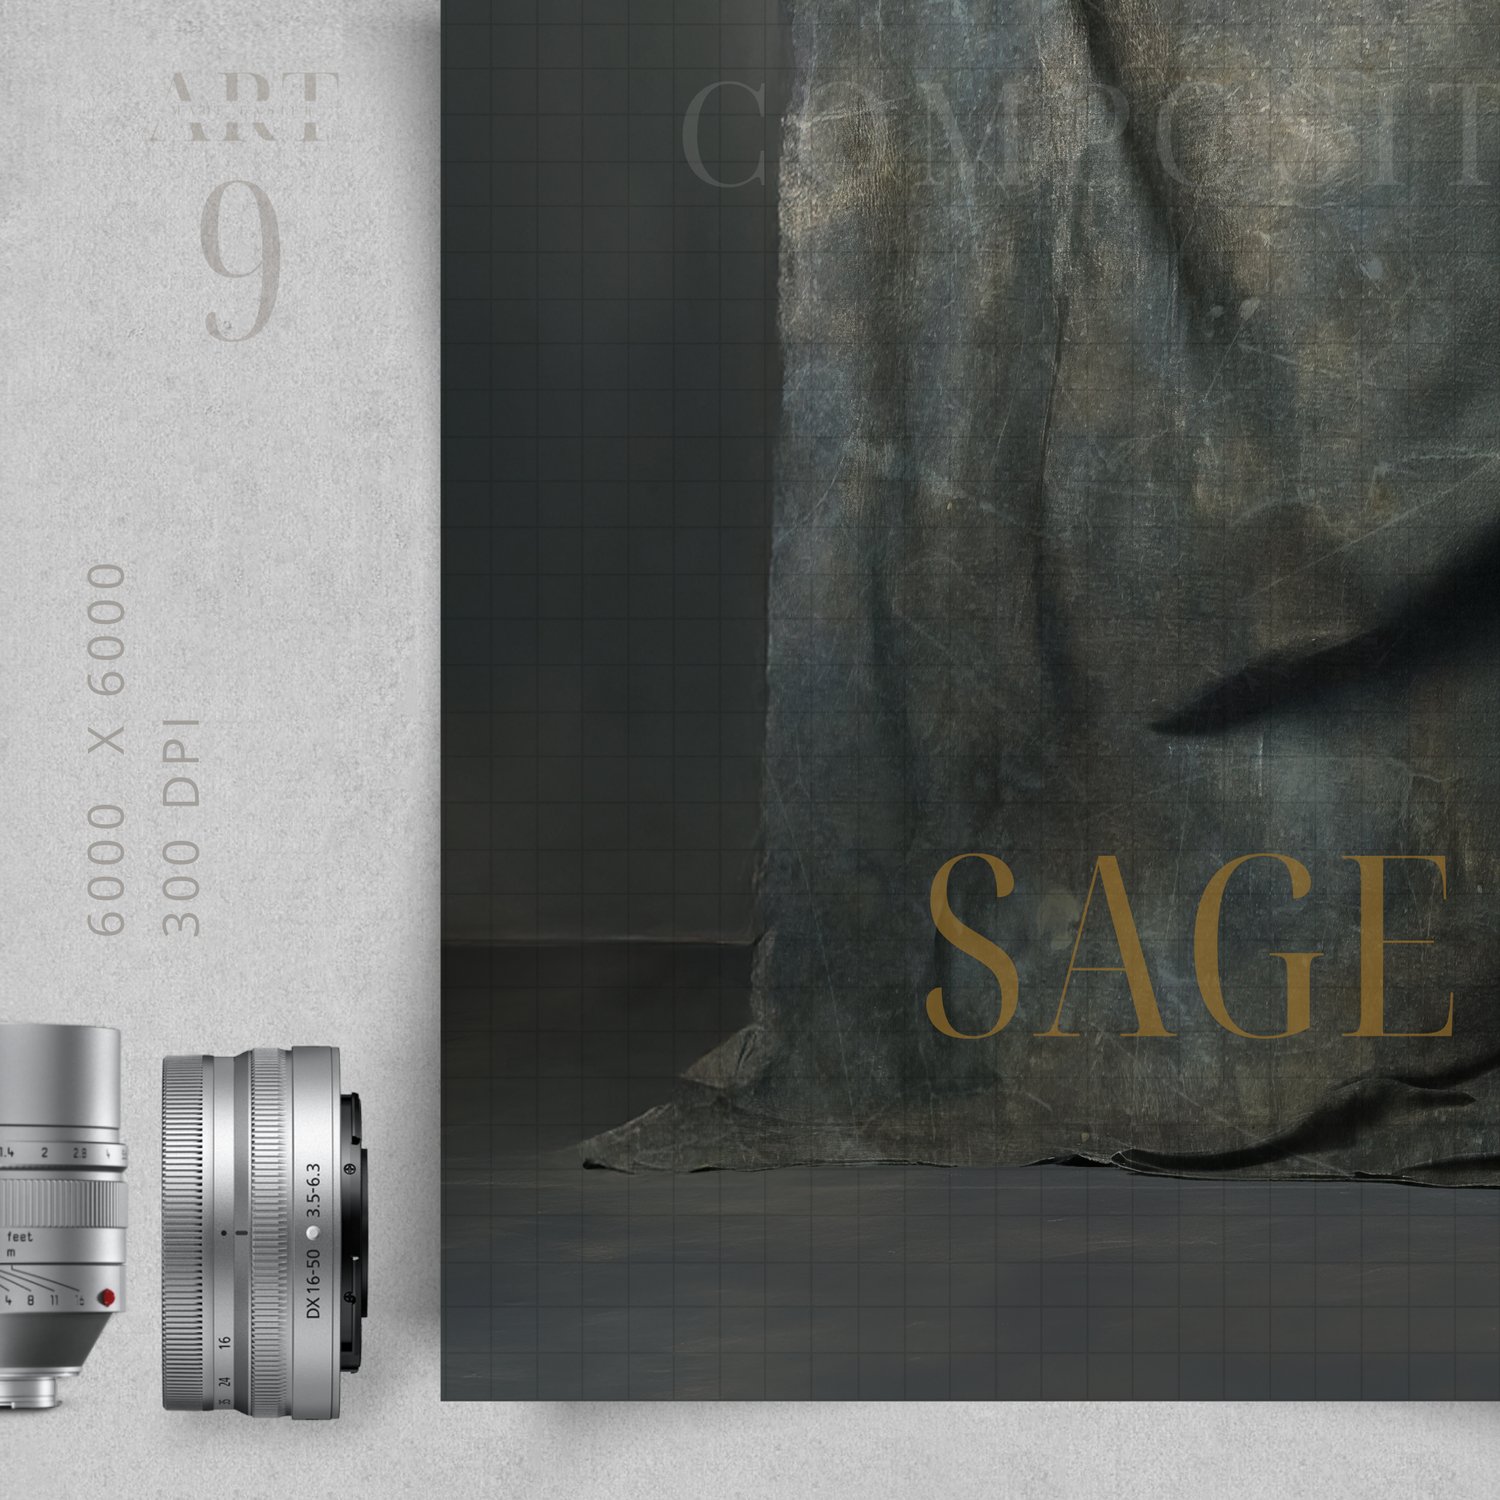
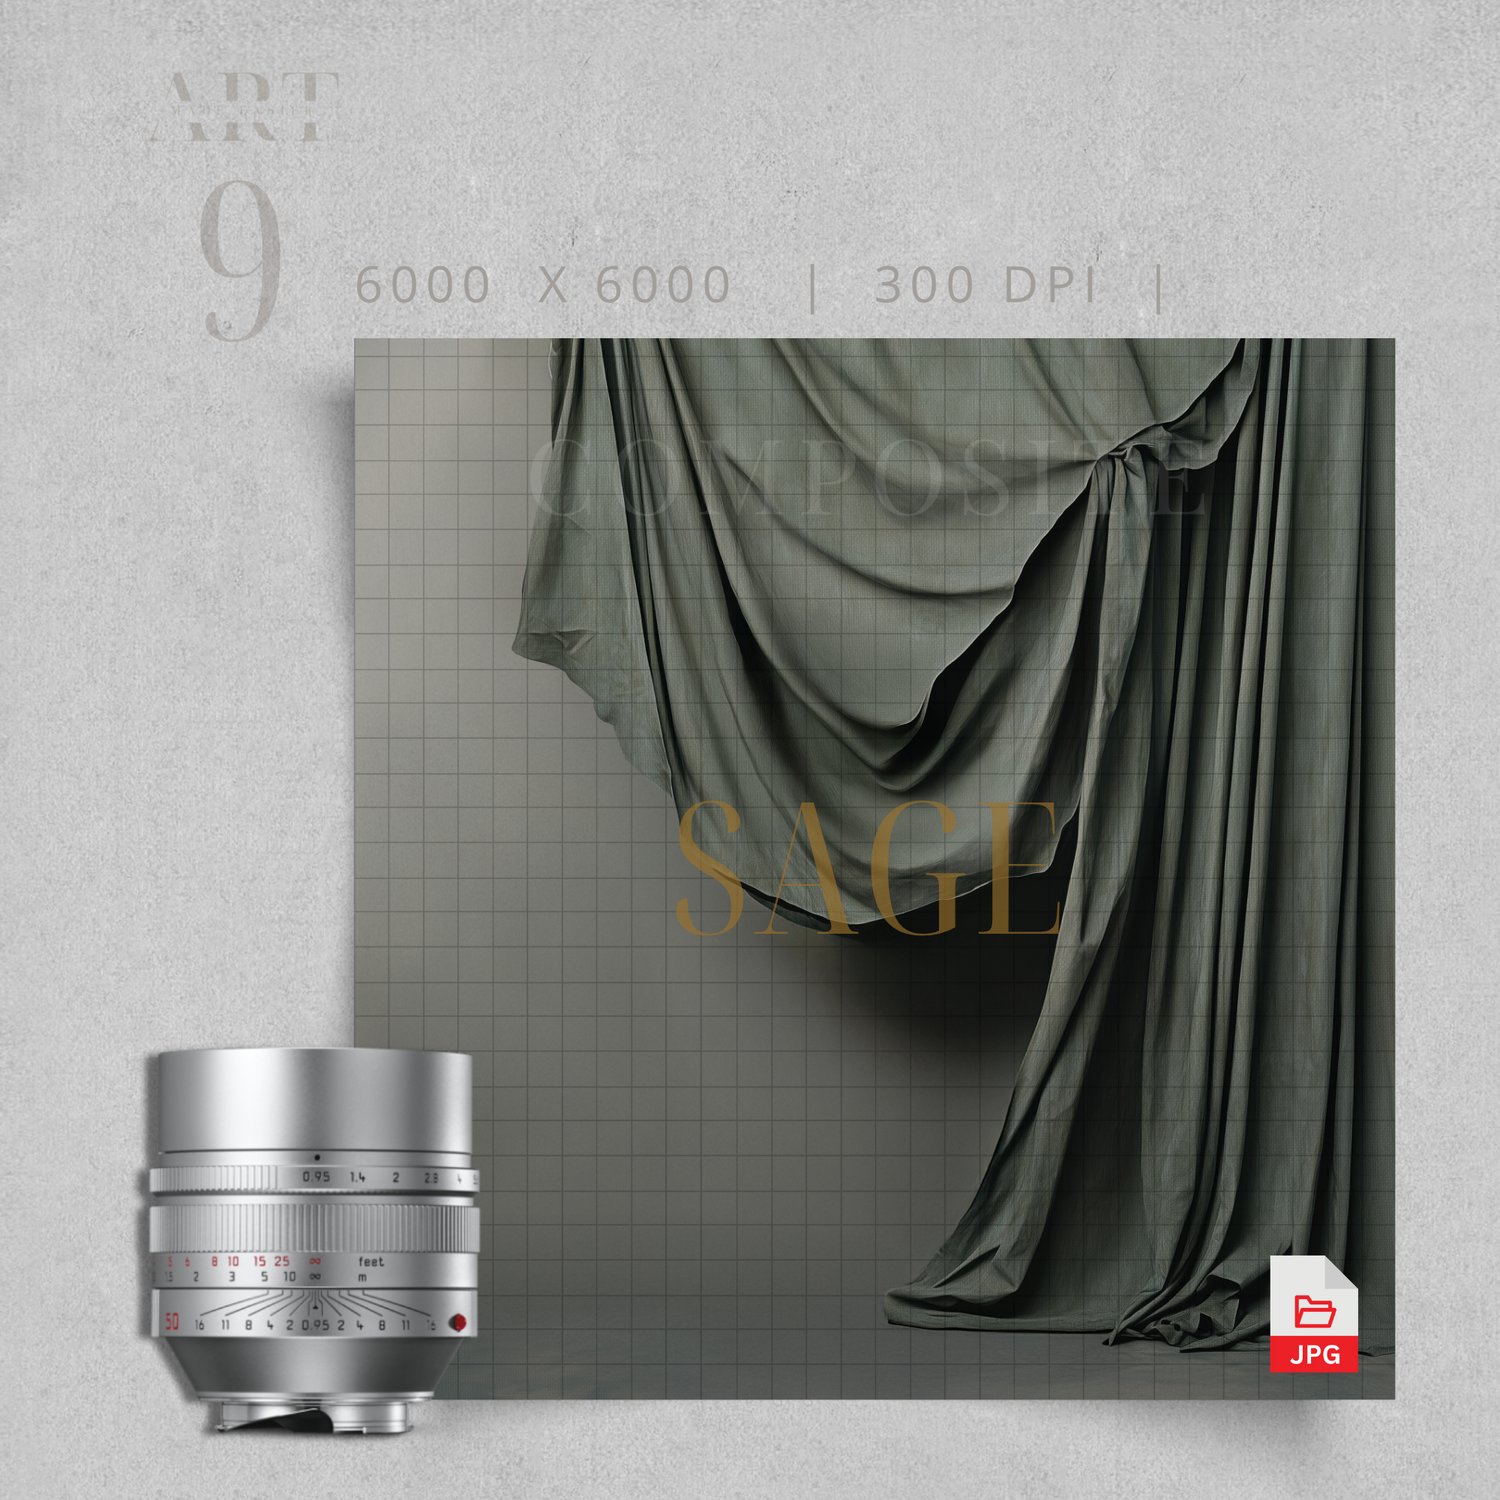
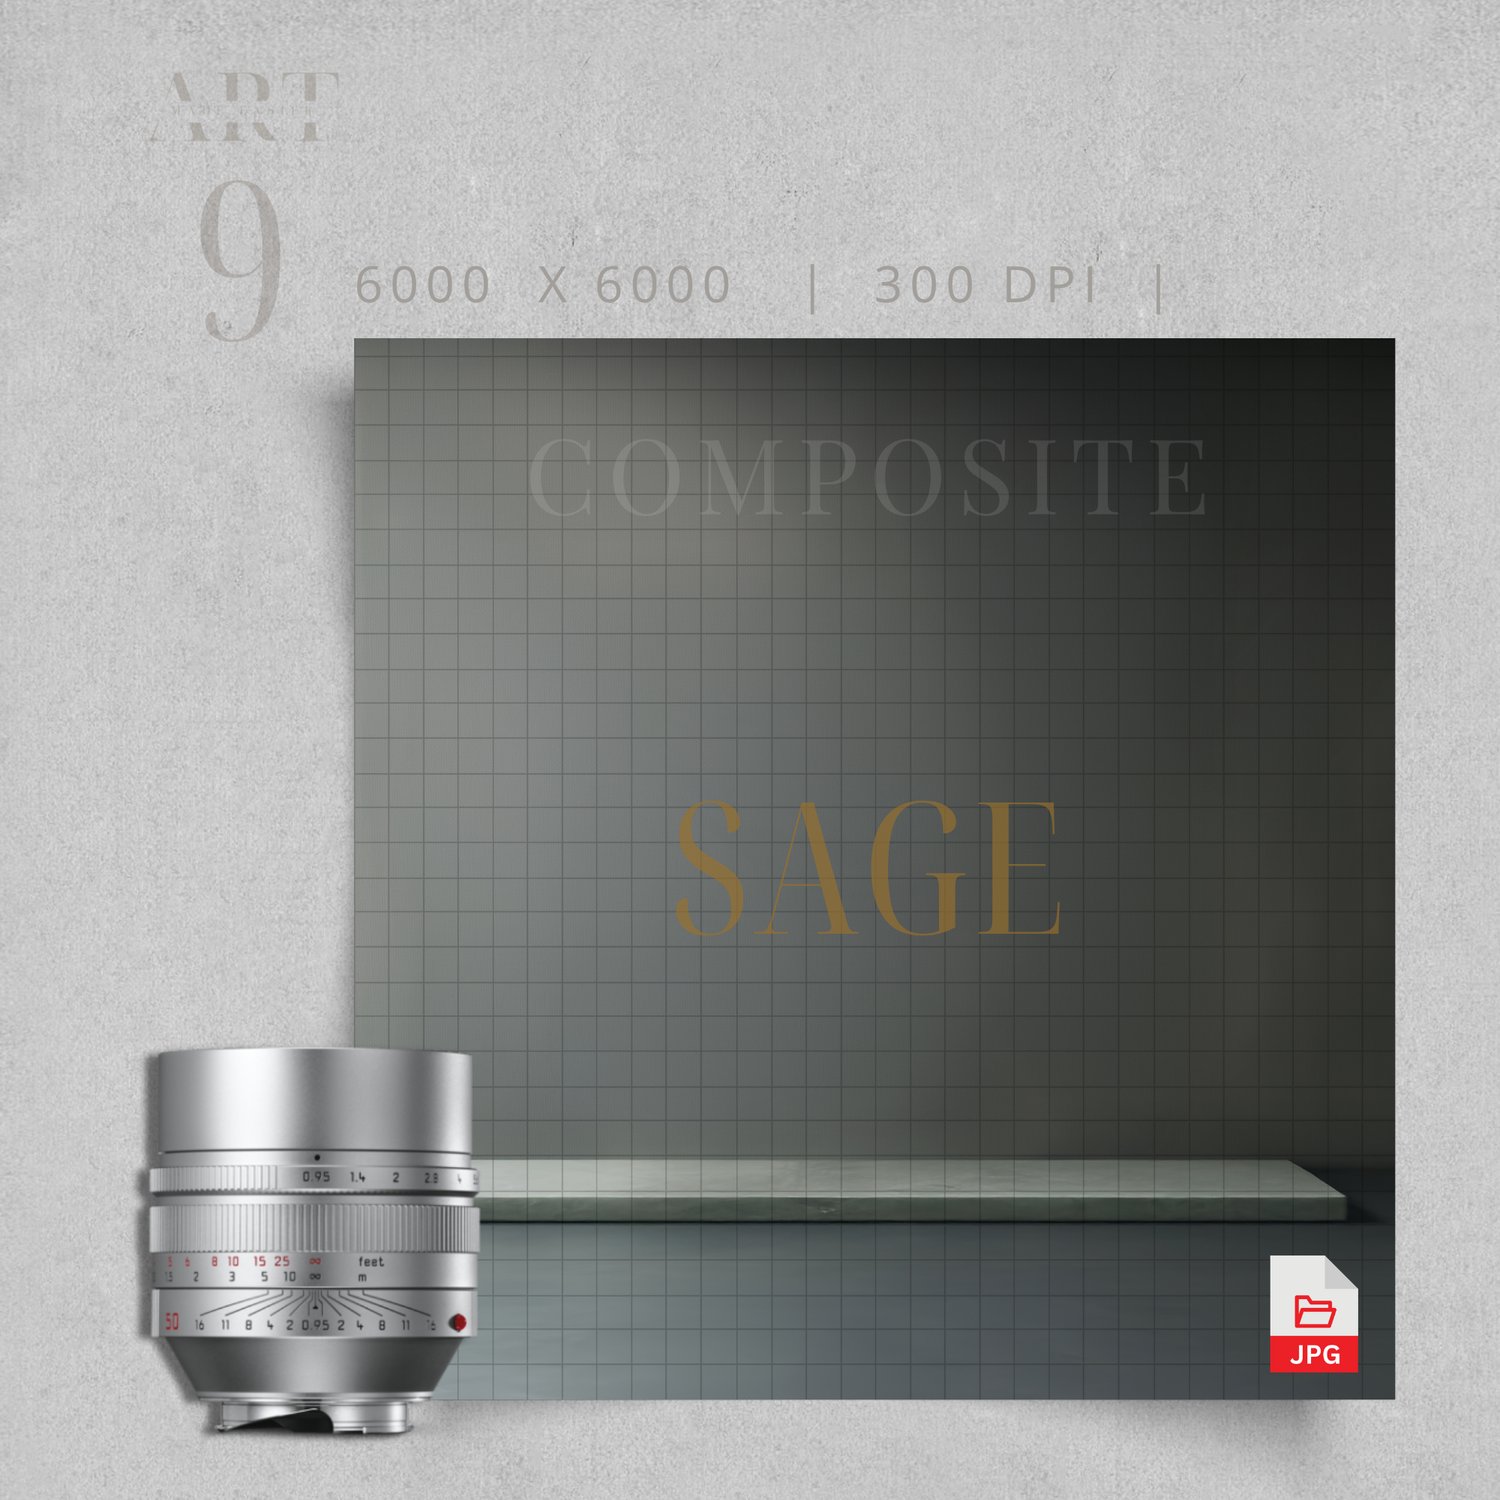
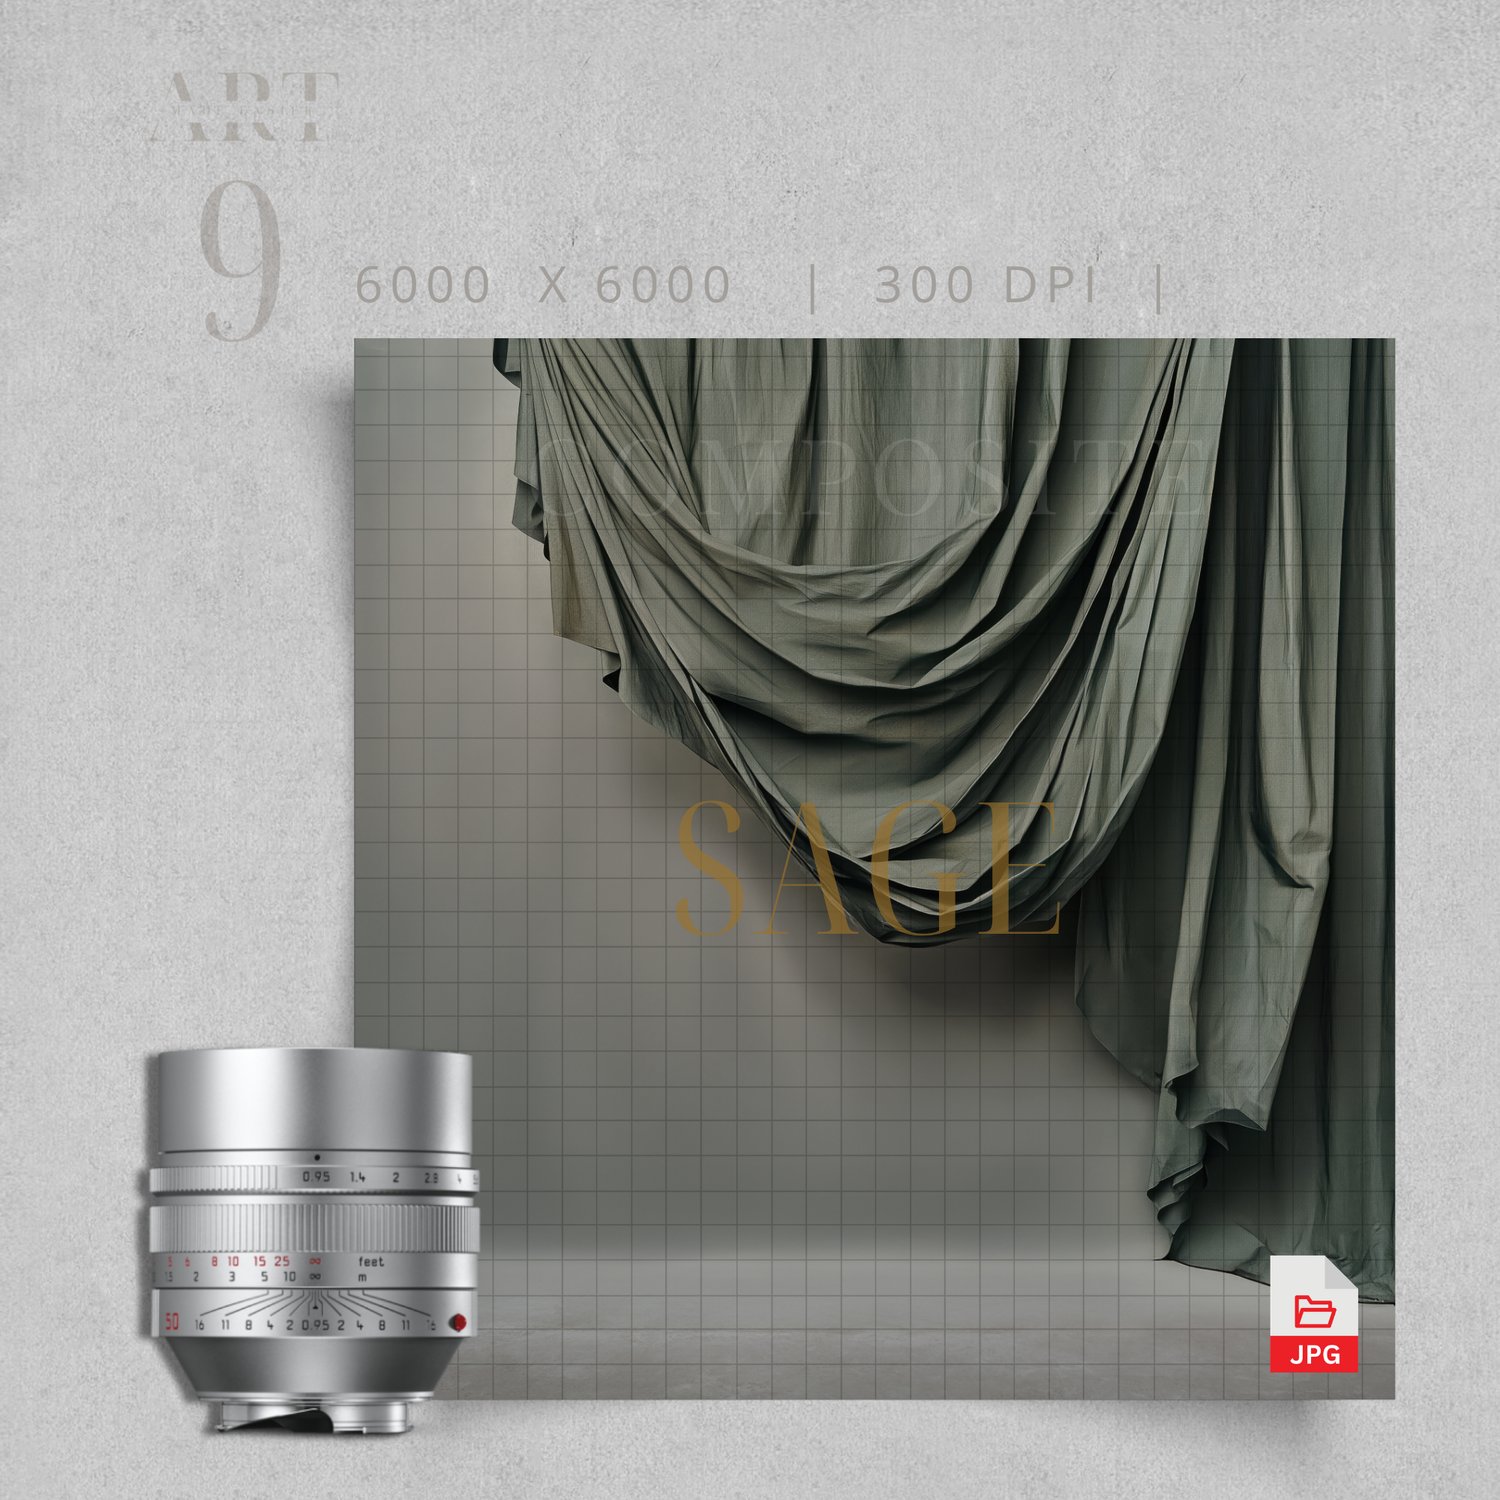
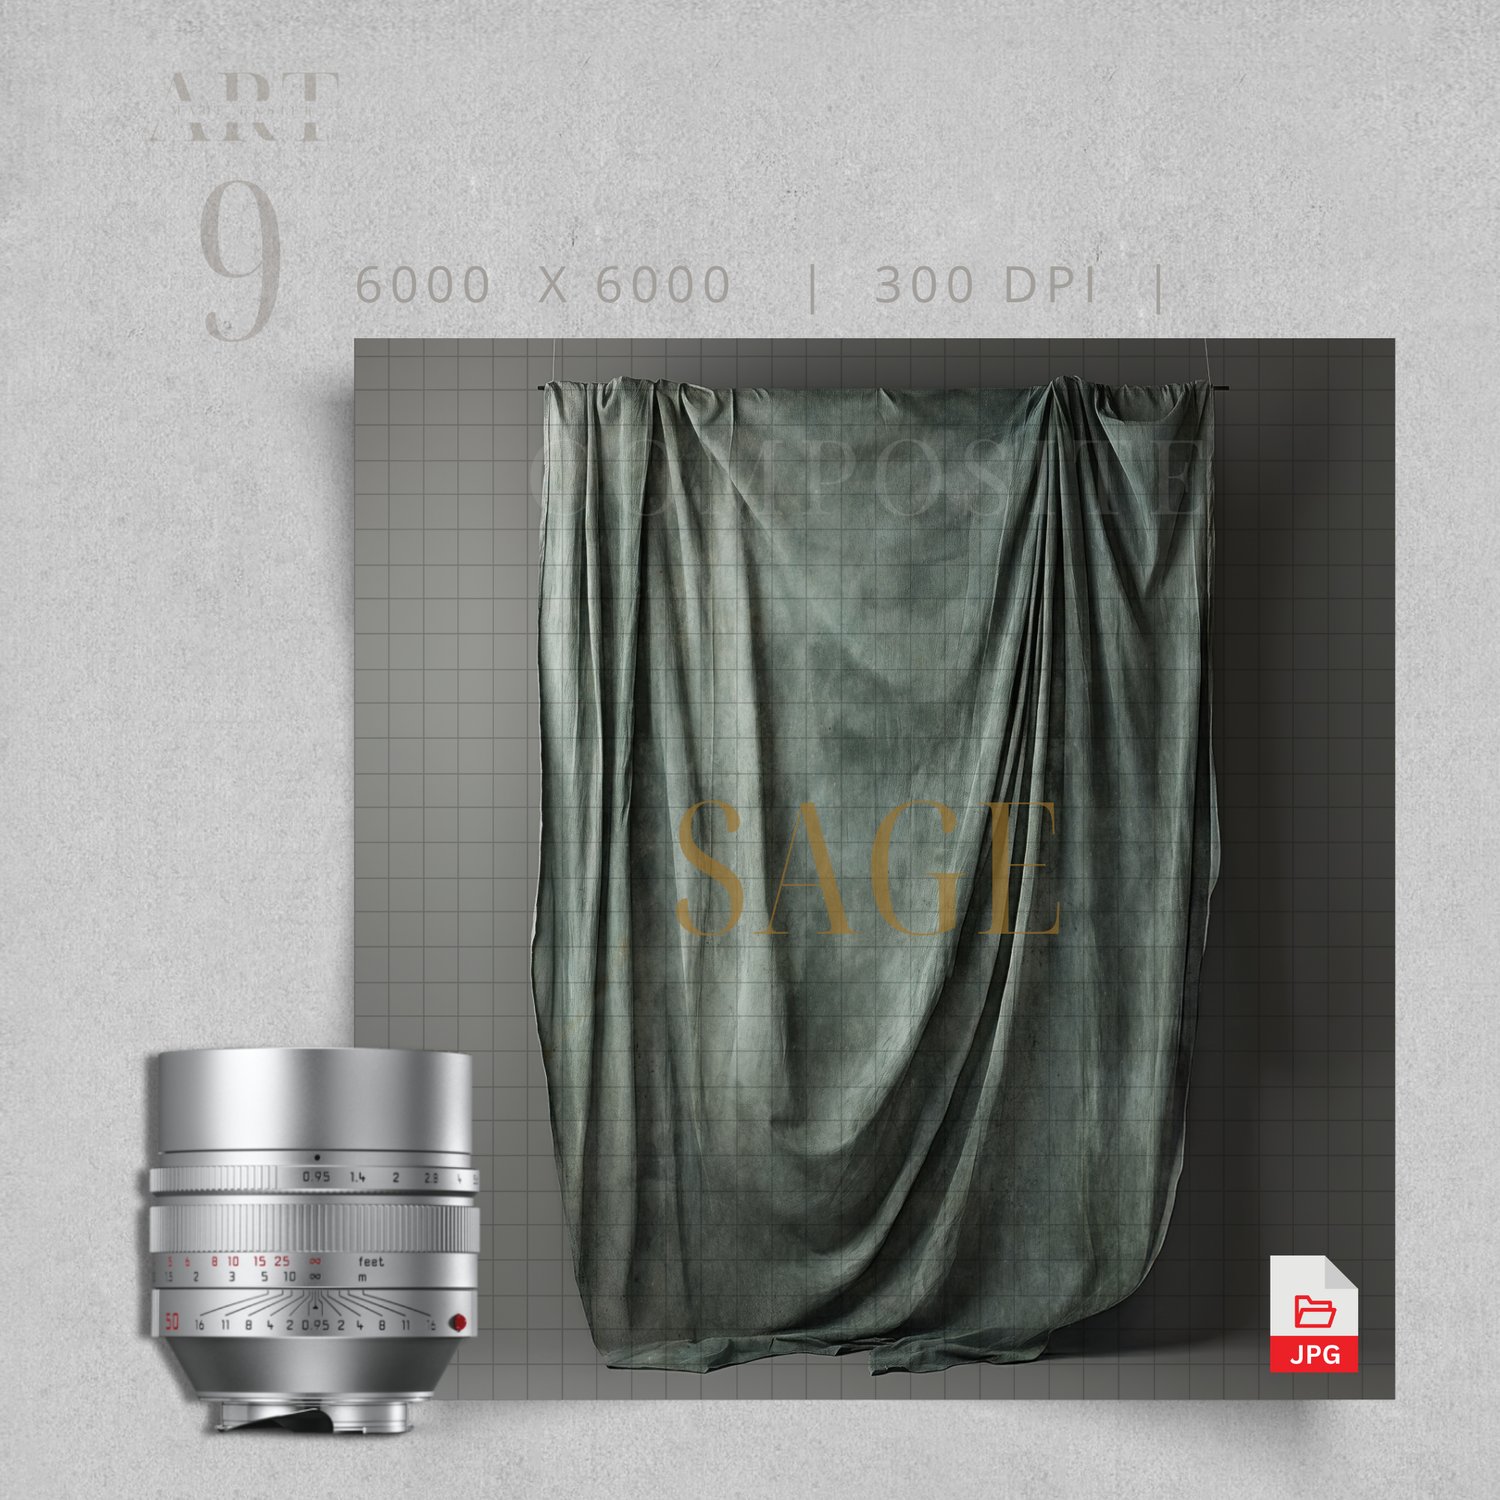


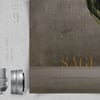
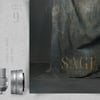
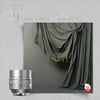
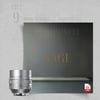

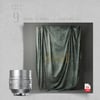
Backdrop Sage Green Fabric Backdrop, Hanging Cloth Studio Background, Soft Draped Photography Scene
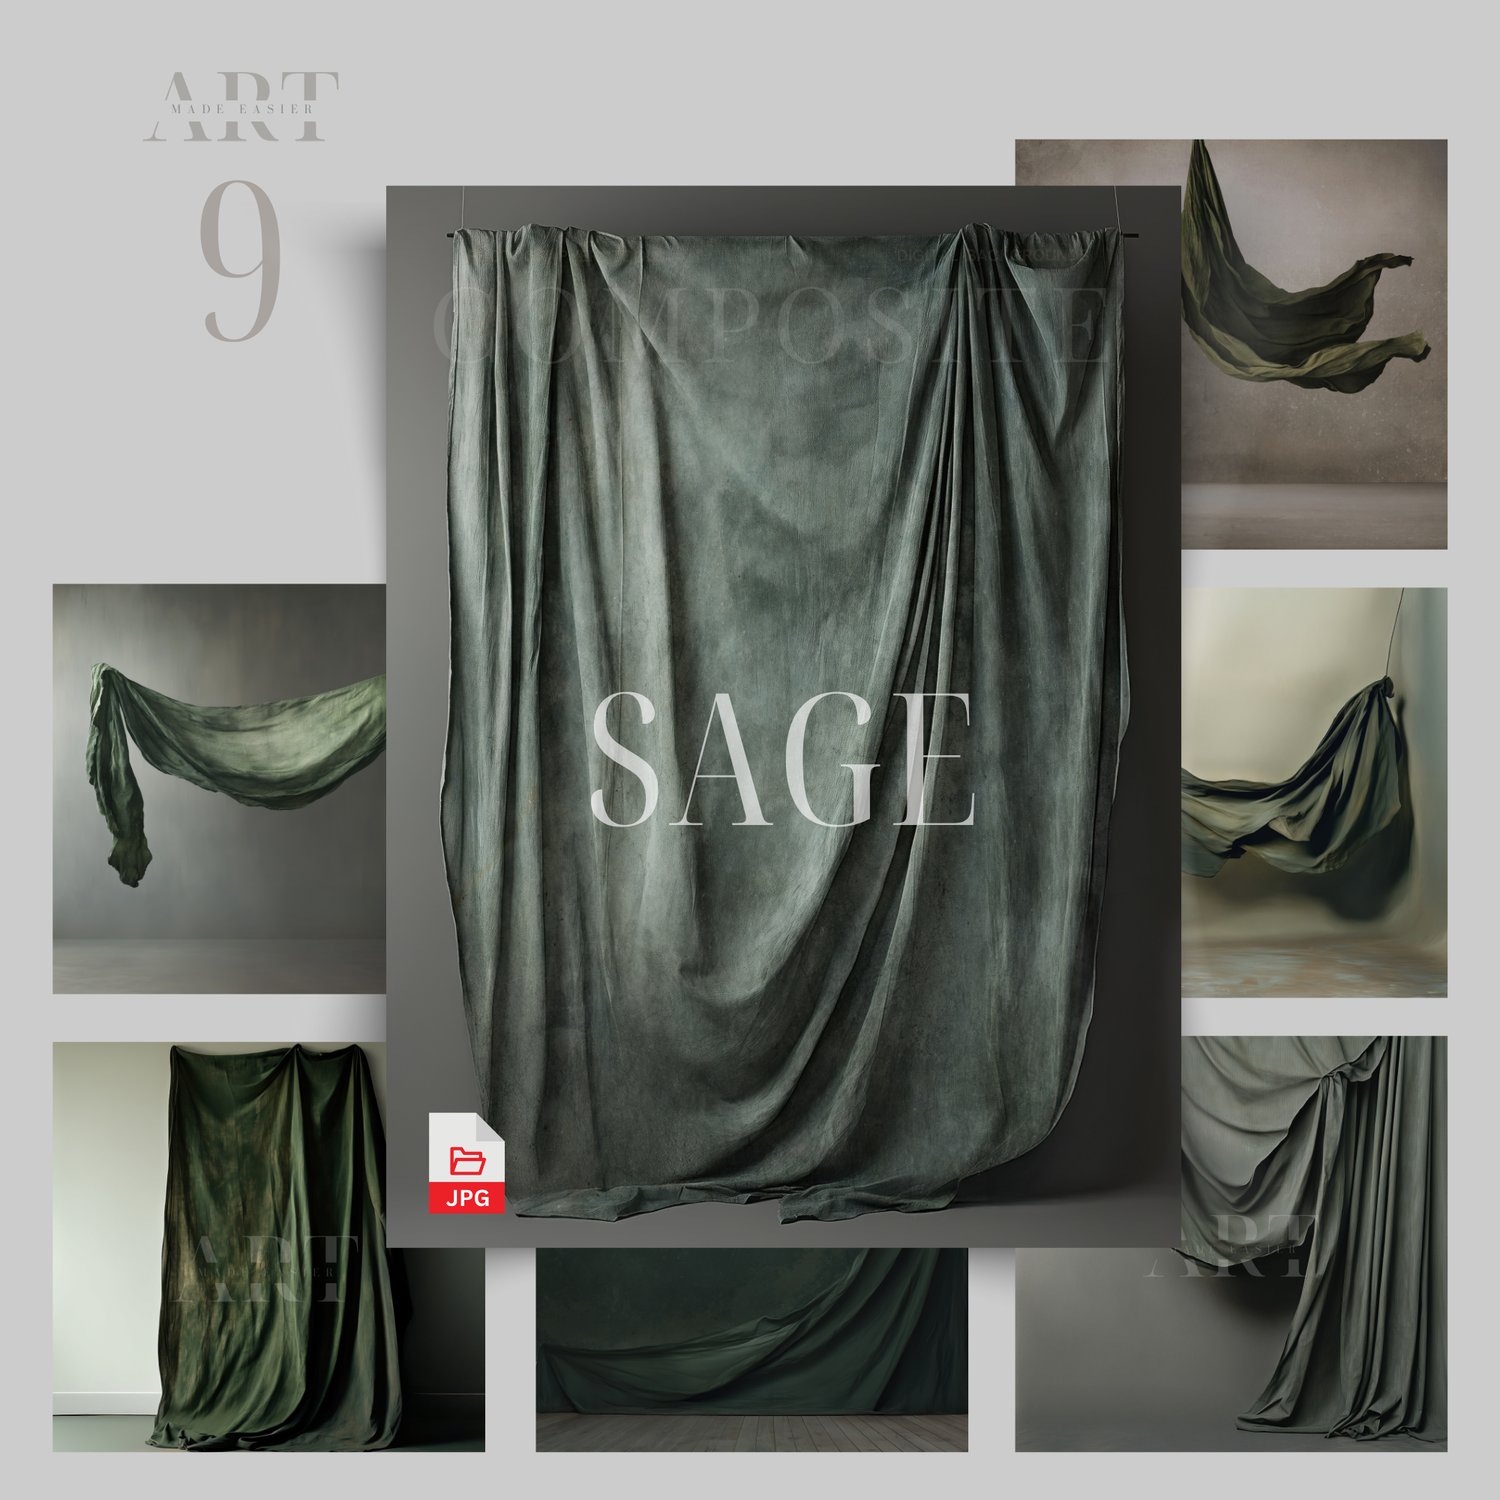
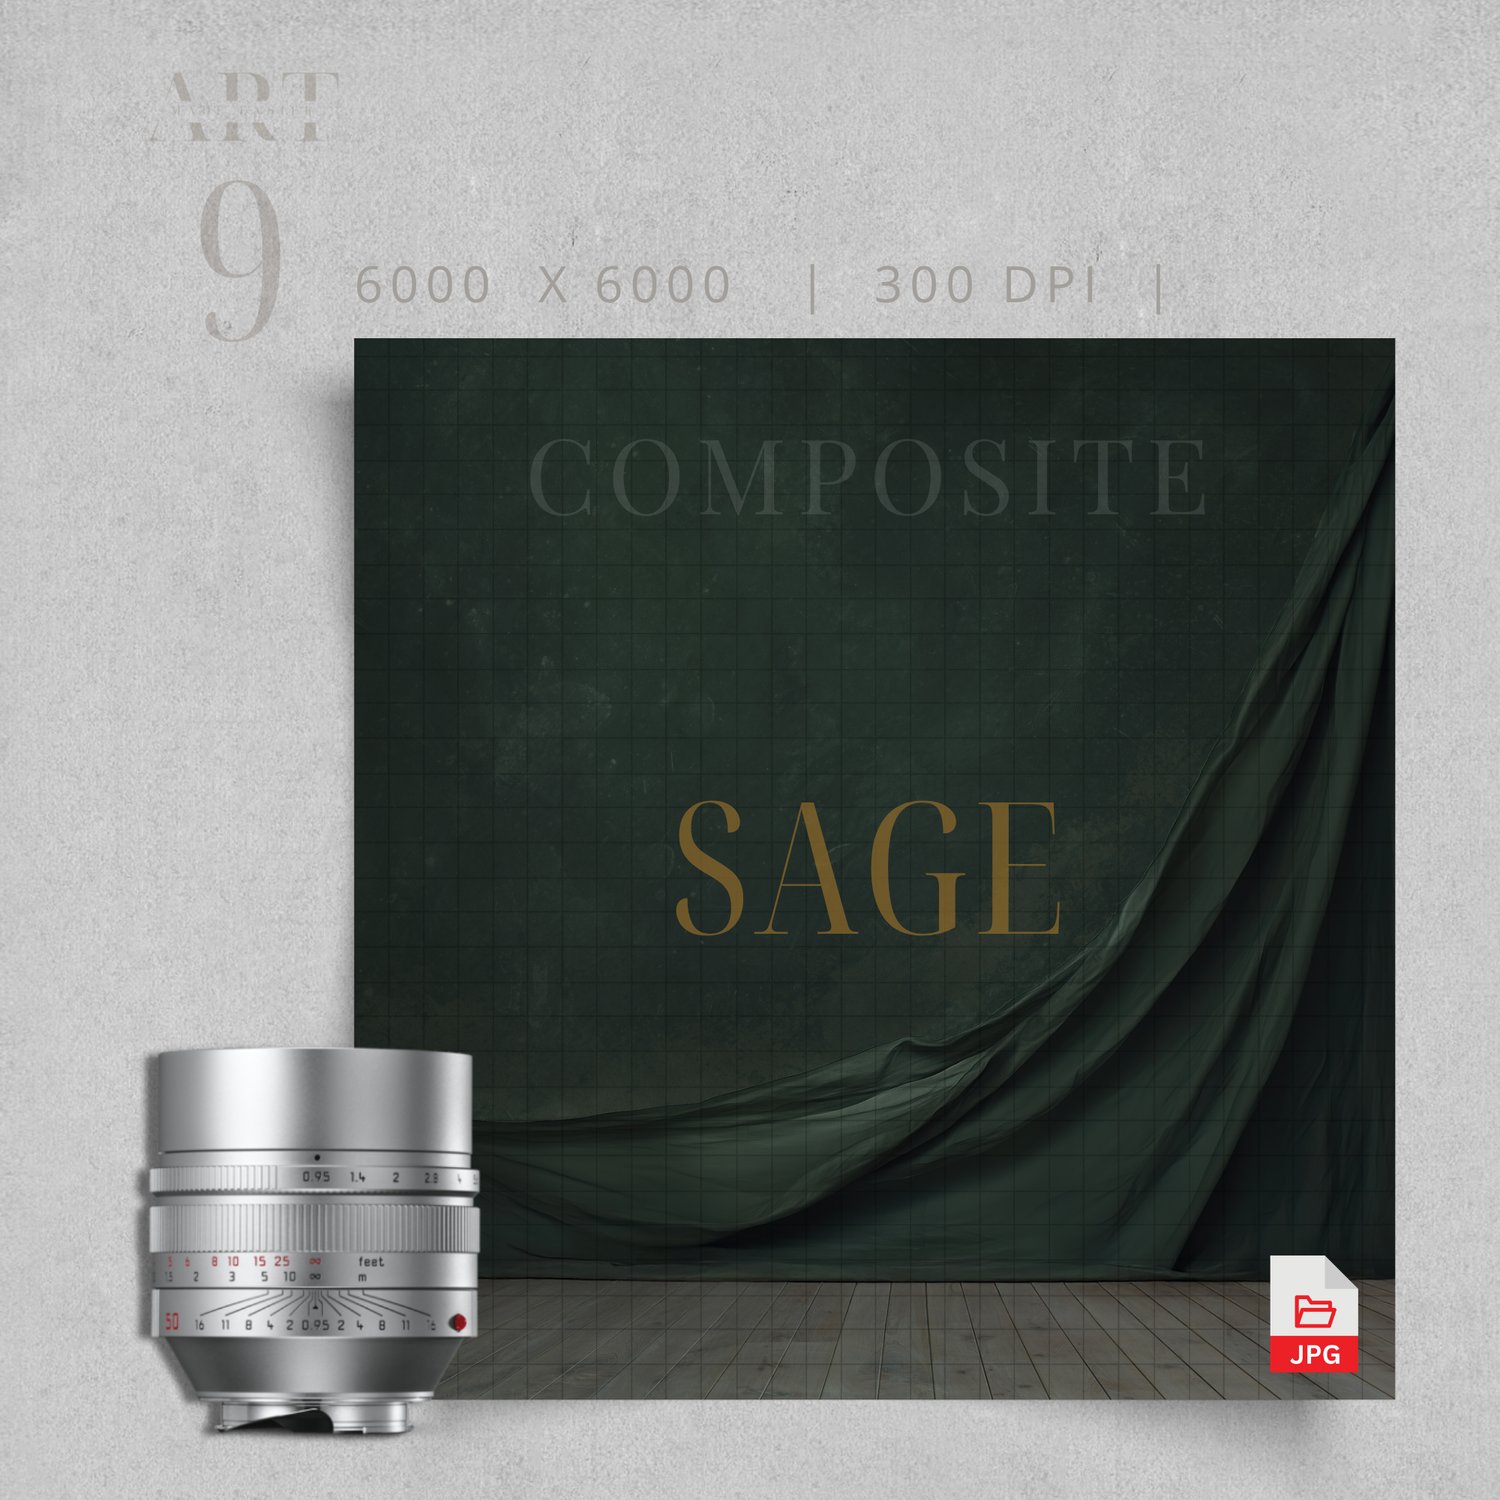
It includes 9 high-resolution digital backgrounds featuring a sage green-toned, textured backdrop that appears gently draped from above, with a deeper, moodier background layered behind it. The result is a look that feels refined. This set is perfect for adding depth without overwhelming your subject. The styling is inspired from the Oliphant backdrops we see in Vogue magazine.
The tones lean into the muted tones of green with cinematic shadows, making these especially beautiful for maternity sessions, portrait photography, men's portraits and fine art composites.
If you’re drawn to dark and moody tones, soft textures, and painterly-style photography backgrounds, this collection gives you a beautiful foundation to create something truly special
- PLEASE NOTE - These photos were originally created with AI, and altered in photoshop. They are not as perfect as the photos we take with our high resolution cameras, but it can get us almost-the-way there to creating looks that would take time and money to create in a studio. Who has thousands of dollars and space for "variety" when digital backgrounds could do the heavy lifting for us. I do my best to minimize the imperfections that comes with AI, but they are there. You can create masterpieces working with digital assets, you just need the "YOU" touch. God bless and happy editing!
........................
Returns?
Because this is a digital product, I do not accept returns. However, if there is an issue, please feel free to email me, and I can try to remedy it as quick as possible.
If you encounter any issues with your digital download, please contact me and I am more than happy to resolve any problems right away.
- Thank you! Meranda Devan
........................
Photoshop Tips For Photography Compositing
Here are some tips to making your subjects blend the best with your photography in Photoshop:
🎨 Generate Fill – Photoshop (Best Tool!)
● Use your Lasso Tool to select small areas around your subject, then click Generate Fill. This creates a smooth, seamless blend almost every time. You can skip manually creating shadows between your subject and background — AI handles it beautifully.
✂️ Background Removal Tools
PhotoRoom
● Great for quick background removal — even handles hair well.
https://www.photoroom.com/tools/background-remover
PicWish
● Pay per image using credits
● Returns high-resolution files
● Runs from your computer
🌗 Blending & Matching Your Composite
● Use Levels to darken your image and create a soft matte effect.
● Adjust highlights and blacks until your subject blends naturally.
● If light is coming from a certain direction, erase the adjustment where the light should hit.
🌫 Lower Opacity
● Slightly lower the opacity of your overlay to soften the blend.
● Duplicate your layer and paint back important details at full opacity. This avoids a “cutout” look.
📷 Camera Raw Adjustments
● Use Camera Raw to fine-tune highlights and shadows for a more natural blend.
📈 Curves Adjustment
● Use Curves to lighten or darken your subject. Clip the adjustment to your subject so it doesn’t affect the entire image.
🌫 Add a Matte Finish
● At the end, apply a slight matte effect to unify the entire image. This helps achieve a soft fine art look.
🎨 Color Balance
● Add a Color Balance Layer to match tones across your entire composite. This is one of the best ways to unify colors.
Thank you so much for supporting my shop — I truly appreciate you.
Have fun creating and editing!