

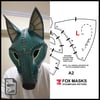
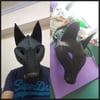
Fox Mask Template
*DIGITAL TEMPLATE* This image is a technical guide for creating a stylized, three-dimensional fox mask, likely designed for cosplay, LARP (Live Action Role Play), or steampunk-themed costuming. It features a "Low-Poly" influenced design that has been rounded out through careful assembly.
EVA Foam (I use 5mm): Best for holding the rigid shape and taking the "45-degree" cuts well.
1. Preparation & Printing
Scale: Ensure you print the file at 100% scale (Actual Size) on A3 paper as indicated by the filename.
Transfer: Cut out the paper pieces and trace them onto your material. For the main face, remember to trace the pattern once, then flip the paper over and trace it again to create the symmetrical "Right" side.
2. Master the "45-Degree" Miter Cut
The template notes that hidden lines (dashed lines) require a 45-degree angle cut.
The Technique: Instead of holding your utility knife vertically ($90^\circ$), tilt it to a $45^\circ$ angle.
The Result: When two $45^\circ$ edges are glued together, they form a perfect $90^\circ$ corner. This is how you get the sharp, defined ridge down the center of the fox's snout.
3. Registration Marks (The Black Notches)
The small black lines along the edges of the pattern are your best friends.
Transfer them: Don't just trace the outline; mark where those notches are on your foam/leather.
Matching: When you start gluing, align notch "A" on one piece to notch "A" on the joining piece. This prevents the material from shifting or "creeping" as you work along a curve.
4. Shaping the "Ear Guide"
The dashed line on the main head piece (labeled L) isn't a cut line—it’s a placement guide.
Once the main face is assembled, you will glue the ear base directly onto that marked area.
Tip: If using EVA foam, use a heat gun on the ear pieces to give them a slight "cup" shape before attaching them to the head.
5. Assembly & Detailing
Adhesive: Use contact cement. Apply a thin layer to both edges, wait about 5–10 minutes until it’s tacky (not wet), and then press the edges together.
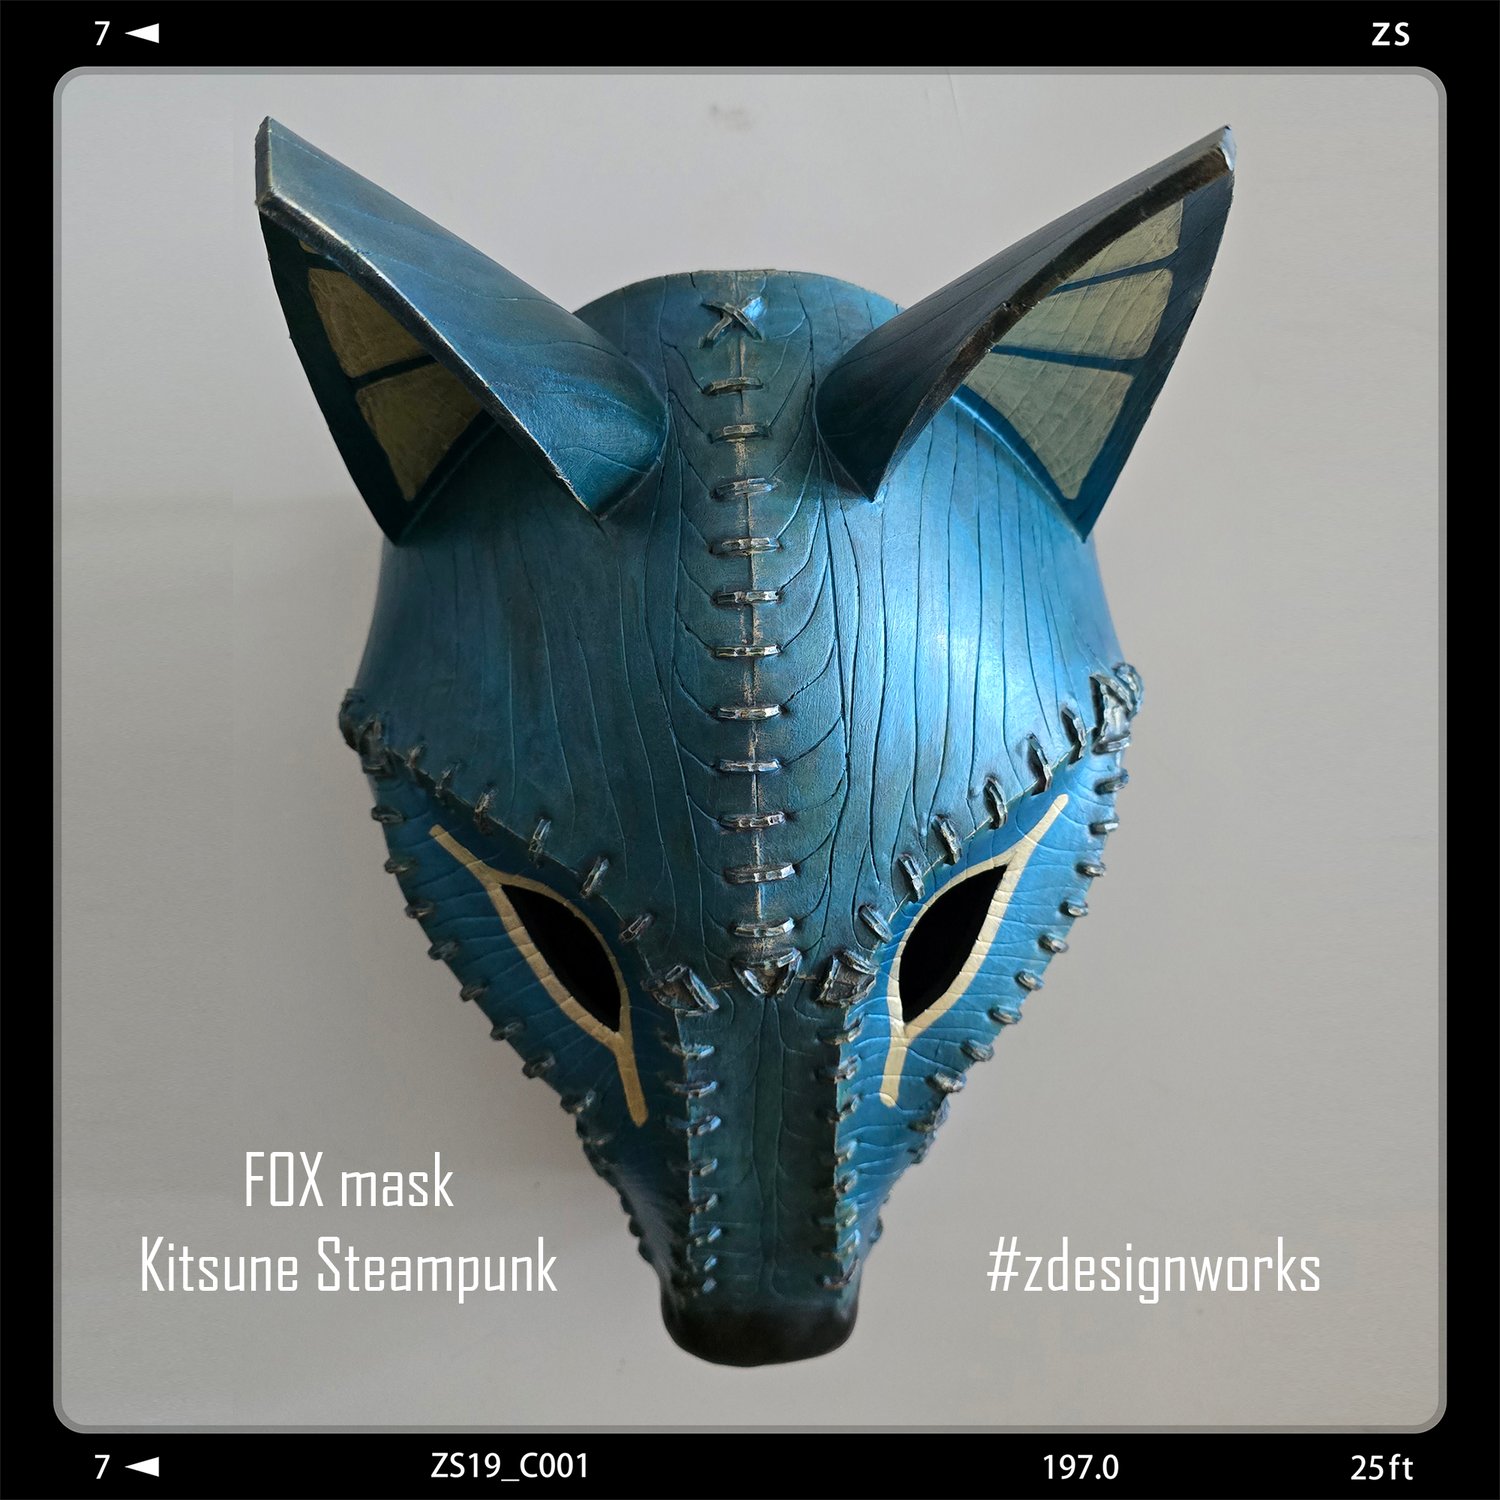
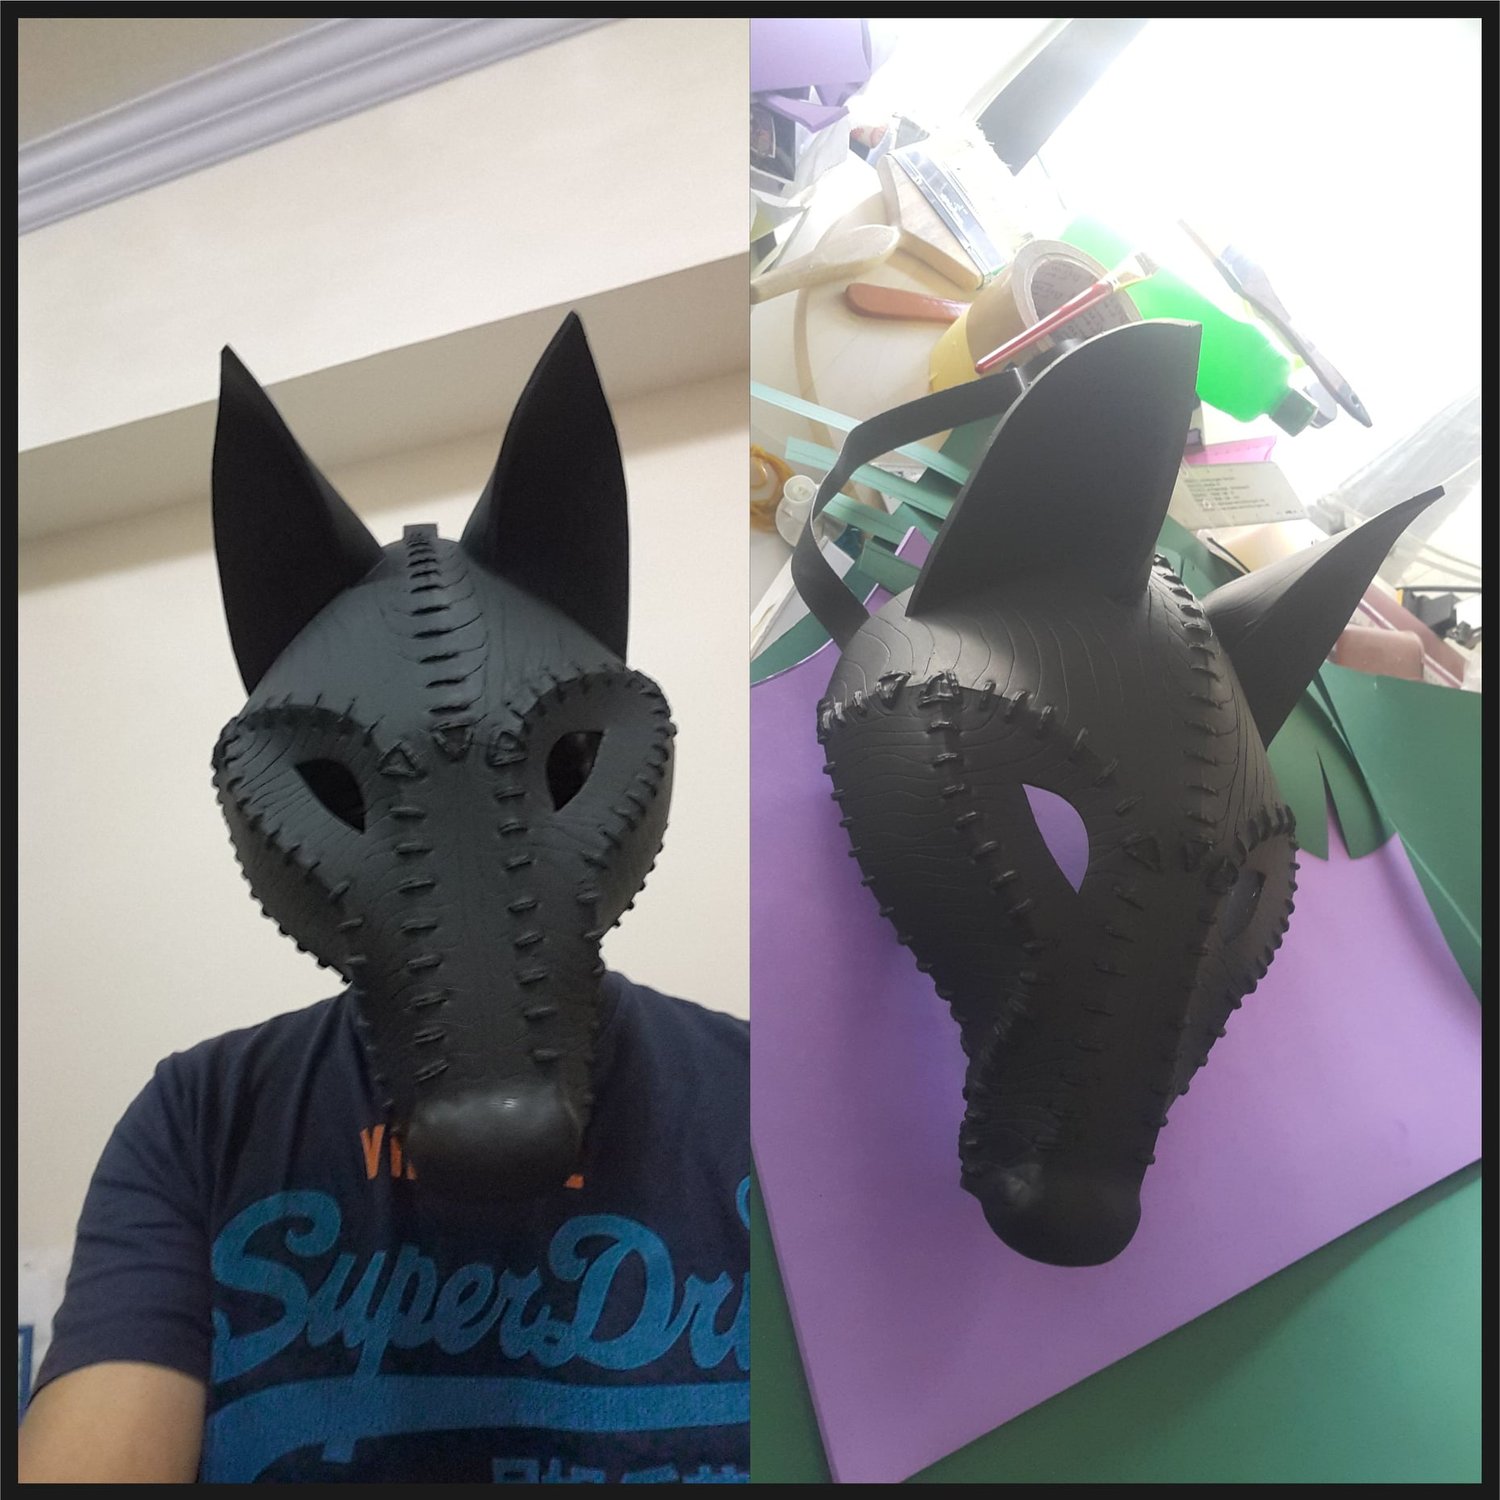
The "Stitching" Look: To replicate the look in the photo, you can add decorative "staples" or stitches after the mask is built.
For Foam: Use small strips of thin foam or actual heavy-duty staples (carefully blunted on the inside).
For Leather: Use a leather punch and thick waxed thread.
6. Finishing Touches
Priming: If using foam, seal it with a flexible primer (like Plasti Dip).
Painting: Use a dark base coat and then "dry brush" a lighter color (like the teal/emerald in the photo) over the texture to make the patterns pop.
Check here : zdesignworks the making of