
Toyota 7PM18 7PM20 7PML20 7PLL24 Powered Pallet Truck Workshop Repair Service Manual PDF - MTOIN7PM7PLL.zip
Toyota Powered Pallet Trucks Models 7PM18, 7PM20, 7PML20, 7PLL24 Repair Service Manual
A full service and repair manual featuring Electrical Wiring Diagrams for the Toyota Powered Pallet Trucks Models 7PM18, 7PM20, 7PML20 and 7PLL24, containing every technical detail needed to service, troubleshoot, fix and rebuild these machines the way professional technicians do.
Toyota Powered Pallet Truck 7PM18, 7PM20, 7PML20, 7PLL24 workshop service repair manual includes:
* Numbered table of contents easy to use so that you can find the information you need fast.
* Detailed sub-steps expand on repair procedure information
* Numbered instructions guide you through every repair procedure step by step.
* Troubleshooting and electrical service procedures are combined with detailed wiring diagrams for ease of use.
* Notes, cautions and warnings throughout each chapter pinpoint critical information.
* Bold figure number help you quickly match illustrations with instructions.
* Detailed illustrations, drawings and photos guide you through every procedure.
* Enlarged inset helps you identify and examine parts in detail.
PRODUCT DETAILS:
Total Pages: 518 pages
File Format: PDF (Internal Links, Bookmarked, Table of Contents, Searchable, Printable, high quality)
Language: English
222995-040 - Toyota Powered Pallet Truck 7PM18, 7PM20, 7PML20 Service Manual (Valid from serial number 723984-).pdf
222996-040 - Toyota Powered Pallet Truck 7PLL24 Service Manual (Valid from serial number 723984-).pdf
239389 - Toyota Powered Pallet Truck 7 PM 18, 7 PM 20, 7 PM20N Parts Manual (Valid for machine number 955773 -).pdf
239392 - Toyota Powered Pallet Truck 7 PML20_6, 7 PML 20_8 Parts Manual (Valid for machine number 955773 -).pdf
MAIN SECTIONS
222995-040 - Toyota Powered Pallet Truck 7PM18, 7PM20, 7PML20 Service Manual (Valid from serial number 723984-).....1
1- Table of contents.....3
2- Technical data - M4.....7
3- Introduction Maintenance - P1.....11
3.1 Safety regulations with maintenance work.....11
3.2 Cleaning and washing.....12
3.2.1 External cleaning.....13
3.2.2 Cleaning the motor compartment.....13
3.2.3 Electrical components.....13
3.3 Safe lifting.....13
4- Preventive maintenance - P2.....15
4.1 Maintenance schedule.....15
4.2 Lubrication schedule.....20
5- Oil and grease specifica tion - P3.....21
6- Tools - P4.....23
6.1 Super Seal connectors.....23
6.2 AMP connectors.....24
6.2.1 AMP Connectors, 040 series.....25
6.3 Molex connectors.....25
6.4 Grease guns.....26
6.5 Other tools.....27
7- Fork carriage- 0380.....29
7.1 Maintenance.....29
8- Engine suspension- 0450.....31
8.1 Component parts.....31
8.1.1 Component List.....32
9- Electric drive motor - 1760.....33
9.1 Component parts.....33
9.1.1 Dismantling/assembling of motor from truck.....34
9.1.2 Assembling.....35
9.2 Service/Repairs.....35
9.2.1 Dismantling of motor.....35
9.2.2 Assembling of motor.....36
9.2.3 Cleaning.....36
9.3 Technical data.....37
10- Mechanical drive gear unit - 2550.....39
10.1 Component parts.....40
10.1.1 Technical data.....41
10.2 Leakage from top cover.....42
Dismantling.....42
Assembling.....42
10.3 Changing of the drive shaft’s sealing ring.....42
Dismantling.....42
Assembling.....43
11- Electro magnetic brake - 3370.....45
11.1 Main components.....45
11.2 Maintenance.....46
11.2.1 Exchange of brake disc.....46
12- Electro magnetic brake - 3370.....47
12.1 Main components.....47
12.2 Maintenance.....48
12.2.1 Basic Adjustment of gap.....48
Adjustment:.....48
12.2.2 Exchange of brake disc.....48
13- Steering system - 4000.....49
13.1 Component parts, tiller arm.....49
13.2 Adjustments.....50
13.2.1 Adjusting of brake microswitch.....50
13.3 Tiller arm handle.....51
13.3.1 Dismantling/Assembling.....52
Change from ignition key to keyboard (2).....53
Change from keyboard to ignition key (2).....53
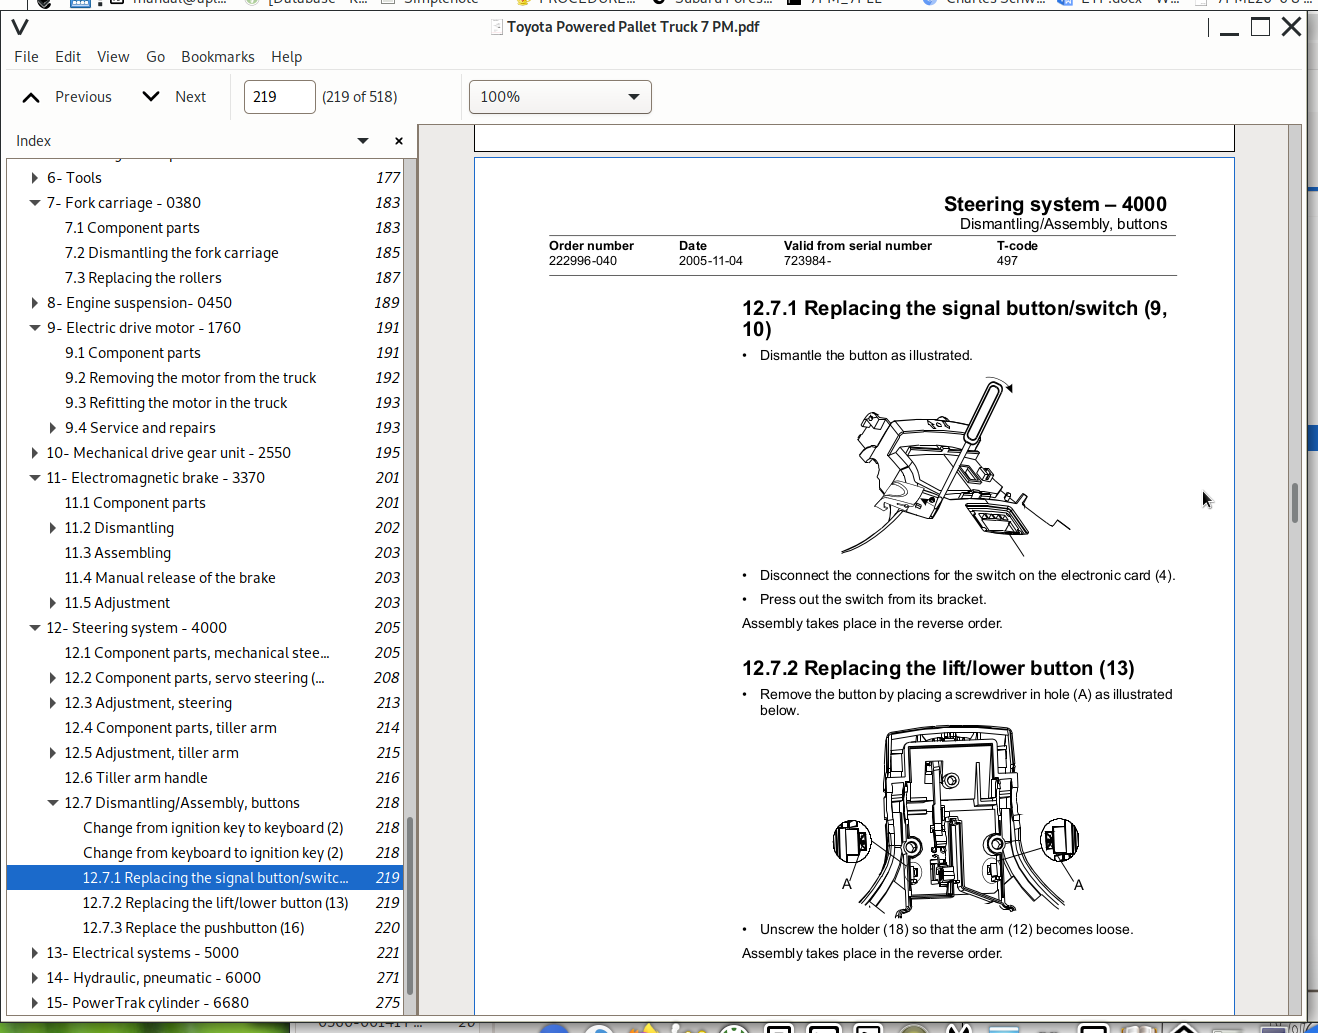
Changing of signal button/switch (9, 10).....53
Changing of lift/lowering button (13).....54
Changing of pushbutton (16).....54
14- Electrical System - 5000.....55
14.1 Electrical components.....55
14.2 Symbol List and Wiring Diagram.....57
14.2.1 Wiring diagram 7PM18, 7PM20, 7PML20-6.....59
14.2.2 Wiring diagram 7PML20-8.....65
14.3 Operating description.....76
14.3.1 Starting truck.....76
14.3.2 Driving speed £ 6 km/h.....76
14.3.3 Braking in neutral mode.....76
14.3.4 Braking in neutral mode on a slope.....76
14.3.5 Braking.....77
14.3.6 Lifting the forks.....77
14.3.7 Lowering the forks.....77
14.3.8 Horn.....77
14.4 Hour meter.....77
14.5 Error codes.....77
14.6 Parameters.....88
14.6.1 Operator parameters.....89
14.6.2 Parameter description.....89
Parameter 1.....89
Parameter 2.....89
Parameter 3.....90
Parameter 4.....90
Parameter 5.....90
14.6.3 Service parameters.....90
14.6.4 Parameter description.....92
Parameter 10.....92
Parameter 14.....92
Parameter 15 - Non-configurable option.....92
Parameter 16 - Configurable option #1.....92
Parameter 17 - Configurable option #2.....92
Parameter 18 - Configurable option #3.....92
Parameter 19 - Configurable option #4.....92
Option parameters.....93
General.....93
Parameter #15 Non-configurable options.....93
Changing non-configurable options.....93
Parameter #16 to 19 configurable optional functions.....94
Changing configurable optional functions.....95
Parameter 20.....99
Parameter 21.....99
Recommendation on parameter setting for freely ventilated batteries.....100
Instructions for verifying parameter setting.....101
Recommendation on parameter setting for valve- controlled batteries (VRLA).....102
Instructions for verifying parameter setting.....103
Parameter 22.....103
Parameter 25.....103
Parameter 28.....103
Parameter 39.....103
Login method and driver parameter access.....104
Expanded keypad - General.....104
Expanded keypad - Programming.....104
Service indication.....106
14.7 Part number.....108
14.8 Transistor panel.....109
14.8.1 General.....109
14.9 Troubleshooting.....110
14.9.1 Error codes and troubleshooting.....110
14.9.2 Reset error.....111
14.9.3 Safety.....111
14.10 Technical specifications - Curtis 1243.....112
15- Hydraulic/Pneumatic - 6000.....113
15.1 General.....113
15.2 Hydraulic chart and list of symbols.....113
15.2.1 List of Symbols.....113
15.3 Adjustments 7PM18.....114
15.3.1 Adjusting the pressure limit valve.....114
15.3.2 Tools.....115
15.4 Adjustments 7PM20.....116
15.4.1 Adjusting the pressure limit valve.....116
15.5 Hydraulic chart and list of symbols.....117
15.5.1 List of Symbols.....117
15.6 Adjusting the pressure limit valve.....118
16- PowerTrak cylinder - 6680.....119
16.1 Component parts.....119
16.2 Dismantling of PowerTrak cylinder.....120
17- Battery charger (Inbuilt) - 8340.....121
17.1 General.....121
17.2 Charging.....121
17.3 Troubleshooting and service.....121
17.4 Technical data.....122
17.5 Charging settings.....122
17.5.1 Freely ventilated batteries.....122
17.5.2 Valve regulated batteries.....123
18- Control/computer equipment - 8700.....125
18.1 General.....125
18.2 Connection.....125
18.3 Layout.....126
18.3.1 Main program screen.....126
18.3.2 Nodes.....126
18.3.3 Icons.....127
18.3.4 Tool buttons and menu bar.....128
18.3.5 Information window.....128
18.3.6 Status bar.....128
18.4 Connection function.....128
18.5 Disconnection function.....129
18.6 Downloading program function.....129
18.6.1 Normal downloading (truck with key).....129
18.6.2 Normal downloading (truck with keypad).....130
18.6.3 Emergency downloading (truck with keypad).....130
18.6.4 Downloading in old versions of logic card.....130
18.6.5 Emergency downloading (truck with keypad).....131
18.7 Truck report function.....132
18.8 Parameters function.....133
18.9 Diagnostics function.....133
18.9.1 Representation of signal colours.....134
18.9.2 “Tiller arm” tab.....134
18.9.3 “Drive Controller” tab (transistor regulator - travel).....135
18.9.4 “Pump controller” tab (transistor regulator - pump).....136
18.9.5 “EPS” steering servo tab.....137
18.10 Other menu functions.....138
18.10.1 Save to file.....138
18.10.2 Download from file.....138
18.10.3 Reset CAN adapter.....138
18.10.4 Delete error code log.....138
18.10.5 Reset hour meter.....138
18.10.6 Read error code log.....138
18.10.7 Adjust date and time.....139
18.10.8 Adjusting the hour meter on older cards.....139
18.10.9 Help.....139
About the TruckCom application.....139
18.10.10 Exit.....139
18.11 Specifications.....139
18.12 Installation.....140
18.12.1 Installation on a PC with Windows® 95/98.....140
18.12.2 Installation on a PC with Windows XP/ 2000.....140
18.12.3 Installation on a PC with Windows NT.....145
18.12.4 In case of communication problems with CAN.....145
18.12.5 To uninstall.....146
222996-040 - Toyota Powered Pallet Truck 7PLL24 Service Manual (Valid from serial number 723984-).....149
1- Contents.....151
2- Technical data - M4.....155
3- Installation and maintenance instructions - P1.....161
3.1 Installation of the new truck.....161
3.1.1 Lifting the truck.....161
3.1.2 Fitting the battery.....163
3.1.3 Start up.....163
3.2 Introduction, maintenance.....165
3.2.1 Safety regulations during maintenance work.....165
3.2.2 Cleaning and washing.....166
3.2.3 Cleaning the exterior.....167
3.2.4 Cleaning the motor compartment.....167
3.2.5 Electrical components.....167
3.3 Safe lifting.....168
4- Preventive maintenance - P2.....169
4.1 Maintenance schedule.....169
4.2 Lubrication chart.....173
5- Oil and grease specification - P3.....175
6- Tools.....177
6.1 Super Seal connectors.....177
6.2 AMP connectors.....178
6.2.1 AMP Connectors, 040 series.....179
6.3 Molex connectors.....179
6.4 Grease guns.....180
6.5 Other tools.....181
7- Fork carriage - 0380.....183
7.1 Component parts.....183
7.2 Dismantling the fork carriage.....185
7.3 Replacing the rollers.....187
8- Engine suspension- 0450.....189
8.1 Component parts.....189
8.1.1 Component List.....190
9- Electric drive motor - 1760.....191
9.1 Component parts.....191
9.2 Removing the motor from the truck.....192
9.3 Refitting the motor in the truck.....193
9.4 Service and repairs.....193
9.4.1 Dismantling N-side.....193
9.4.2 Dismantling D-side.....193
9.4.3 Cleaning.....194
10- Mechanical drive gear unit - 2550.....195
10.1 Component parts.....196
10.1.1 Technical data.....197
10.2 Dismantling/Assembly Leakage from the upper cover.....197
10.3 Replacing the drive shaft gasket.....198
10.3.1 Dismantling.....198
10.3.2 Assembling.....199
10.4 Replacing wheel bolt.....200
11- Electromagnetic brake - 3370.....201
11.1 Component parts.....201
11.2 Dismantling.....202
11.2.1 Inspection.....202
11.3 Assembling.....203
11.4 Manual release of the brake.....203
11.5 Adjustment.....203
11.5.1 Adjusting the play.....203
12- Steering system - 4000.....205
12.1 Component parts, mechanical steering.....205
12.2 Component parts, servo steering (Option).....208
12.2.1 Steering axle, servo steering (Option).....209
12.3 Adjustment, steering.....213
12.3.1 Adjusting the steering servo.....213
12.3.2 Adjusting the steering chain.....213
12.4 Component parts, tiller arm.....214
12.5 Adjustment, tiller arm.....215
12.5.1 Adjusting the brake microswitch.....215
12.6 Tiller arm handle.....216
12.7 Dismantling/Assembly, buttons.....218
Change from ignition key to keyboard (2).....218
Change from keyboard to ignition key (2).....218
12.7.1 Replacing the signal button/switch (9, 10).....219
12.7.2 Replacing the lift/lower button (13).....219
12.7.3 Replace the pushbutton (16).....220
13- Electrical systems - 5000.....221
13.1 Electrical parts.....221
13.2 Symbol list and electrical diagram.....223
13.2.1 Electrical wiring diagram 1(5).....225
13.2.2 Electrical wiring diagram 2(5).....226
13.2.3 Electrical wiring diagram 3(5).....227
13.2.4 Electrical wiring diagram 4(5).....228
13.2.5 Electrical wiring diagram 5(5).....229
13.2.6 Electrical wiring diagram Servo (Option).....230
13.3 Functional description.....231
13.3.1 Starting the truck.....231
13.3.2 Driving without using platform and gates, speed £ 6 km/h.....231