
How to handle ceiling patching like a pro
Ceilings are often overlooked until there's a noticeable problem, like a crack, stain, or sag. Patching a ceiling might seem daunting due to its overhead position and visibility, but with the right tools and techniques, even a novice can manage small repairs effectively. Taking time to patch your ceiling properly enhances the overall look and structural integrity of a room.
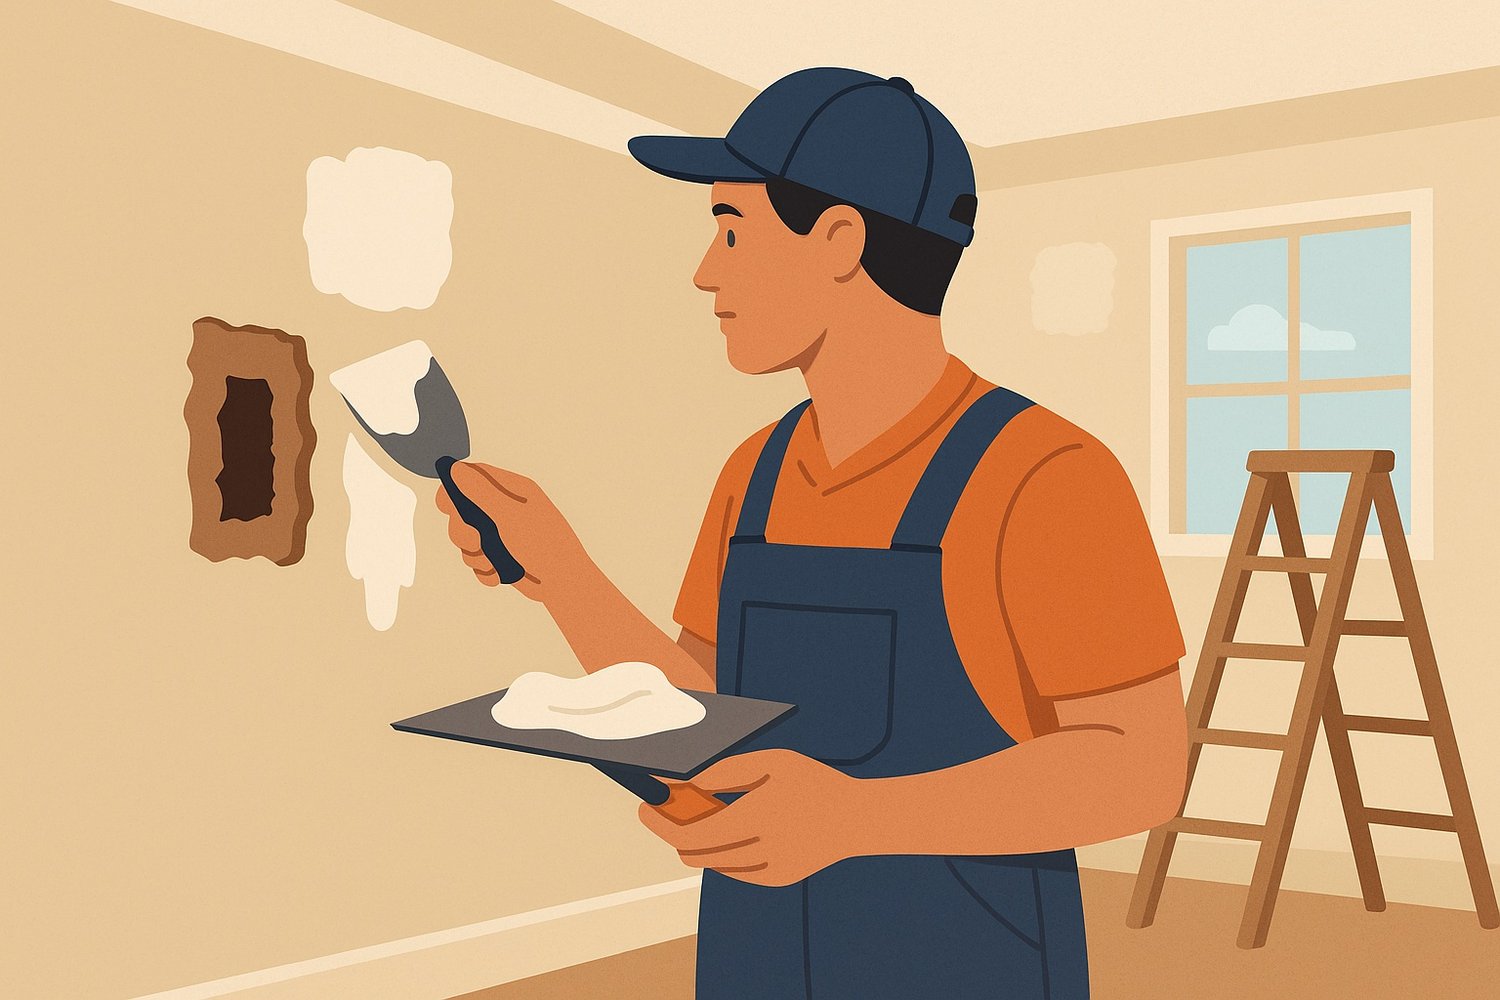
Start by identifying the type of damage. Water stains often indicate a leak, which must be fixed before any patching. Cracks can stem from foundation shifts or settling, while holes might be caused by accidents or installations. Once the source is addressed, you can begin the repair process. Removing loose debris and sanding the area smooth is essential before applying a patch.
For larger issues, it’s often wise to seek help with ceiling patching. Professionals bring the expertise and tools needed to ensure the patched area blends seamlessly with the existing texture and finish, restoring the ceiling’s original appearance.
When doing it yourself, ensure you're using the appropriate joint compound and tools. Applying multiple thin layers rather than a single thick one helps prevent sagging. Once dried, sanding the patch until smooth and repainting the area helps restore a clean, uniform ceiling look.
Ceiling repairs require patience and precision. Whether you decide to tackle it on your own or bring in an expert, the result should be a ceiling that looks untouched and solid. Regular maintenance and attention to detail will help preserve your ceiling’s condition for years to come.