
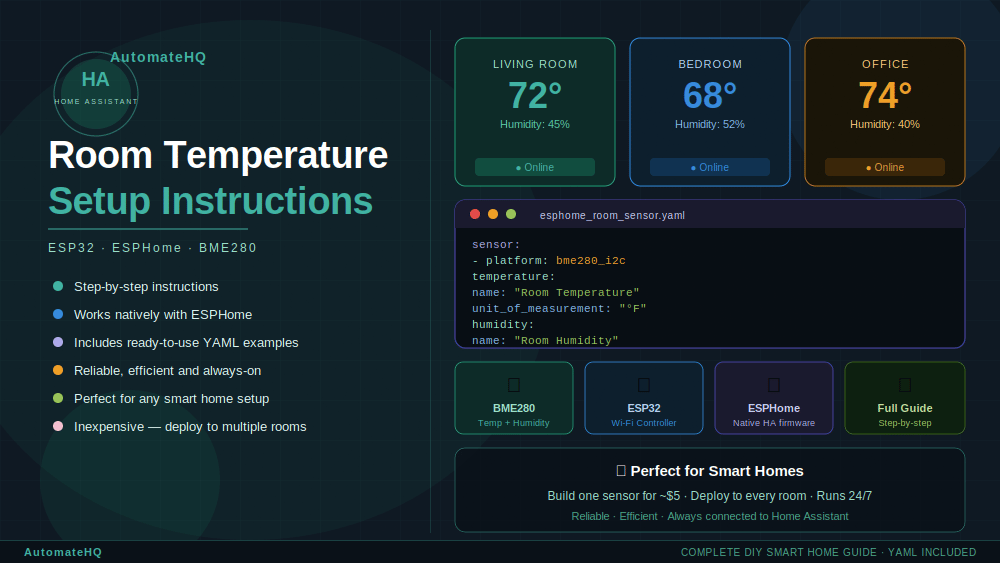
Home Assistant Room Temperature & Humidity Sensor — Complete Setup Guide (ESP32 + BME280 + ESPHome)
You know your home could be smarter — but setting up reliable, accurate sensors shouldn't require a computer science degree or a weekend of troubleshooting. This guide exists because I've already done the hard part for you.
This step-by-step guide walks you through building your own room temperature and humidity sensor using an ESP32 microcontroller and a BME280 sensor module — two of the most reliable, widely available components in the DIY smart home world. The finished sensor connects to your Home Assistant instance via ESPHome, reports live temperature and humidity readings, and costs less than $10 in hardware per room.
I built this sensor for my own home, made the mistakes, chased the bugs, and dialed in the configuration until it just worked. Everything I learned is documented here in plain language with the exact steps and YAML you need to get from a pile of parts to a working sensor on your dashboard.
What's Included:
- Complete step-by-step wiring and assembly instructions with clear diagrams
- Full ESPHome YAML configuration — ready to customize and flash
- Home Assistant integration walkthrough from device adoption to dashboard display
- Sensor calibration notes and best practices for accurate readings
- Placement tips for optimal temperature and humidity accuracy
- Troubleshooting section covering the most common setup issues
Why the ESP32 + BME280?
The BME280 is a compact, highly accurate sensor that measures temperature, humidity, and barometric pressure in a single module. Paired with an ESP32, it connects to your Wi-Fi network and reports readings directly to Home Assistant over ESPHome — no hub, no bridge, no cloud dependency. The combination is reliable, power-efficient, and inexpensive enough to deploy in every room without breaking the bank.
Highlights:
🌡️ Live Temperature & Humidity — Every Room
Get accurate, real-time readings from every room in your home displayed directly on your Home Assistant dashboard. Set up automations, track trends, and finally understand why certain rooms always feel off.
⚡ Native ESPHome Integration
No cloud accounts, no third-party apps, no monthly fees. The sensor appears as a native entity in Home Assistant the moment it comes online — ready for automations, dashboards, and history graphs out of the box.
📄 YAML Included — Just Customize and Flash
No starting from scratch. The complete, working ESPHome configuration is included with clearly labeled sections explaining what each part does. Update your Wi-Fi credentials, give it a name, and flash.
💰 Under $10 Per Sensor — Scale to Every Room
The ESP32 and BME280 are among the most affordable components available. Once you've built your first sensor, adding more rooms is quick and inexpensive — the same YAML works across every device with minor name changes.
🏠 Built for Real Smart Home Automation
Trigger automations based on actual room conditions — turn on a fan when humidity spikes, get an alert when a room gets too hot, or build a climate history log for every room in your house. Real data makes smarter automations.
🔧 Beginner Friendly, Enthusiast Approved
The guide is written in plain language with no assumptions about your experience level. If you've never used ESPHome before, the walkthrough covers everything you need. If you're an experienced Home Assistant user, you'll appreciate the clean, well-commented YAML and the time you'll save skipping the trial and error.
Who This Is For:
This guide is for anyone running Home Assistant who wants accurate, reliable room sensor data without paying monthly subscription fees for a commercial solution or spending hours hunting down the right configuration. Whether you're building your first sensor or your fifteenth, this guide gets you there faster.
Hardware Required (not included):
- ESP32 development board (~$4–6)
- BME280 temperature, humidity & pressure sensor module (~$3–5)
- Jumper wires and breadboard or small project enclosure (~$2–4)
- USB cable for flashing / USB power adapter for permanent install
Total estimated hardware cost: $8–15 per sensor