Course Title
MODULE 5 — THE URETER Applied Surgical Anatomy of Obstetrics & Gynaecology

MODULE 5 — THE URETER Applied Surgical Anatomy of Obstetrics & Gynaecology
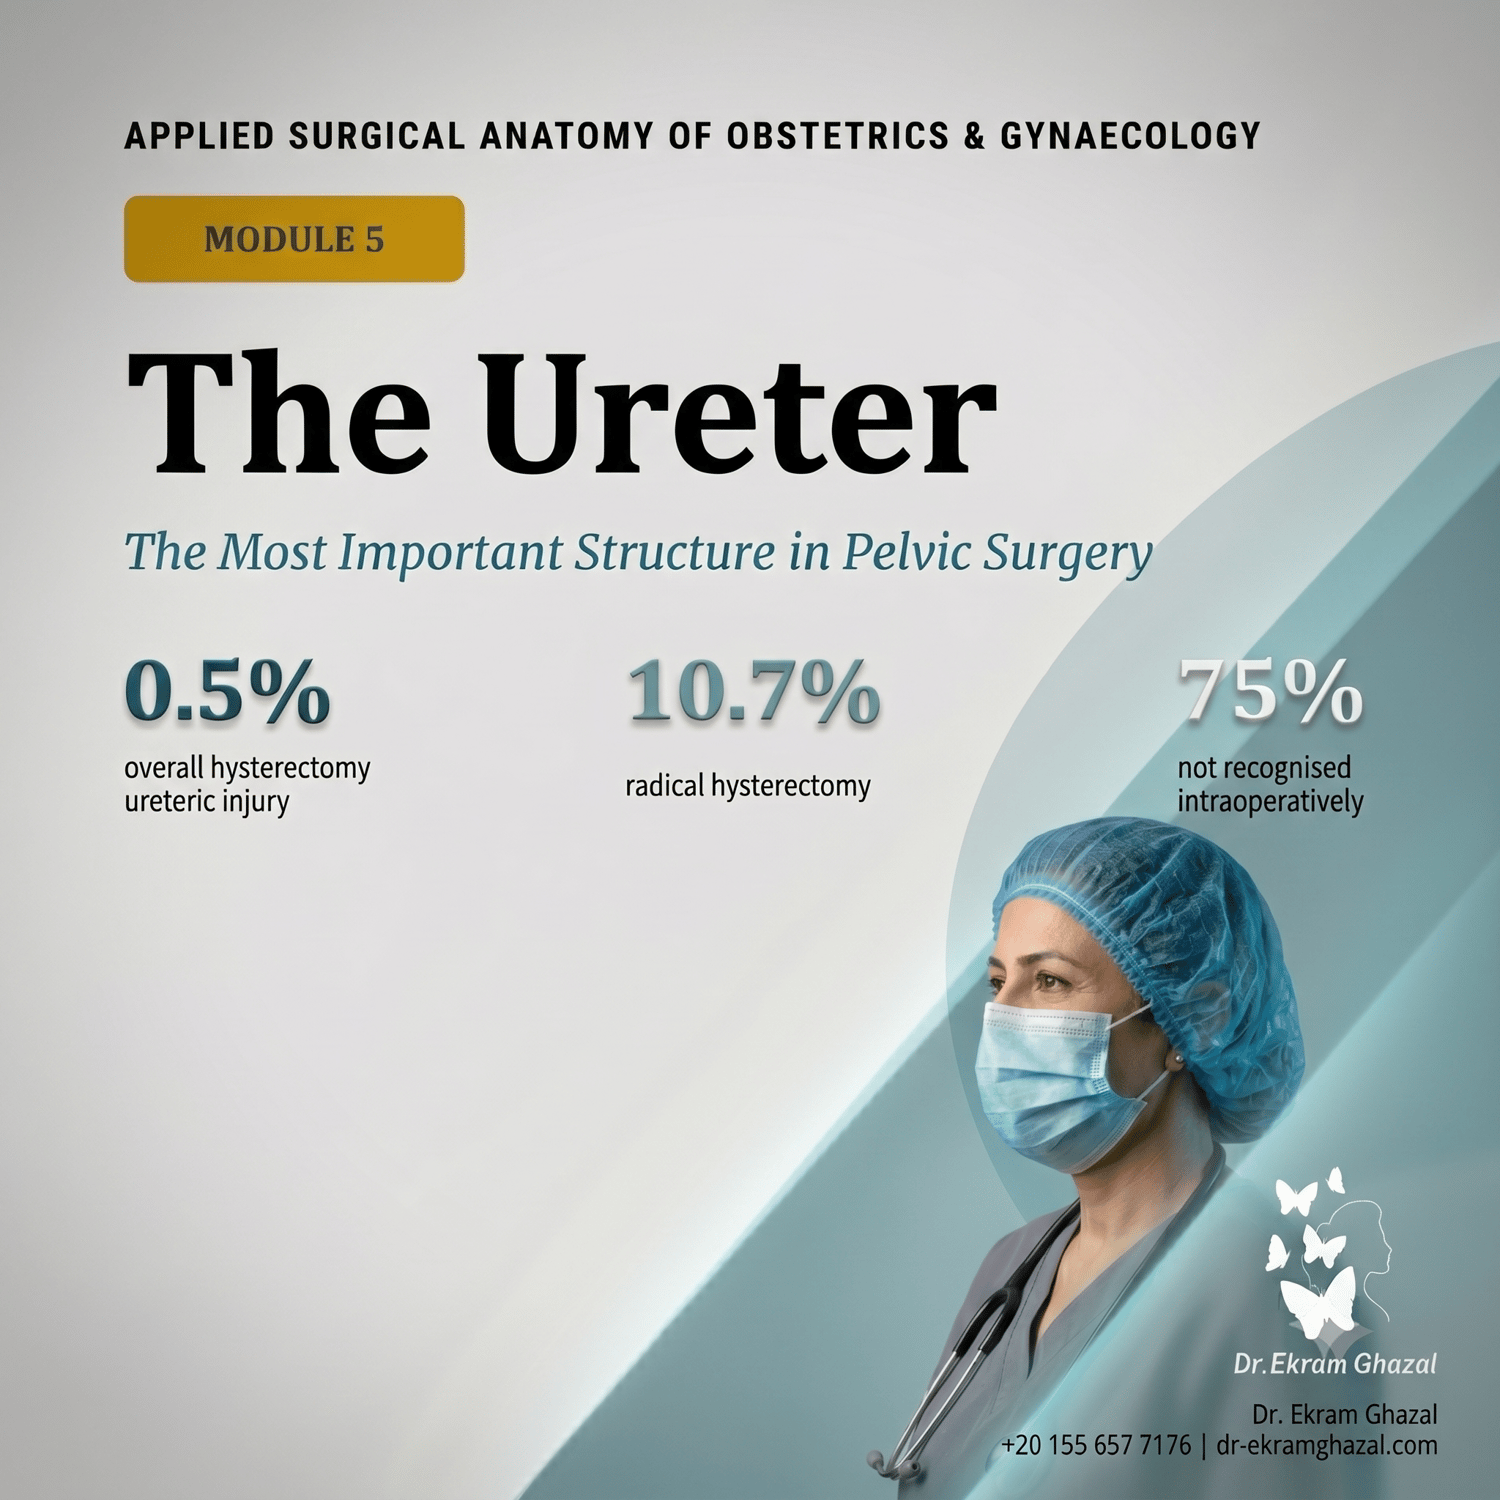
0.5%. 10.7%. 75%.
Those are the ureteric injury rates across all hysterectomies, radical hysterectomies, and — most critically — the percentage of those injuries that are not recognised at the time of surgery.
Source: Kiran et al. BJOG 2016 · 377,073 procedures
Every one of those injuries had an anatomical address. Every one was preventable. This module teaches you the anatomy, the rules, and the clinical instincts to protect the ureter — in the operating theatre and in the examination hall.
THE THREE DANGER ZONES
⚠ Zone 1 — Pelvic brim: The ureter crosses anterior to the common iliac bifurcation. At risk during IP ligament ligation for oophorectomy. Prevention: identify the ureter on the medial peritoneal leaf before dividing the IP.
⚠ Zone 2 — Uterine artery ("Water under the bridge"): The uterine artery (bridge) crosses above the ureter (water) — 1.5–2 cm lateral to the cervix. The most common injury site in gynaecological surgery. Prevention: always identify the ureter below before clamping the artery above.
⚠ Zone 3 — Ureterovesical junction: The narrowest point of the ureter. At risk in anterior colporrhaphy and radical hysterectomy. Prevention: end-of-case cystoscopy + indigo carmine IV after all complex pelvic surgery.
WHAT IS INCLUDED
Everything in this module is immediately downloadable and accessible:
📹 Video lectures — Professor-led walkthrough of all three danger zones, the blood supply rule, and the surgical identification technique. Full presenter script included.
🖥 Interactive anatomy explorer — Browser-based, mobile-friendly tool with three modes: Explore (click each danger zone for full detail), Guided Tour (structured sequence through Zone 1 → 2 → 3), and Quiz (self-assessment with instant feedback).
📄 16-page student workbook PDF — Complete anatomical notes with lined note spaces, three clinical scenarios with expert model answers, 8-step surgical roadmap, and a quick reference card for last-minute revision.
✅ 5 MRCOG-format MCQs — Single best answer questions in the exact MRCOG Part 2 format, with full explanations for every answer option including the distractors.
💬 10 viva questions with model answers — Built from MRCOG Part 3 examiner reports. Each question has a structured model answer covering every point an examiner awards marks for.
🏆 Completion certificate — Professional landscape A4 PDF certificate with your name, date, assessment score, and a unique certificate ID. Suitable for your CPD portfolio and LinkedIn.
LEARNING OUTCOMES
After this module you will be able to:
WHO THIS IS FOR
EVIDENCE BASE
Williams Gynecology 3rd Ed (Ch.38) · Kulkarni Surgical Anatomy 2nd Ed (Section 7) · Kiran et al. BJOG 2016 (n=377,073) · RCOG Green-top Guideline 52 · RCOG Curriculum 2019 KA3
PRICING & GUARANTEE
💰 One-time payment · Lifetime access · All future updates included
"The ureter doesn't announce itself. You have to find it."
Every surgeon who has injured a ureter wishes they had learned its anatomy more thoroughly. This module makes sure that doesn't happen to you.