
How to use the Wyze Cam as a webcam
On Sale
$2.00
$2.00
How to use the Wyze Cam as a webcam
Need a webcam but don’t feel like forking over the dough for an elaborate setup? Fortunately, there’s a much cheaper alternative, thanks to the folks at Wyze.
The lauded brand of quality budget cameras, the Wyze Cam V2 and Pan models can be turned into fully-functioning webcams if you need live video in a pinch.
Wyze has been firm with this firmware patch, mostly to alert users that nothing can beat the performance of a true webcam and that the company won’t be offering additional modifications for this update.
We’ve put together this guide to walk you through the download and hardware patch from start to finish.
Webcam and security camera on the cheap
The Wyze Cam V2 isn’t terribly new, but if you need a webcam or home security camera that won’t cost you too much cash, then it’s a winner. If you also happen to own the Wyze Cam Pan, it’ll work as well.
Before you get started, you’ll need to pick up a couple of mandatory accessories to complete the task. You’ll need to purchase a microSD card and a specific type of USB cable, a USB-A to USB-A cable to be exact.
And lastly, this has been confirmed to work with computers that have Mac OS 10.13, Windows 7, and Windows 10.
1. Download the new firmware
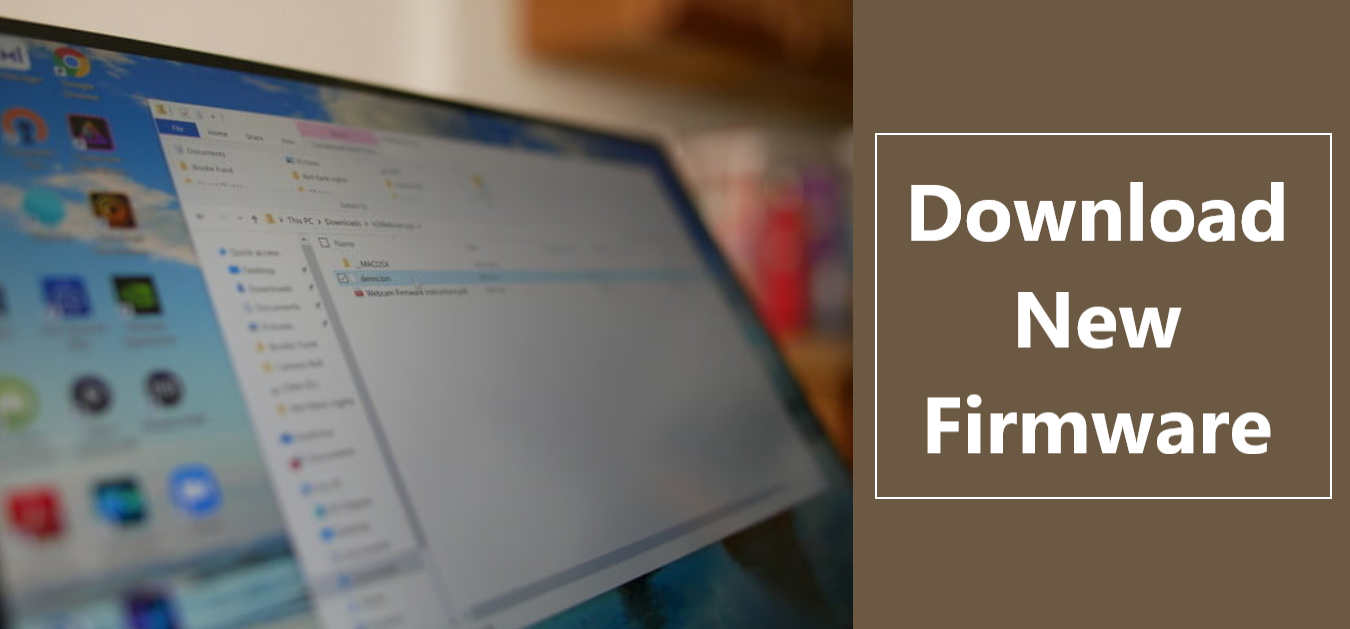
Before you start zooming with the Wyze Cam, you’ll first need to install the new firmware.
Download the zip file through here, then after you’ve unzipped it, copy the “demo.bin” file to the root directory of your microSD card. It’s recommended to use a 32 GB microSD card.
2. Installing the new firmware
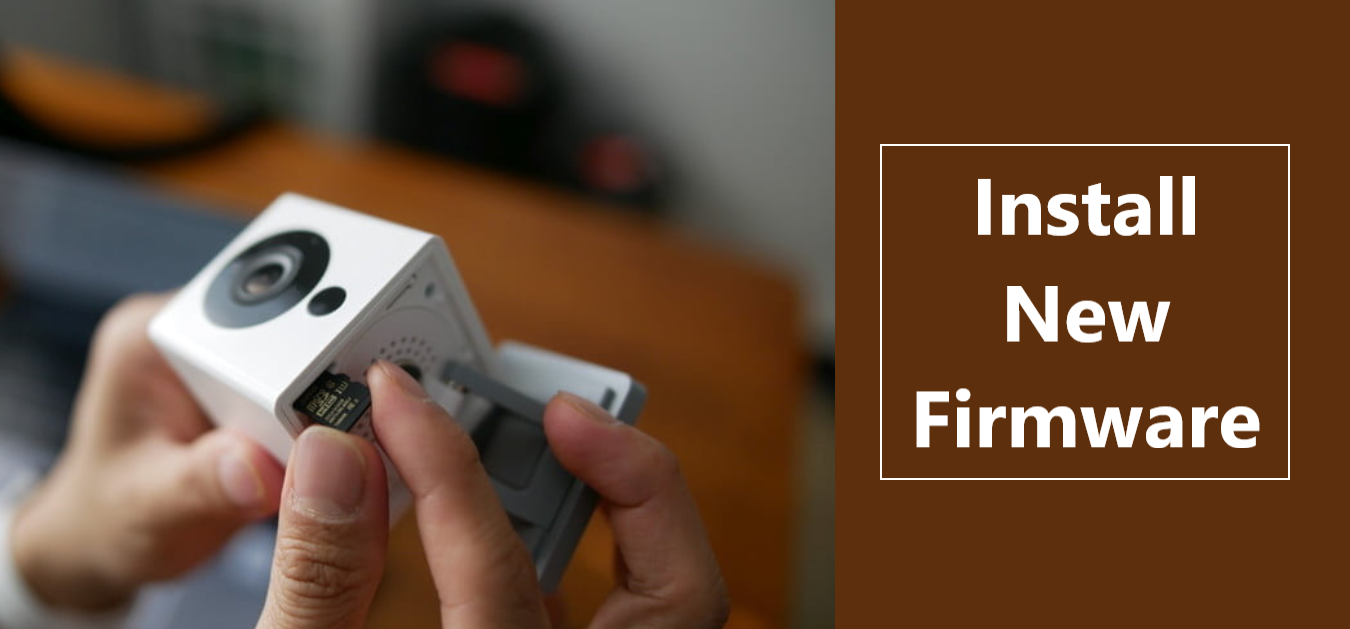
Once the file has been copied over to a microSD card, unplug the camera before popping the card into the slot on the underside of the Wyze Cam V2.
Press and hold the Setup button, while connecting the power source back to the camera.
You’ll need to hold down the Setup button for another three to six seconds until the LED light turns to a solid blue color, then you can release it.
After connecting wyze cam as webcam take online webcam test to check picture qaulity and ensure webcam working properly or not.
3. Connecting it to your computer
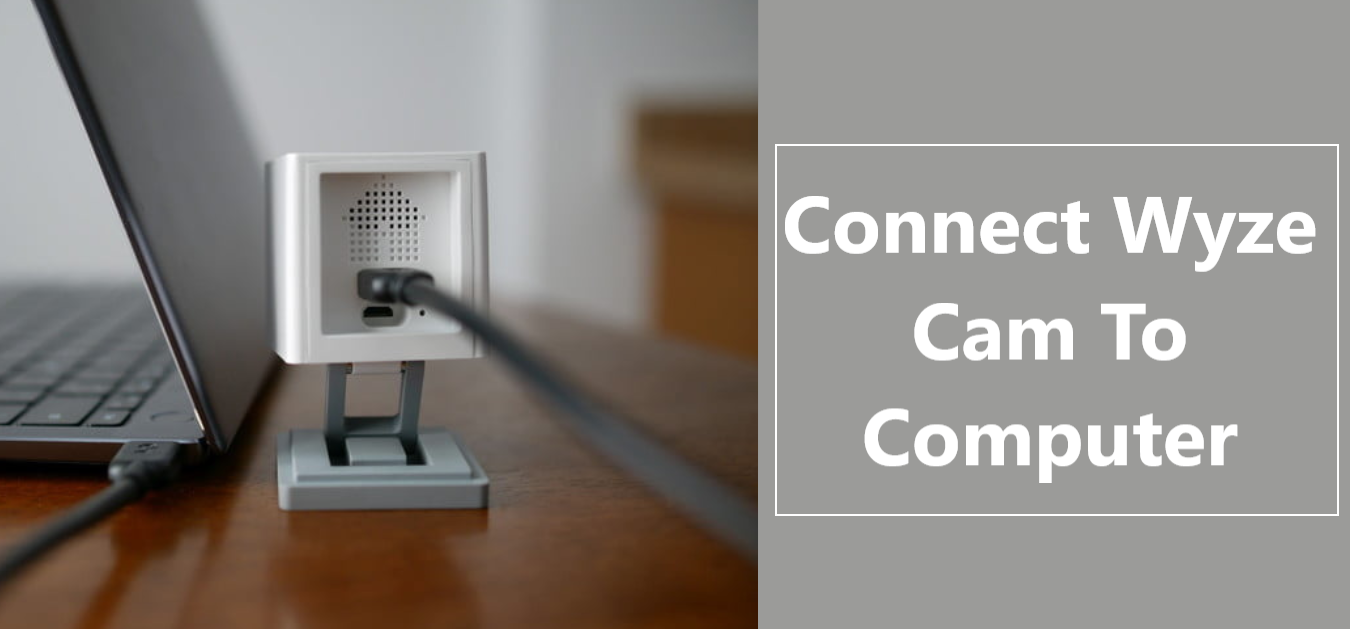
The firmware takes approximately three to four minutes to complete the installation. You’ll know it’s done when the status light flashes yellow and blue colors at the same time.
Once you see this, you can disconnect the camera from the power source, connect one end of the USB-A cable to the back of the Wyze Cam V2, and the other to your computer’s available USB port.
Wyze mentions it’s also possible to use a USB-C to USB-A cable, but it didn’t work in our testing. Your computer will recognize the Wyze Cam V2 as an “HD USB Camera,” so you’ll be able to select it as an option in your conferencing apps.
Going back to a security cam is a pain
Yes, it’s helpful that the Wyze Cam V2 can convert into a webcam, but if your purpose is to go back to using it as a security camera, you must undergo the process of returning it to the initial firmware.It’s pretty frustrating since the method is basically identical.
Notwithstanding this, it remains a more affordable option than some of the controversial webcams that are obtainable online right now — even if you add in the expense of the microSD card and USB-A to USB-A cable.
Nevertheless, you’re still paying below $50, which is a fraction of the $100 price that most independent retailers ask for on Amazon.
Recognizing this is most fitting for desktop structures, as most people leverage the convenient, integrated webcams on laptops, making it a lasting occupant in your work-from-home office is a sensible plan.
The video quality isn’t that poor either, just as long as there’s sufficient lighting around you. However, the audio quality isn’t the greatest.
That’s presumably why even Wyze suggests using an alternative audio source for the microphone.