
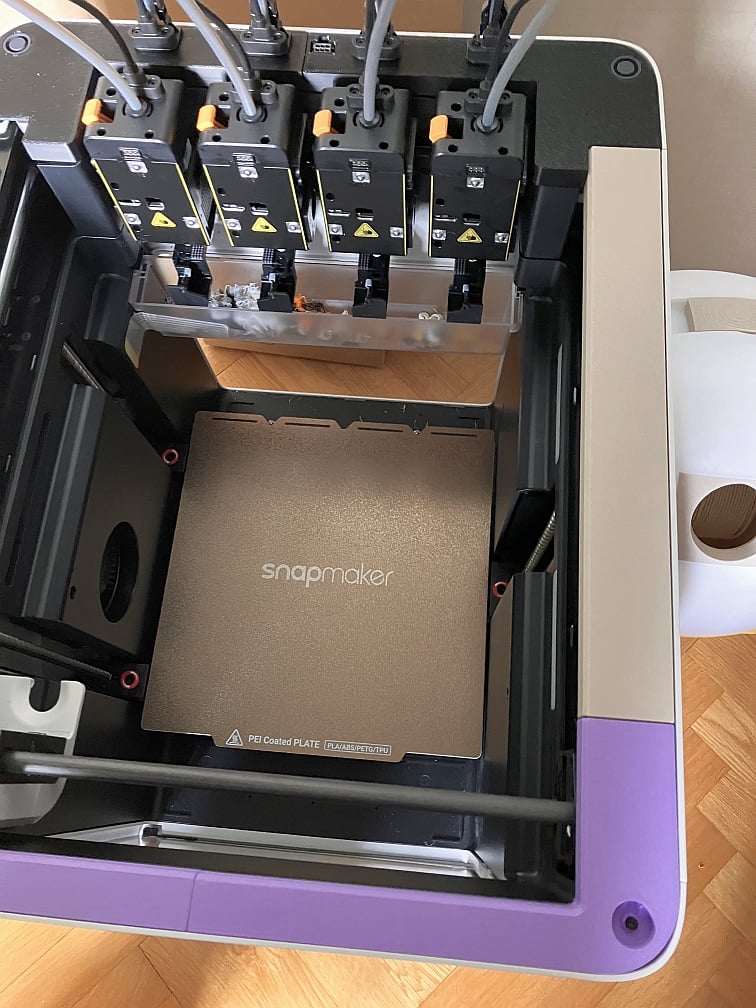
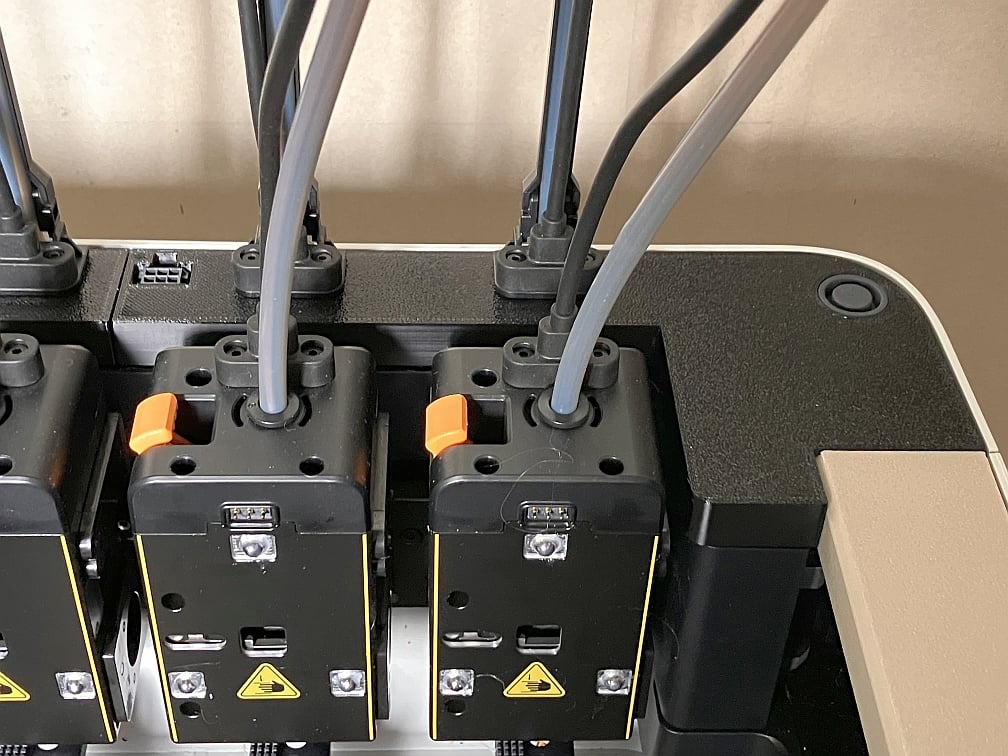
Rim for Snapmaker U1, by LIKO
Whenever,
you,
will do some maintenance (yes, you want to) on your U1,
you have to remove the side cover. Its not a big deal, just 8 screws holds each.
Before that, you have to remove the top rim, 4 screws, its okay.
But I really HATE to unscrew the 4x2 screws of the USB-C cables, its soo difficult.
Why, why, why to do something there, when I just wanted an access to the side!
Here is my solution:
Split the rim into 3 groups: back, sides, front.
Yesss, then, you remove only 2(!) screws of the front rim (which then unlocks the side rims) and can continue directly with the sides.
How to Print:
As in the files: factory parameters, Support ON, Walls=3. Material: PETG or anything. Front/back rims are in 2 pieces (use the joint to connect them), the side rims interchangeable (print 2).
Feeeeel free to use, share, everything.
Happy customizing!
LIKO