
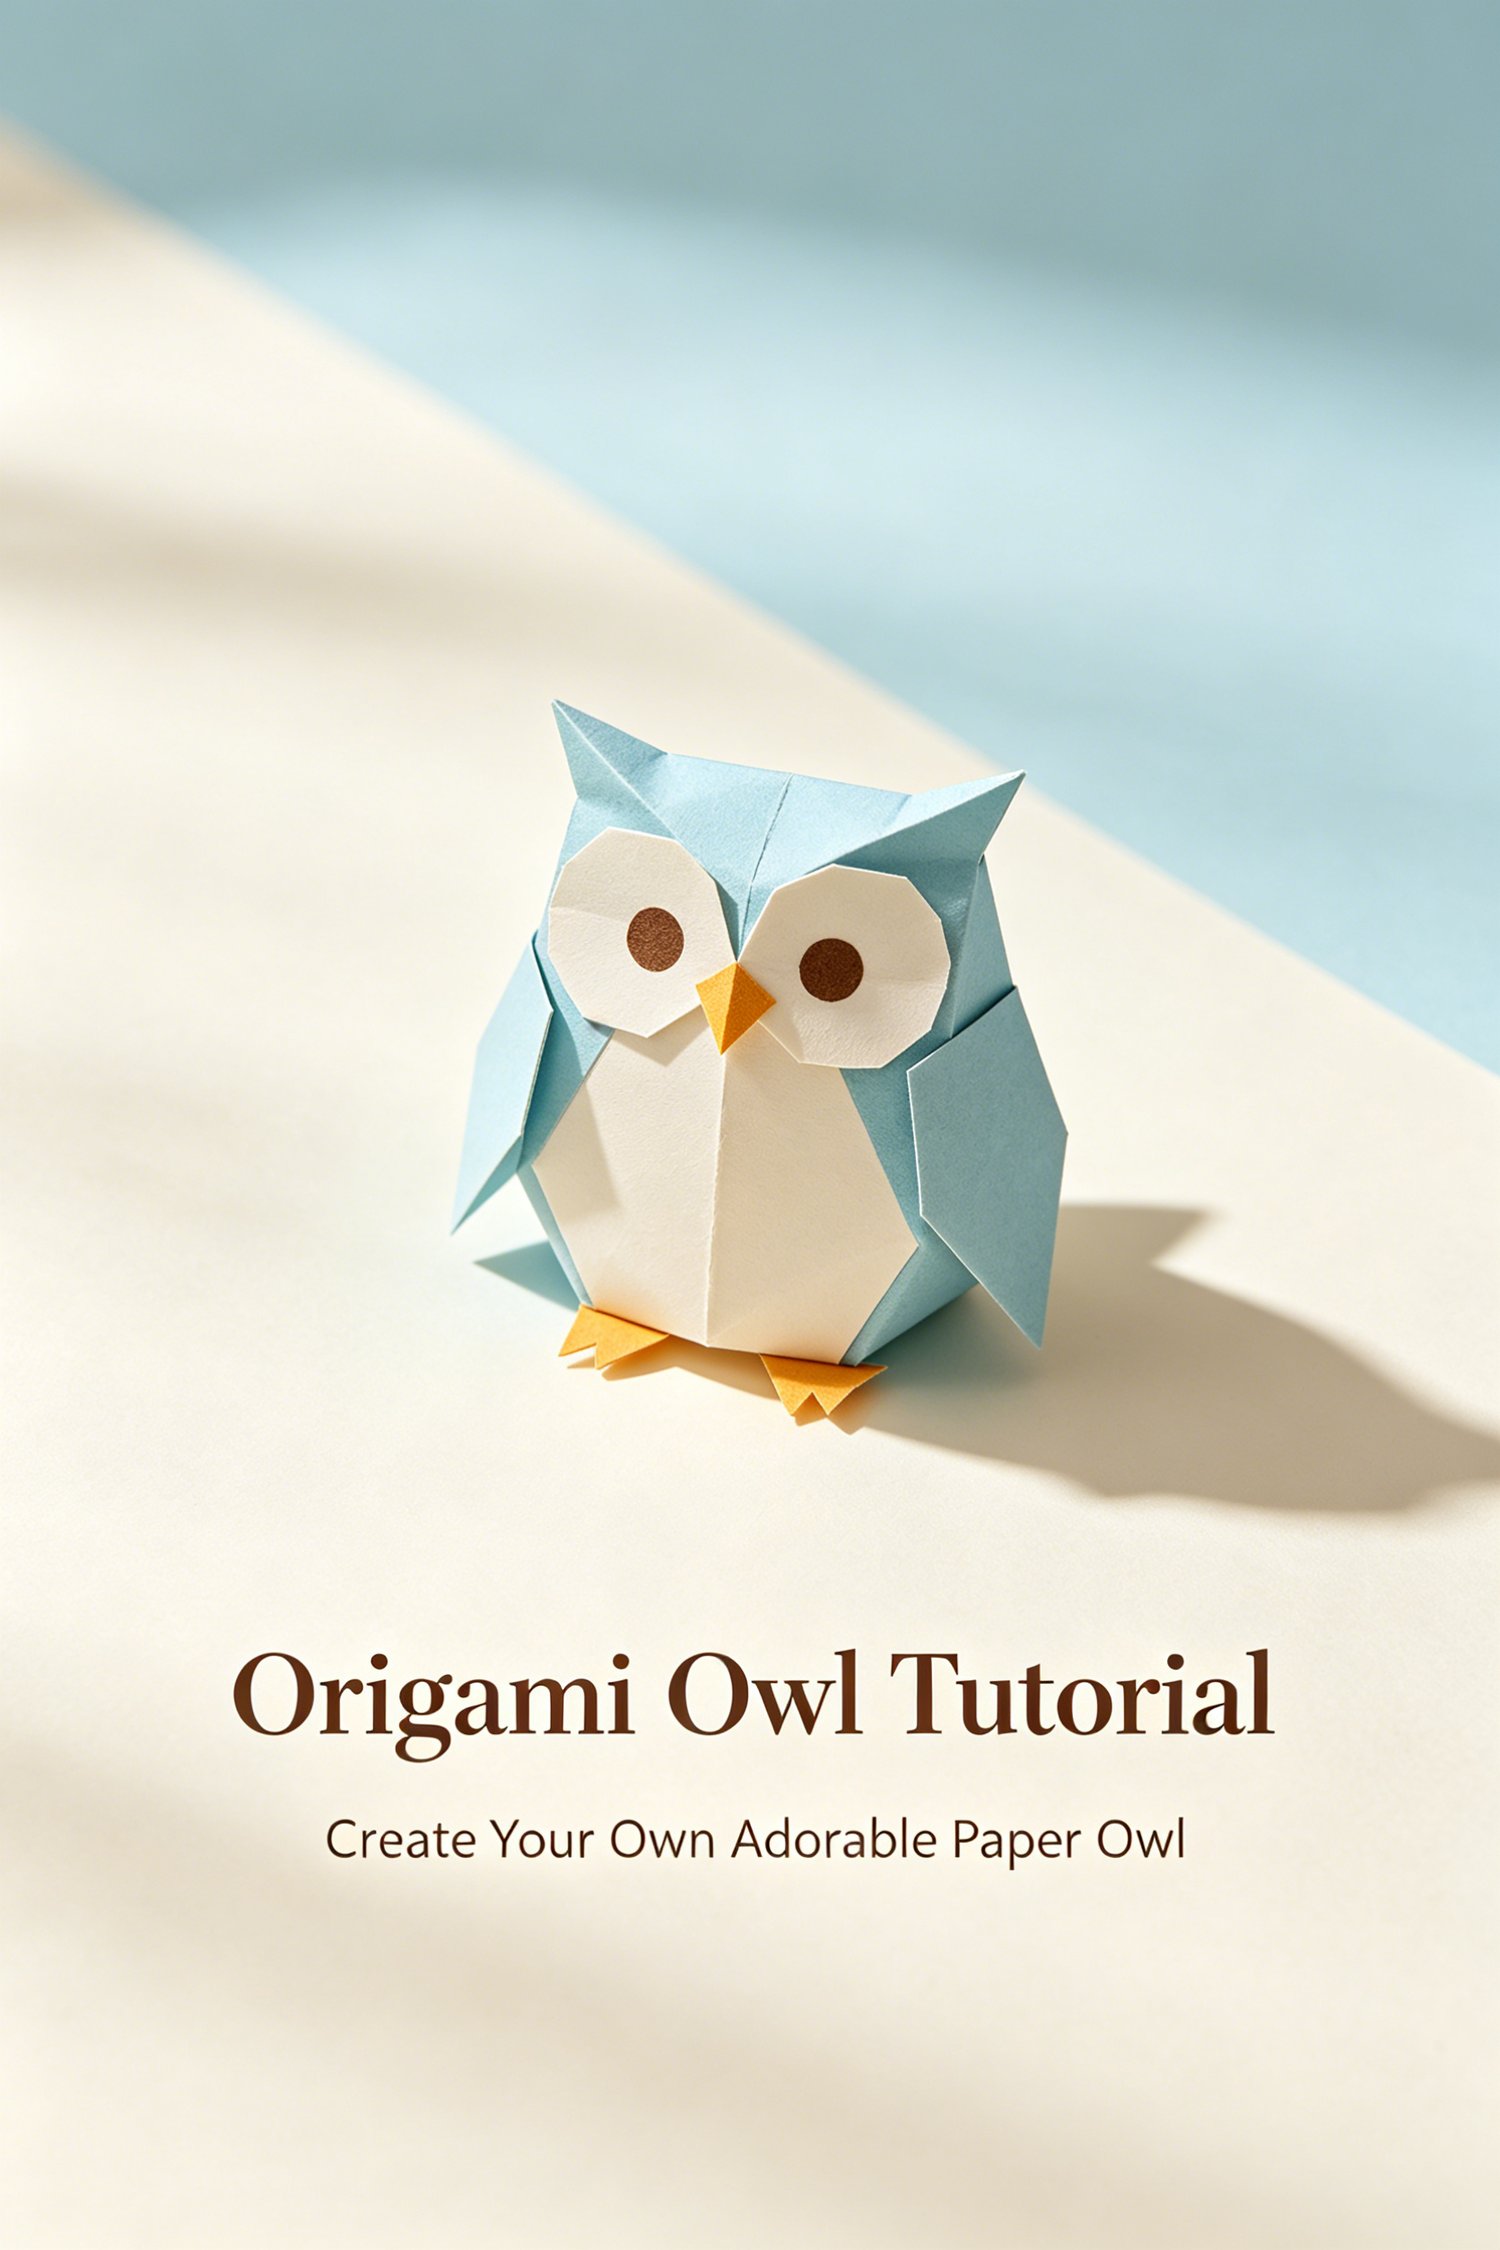
Easy Origami Owl Tutorial | 15 Simple Steps
This document is a step-by-step tutorial on how to make an origami owl, written by brittnitovar and published on Instructables. It includes a list of supplies and 15 detailed folding (plus cutting) steps to complete the model.
Core Supplies
One square piece of paper (8.5" × 8.5")
A pair of scissors
Full Step Summary
The tutorial skips Step 1 and starts with Step 2: Flip the paper, fold it in half both ways to make creases, then unfold.
Step 3: Rotate the paper into a diamond shape, tuck three corners to the bottom corner, flatten and crease firmly.
Step 4: Fold the upper flaps of the two side corners upward to the center, crease and unfold.
Step 5: Fold the top corner’s upper flap down to match the top of the triangular flaps, crease and unfold.
Step 6: Pull up the bottom corner’s upper flap, push sides inward to move the corner to the top, flatten and crease.
Step 7: Flip the model over and repeat Steps 4 and 5.
Step 8: Fold the top flap down, flip over and do the same.
Step 9: Fold the upper flaps of both side corners down to the center, crease, flip over and repeat.
Step 10: Make wings by pulling inner corners upward and twisting forward, then press and crease.
Step 11: Fold the top corner down so its tip meets the bottom of the center flaps.
Step 12: Fold the new top corner flap upward along the marked line.
Step 13: Fold the top section down as shown.
Step 14: Make feet by cutting a small slit in the center of the bottom corner (only through the upper layer), then fold the flaps up and outward.
Step 15: Make ears by flipping the model over, cutting two small slits (only upper layer), then flip back and fold ear flaps forward.
After finishing all steps, a complete origami owl is made. The author mentions origami is fascinating and calming, hoping this craft brings relaxation to makers.