

Winter Art Lesson Bear Winter Art Project Art Activity January Art Tutorial
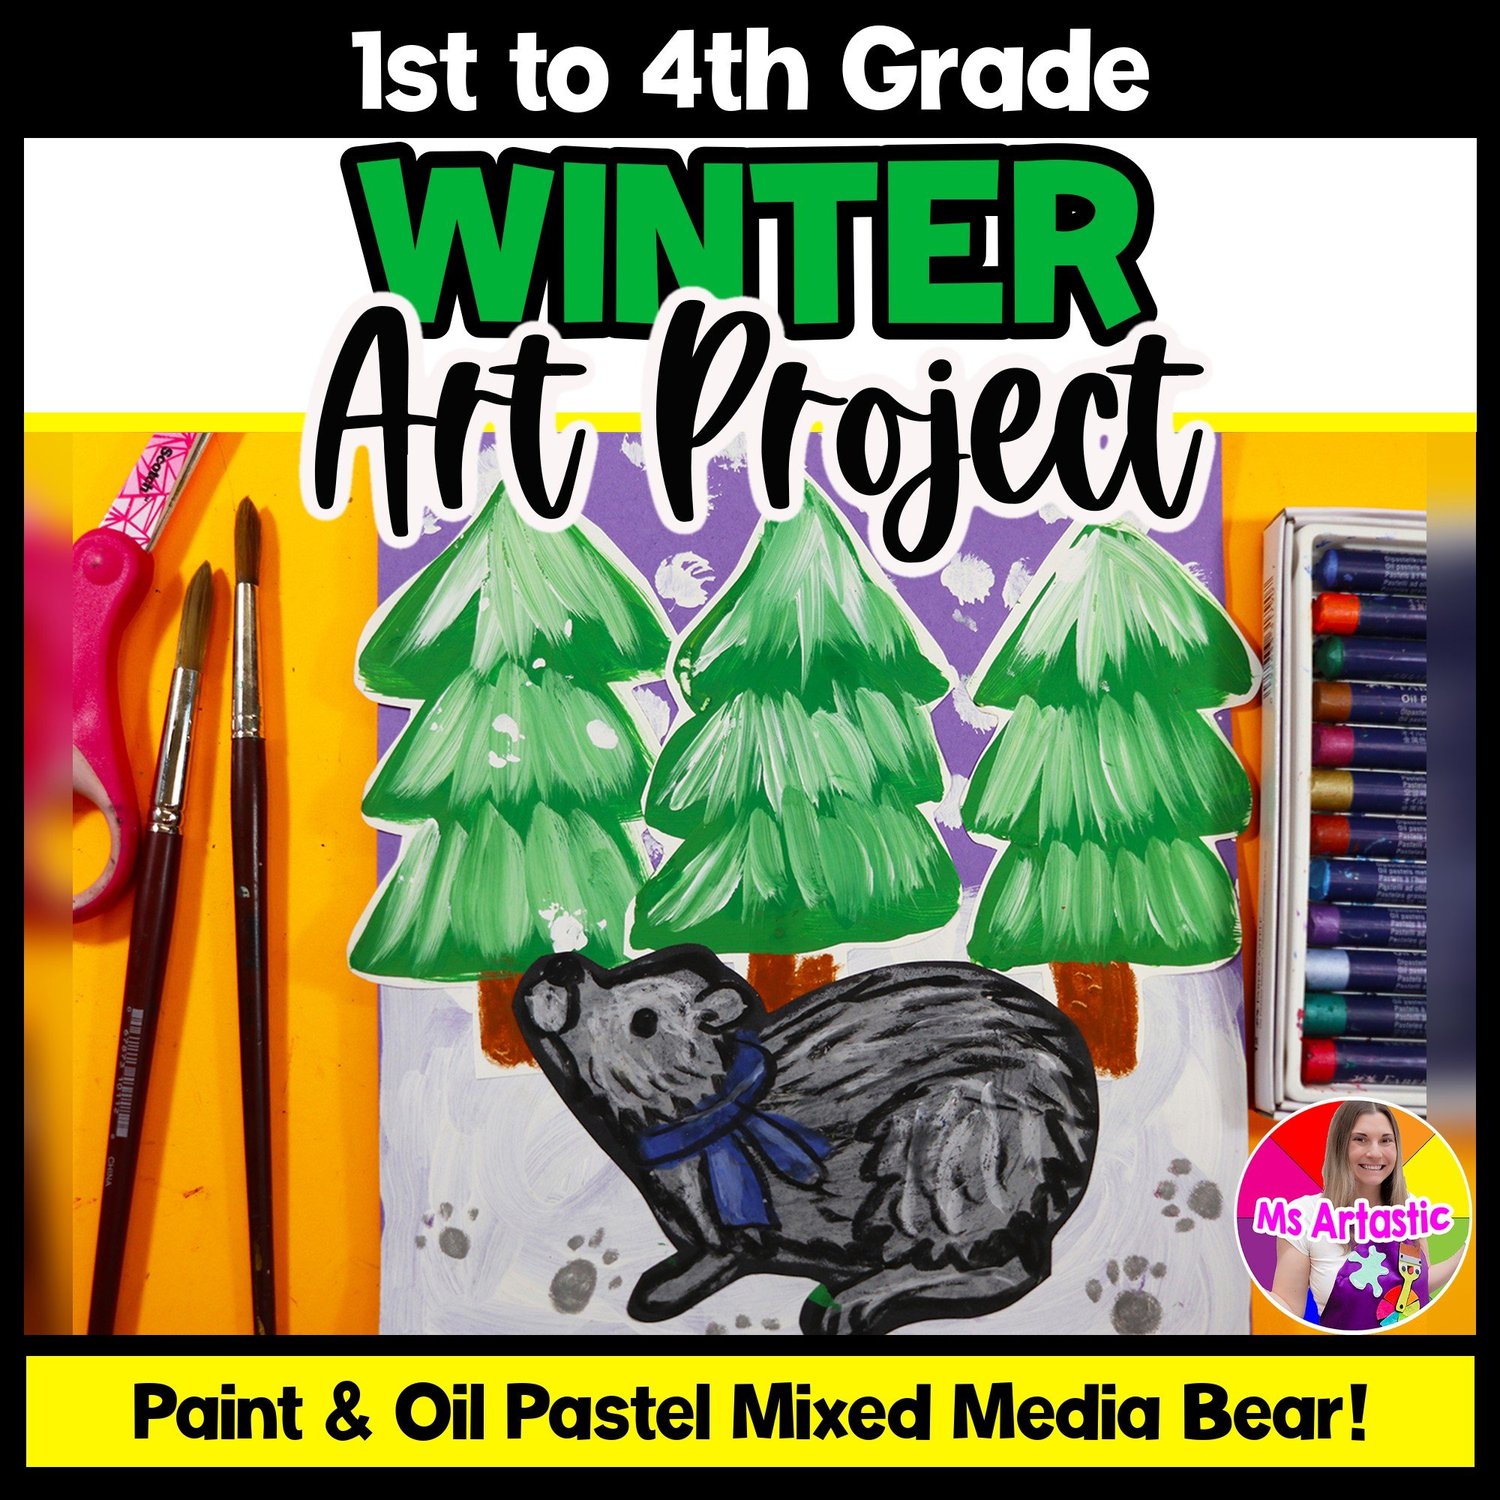
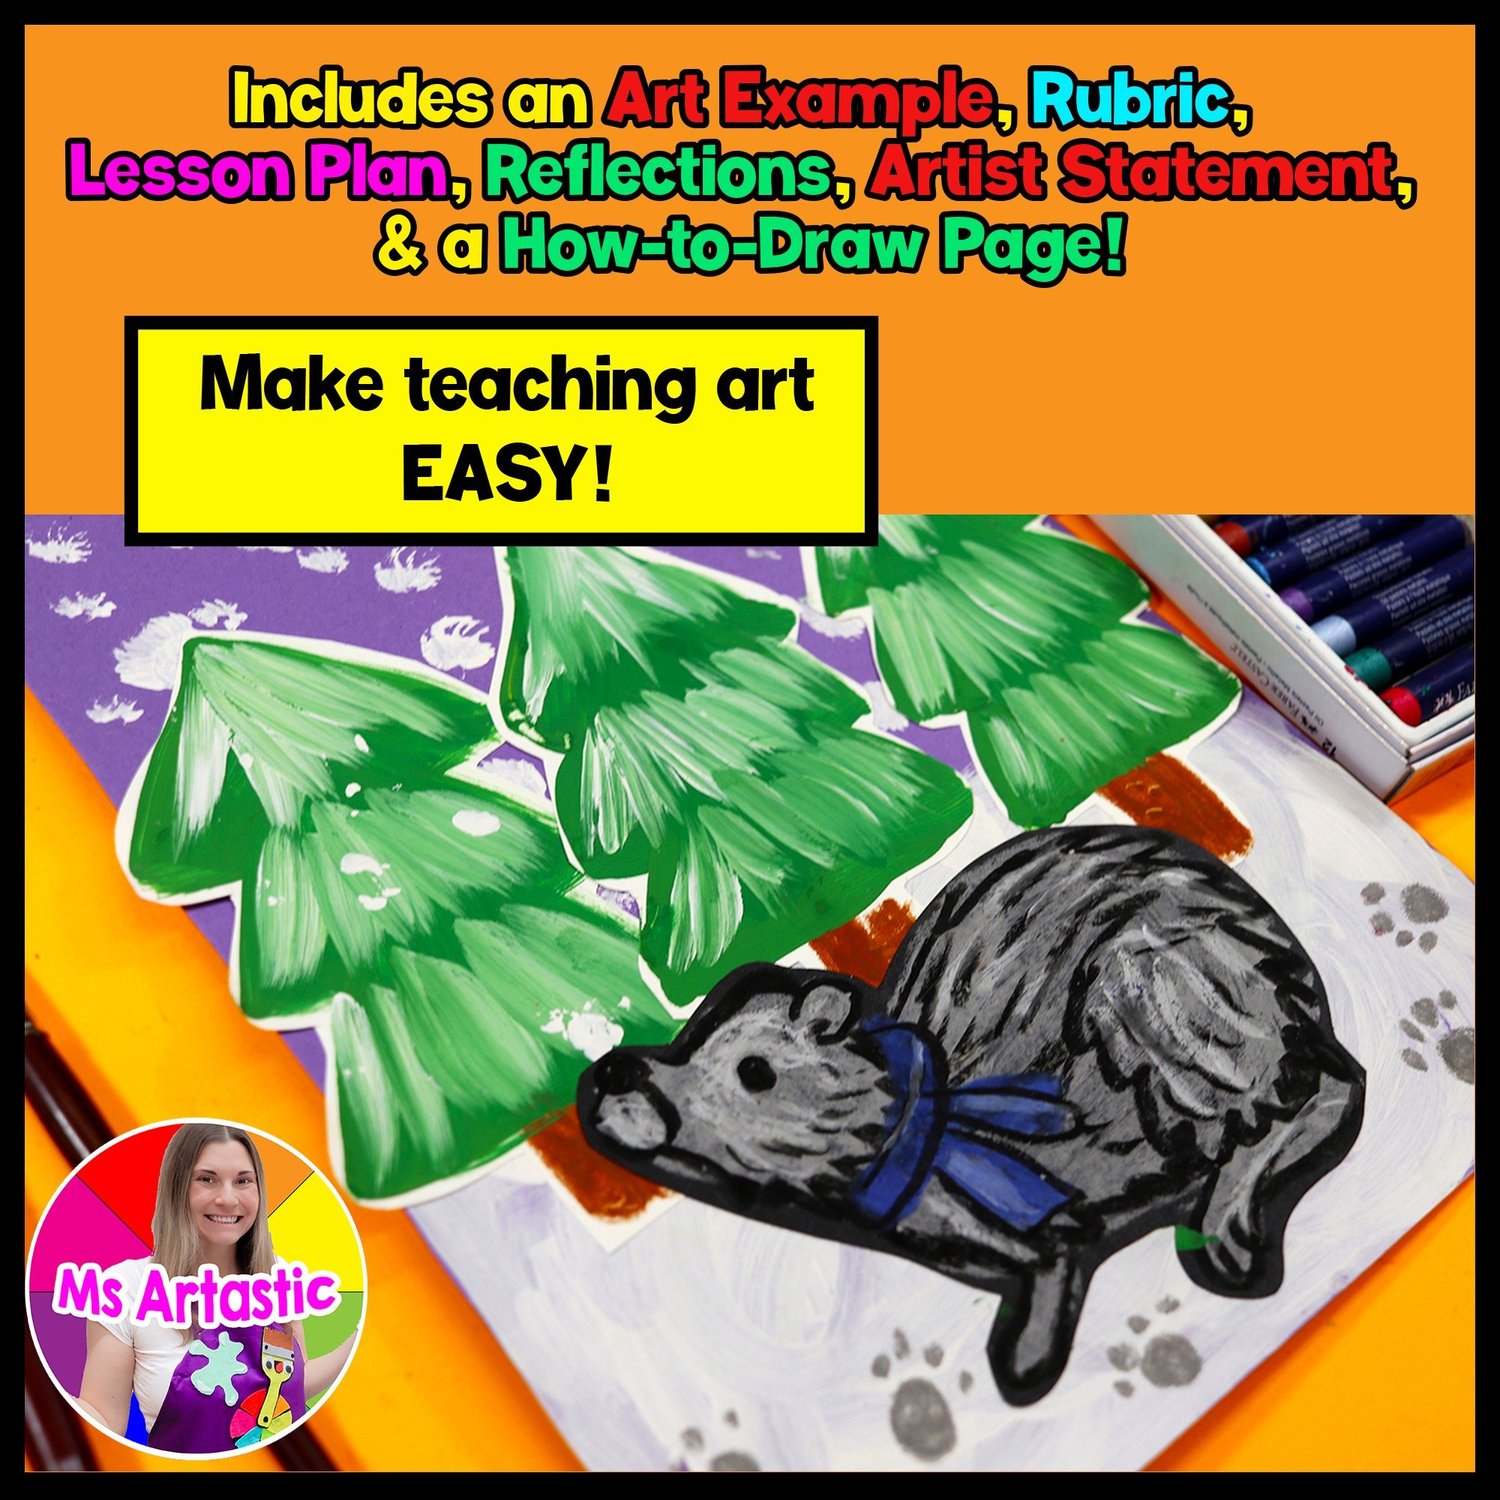
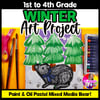
This winter bear art lesson celebrates the cold, icy season with a layered, mixed media art piece. Students create the elements with both paint and oil pastel, following a visual and text step-by-step where each step has its own page and description.
It is made for classroom art and homeschool art, and the finished bears make a cheerful winter bulletin board display. The resource includes a lesson plan, a finished example, a step-by-step handout and a rubric for marking.
WHAT TEACHERS ARE SAYING
★★★★ “I always appreciate new ideas and this was an excellent one. I left it for a sub. It was well laid out and looked great when it was done!” Corinne K.
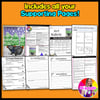
WHAT'S INCLUDED (30 PAGES, NON-EDITABLE)
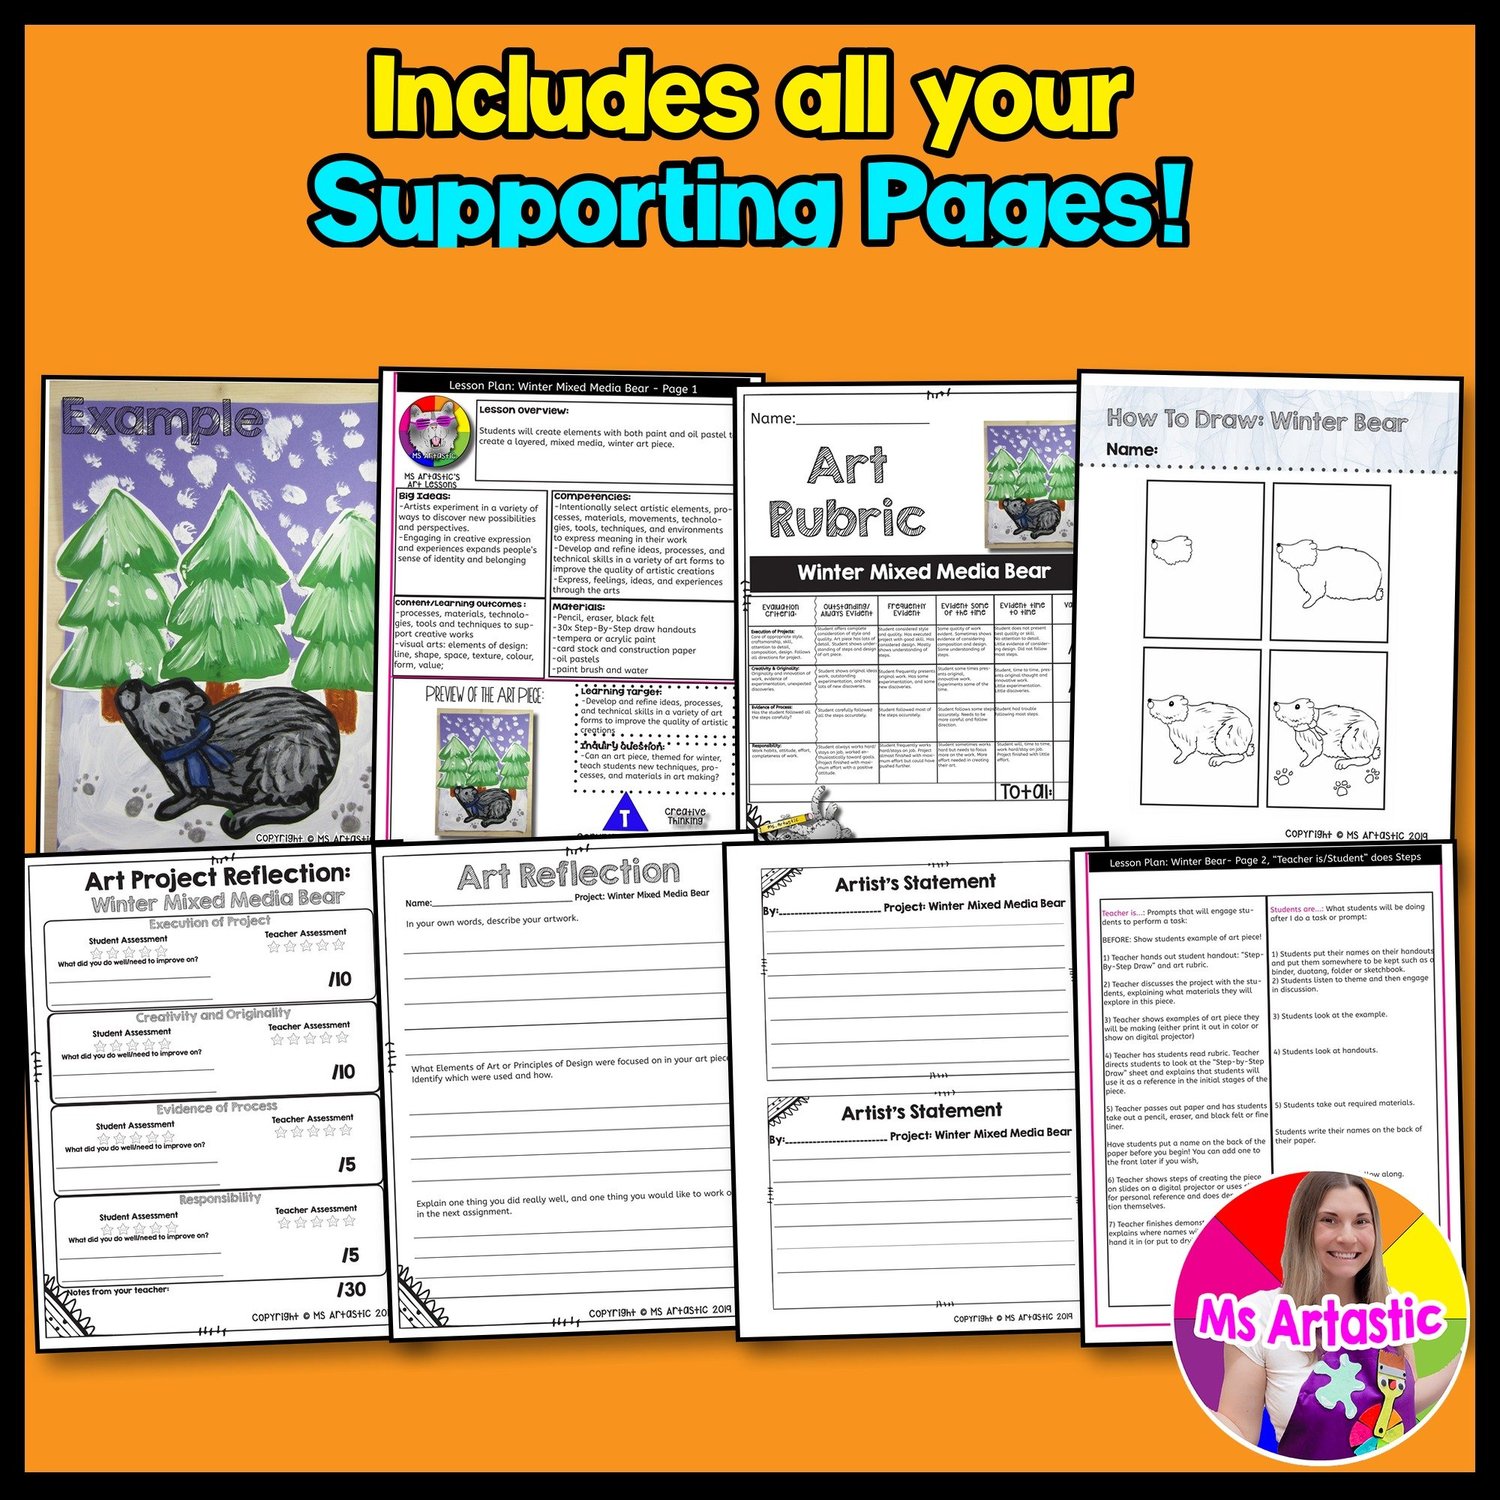
- About This Resource: overview of the lesson, objectives and how to use it
- Lesson Plan (2 pages) with materials, learning outcomes, goals and Teacher Does / Student Does instructions
- Bulletin Board Sign for showing finished student artwork
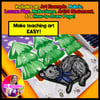
- Example of Art Piece, a finished sample for visual reference
- Bear Step-by-Step Draw Handout, a guided drawing worksheet
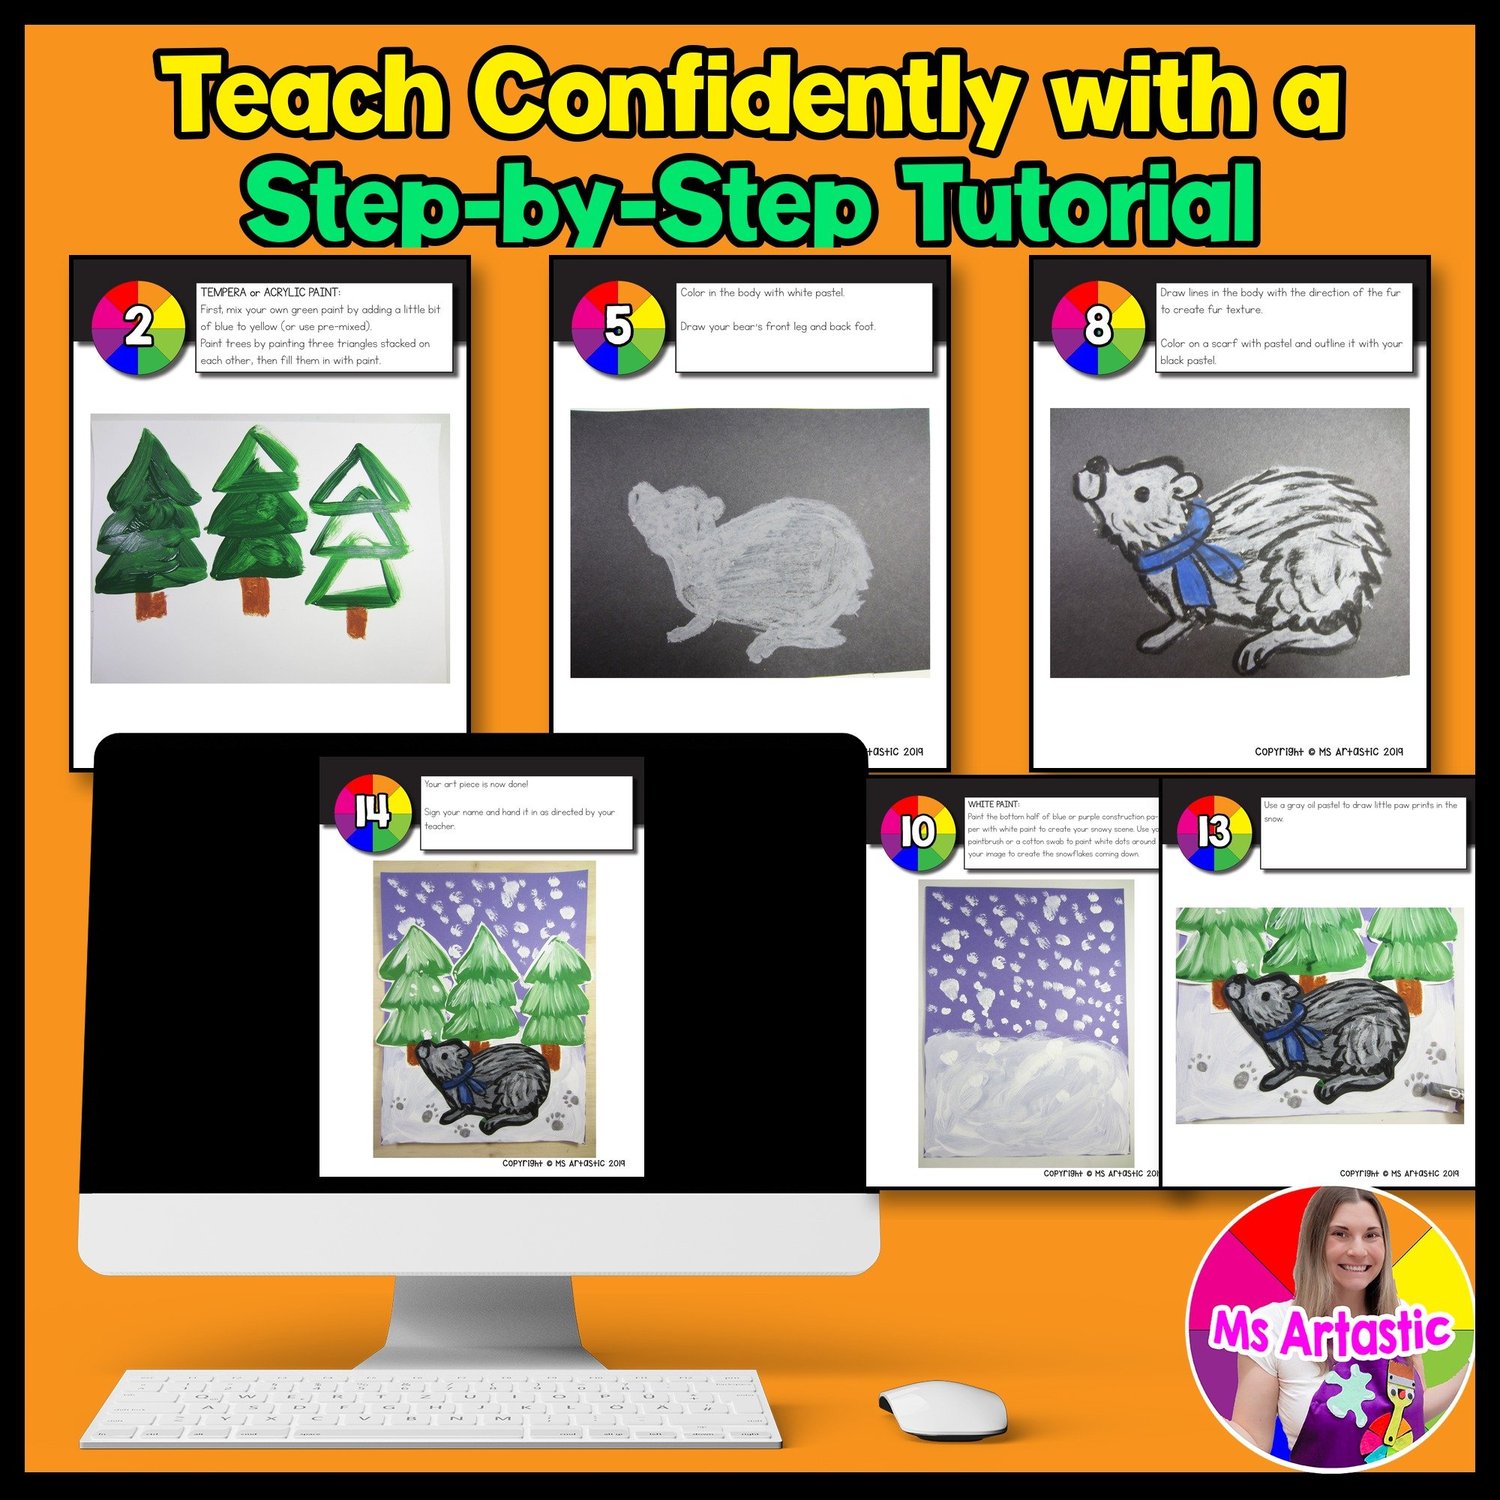
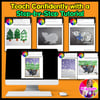
- Art Piece Demonstration Step-by-Step: 14 slides with images and written instructions
- Rubric for Art Piece
- Student/Teacher Art Project Assessment that aligns with the rubric
- Student Project Reflection worksheet about the creative process and artistic choices
- Artist Statement Template
HOW TO USE IT
Read the lesson plan to see the steps and gather the materials ahead of time: pencil, eraser, black felt, step-by-step draw handouts (one per student), tempera or acrylic paint, card stock and construction paper, oil pastels, a paint brush and water. Photocopy the student handouts you need, such as the step-by-steps and rubric. You may want to make a sample yourself first so you can help students later.
Show the finished example to students before the lesson as your hook. Then project the step-by-step pages on a digital projector or document camera (best printed in color) for students to follow, or use them as your own guide while you demonstrate.
FAQ
Who is this for?
Classroom teachers, art teachers and homeschool educators.
What materials do I need?
Pencil, eraser, black felt, tempera or acrylic paint, card stock and construction paper, oil pastels, a paint brush and water.
How is each step shown?
Every step has both a picture and a written description on its own page, so you can teach from it or show it directly to students.
Is it editable?
No. It is a non-editable PDF.
ALL TEACHER REVIEWS
★★★★ “My students really enjoy these! Thank you!” Hillary P.
★★★★ “My students enjoyed this resource!” Yota K.
★★★ “My students loved doing this activity” Hillary P.
★★★★★ “Looks wonderful, can't wait to use it with my students” Eman A.
Get free, classroom-ready art lessons and printables in my Free Art Lesson Library.
ABOUT THE AUTHOR
Kathleen McGiveron (Ms Artastic) is an artist who has been featured on NBC LX News and designs art lessons for kids and educational resources for teachers. She is the founder of Ms Artastic and hosts the Ms Artastic YouTube Channel and Podcast.
TERMS OF USE
Images and lessons are copyright products.
YOU MAY: use the clip art as clip art, website graphics, binder covers or bulletin board decorations, and use this in creative ways and have as much fun with it as you like. Additional licenses are available for school use.
YOU MAY NOT: share it with other teachers, administration or districts (admin can buy additional licenses), sell it, give it out for free or photocopy it for others.
Sincerely,
Ms Artastic