
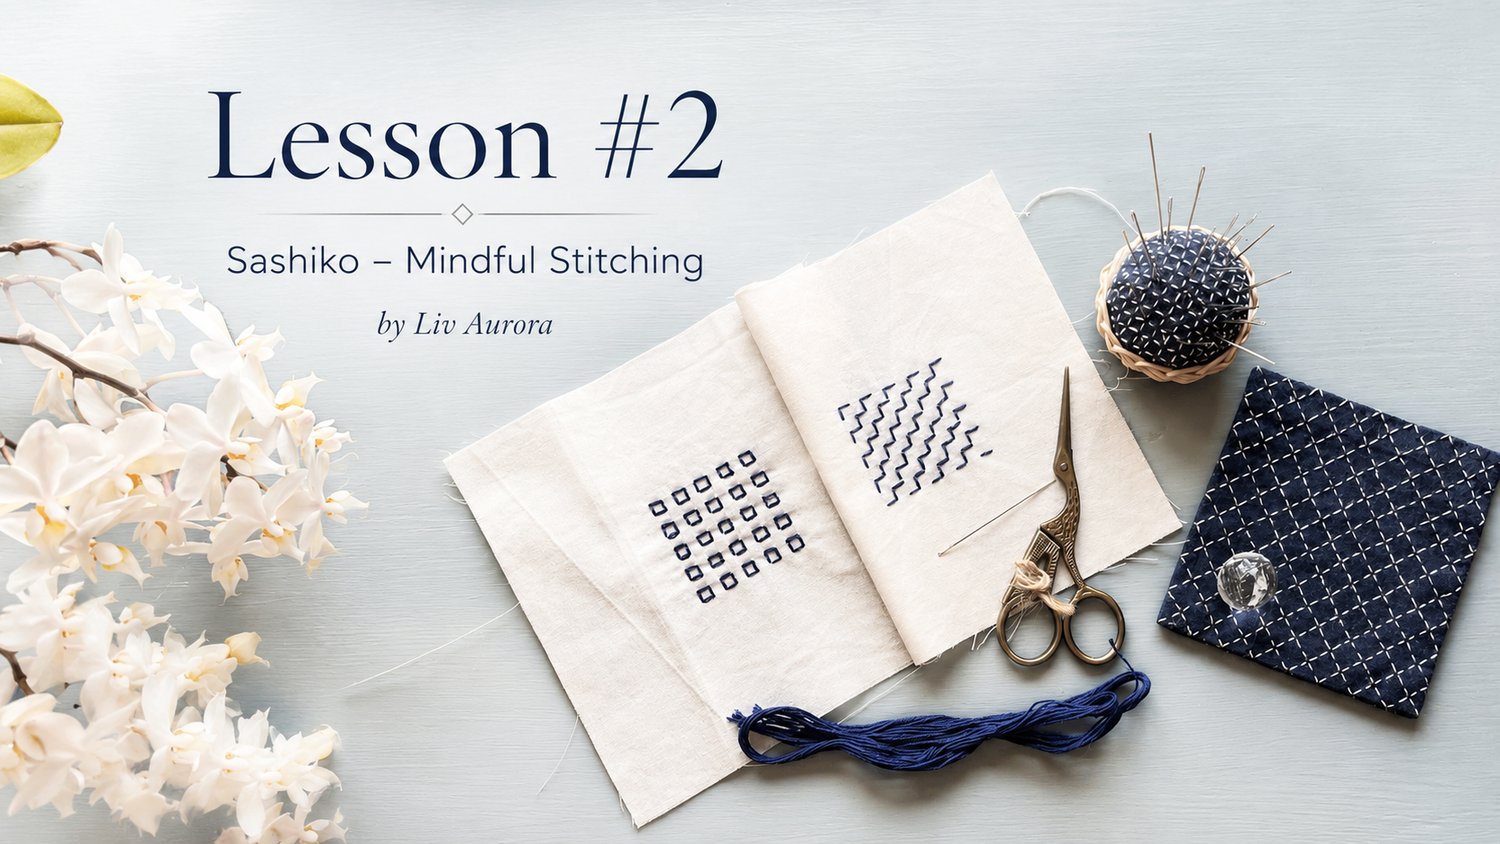


Lesson #2
Welcome back to Lesson #2 in Mindful Stitching – Sashiko.
In this tutorial, you will learn how to gain better control of your stitches and develop a deeper understanding of how Sashiko patterns are constructed.
Many Sashiko patterns are based on a 5 × 5 mm grid, and this is what we will focus on first. However, there are also many other Sashiko patterns based on grids with different measurements.
When sewing Sashiko, you first stitch in one direction – for example, vertically – and then in the other direction, horizontally. If the pattern requires it, you also stitch diagonally in both directions.
This is different from traditional cross-stitch, where you complete one cross at a time.
Before we begin stitching, you will become familiar with drawing a pattern grid.
I use a piece of fabric measuring 16 × 16 cm. Folding the fabric in half will not always give you the exact centre, but you do not need to worry about this. Once your Sashiko pattern is complete, you can trim the fabric to the size you want.
I usually cut my fabric slightly larger than the desired finished size.
You will work with two patterns in this tutorial. We will explore one pattern based on a 5 × 5 mm grid in detail. I will also show you how to draw both patterns using a triangular ruler, a regular ruler and graph paper.
You will also learn how to correct a mistake.
Kind regards
Liv Aurora
Design by @sashiko_mindful_stitching