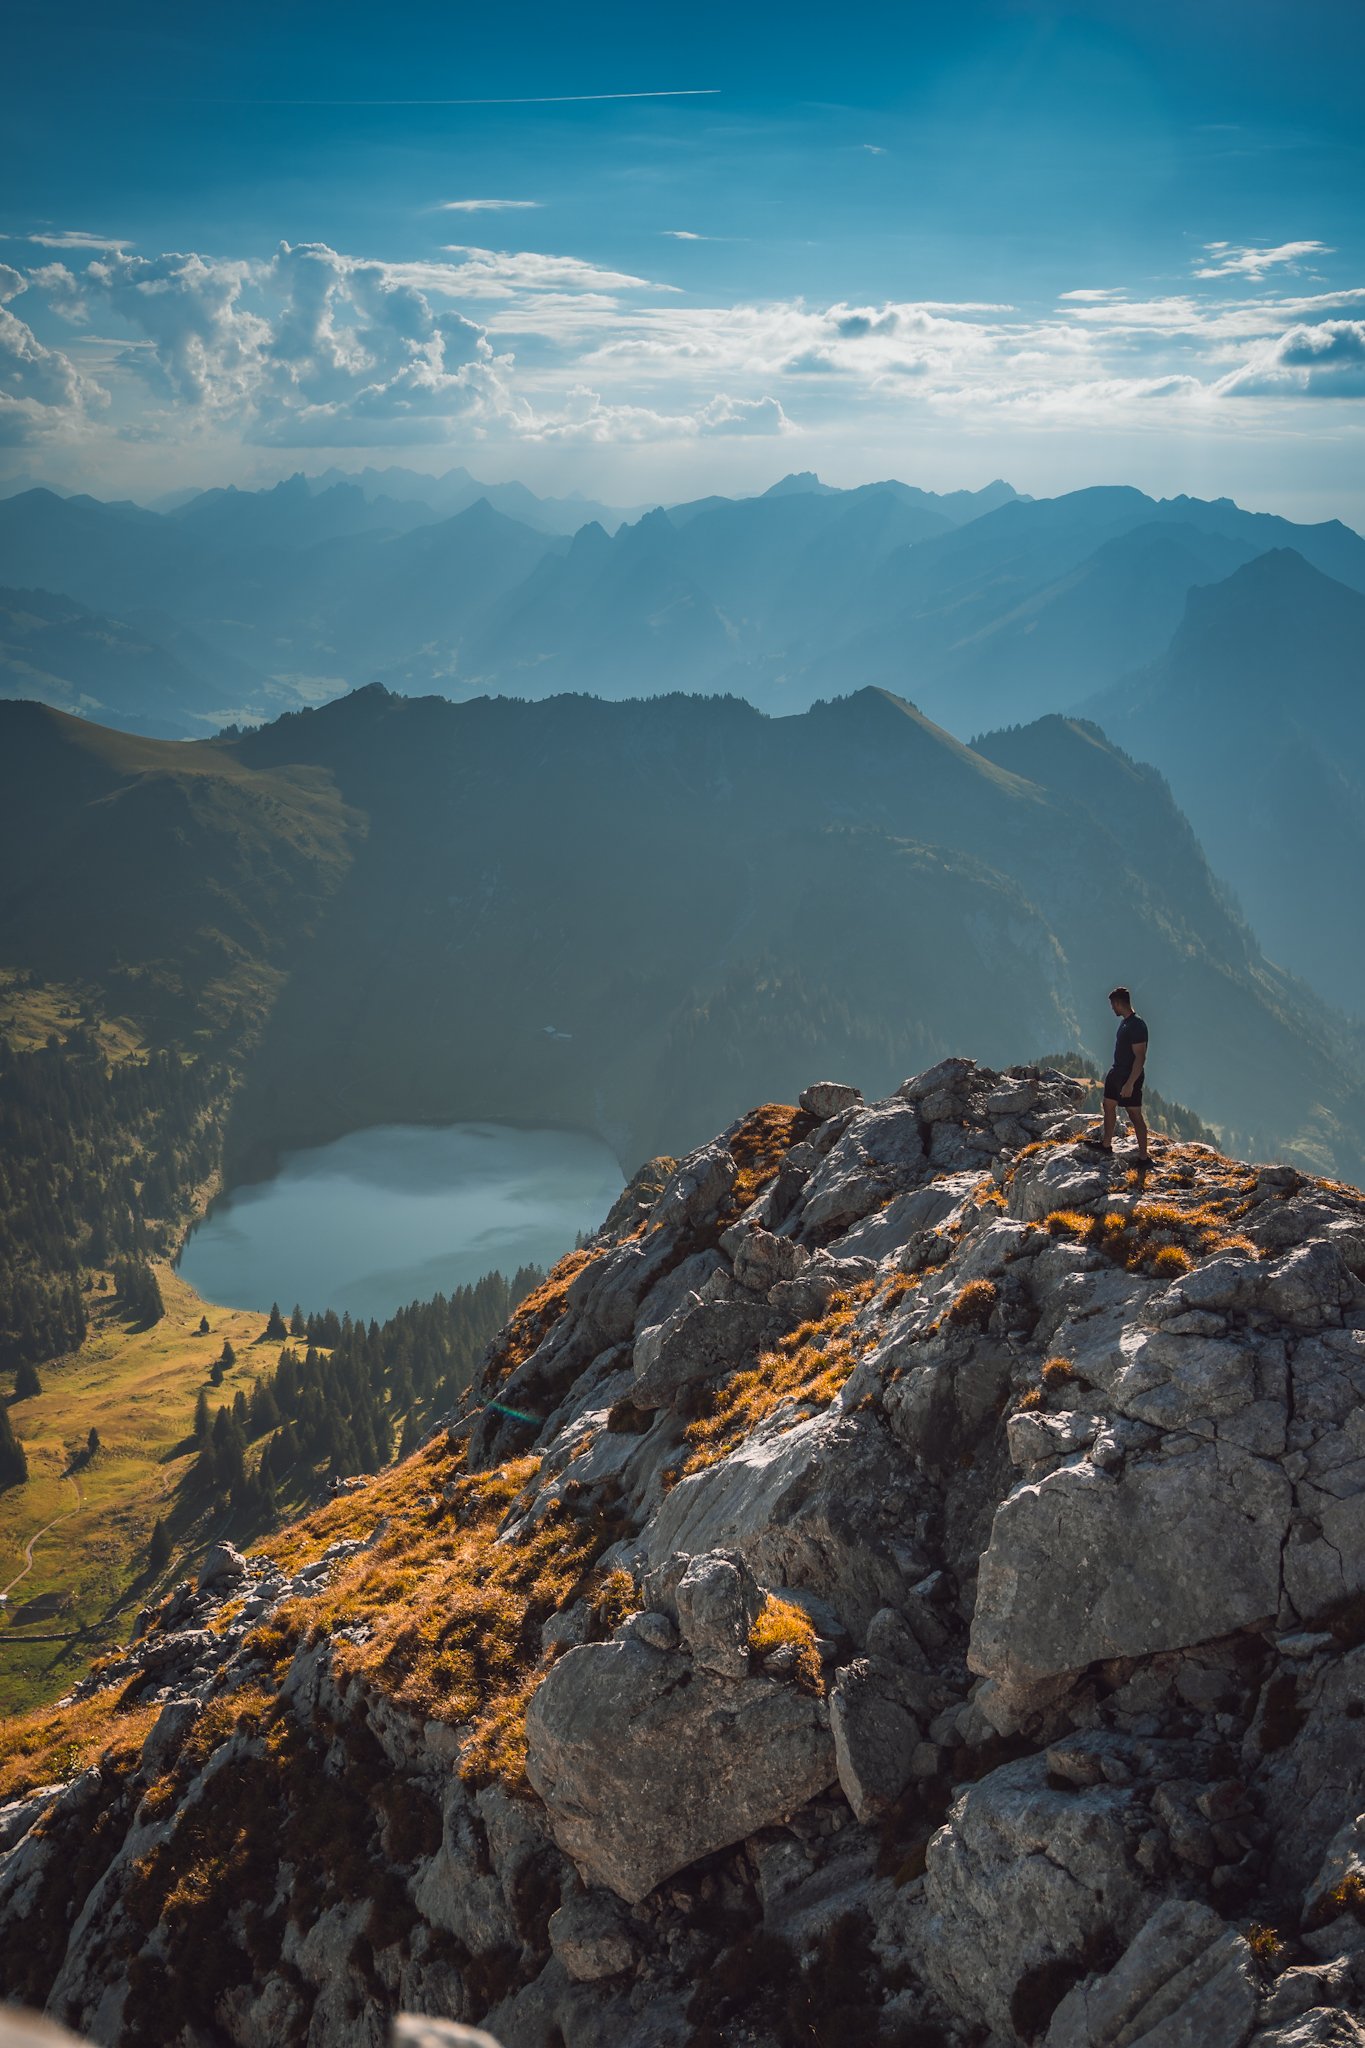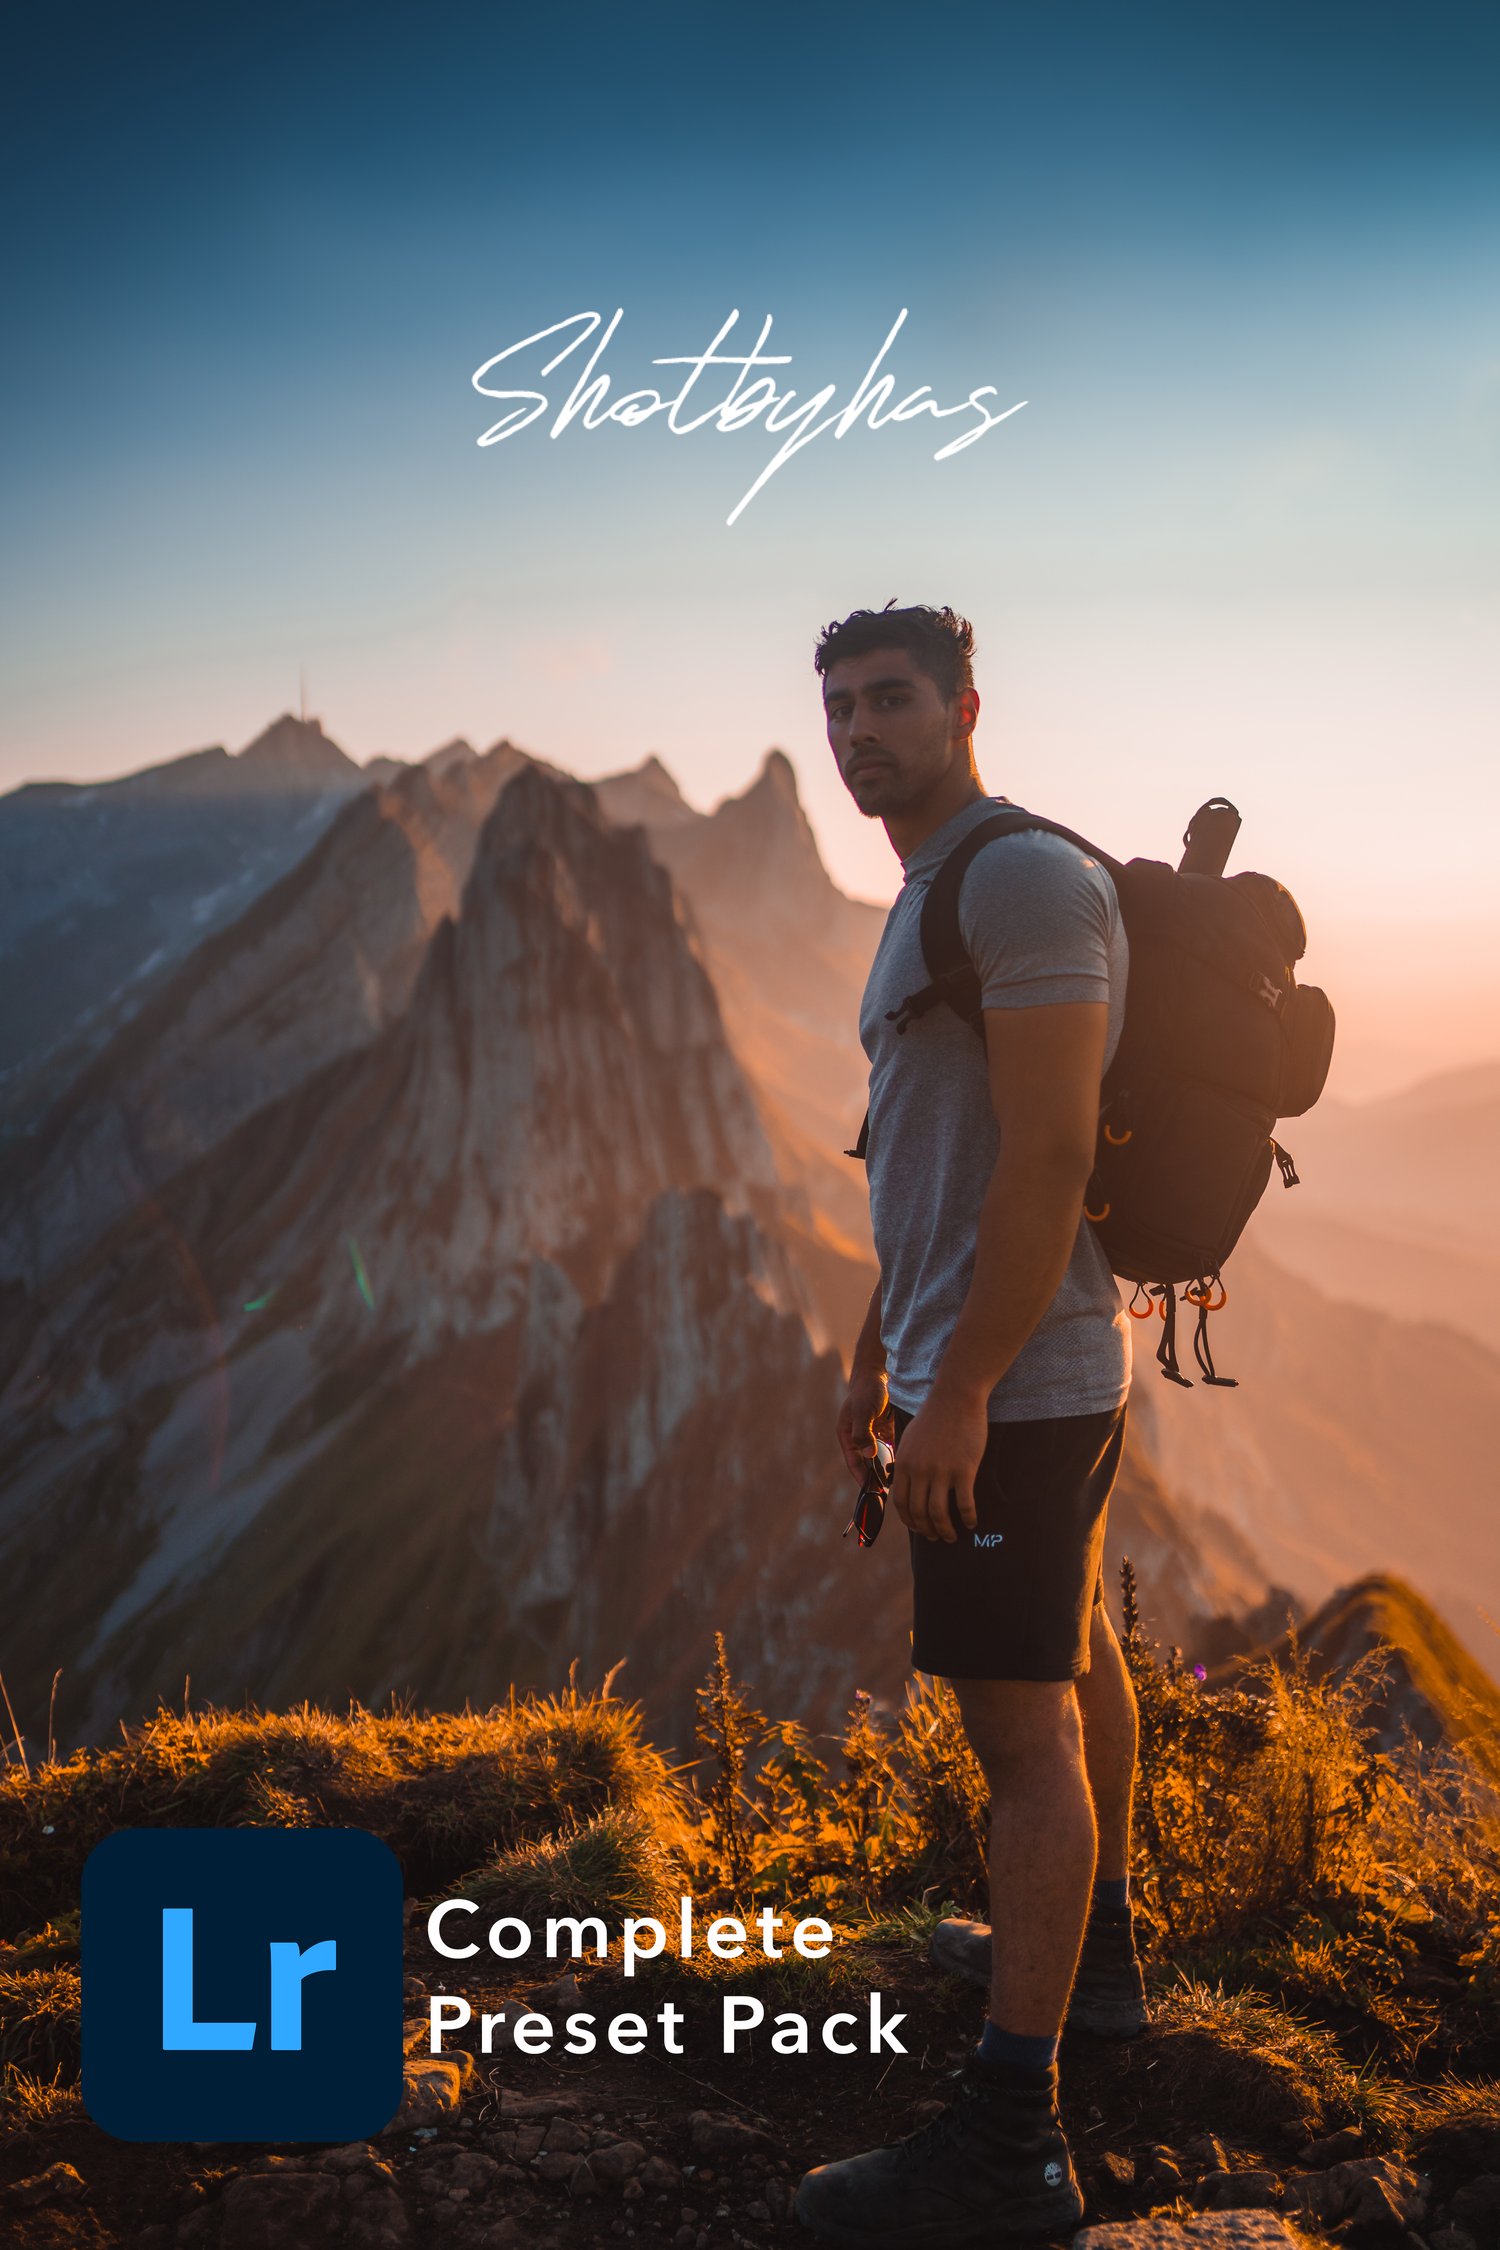

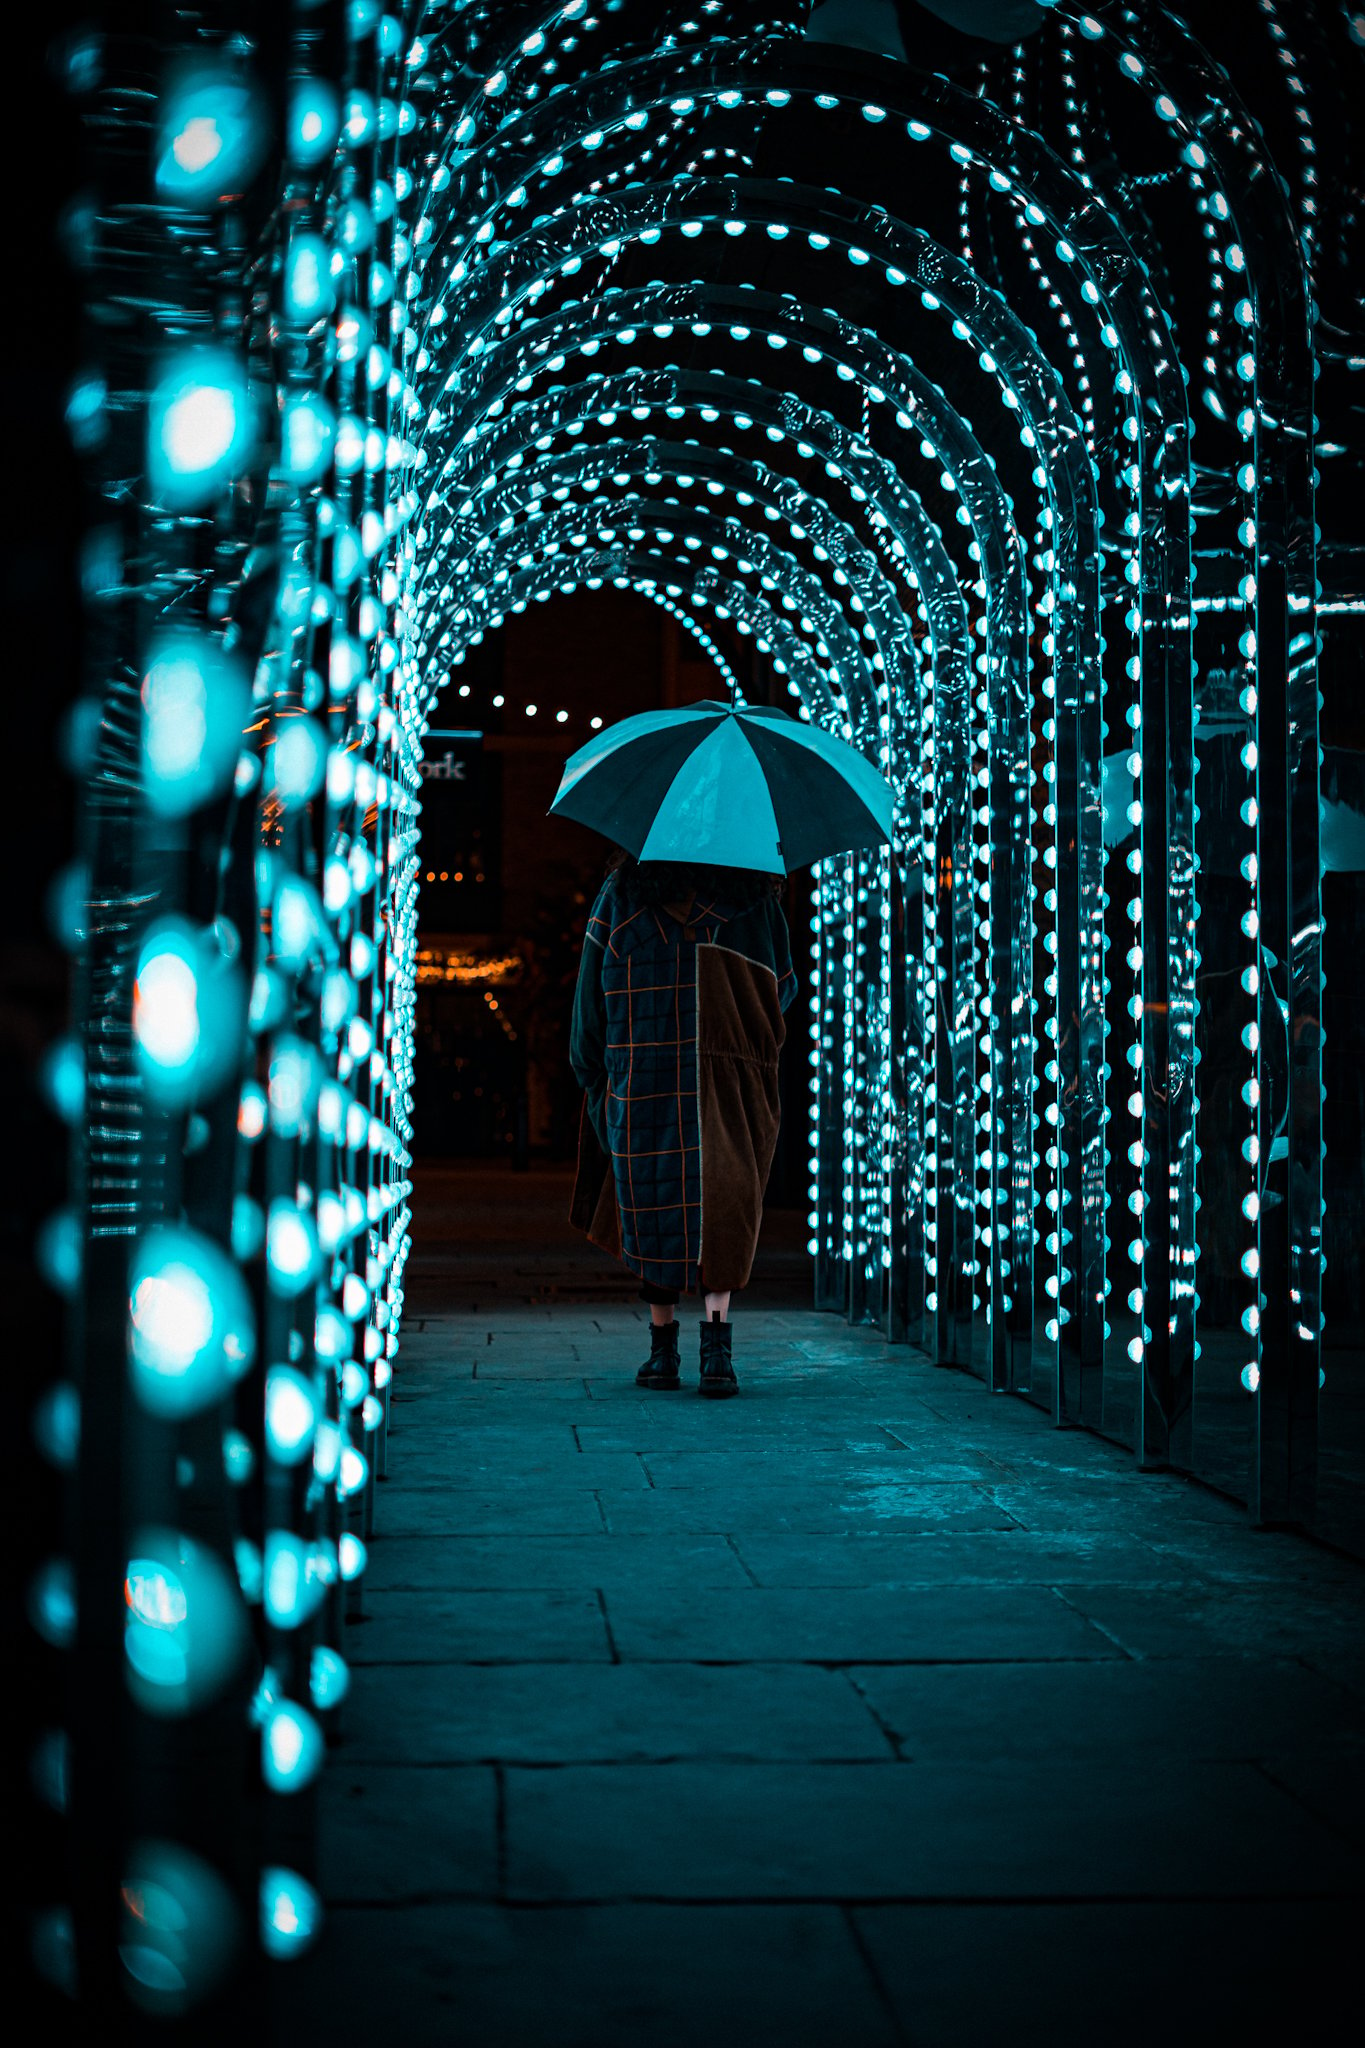
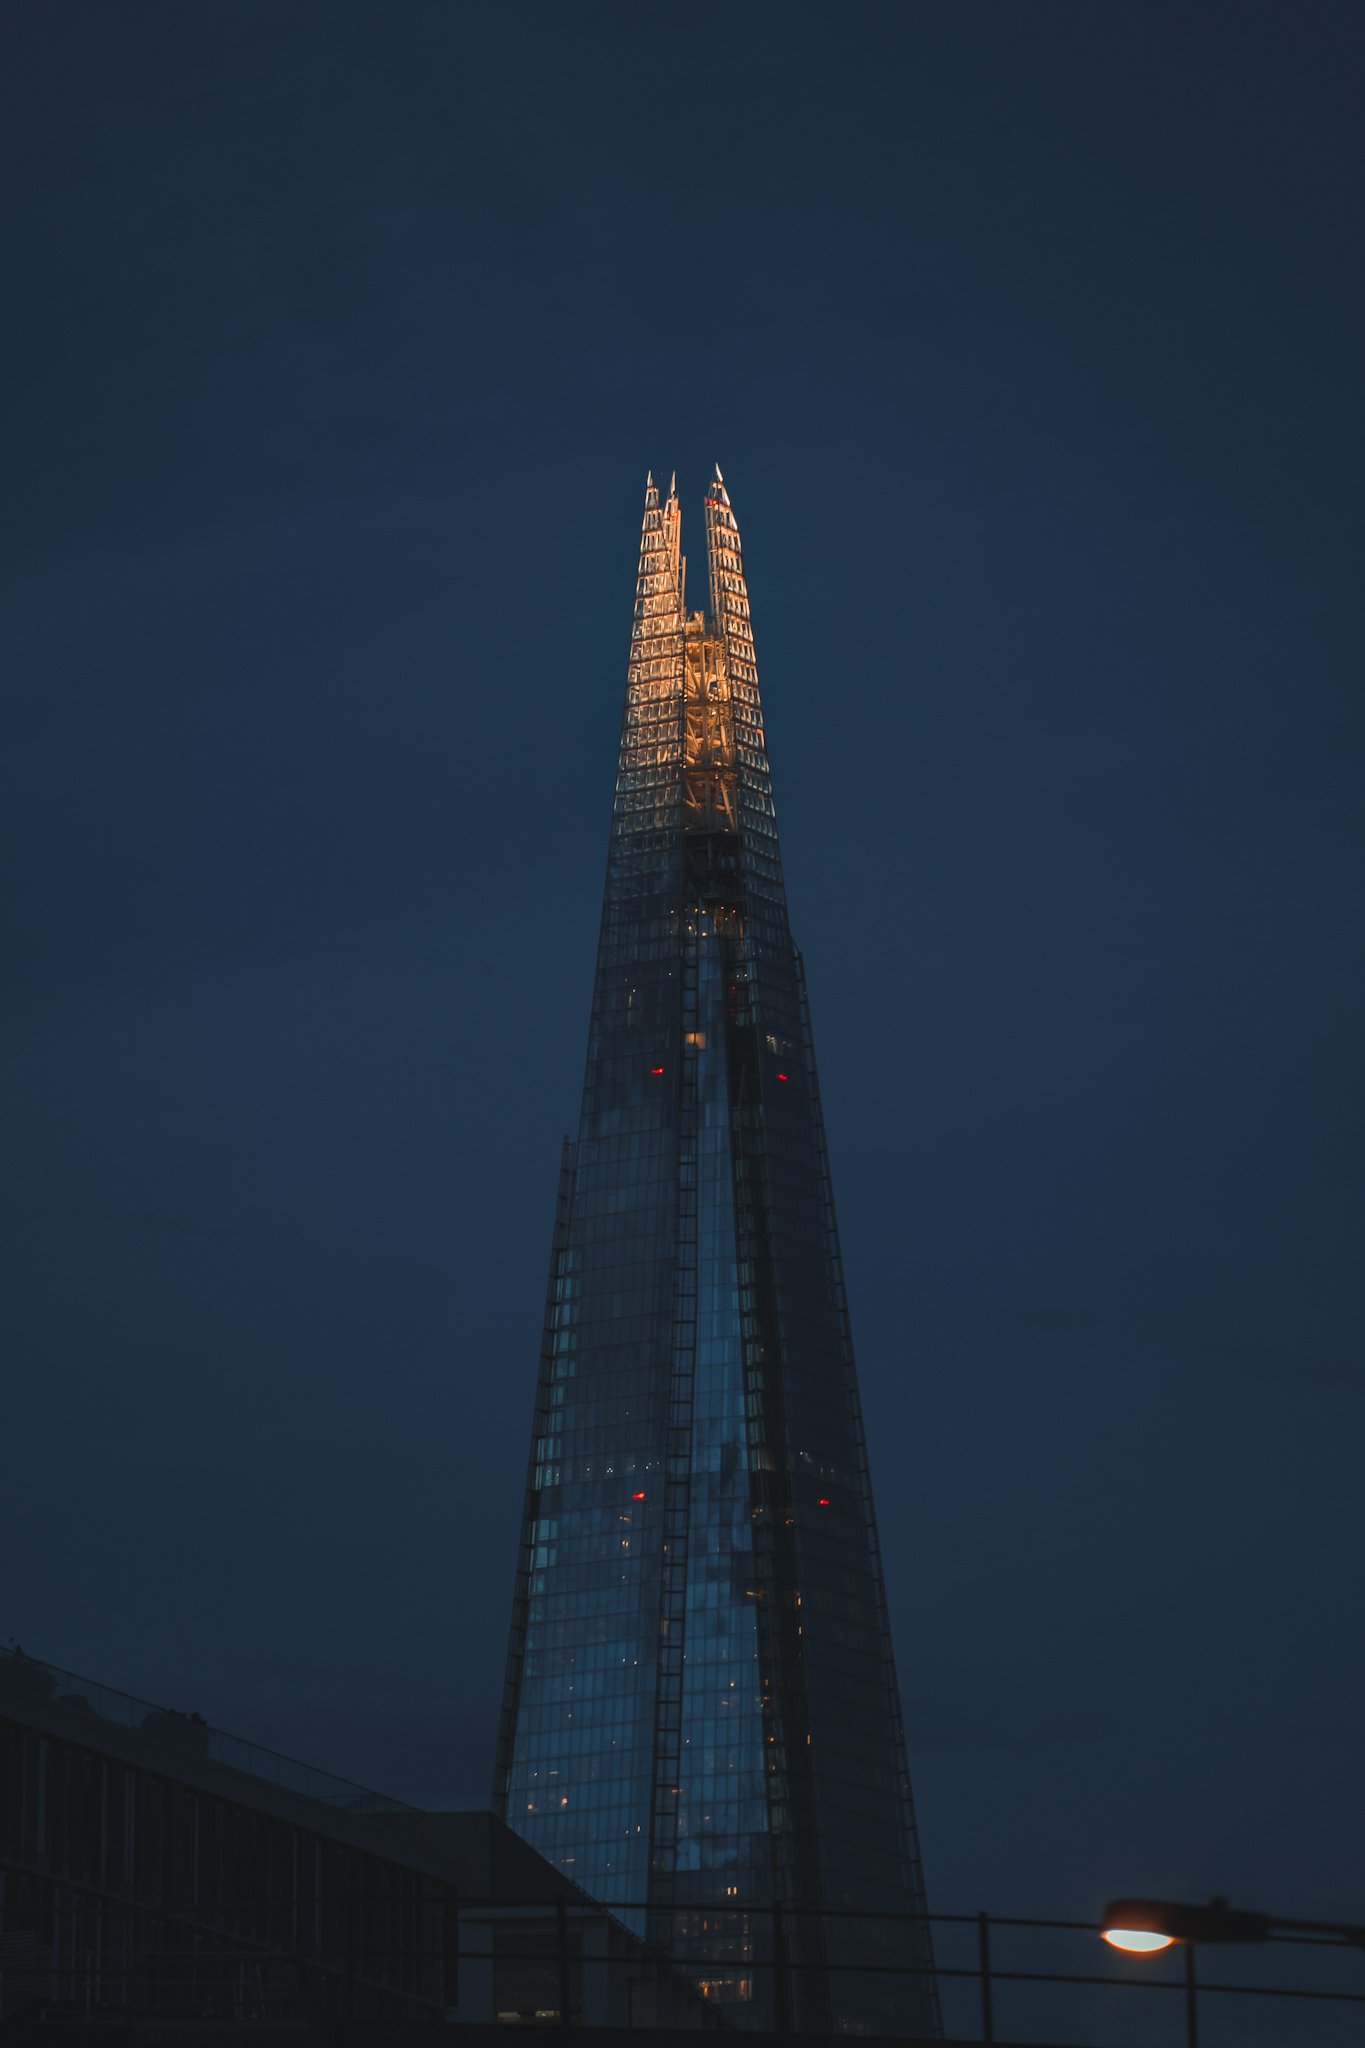
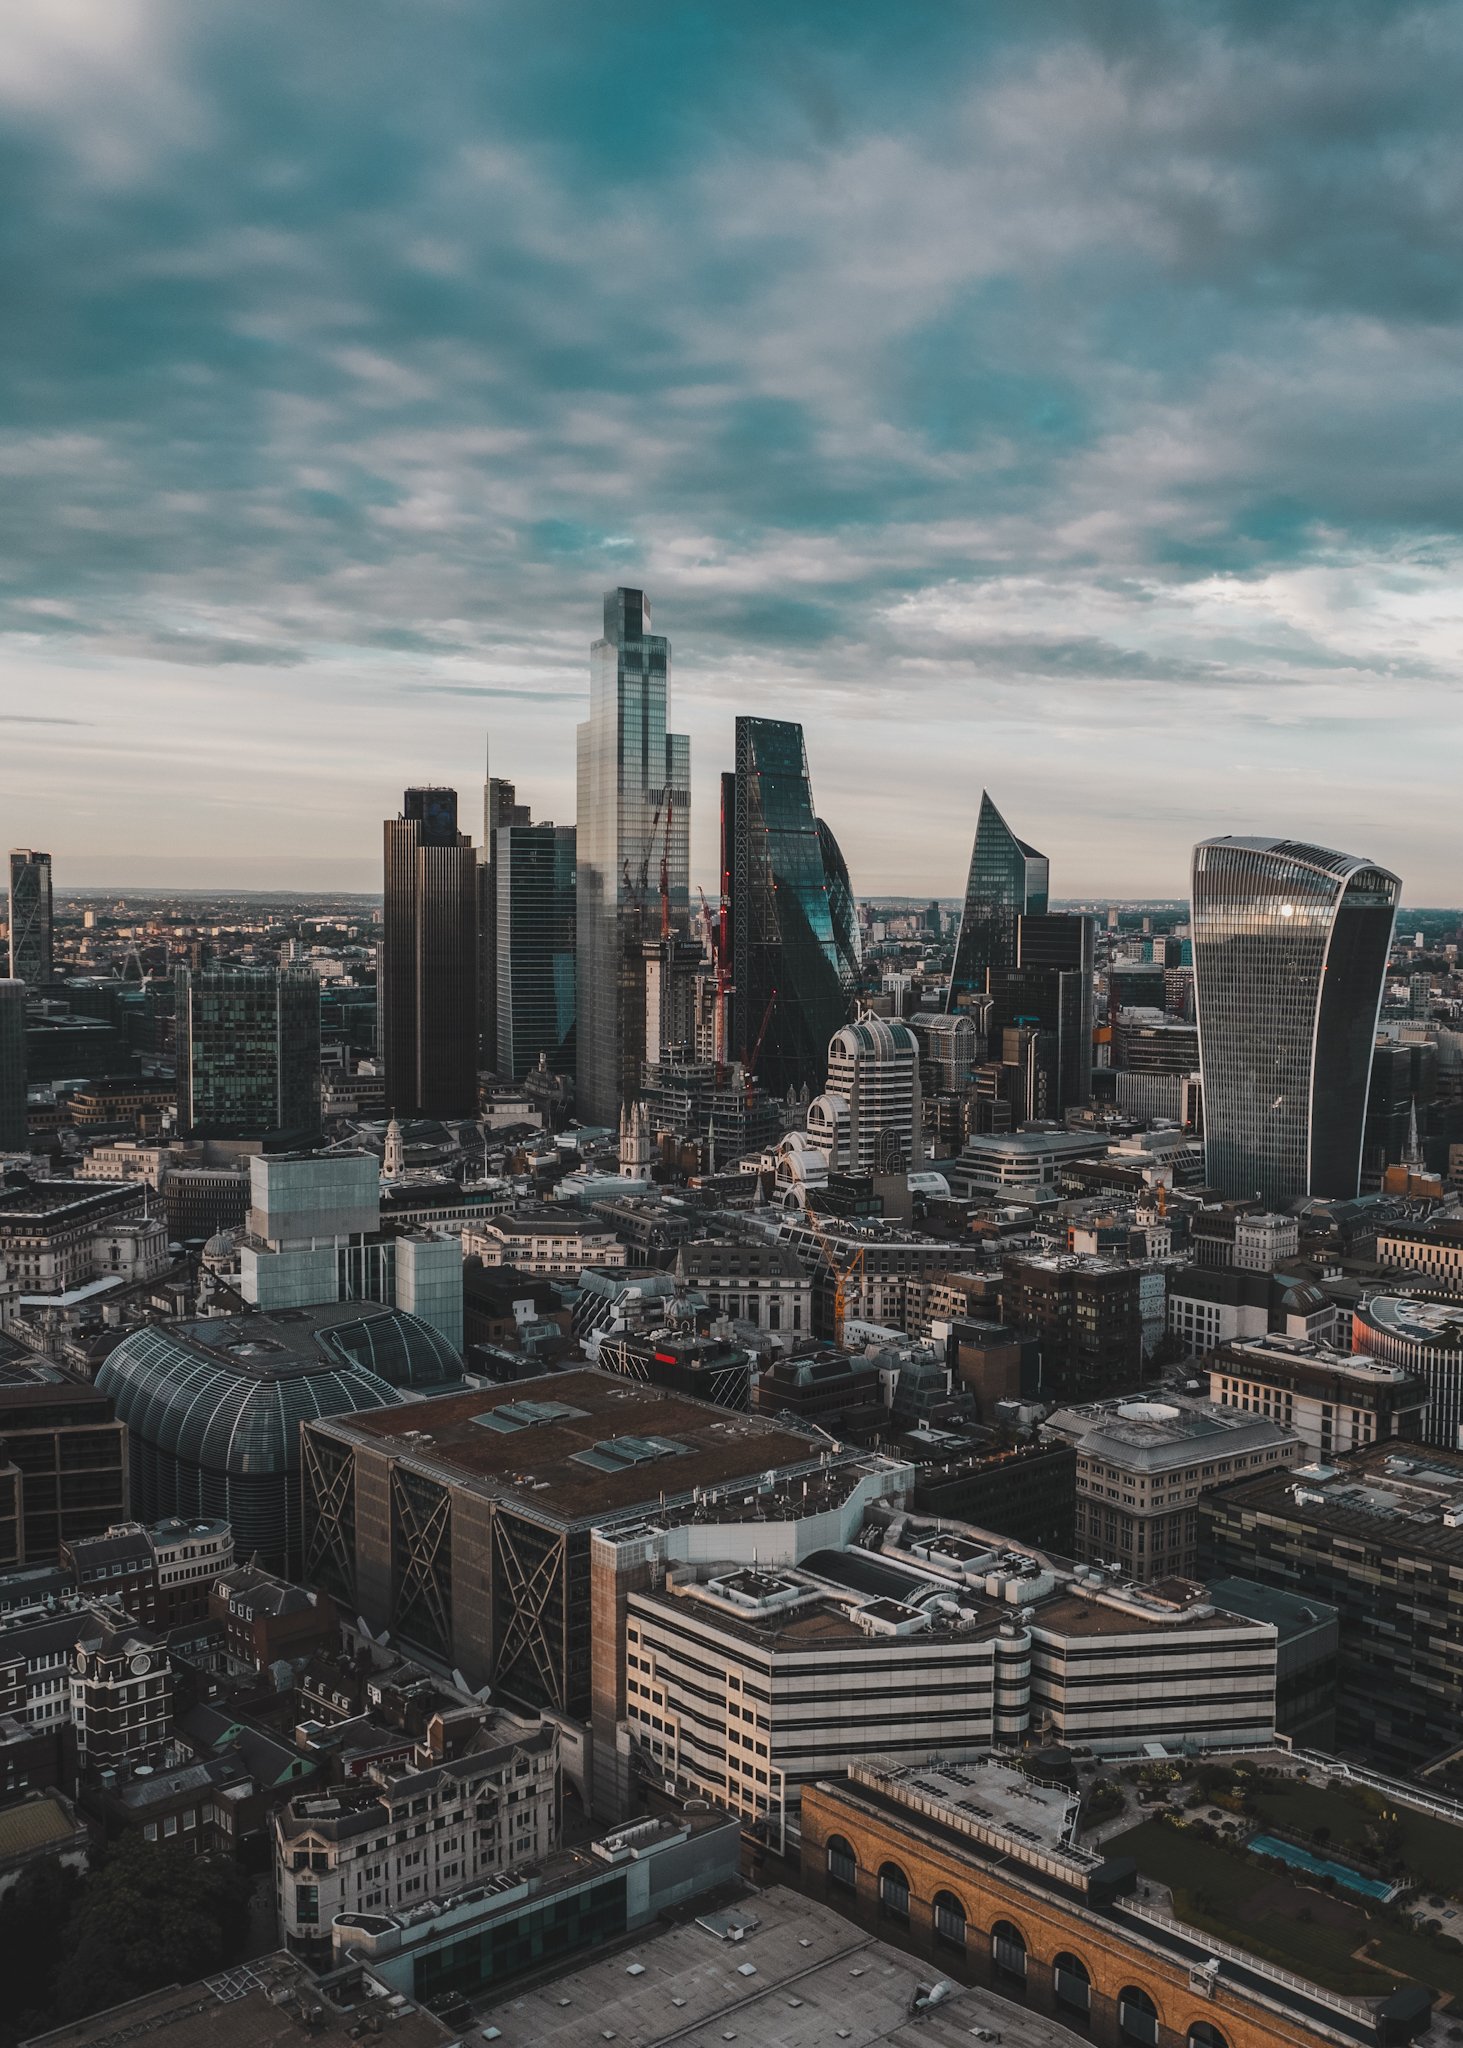

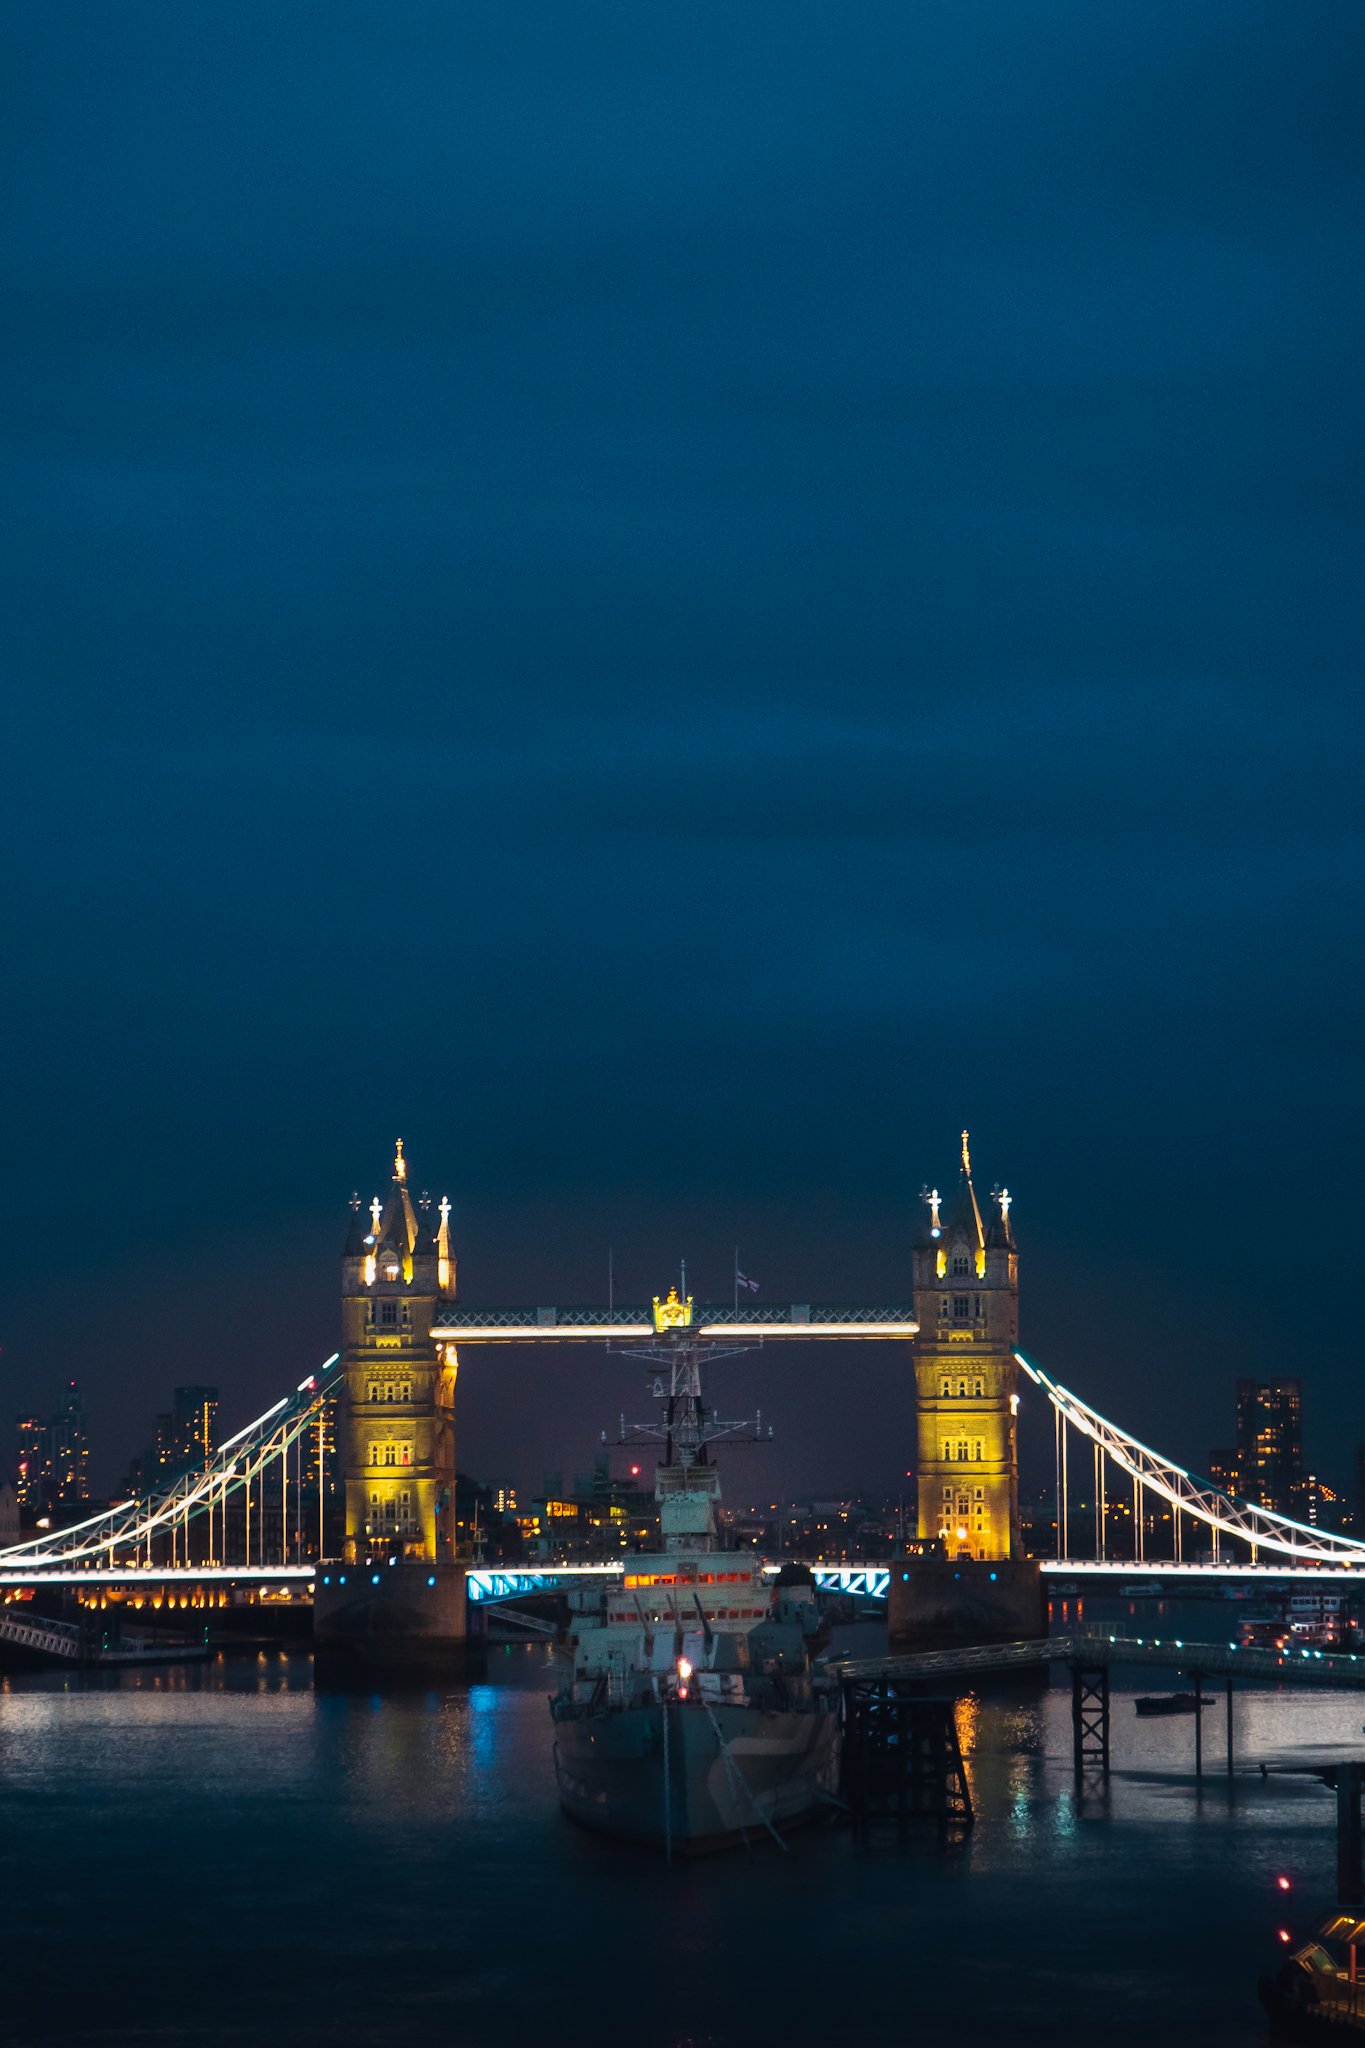
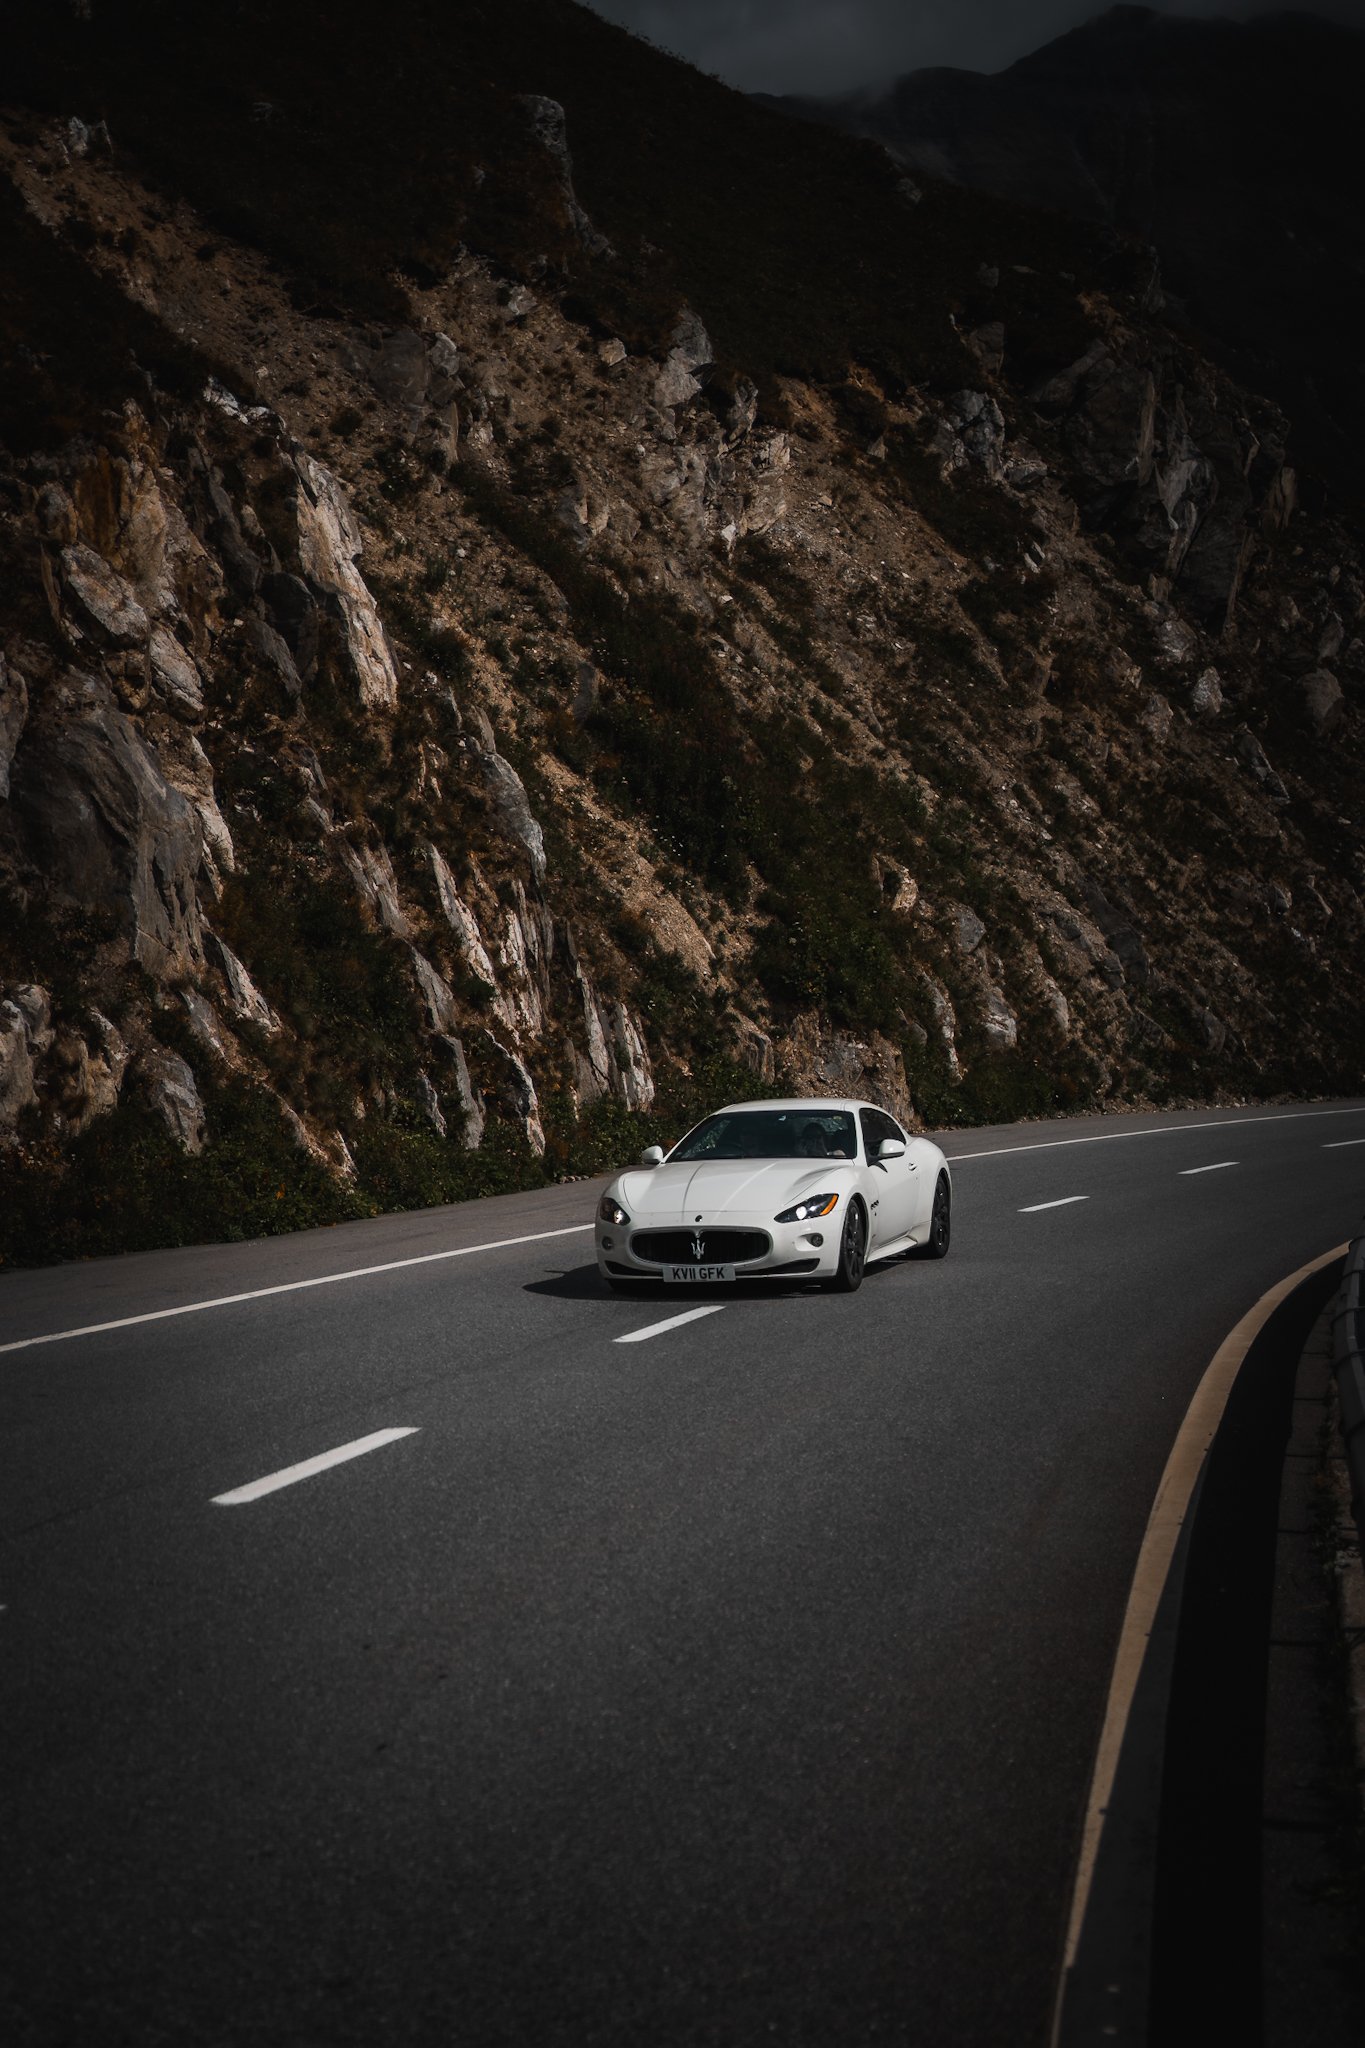
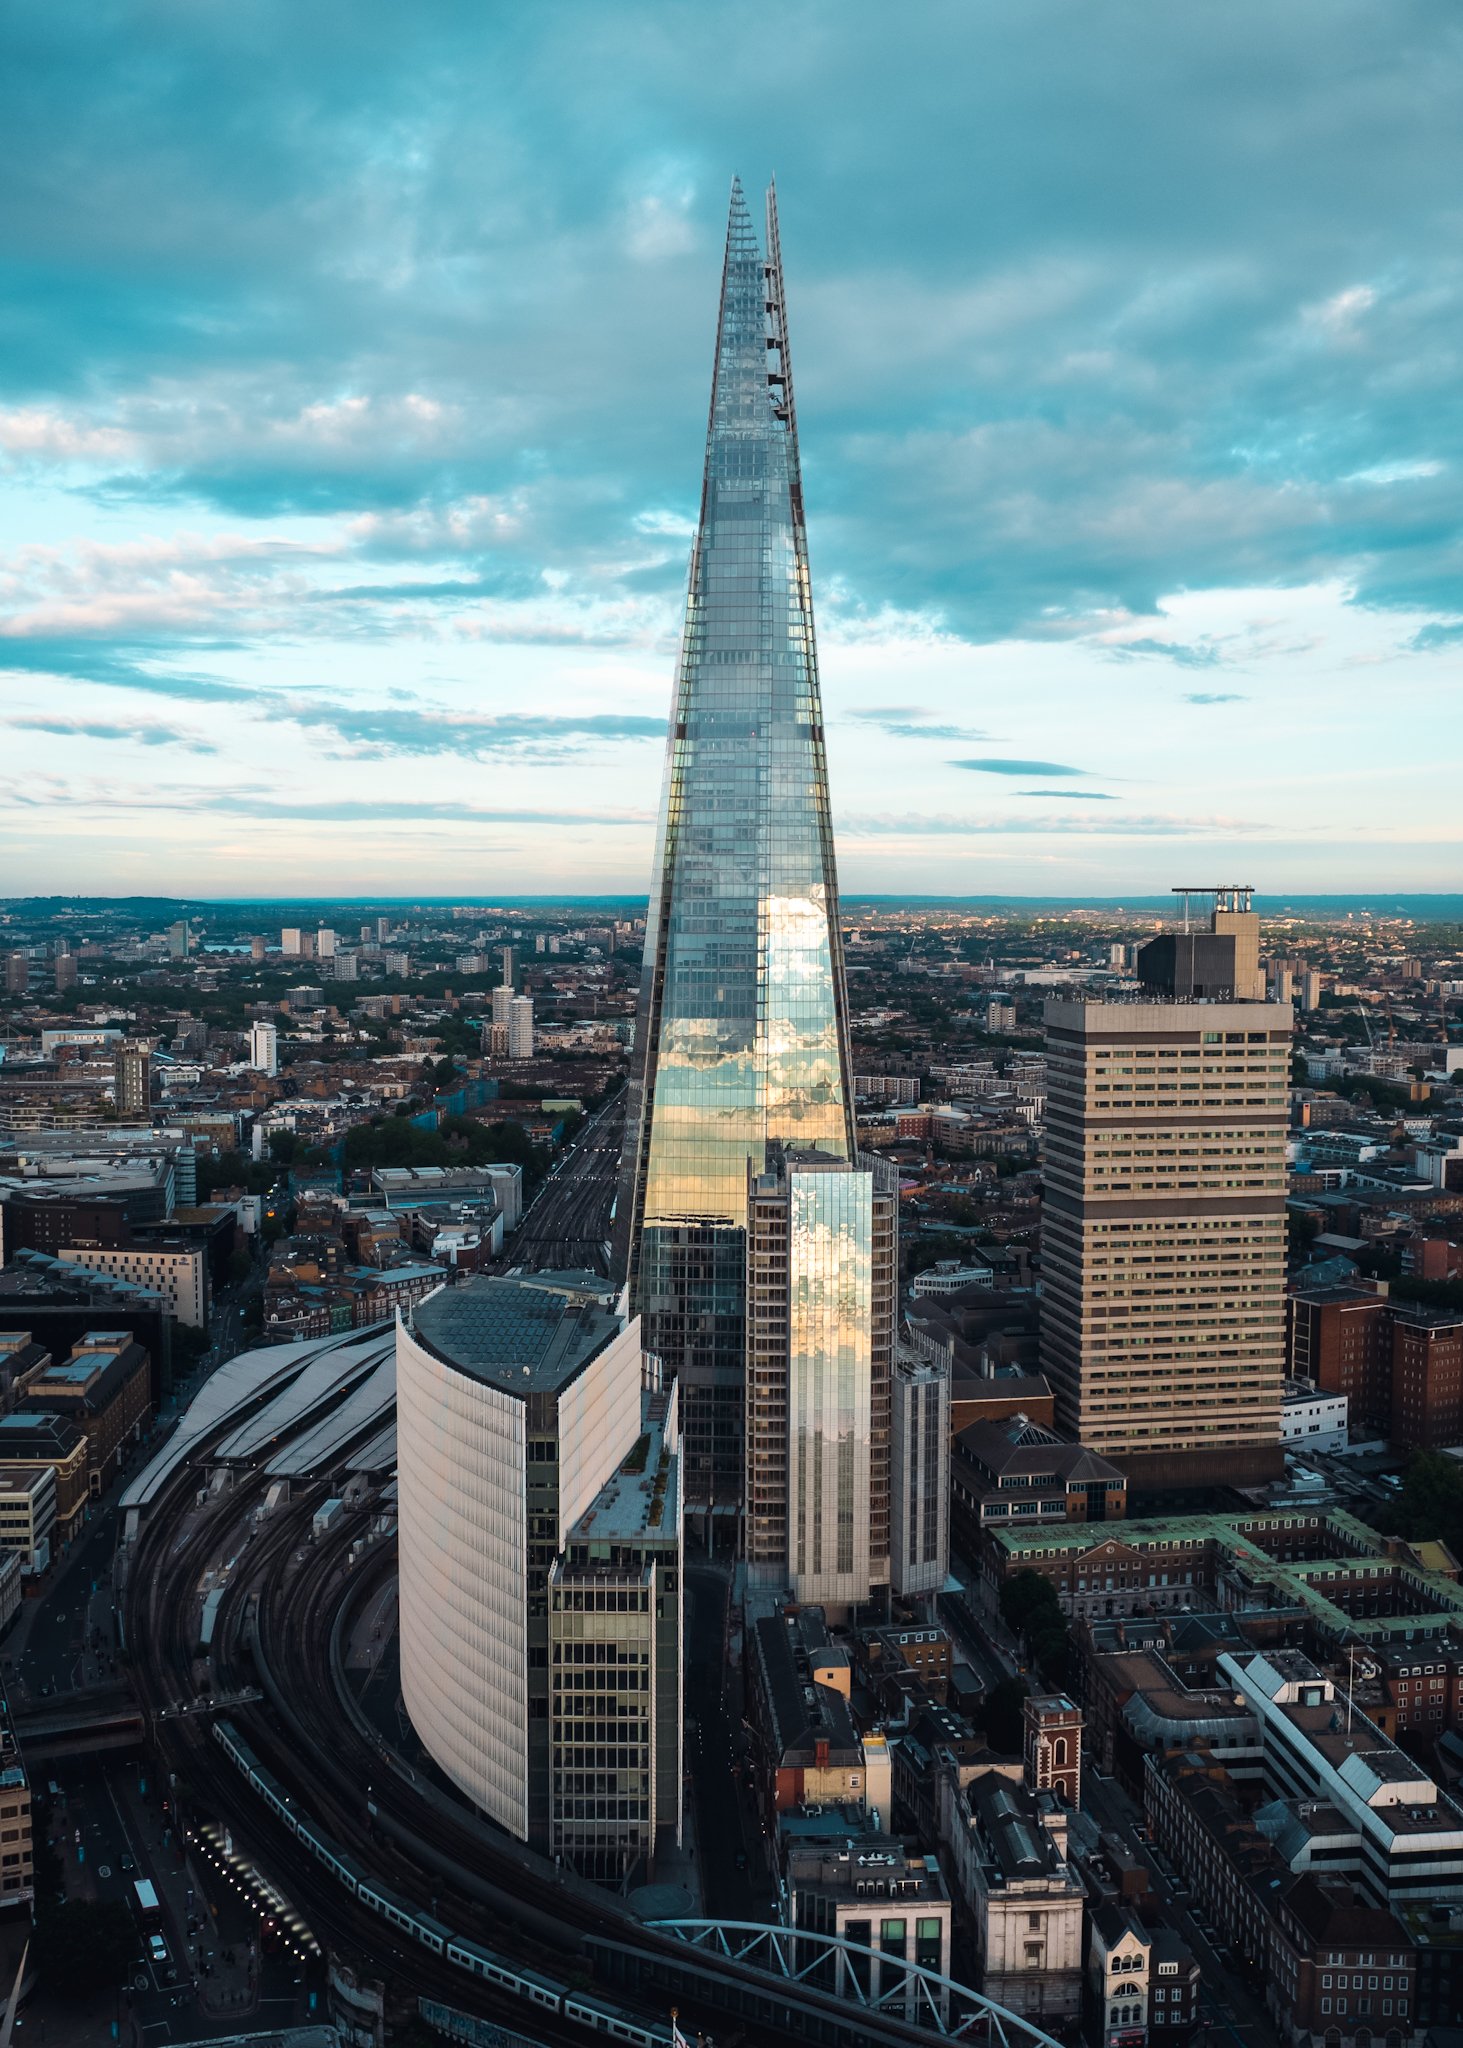
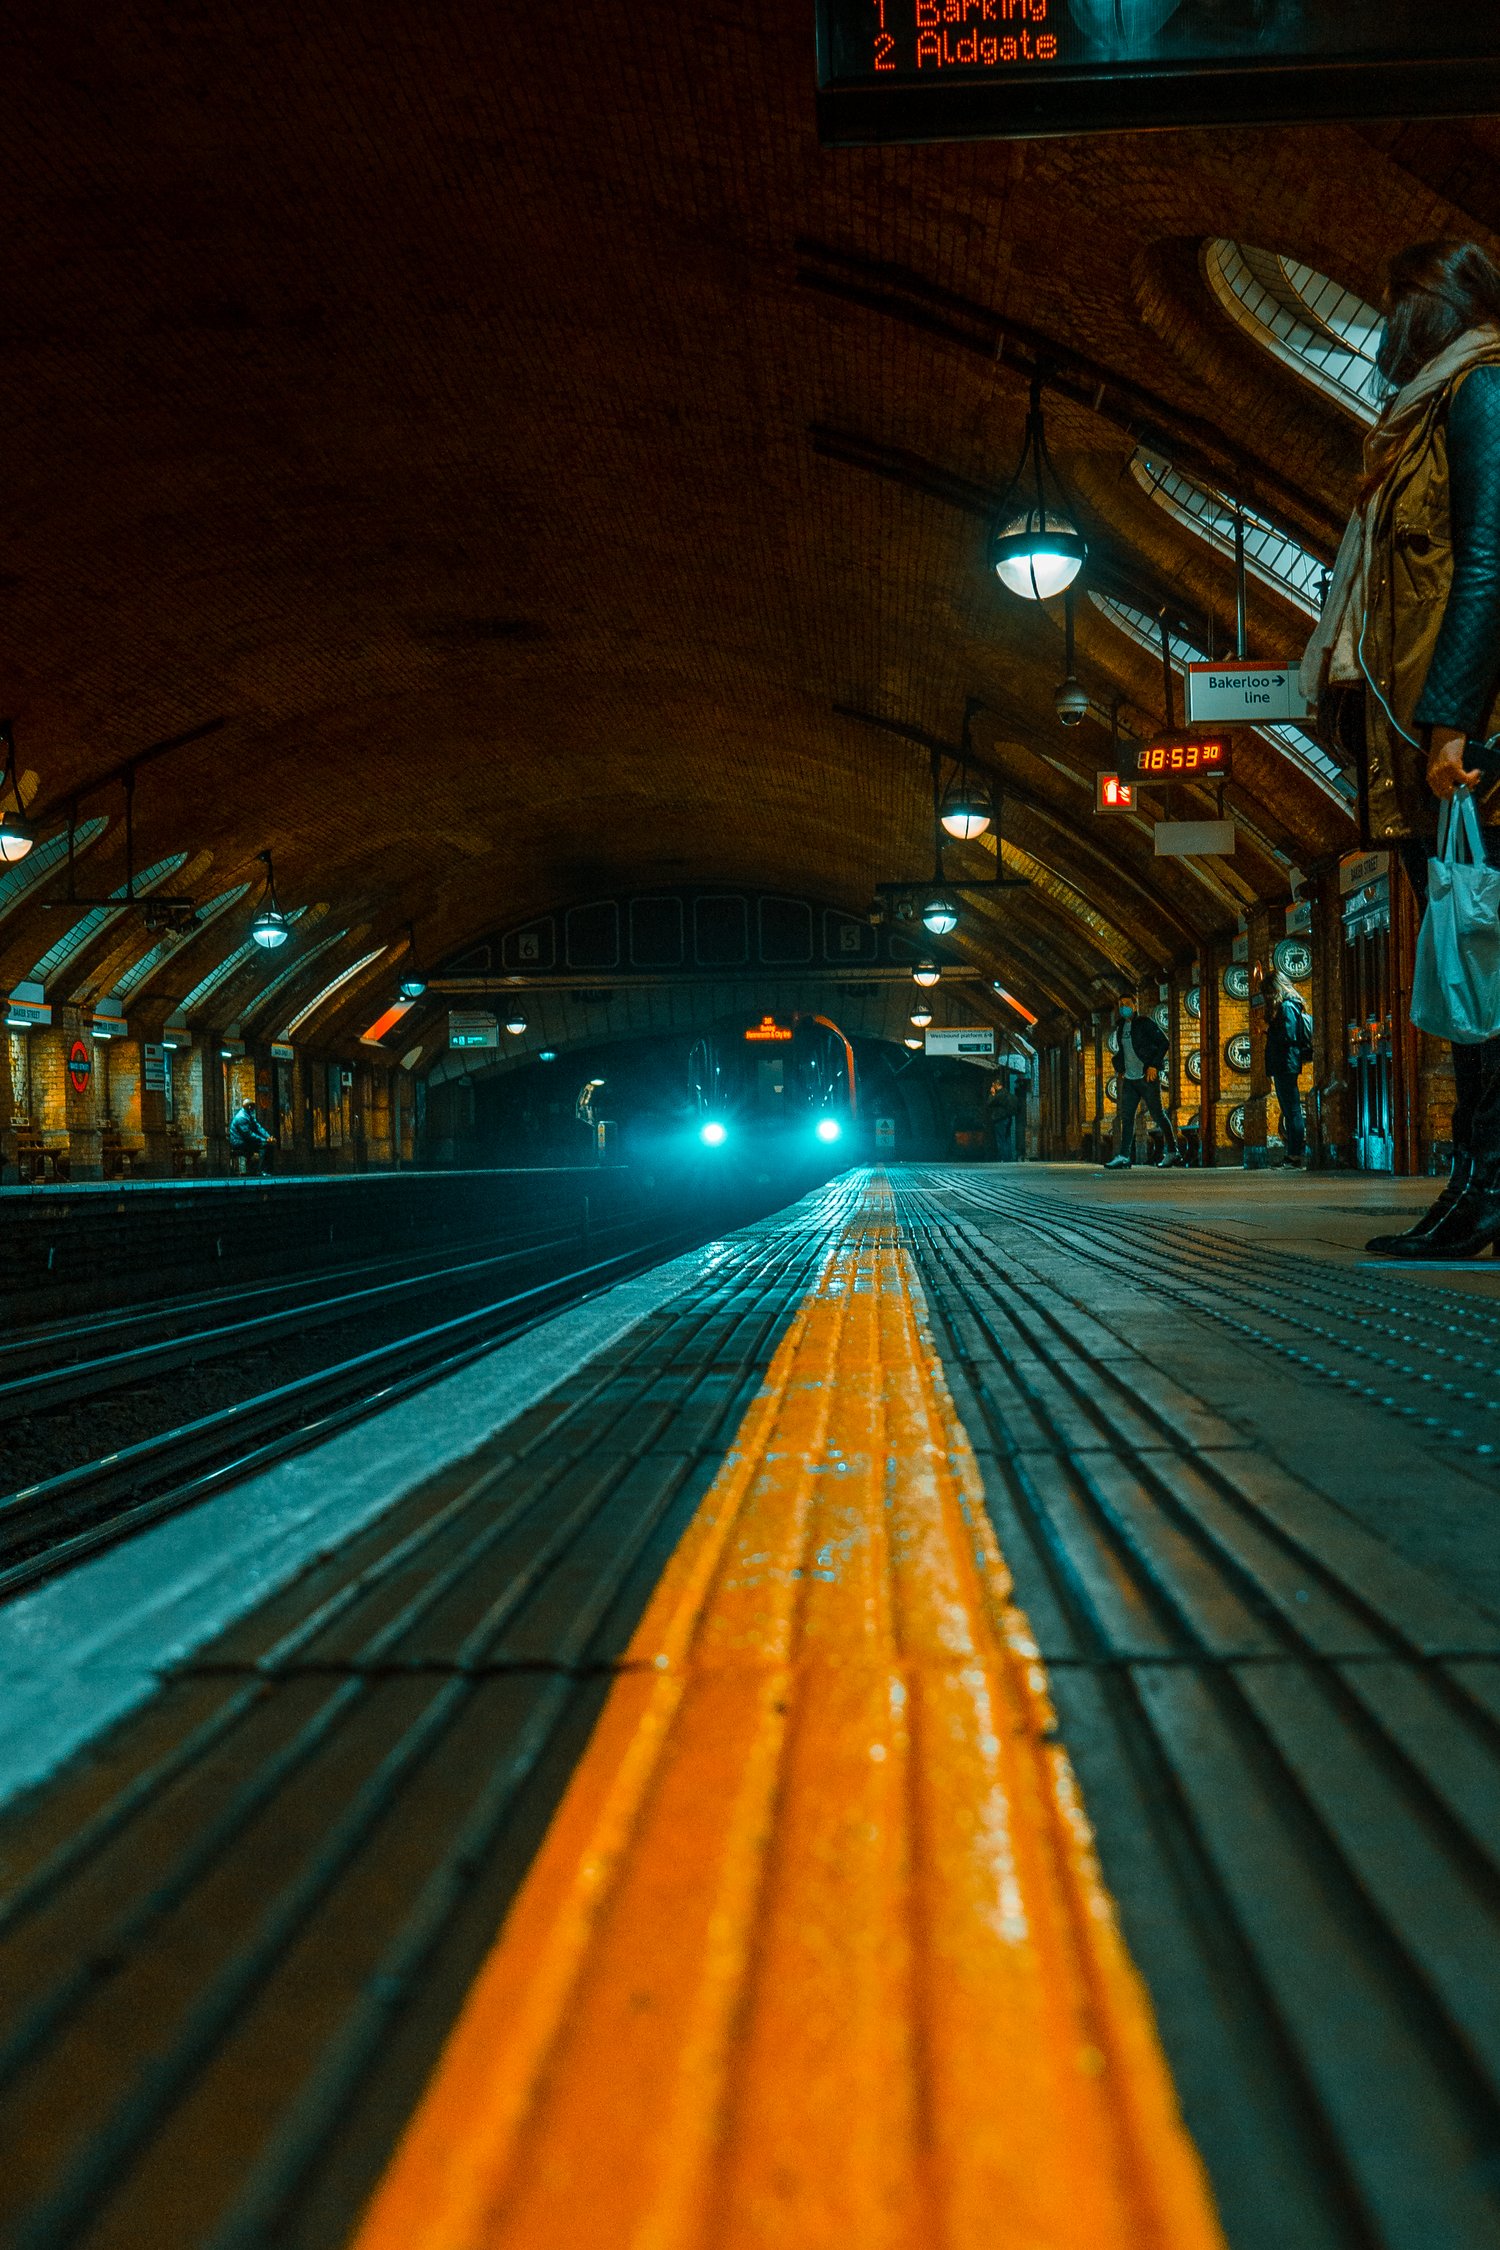
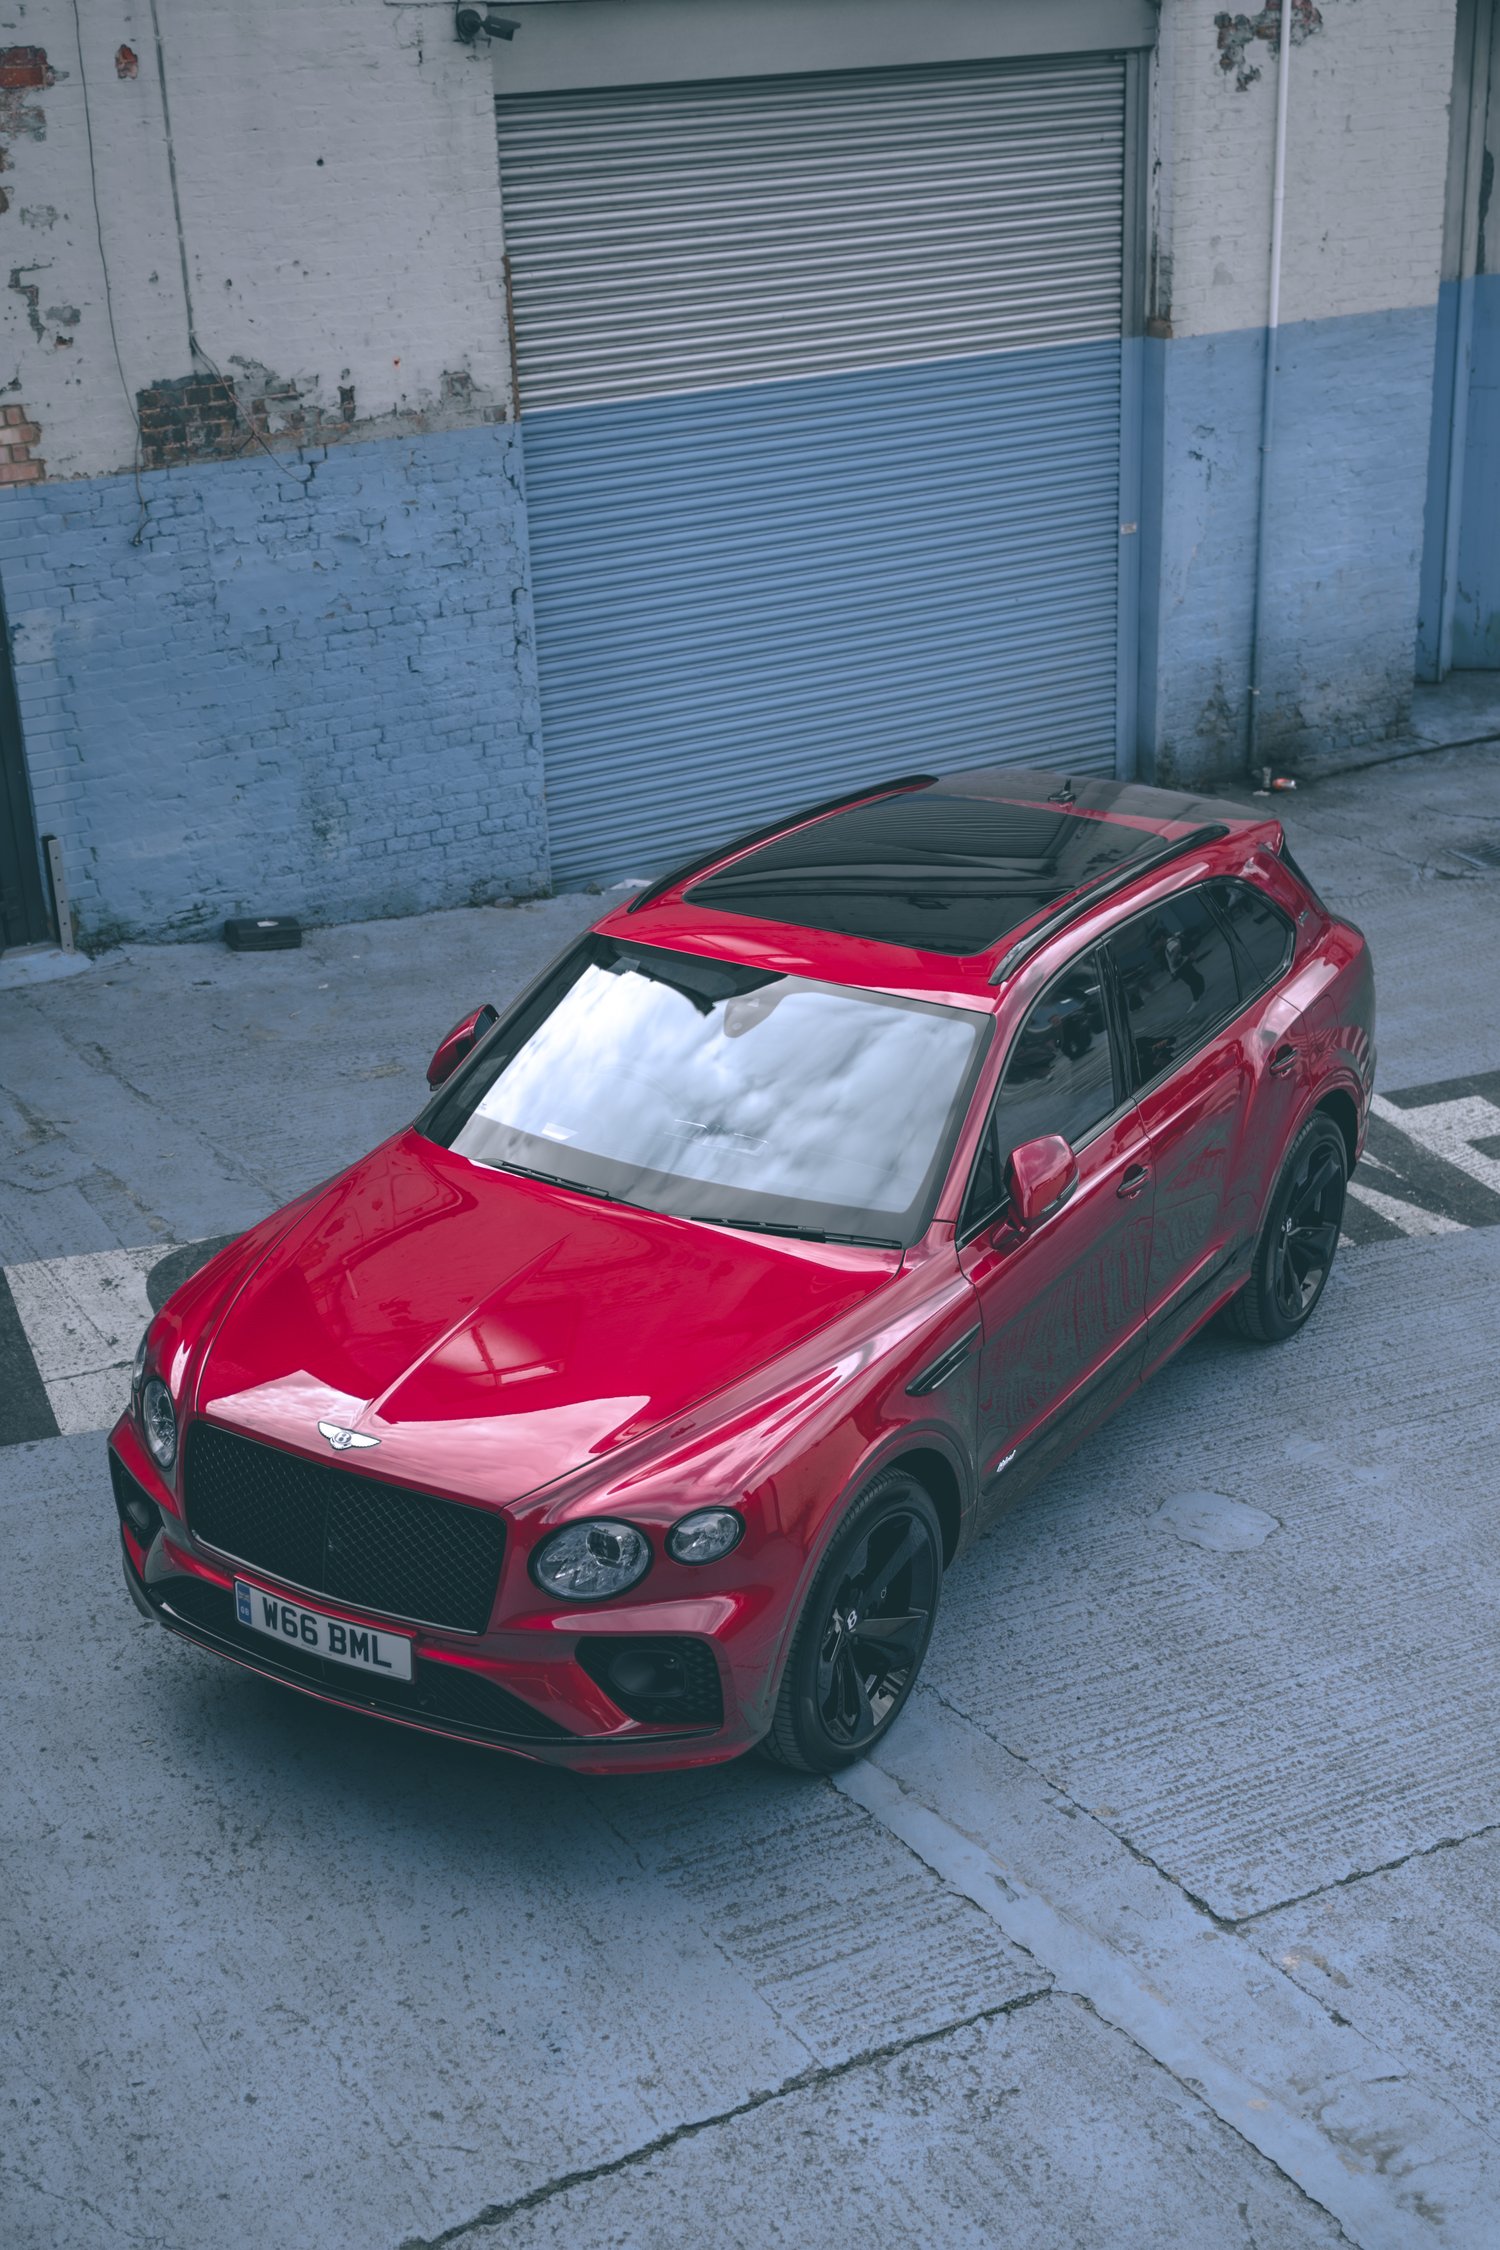
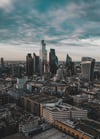


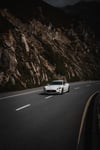
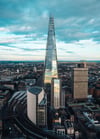
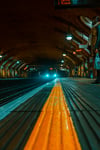

Winter Preset Pack for Lightroom
On Sale
£5.99
£5.99
Winter Preset Pack includes 10 Lightroom presets (Lightroom CC, Classic & Mobile)
Compatible with Lightroom Mobile (Android & IOS)
Presets in this pack include:
Open Lightroom Classic and go to the Develop module. You will see the modules listed at the top, right. You will be in the Library module when the program is first opened.
On the left you will see a section called Presets. You will see that there are already some basic presets listed. These come bundled with Lightroom.
Click on the + icon at the top right of the section.
Select Import Presets from the dropdown menu.
Navigate to the folder 'Lightroom and Lightroom Classic since Apr 2018 (.XMP)', select the presets ZIP file(s) and click Import. → Selecting the ZIP file(s) is the preferred import method here, because it preserves the folder structure of the archive.
Your presets will now be listed in the Presets section.
Method 1: via Lightroom on desktop (using XMP presets)
You must install the presets in the Lightroom desktop application (not Lightroom Classic) on your Windows or Mac computer first. Once they are installed, the presets will automatically sync to your mobile device via the cloud.
Method 2: via Lightroom Mobile app
Below you will find installation instructions on how to install Lightroom Presets in the free Lightroom Mobile app for Apple iOS and Android for which you do not need a paid version of Lightroom.
Installation Guide for Lightroom Mobile app (Android)
01 / Open the Lightroom application on your phone and select an image from your library and press to open it.
02 / Slide the toolbar to the bottom to the right and press the "Presets" tab. Press the three dots to open the menu and select "Import Presets".
03 / Your file explorer appears on the screen. Navigate to the folder on your phone where you downloaded the .ZIP file and press the .ZIP file to import the presets. (If you cannot import the .ZIP file directly, use the "My Files" app on your phone to extract the contents of the .ZIP file first.)
04 / Your presets will now be imported and will be available under a new group in the "Presets" tab.
Installation Guide for Lightroom Mobile app (IOS)
01 / Open the Lightroom Mobile app on your iPhone. Click the "+" icon in your library and choose to create new “Folder”. Name the new folder "Presets" and open the folder. Press "Create New Album" and name the album after the downloaded presets, plus "DNG" (e.g. "Dark & Dramatic DNG").
02 / Open the album and press the "Add" icon in order to add new images. Navigate to the folder you extracted from the downloaded .ZIP file and select all DNG files in the folder. When you have selected all, choose "Open".
03 / Open the first DNG image and press the icon with the three dots to open the menu and select "Create Preset".
04 / Name your preset after the preset pack (e.g. Dark & Dramatic - 01). In "Preset Group", select "Create New Preset Group" and name it after the name of the preset pack. Uncheck "Tools", "Details", "Optics" and "Geometry". Under the “Light” tab uncheck “Exposure”, and under the “Color” tab make sure to uncheck “White Balance”. Press the tick to create the preset.
05 / Follow the same method as in steps 5 and 6 to create your presets from the other DNG files.
06 / When you are finished, you will now find the presets under the "Presets" panel.
For any questions or support please contact @ShotByHas via direct message or email.
Compatible with Lightroom Mobile (Android & IOS)
Presets in this pack include:
- Black Ice
- City
- Daylight
- Forest
- Midnight
- Polar
- Rain
- Thunder
- Tokyo
- Urban
Installing presets in Lightroom Classic /CC
Open Lightroom Classic and go to the Develop module. You will see the modules listed at the top, right. You will be in the Library module when the program is first opened.
On the left you will see a section called Presets. You will see that there are already some basic presets listed. These come bundled with Lightroom.
Click on the + icon at the top right of the section.
Select Import Presets from the dropdown menu.
Navigate to the folder 'Lightroom and Lightroom Classic since Apr 2018 (.XMP)', select the presets ZIP file(s) and click Import. → Selecting the ZIP file(s) is the preferred import method here, because it preserves the folder structure of the archive.
Your presets will now be listed in the Presets section.
Installing presets in Lightroom Mobile
Method 1: via Lightroom on desktop (using XMP presets)
You must install the presets in the Lightroom desktop application (not Lightroom Classic) on your Windows or Mac computer first. Once they are installed, the presets will automatically sync to your mobile device via the cloud.
Method 2: via Lightroom Mobile app
Below you will find installation instructions on how to install Lightroom Presets in the free Lightroom Mobile app for Apple iOS and Android for which you do not need a paid version of Lightroom.
Installation Guide for Lightroom Mobile app (Android)
01 / Open the Lightroom application on your phone and select an image from your library and press to open it.
02 / Slide the toolbar to the bottom to the right and press the "Presets" tab. Press the three dots to open the menu and select "Import Presets".
03 / Your file explorer appears on the screen. Navigate to the folder on your phone where you downloaded the .ZIP file and press the .ZIP file to import the presets. (If you cannot import the .ZIP file directly, use the "My Files" app on your phone to extract the contents of the .ZIP file first.)
04 / Your presets will now be imported and will be available under a new group in the "Presets" tab.
Installation Guide for Lightroom Mobile app (IOS)
01 / Open the Lightroom Mobile app on your iPhone. Click the "+" icon in your library and choose to create new “Folder”. Name the new folder "Presets" and open the folder. Press "Create New Album" and name the album after the downloaded presets, plus "DNG" (e.g. "Dark & Dramatic DNG").
02 / Open the album and press the "Add" icon in order to add new images. Navigate to the folder you extracted from the downloaded .ZIP file and select all DNG files in the folder. When you have selected all, choose "Open".
03 / Open the first DNG image and press the icon with the three dots to open the menu and select "Create Preset".
04 / Name your preset after the preset pack (e.g. Dark & Dramatic - 01). In "Preset Group", select "Create New Preset Group" and name it after the name of the preset pack. Uncheck "Tools", "Details", "Optics" and "Geometry". Under the “Light” tab uncheck “Exposure”, and under the “Color” tab make sure to uncheck “White Balance”. Press the tick to create the preset.
05 / Follow the same method as in steps 5 and 6 to create your presets from the other DNG files.
06 / When you are finished, you will now find the presets under the "Presets" panel.
For any questions or support please contact @ShotByHas via direct message or email.