
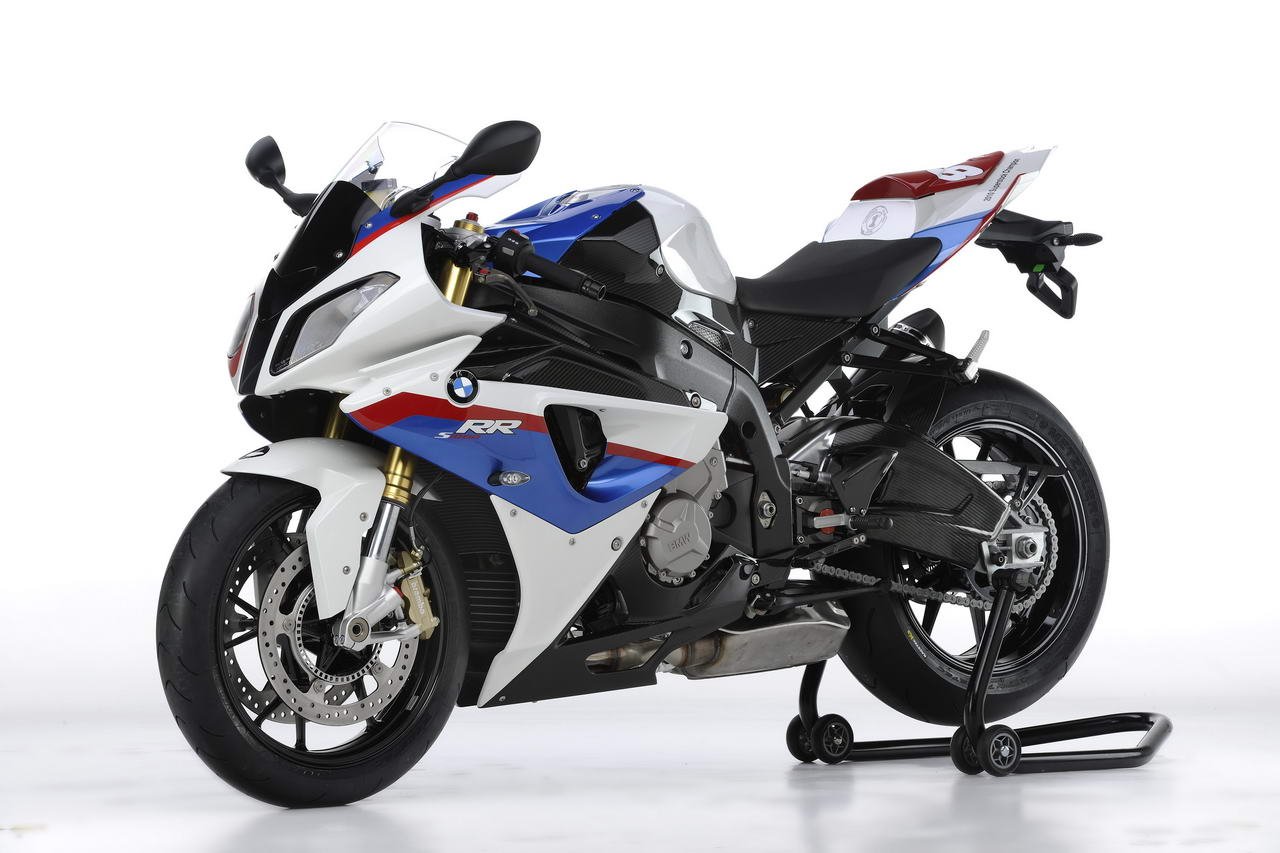
BMW S1000 RR S 1000 RR All Models Motorcycle Workshop Repair Service Manual 2009-2012 PDF - MBMWS0910OMMK.zip
BMW S1000 RR All Models Motorcycle Repair & Service Manual 2009-2012
This is a full workshop repair manual covering the BMW S 1000 RR and S 1000 RR (USA) versions, containing everything a dealership-grade technician needs to service, troubleshoot, fix, and restore or rebuild the bike to factory standards.
workshop service & repair manual includes:
* Numbered table of contents easy to use so that you can find the information you need fast.
* Detailed sub-steps expand on repair procedure information
* Numbered instructions guide you through every repair procedure step by step.
* Troubleshooting and electrical service procedures are combined with detailed wiring diagrams for ease of use.
* Notes, cautions and warnings throughout each chapter pinpoint critical information.
* Bold figure number help you quickly match illustrations with instructions.
* Detailed illustrations, drawings and photos guide you through every procedure.
* Enlarged inset helps you identify and examine parts in detail.
...
File Format: DVD iso image
Language: EN/DE/ES/FR/GK/IT/JP/NL/PT
Delivery: instant download link displayed on page & emailed to you after checkout
Protection: DRM-free; without any restriction
34 51 011 Replacing pressure modulator (without bleeding/testing software/ programming)
Equipment trim-level variant:
0128 - BMW Motorrad Race ABS
0129 - BMW Motorrad Race ABS and DTC
--------------------------------------------------------------------------------
Attention
Brake fluid attacks paintwork, plastic and rubber parts.
Do not allow brake fluid to come into contact with paintwork, plastic or rubber parts.
--------------------------------------------------------------------------------
Preparatory work
=> Removing and installing the rear-wheel stand special tool (motorcycles without centre stand) (Description in item: 46 52 510, Billed as a separate item)
=> Change brake fluid in entire system (Description in item: 34 00 504, Billed as a separate item)
Remove the front seat
Removing complete cover of fuel tank
Removing fuel tank
Disengaging fuel tank retaining bridge
Core activity
(+) Removing pressure modulator
(-) Removing pressure modulator
Remove sealing screw (1) with sealing washers (2) and remove brake line (3).
Remove sealing screw (4) with sealing washers (5) and remove brake line (6).
Move brake lines (3) and (6) to one side.
Open the cable tie (arrow).
Remove sealing screw (1) with sealing washers (2) and remove brake line (7).
Remove sealing screw (4) with sealing washers (5) and remove brake line (8).
Move brake lines (7) and (8) to one side.
Open the cable tie (arrow).
Disconnect plug (9) for the pressure modulator.
Loosen nuts (10).
Remove pressure modulator (11), noting rubber damper (12).
(+) Replacing pressure modulator
(-) Replacing pressure modulator
Remove the following components and transfer them to the new pressure modulator:
Screws (1)
Anti-twist stop (2)
Rubber damper (3)
Tighten screws (1) to specified tightening torque.
46 62 050 Renewing number plate carrier
Preparatory work
=> Removing and installing the rear-wheel stand special tool (motorcycles without centre stand) (Description in item: 46 52 510, Billed as a separate item)
Remove the rear seat
Core activity
(+) Removing complete number-plate carrier
(-) Removing complete number-plate carrier
Open the cable tie (arrow) and disconnect plug (1) for the rear lights.
Work cable (2) clear of the motorcycle.
Remove screws (3) with washers (4) and remove number-plate carrier (5).
(+) Removing number-plate light bulb
(-) Removing number-plate light bulb
Remove bulb for number-plate light (1).
Remove nuts (2) with washers (3).
Remove number-plate light (4).
(+) Remove the rear left and right turn indicators
(-) Remove the rear left and right turn indicators
Remove screw (1) and remove turn indicator glass (2).
Disconnect plugs (3) and (4) for the flashing turn indicator and work the cable clear.
Remove screw (5) with nut (6).
Remove flashing turn indicators (7).
Repeat this step in this routine on the other side of the motorcycle.
(+) Replace the number-plate carrier
(-) Replace the number-plate carrier
Secure new reflector (1) to the new number-plate carrier.
Transfer the following components from the old number-plate carrier to the new part:
Flat nuts (2)
Rubber grommets (3)
Tail-section wiring harness (4) with retaining clips (5)
(+) Installing rear turn indicators, left and right
(-) Installing rear turn indicators, left and right
Install flashing turn indicator (7).
Install screw (5) with nut (6).