

By Creatify Co
You just got a yes from a new client. Congratulations! Now comes the part many freelancers skip: setting things up so the project runs smoothly from the first hello to the final invoice.
A clear onboarding process helps you look professional, avoids confusion about what is included, and makes getting paid much less stressful. The good news is that it does not need to be complicated. Here is a simple 5-step process you can use with every new client.
Step 1: Capture the inquiry
Before you send a quote, write down what you learn. A few notes now will save you many messages later.
Note these things for every new inquiry:
- The client's name and the best way to contact them
- What their business does
- What they need, in their own words
- Their budget, start date, and deadline
- When they plan to decide
If you talk on a call, keep a short list of the questions you asked and the next step you both agreed on.
Step 2: Onboard your client
Once the client says yes, welcome them the same clear way every time. A simple checklist keeps you from forgetting anything:
- Proposal sent and accepted
- Agreement signed
- Deposit invoice sent and received
- Intake form completed
- Files and logins received
- Kickoff call booked
Also share a few welcome notes: how you prefer to be contacted, your working hours and reply time, how many rounds of revisions are included, and your project start date. Setting these expectations early prevents most misunderstandings.
Step 3: Write down the scope of work
Scope creep happens when nobody writes down what was included. List each deliverable, the details, the due date, and the fee. Then note your terms, such as revision rounds and when payment is due.
A written scope protects both you and your client. If you need a formal contract, ask a professional in your area to help, because this is general information and not legal advice.
Step 4: Track the project and send your invoice
Keep every task and deadline in one place so nothing slips. A simple tracker with the task, the client, the status, the start date, and the due date is enough.
When it is time to invoice, include these basics:
- Your name or business name and contact details
- The client's name and details
- An invoice number and the invoice date
- A clear description of the work, with quantity and rate
- The total amount and the due date
- Your payment details
Then keep an invoice tracker so you can see what you sent, what is due, and what has been paid. Checking it once a week makes late payments easier to notice and follow up on politely.
Step 5: Follow up and review
A good ending helps you get repeat clients and referrals. When the project is done:
- Deliver the final files
- Send the final invoice
- Confirm that payment was received
- Send a thank-you message
- Ask for a short testimonial
- Update your portfolio
Then take a few minutes at the end of each month to review your income: what you invoiced, what you were paid, and what is still waiting. Note what worked well and one thing you will improve next month.
Common onboarding mistakes to avoid
- Starting work before the deposit or agreement is settled. Get the basics in place first.
- Leaving the scope vague. Write down what is included and what is not.
- Forgetting to set reply times. Clients feel calmer when they know when to expect an answer.
- Sending invoices late. Invoice on time, and keep track of due dates.
- Skipping the follow-up. A thank-you message and a request for feedback cost nothing.
Want it all in one place?
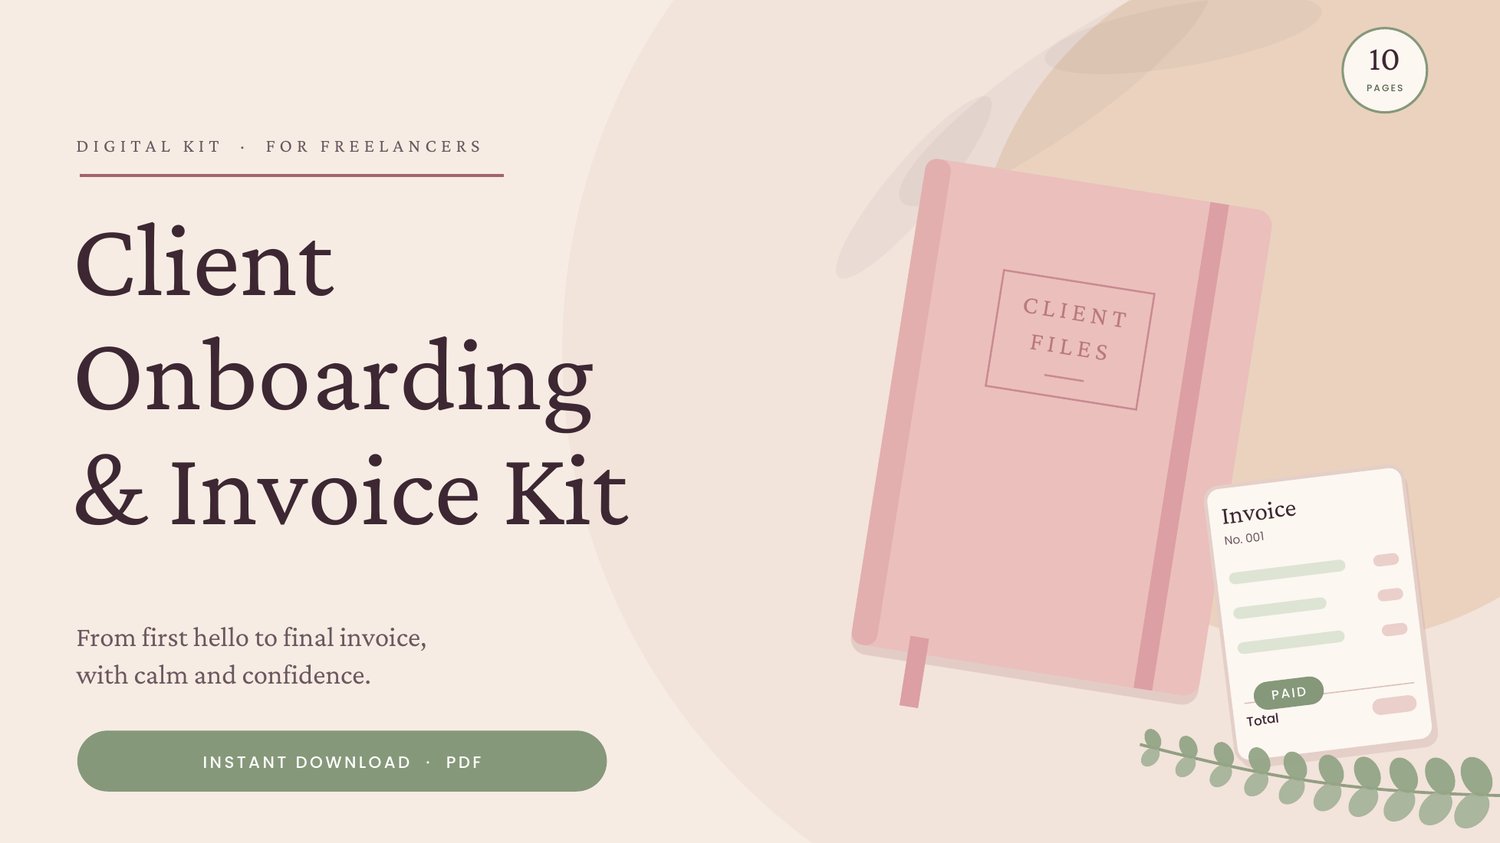
If you would like these steps ready to fill in, I made the Freelancer Client Onboarding & Invoice Kit. It is a 10-page PDF with a client inquiry page, onboarding checklist, scope of work, project tracker, invoice template, invoice tracker, wrap-up checklist, and monthly income review. You can print it or fill it in on a tablet.
Get the kit here: https://payhip.com/b/2F5q4
It is an organizing tool, not a legal contract or legal, tax, or financial advice.
Frequently asked questions
What is client onboarding? It is the set of steps you follow after a client says yes, such as agreeing on the scope, collecting files, and setting expectations, so the project starts smoothly.
What should a freelance invoice include? Your details, the client's details, an invoice number, the date, a description of the work, the amount, the due date, and how to pay you.
Do I need a different process for every client? No. A repeatable process saves time. You can adjust the details for each client, but the steps stay the same.
Can I use these steps for any kind of freelance work? Yes. They work for virtual assistants, designers, writers, social media managers, and many other freelancers.
Final thoughts
Good onboarding is not about being formal. It is about being clear, kind, and organized so your clients feel looked after, and you feel calm. Start with one new client, follow the five steps, and adjust as you go.
Thank you for reading, and happy freelancing!
Creatify Co