

How to Make the Best Homemade Crafts to Sell
Templates are basically the patterns for your quilts. On your templates, you cut the materials you need from strong fabrics. If you were making patterns, you would cut the templates from ordinary paper.
When you create templates, you make the quilt making process a lot easier. The surface patterns will flow more evenly, as well.
When you can use your created templates, you can trace along your patterns which is a lot quicker than pinning graphing paper to your quilt material. It is easy to purchase ready-made templates, but you can save money by creating your own.
You can purchase silicone or transparent plastic quilt templates at stores that sell craft supplies, like the dollar stores and at craft stores. If you choose plastic quilt templates, you will need to individually, trace your patterns.
You will need to make an allowance for your seams. After you create your patterns, cut your templates.
The plastic templates are ideal for making larger quilts.
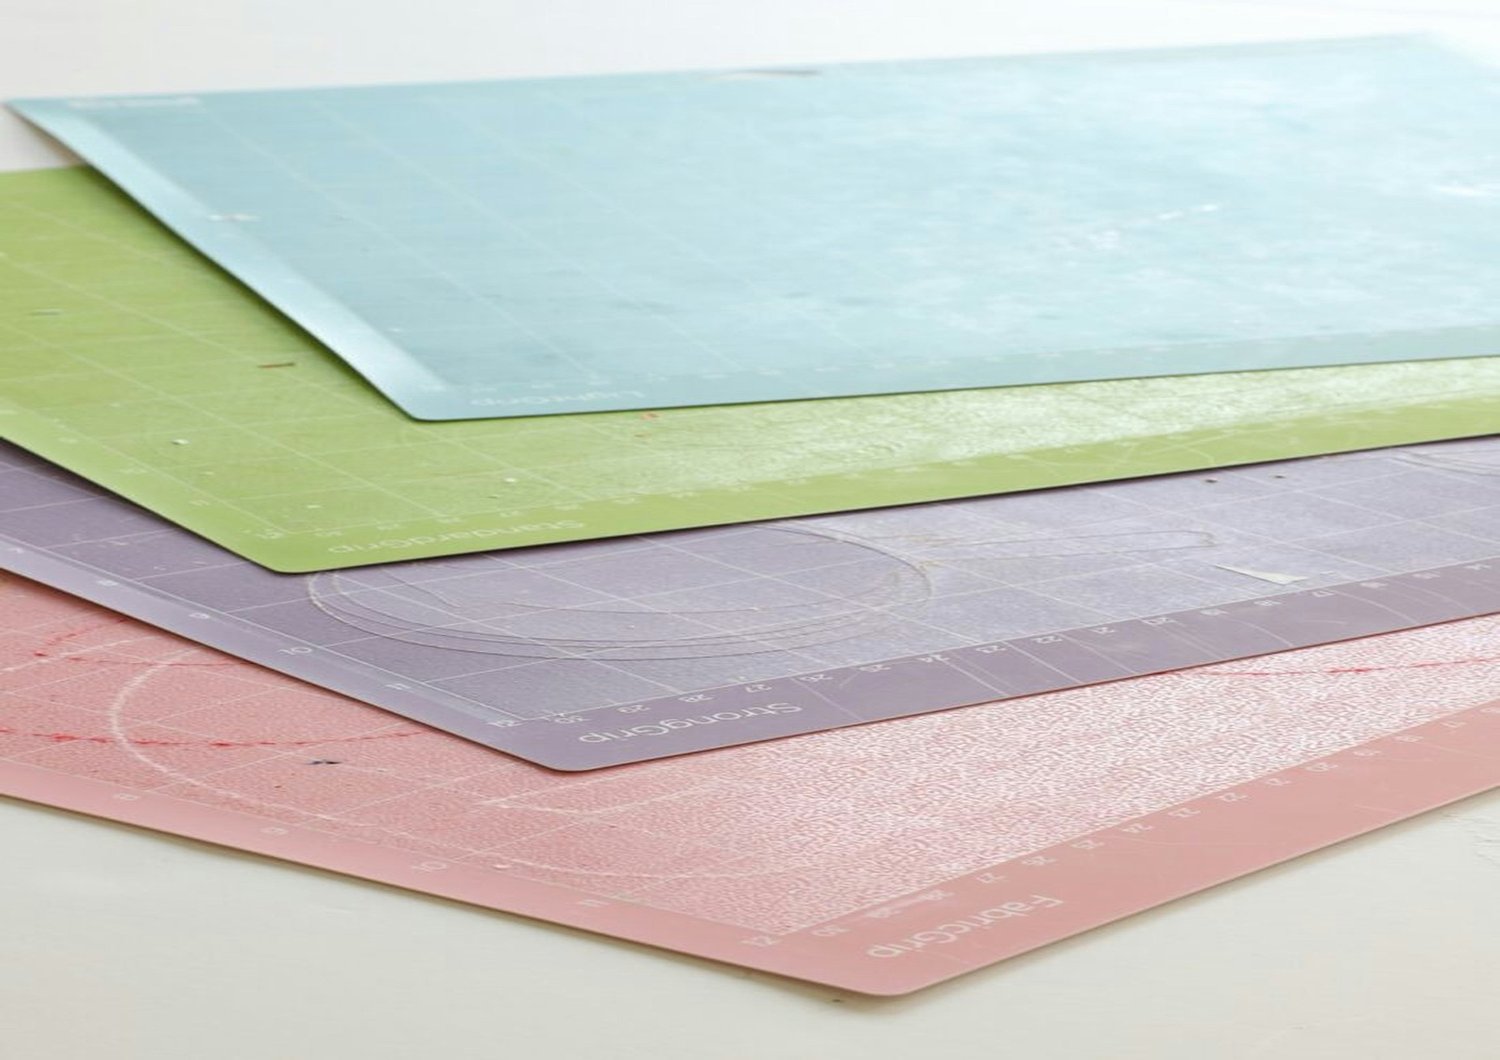
Straight grains make up woven textiles. The grain lines run comparably along the edges of the non-fraying edges in the materials. Across the straight grain, is another line known as the cross grain. Crafters use the term to define the lines, such as Fabric on the grain. You will need to eliminate the edges, by cutting it off.
The non-frayed edges are makes up the areas that have not been cut, especially around the label and the snug woven areas.
How to Make the Best Homemade Crafts to Sell
How to create basic quilt templates:
Creating templates is as simple as tracing your designs on paper. To create your templates, you will need to choose plastic and/or paper. Once you make your choice you will need to trace your template to paper, add a few permitted seams, and then use adhesive to add your trace to a clip of hard copy, i.e. cardboard or the like and cutout your templates.
Wait: before you cut your templates, first make several copies.
- On a flat surface, arrange the patterns around until you achieve your what you want the design to look like.
- Once you achieve your patterns add numbers and/or letters to mark your pattern. This will help you remember where each template goes.
Next, you will cut your pattern parts out. Cut the outside areas only at the edges.
- You will need to create one template per piece to add to your quilt.
After that, trace your patterns, tracing the parts onto your plastic and/or paper. Space the parts once inch apart from each other - on all four sides.
- Use a measuring device, such as a ruler to draw -inch line at the outer outline. On your templates, create a dot. You want the dots to meet two seams per count. The dots are important to mark your stitching areas.
Next, use your direction of textile thread lines (Grain line) and convey the arrows you have created from your model parts and relocate it to your template. You have made basic templates; however, there is a variety to choose from.
How to Make the Best Homemade Crafts to Sell
Tip: You can invent templates using software installed on your computer.
In addition to the basic templates, you can make window templates. The templates are ideal for those want to piece by hand. You can also make templates for pre-prepared designs.
Window templates can assist the beginners, since you will have a marked line to follow through when you begin stitching. The windows are easy to make, yet you must follow the hand piecing: rules to complete your patterns.
You can also add templates to your window, which may include designs such as butterflies, roses, bouquets, etc. Regardless the window, basic, or other types of templates can lead up to a block/border pattern, which is a fashionable quilt.
How to Make the Best Homemade Crafts to Sell
Photo: Thomes Eve