
The potter’s wheel has been a fundamental tool in ceramic art for centuries, allowing artists to create symmetrical and functional pottery with ease. If you’re a beginner interested in wheel-thrown pottery, understanding the basics will help you get started on your creative journey.
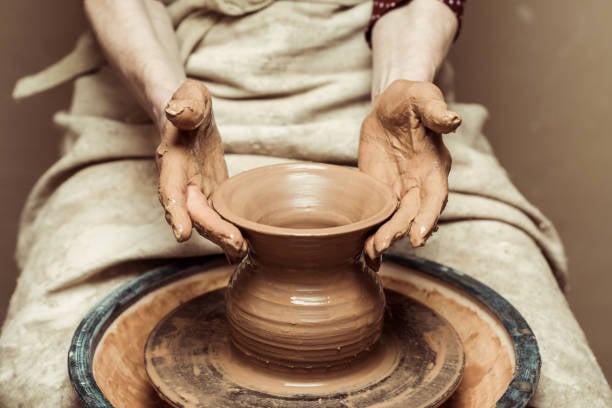
The first step in working with a potter’s wheel is centering the clay. This process involves pressing and shaping the clay while the wheel spins to ensure even distribution. Proper centering is essential for creating balanced and well-formed pieces. Once centered, you can begin shaping the clay by opening the center and pulling up the walls to create bowls, mugs, or vases.
Controlling the speed of the potter’s wheel is crucial. Beginners should start with slow, steady spins to maintain control over the clay. Using a consistent amount of water helps keep the clay soft and workable, but too much water can weaken the structure.
After shaping your piece, the next step is trimming, which involves refining the base and removing excess clay to achieve a polished look. Once trimmed, the pottery must be dried before firing in a kiln to harden the clay. A final glaze adds color and durability, bringing your wheel-thrown pottery to life.
Practicing on the potter’s wheel takes time and patience, but with dedication, you can create stunning handmade pieces. Whether you’re making pottery for fun or pursuing it as an art form, the journey of wheel-throwing is both rewarding and therapeutic.