
Each year, I create a homeschool curriculum for my kids. With the abundance of digital resources at my disposal, I've amassed quite a collection of books for our studies. Although these materials can be accessed on our phones, iPad, and computer, I still lean towards the tangible charm of a printed copy. I aim to provide them with the delight of physically flipping through pages, steering clear of gadgets to avoid screen-related eye strain.
Today, I'm excited to reveal my simple method for printing and binding these books. All you need is a printer, a PVC binder, and pre-punched blank loose leaves, and you'll be amazed at how straightforward it is to bring your print creations to life. Let's jump right in!
Step 1: Gather Your Materials
First things first, make sure you have everything you need:
- A printer
- A PVC binder
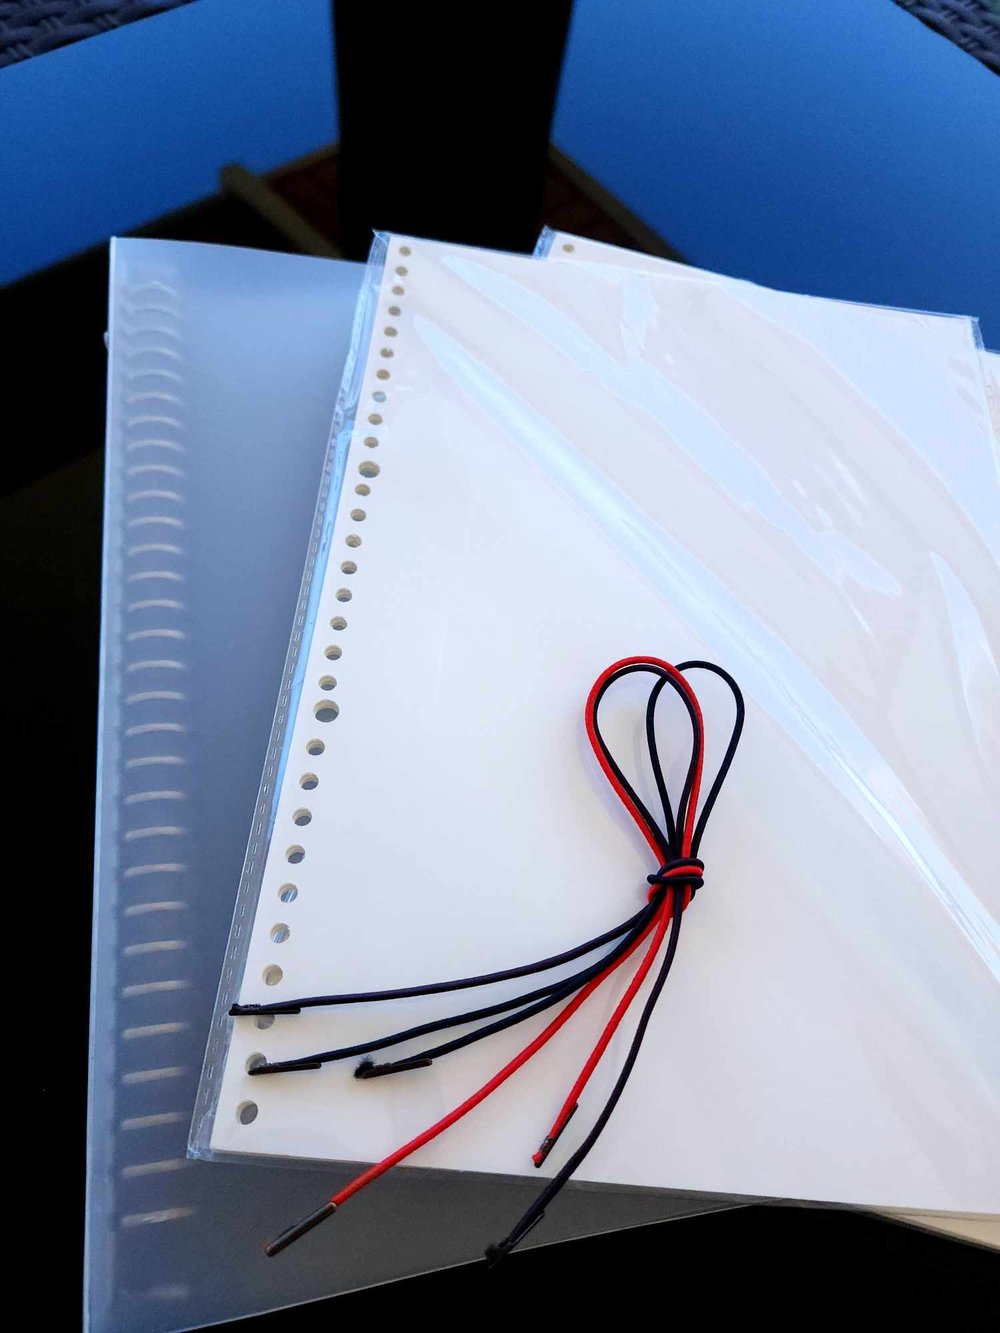
- Pre-punched blank loose leaves
Step 2: Design Your Curriculum
Before you start printing, have your curriculum content ready. Whether it's lesson plans, worksheets, or reading materials, make sure it's all set up and organized on your computer.
Step 3: Print Your Materials
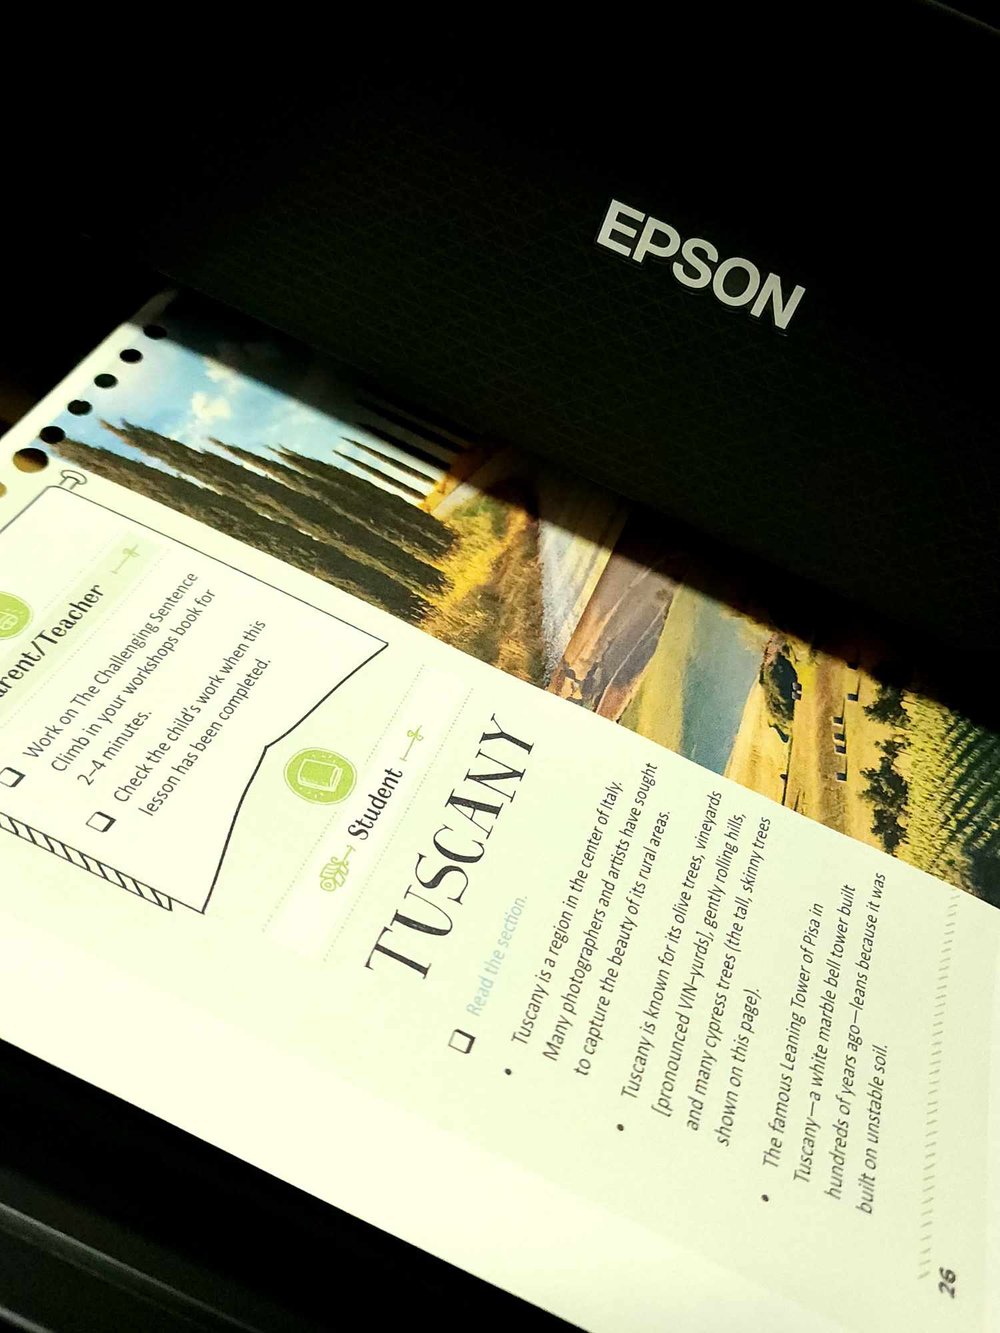
Now, here's where the magic happens. Load your printer with the blank loose leaves and start printing your curriculum materials. Make sure to double-check your printer settings to ensure the best quality and alignment. You may also want to test print. Since you're using pre-punched loose leaves, make sure the holes are on its appropriate side. I use different sizes for our books whatever I see more fit.
I use A4 size for books that I think require bigger prints and usually A5 size for those that are best in smaller prints and easier to carry around. The A5 size best fits our journals. And oh! It's available in different number of holes. I use the the 30 holes for A4 and 6 holes for A5. You can choose from the options available. just make sure that the number of holes matches your pvc binder too.
*Tip: If you're printing a large batch, consider doing it in smaller sections to prevent any mishaps. It's easier to catch mistakes this way!
P.S. I use Epson L3250 for printing.
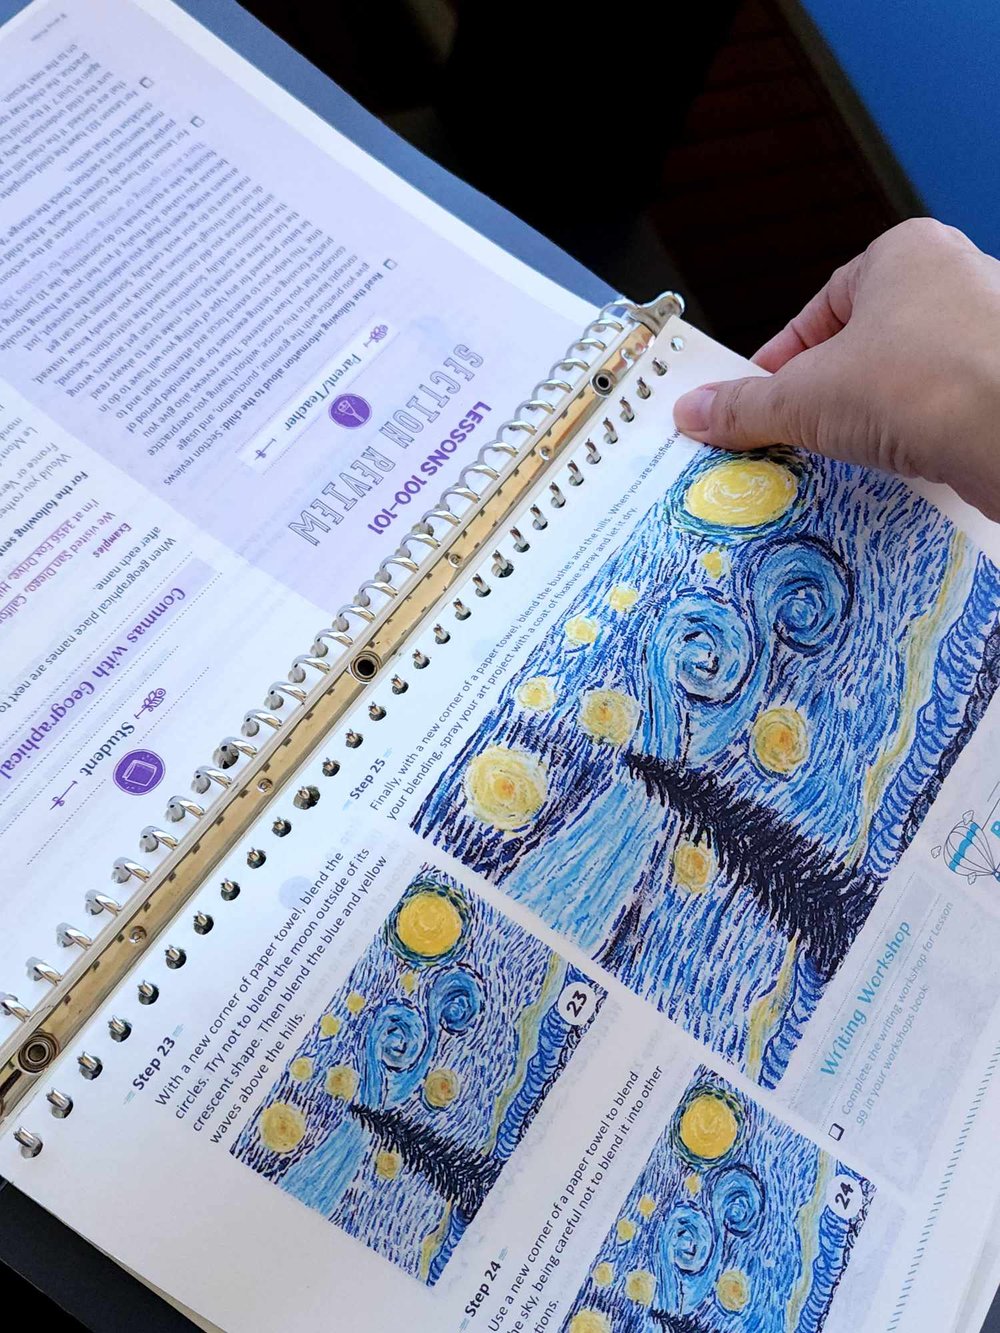
Step 4: Assemble Your Curriculum
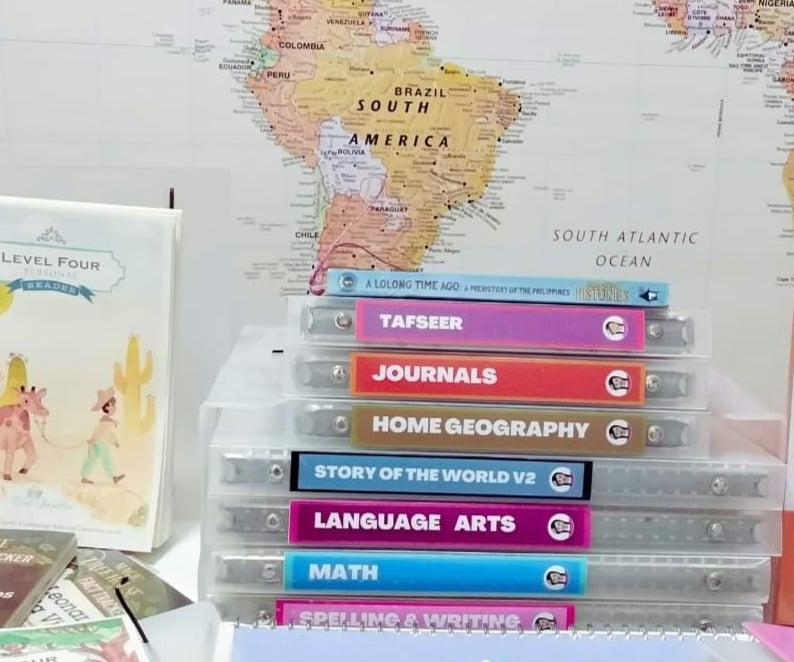
Once your pages are printed, it's time to assemble your curriculum. Place them in the PVC binder in the order you want them. You can also use dividers to separate different sections, if needed. Depending on the type of book I'm printing, I opt for either an A4 or A5 size binder. For subjects like Language Arts and Math, I prefer the A4 size 30 holes, while I go for the A5 size 6 holes for storybooks.
Step 5: Secure Your Pages
Now, all that's left is to close the PVC binder and secure your curriculum. The PVC binders usually come with a snap or clip mechanism to keep everything in place.
That's it! Easy-peasy!
Here are some additional options:
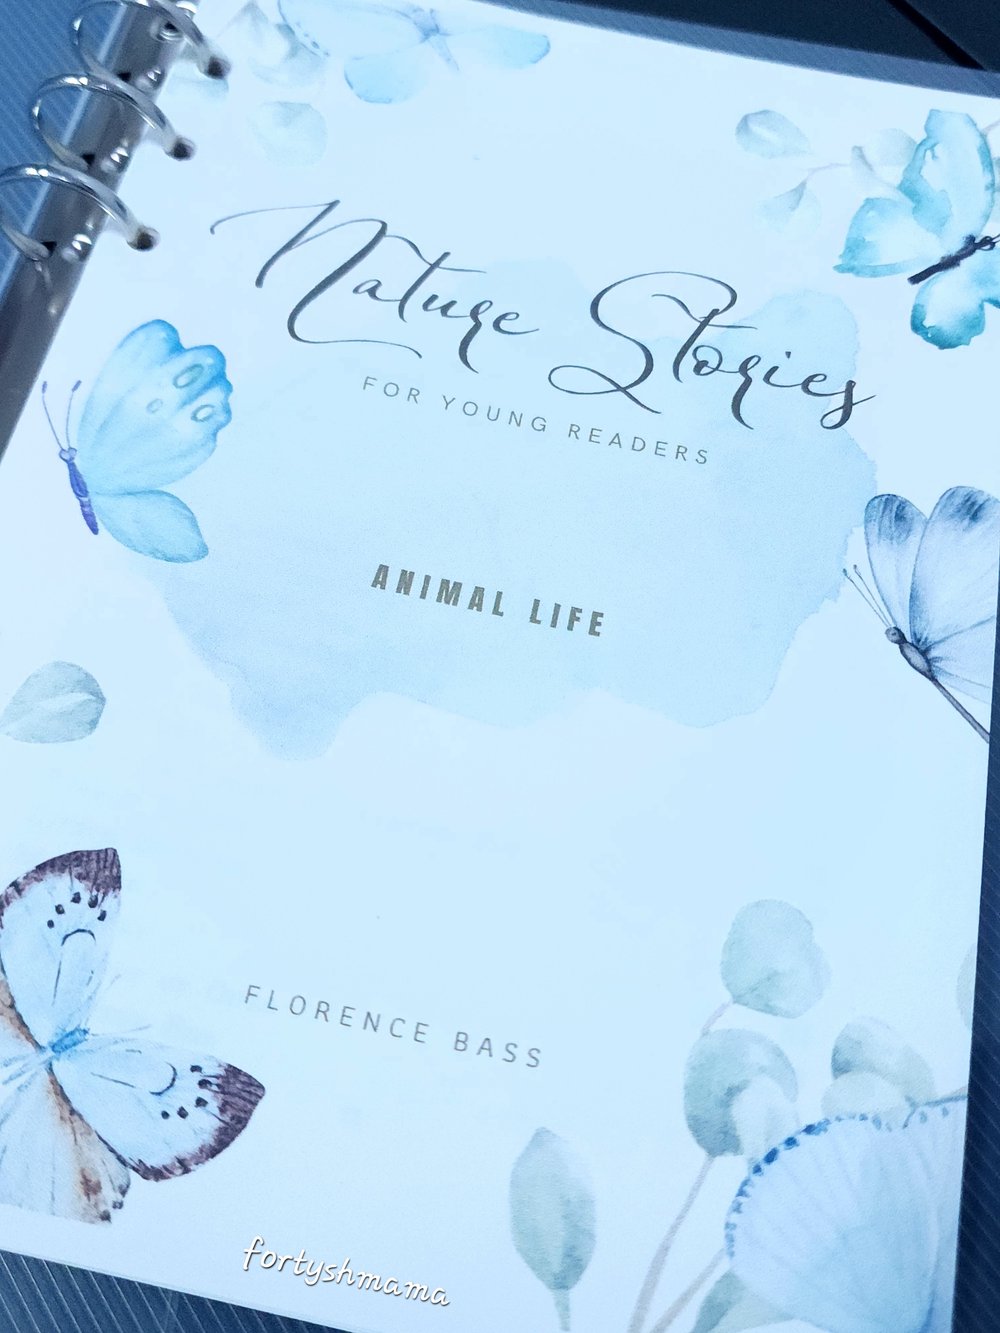
Customize Your Cover: To give your curriculum a personal touch, design and print a cover page. Slide it into the front of the PVC binder and tadaaaa!
Label Your Binder: Take a moment to label your binder. You can use adhesive labels or a permanent marker to write the title of your book or curriculum, the academic year, or any other relevant information on the spine or cover. This step adds a finishing touch and keeps you organized.
And there you have it! Your very own custom book or curriculum, all printed, bound, and neatly labeled, ready for your homeschooling adventures or personal reading pleasure.
I absolutely love this DIY method because it's budget-friendly, puts you in full control of your content, and allows for easy updates and revisions. Plus, it's a fun and rewarding way to create unique educational materials or your very own literary works.
So, if you're looking for a hassle-free way to create personalized curriculum materials, give this method a try. It's perfect for busy homeschooling parents who want flexibility and customization without breaking the bank. 📚✂️
Happy 💗 homeschooling!
Comments ()