
Looking for a simple, affordable, and transformative way to refresh your home? Peel and stick wallpaper might be the perfect solution. Whether you’re looking to add a pop of color to your living room, create a serene bedroom retreat, or make a bold statement with murals, peel and stick wallpaper offers an easy, mess-free way to elevate your interiors without breaking the bank.
Ready to get started? Here’s a step-by-step guide on how to reimagine your walls with peel and stick wallpaper.
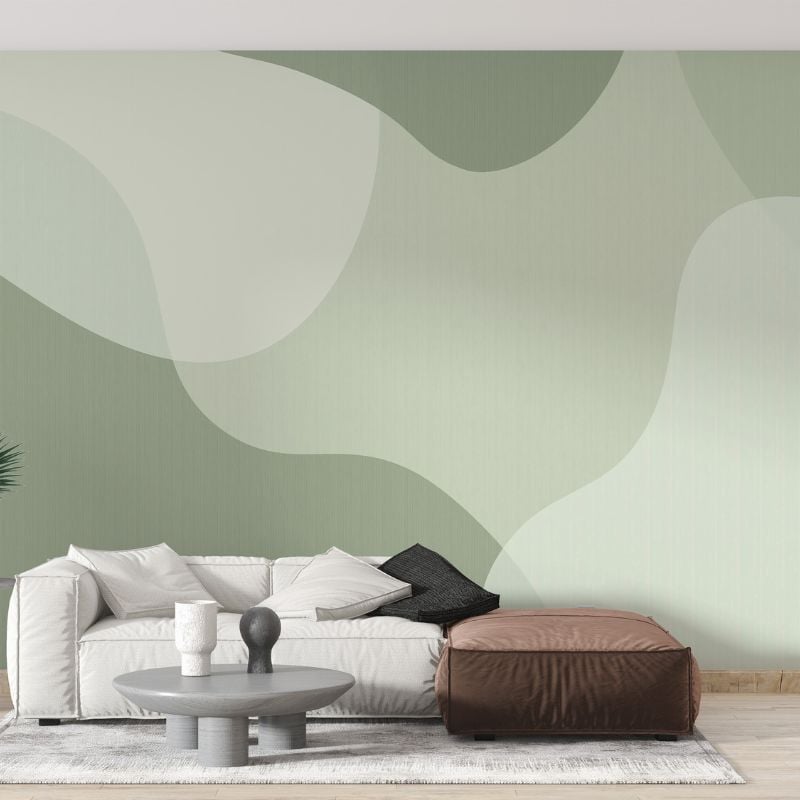
1. Choose the Right Wallpaper for Your Space
Before you dive into installation, the first step is choosing the perfect wallpaper. Peel and stick wallpaper comes in a wide variety of colors, patterns, textures, and finishes—so take your time to select a design that fits your space and style.
Looking for inspiration on peel and stick designs in Australia? Explore this guide on peel and stick wallpaper in Australia for ideas on how to incorporate this game-changing design tool into your home.
2. Measure Your Wall for a Perfect Fit
Proper measurement is key to achieving a seamless finish. Use a tape measure to determine the height and width of the wall you plan to cover. Always add a few extra inches to the measurement to ensure a perfect fit during installation.
3. Prepare Your Walls for Wallpaper Application
Preparation is everything. Before applying the peel and stick wallpaper, make sure the walls are clean, dry, and free of dust or debris. Wash the wall with a gentle cleaner to remove any grease or dirt, and make sure the surface is smooth. This will help the wallpaper stick better and last longer.
For more tips on wall preparation and how peel and stick wallpaper can work wonders in your home, check out this article on transforming your space with peel and stick mural wallpaper.
4. Start Applying the Wallpaper
Peel back the adhesive backing of your wallpaper and start applying it to the wall. It’s best to start at the top and work your way down. Press down firmly as you go, using a smoothing tool (such as a plastic card or wallpaper smoother) to eliminate any air bubbles. Take your time with each section to ensure a smooth, even application.
5. Trim the Edges
Once you’ve applied the wallpaper, use a utility knife to trim off any excess along the edges. This ensures a clean, crisp finish and prevents the wallpaper from lifting over time.
6. Troubleshooting Tips
Even the best DIYers run into issues from time to time. If you notice air bubbles, simply lift the wallpaper gently and smooth it out. If edges start to peel, make sure the wall is clean and dry before applying the wallpaper again. For tips on making the most of your peel and stick wallpaper, visit this article on easy ways to transform your space for troubleshooting and extra ideas.
Final Thoughts
Peel and stick wallpaper is one of the easiest and most effective ways to reimagine your space. With a little time, patience, and the right design, you can create a room that feels brand new without the need for expensive renovations or a professional installer. Whether you’re upgrading your bedroom, sprucing up your living room, or adding personality to your entryway, peel and stick wallpaper gives you the flexibility to transform your walls in no time.
Start with a design you love, follow these steps, and enjoy the instant transformation!