

Laser cutting is a fascinating hobby and business – from personalized gifts and home decorations to serious projects for sale. But to always achieve clean and professional results, there are small tricks that make a big difference. Whether you’re just starting out or already have experience, these tips will help you improve your work.
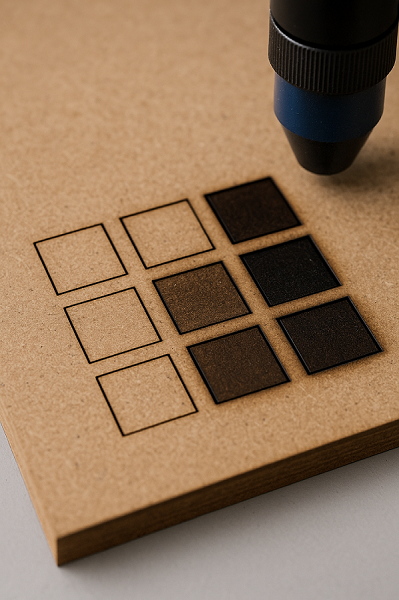
1. Find the perfect balance of power and speed
Every material behaves differently. 3 mm MDF and acrylic won’t cut with the same settings. Always run a test cut – small squares or lines – before starting the final piece. This saves you both material and time.
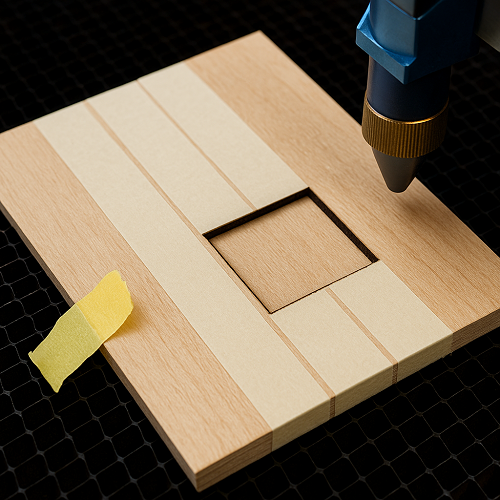
2. Use masking tape for cleaner cuts
If your edges burn or turn black, apply masking tape on the surface before cutting.It absorbs scorch marks and peels off easily, leaving clean edges.
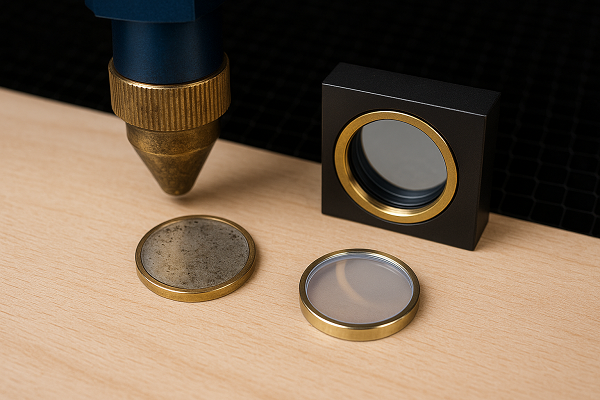
3. Always have a spare lens and mirror
They often get dirty or damaged. If cutting suddenly becomes weak or inaccurate, the problem may not be the settings but the optics. Clean them regularly and keep a spare on hand.
4.When to Use Air Assist and When Not To
Mistake: Using air assist all the time, whether engraving or cutting.
Solution:
- For engraving, it’s usually better to work without air assist. This keeps the surface cleaner and avoids smoke stains around the engraving.

- For cutting, always use air assist – the airflow helps maintain the strength of the laser beam, prevents flare-ups, and results in much cleaner edges
.

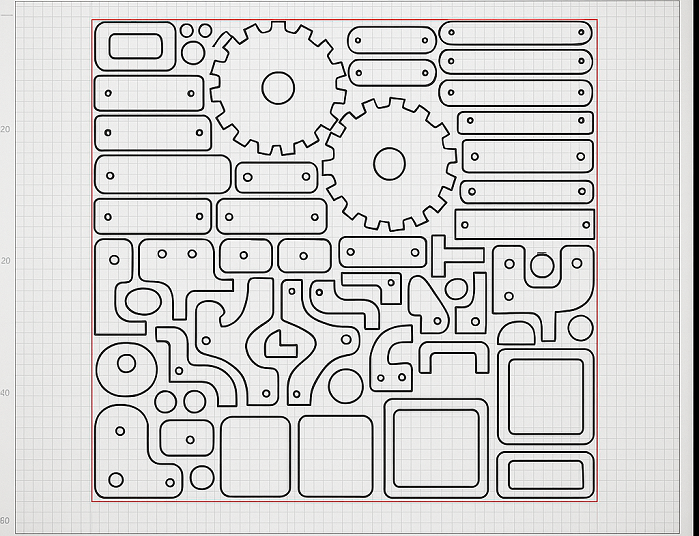
5. Organize your files to minimize waste
When arranging parts in CorelDRAW or LightBurn, rotate and nest elements tightly to use as little material as possible. It saves both money and time.
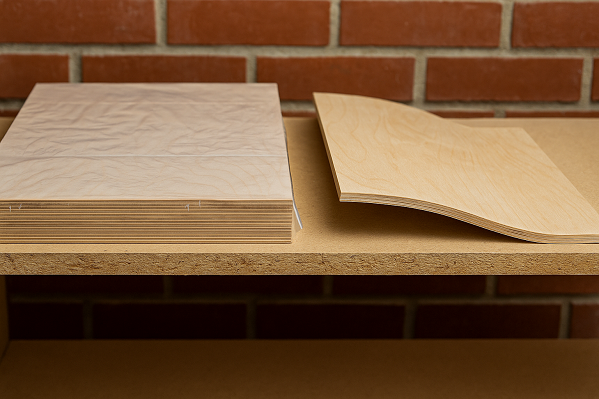
6. Store materials in a dry place
MDF and plywood easily absorb moisture, which affects cutting and engraving quality. If kept in a workshop, cover them with foil or store them on shelves.
7. Add proper smoke extraction
Ventilation is key. Smoke not only dirties lenses but also affects your health. If you don’t have a professional filter, at least make an exhaust with a hose to the outside.

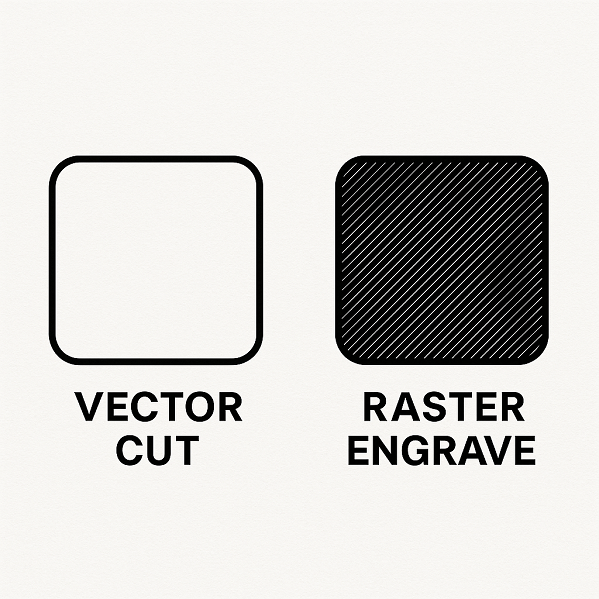
8. Learn the difference between vector and raster engraving
- Vector cut – the laser follows the line and cuts.
- Raster engraving – the laser “paints” the surface pixel by pixel, like a printer.
- Understanding this is essential for preparing quality files and avoiding frustration.
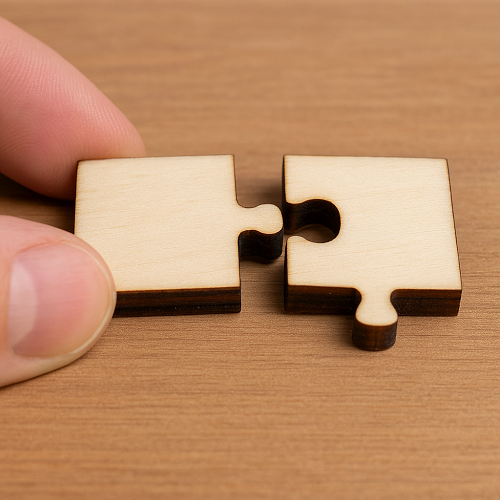
9. Test small pieces before serial production
If making multiple pieces for sale, always test the first one completely. Small errors in dimensions or joints can cause huge problems if you cut dozens at once.
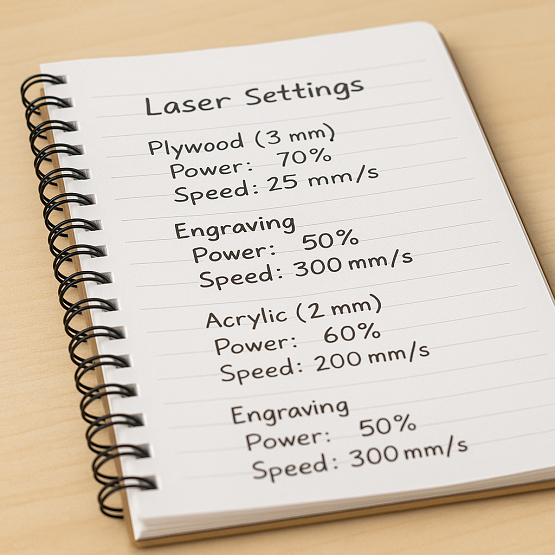
10. Document your settings
Keep notes for each material – thickness, power, speed, and number of passes. When you return to the same material months later, you’ll be grateful you already have everything written down.
Conclusion
Laser cutting is a blend of technique and creativity. The more you experiment and record your results, the faster you’ll progress. These tricks can help you avoid common mistakes and make your projects look professional – whether you’re making unique gifts or products for sale.
💡 Want to save prep time and start right away? Check out our collection of ready-to-cut digital files – all optimized for 3 mm material.
Comments ()