

If your laser isn’t cutting through, engravings look weak, or the edges are burned — you’re not alone. Discover the most common laser engraving and cutting problems and how to fix them quickly and safely.
💡 Introduction: Why Laser Problems Happen
Whether you use a diode or CO₂ laser, every maker eventually faces similar issues — the laser won’t cut through, engravings look uneven, or the wood turns dark and dirty.
The good news? Most problems are not real machine failures — they come from small setup mistakes or lack of maintenance.
In this guide, you’ll learn the most common laser engraving and cutting problems and how to fix them step by step.
🔹 1️⃣ Laser Doesn’t Cut All the Way Through
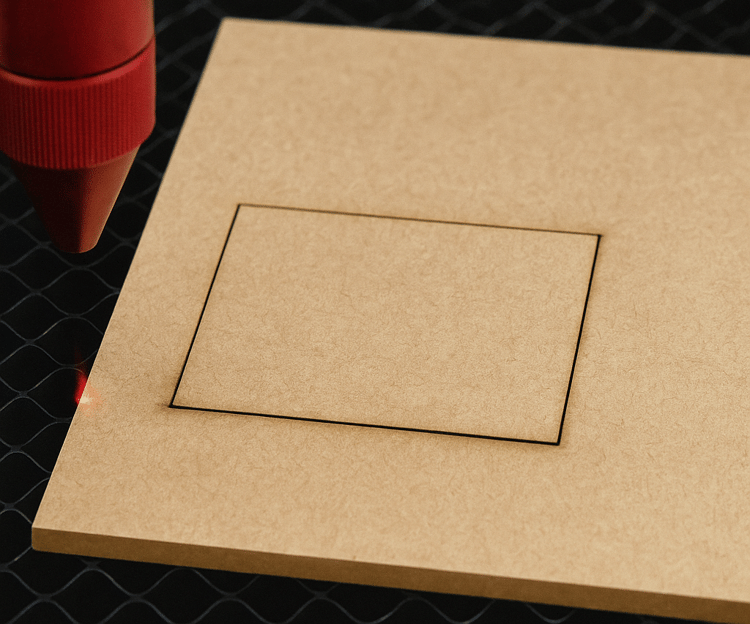
Possible Causes:
- Power too low
- Cutting speed too high
- Dirty lens or mirrors
- Incorrect focus distance
How to Fix It:
- Increase power by 5–10% or lower the speed slightly.
- Clean the lens and mirrors using isopropyl alcohol and a soft cloth.
- Double-check the focus — even a 1 mm error can prevent a full cut.
- Run a small test grid before every large project.
💡 Tip: Always test new materials. A simple power/speed grid can save you hours and wasted sheets.
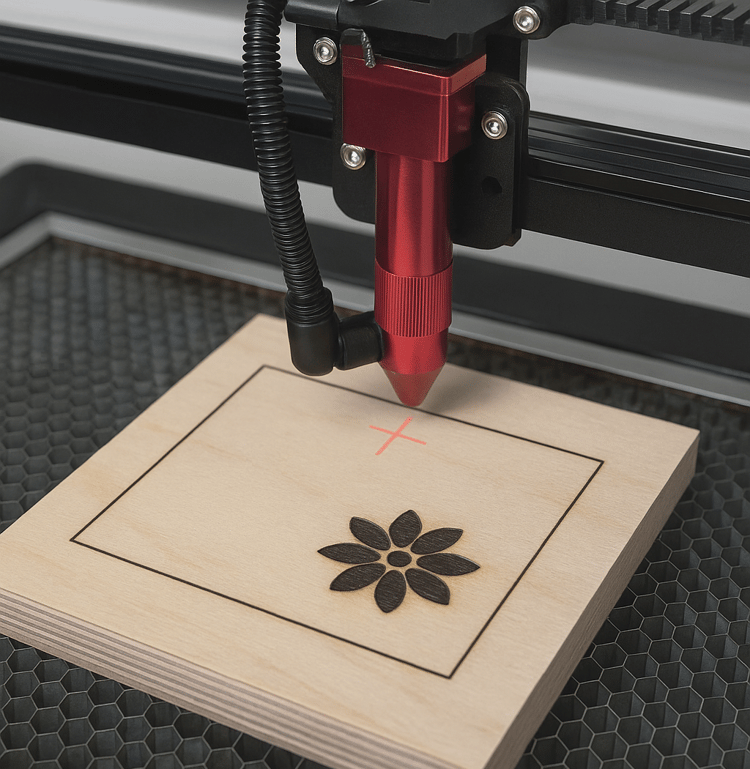
🔹 2️⃣ Engraving Looks Weak or Uneven
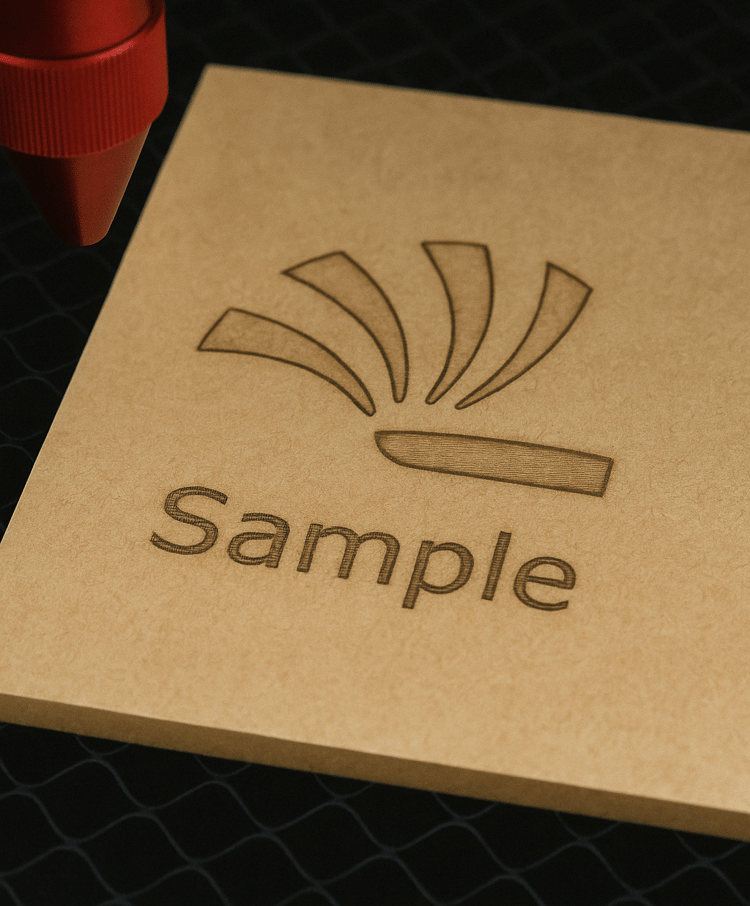
Possible Causes:
- Dirty optics
- Uneven surface or warped material
- Power fluctuation or aging diode
How to Fix It:
- Clean the lens and mirrors weekly.
- Secure your material flat on the bed using magnets or clips.
- If one side engraves stronger, re-align your mirrors or adjust focus height.
🧠 Note: Even small changes in focus distance can make a big difference, especially for diode lasers.
🔹 3️⃣ Burn Marks or Dark Edges on Wood
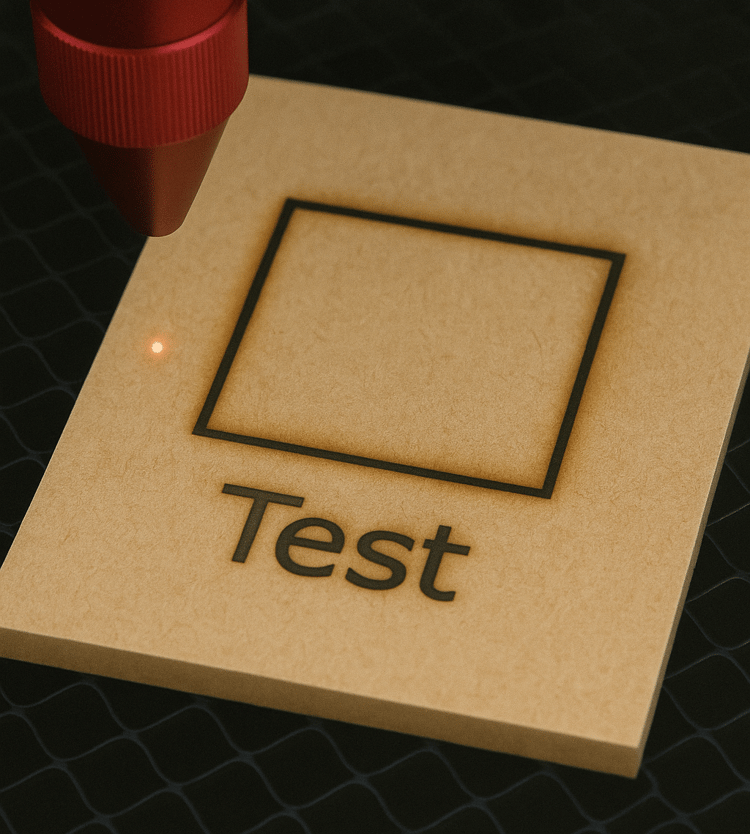
Possible Causes:
- Power too high or speed too slow
- No Air Assist
- Material too close to the honeycomb bed
How to Fix It:
- Lower power or increase speed.
- Use Air Assist — it removes smoke and prevents scorching.
- Apply masking tape on the surface before engraving; it absorbs soot and peels off cleanly.
- Raise the material slightly for better airflow underneath.
📸 Pro Tip: Take before/after photos with and without Air Assist — the difference is huge.
🔹 4️⃣ Lines Are Not Straight or Shapes Look Distorted
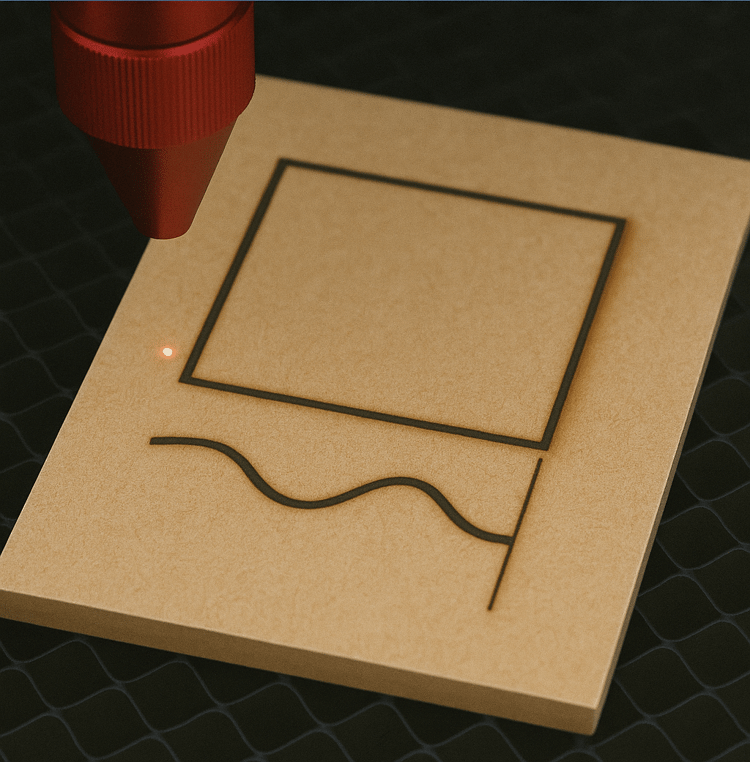
Possible Causes:
- Loose belts or pulleys
- Dirty rails
- Axis calibration issues
How to Fix It:
- Gently tighten belts evenly on both sides.
- Clean and lubricate rails with a small amount of machine oil.
- In LightBurn, use “Calibrate Axis” under the Tools menu.
⚙️ Maintenance Tip: Check belt tension regularly, especially after moving your machine or cutting thick materials.
🔹 5️⃣ Laser Stops Mid-Job
Possible Causes:
- Overheating
- Poor-quality USB cable
- Power drop or unstable supply
How to Fix It:
- Check fans and cooling systems.
- Use a short, shielded USB cable connected directly to your computer.
- Avoid plugging the laser into a shared power strip with other devices.
🔌 Tip: Disable laptop power-saving features — they can interrupt communication with the laser.
🔹 6️⃣ Engraving Doesn’t Match the Preview Position
Possible Causes:
- Incorrect origin set in software
- Material shifted during work
- Offset error in the software
How to Fix It:
- Always run Frame before starting the job.
- Secure material with magnets, pins, or tape.
- Re-set your origin point after each restart.
📐 Pro Tip: Mark the origin on your workbed — it saves time and ensures consistent alignment.
🔹 7️⃣ Too Much Smoke or Bad Odor
Possible Causes:
- Weak ventilation
- Engraving unsafe materials (like PVC or ABS)
How to Fix It:
- Use a proper exhaust system or external fan to remove fumes.
- Never engrave PVC — it releases toxic chlorine gas.
- Clean the ventilation tube and check airflow regularly.
💨 Safety Tip: If you work indoors, use an active carbon or HEPA filter for cleaner air.
🔹 8️⃣ Laser Power Drops Over Time
Possible Causes:
- Worn laser diode or CO₂ tube
- Misalignment
- Dirty optics
How to Fix It:
- Diode lasers have a lifespan of 5,000–10,000 hours — replace when output drops noticeably.
- Check mirror alignment and cooling flow (especially for CO₂ lasers).
- Keep lens and mirrors clean from dust and resin buildup.
⚡ Pro Tip: Keep a “Laser Logbook”
Record your successful settings for each material:
- Speed, power, and number of passes
- Focus height and air assist use
- Material type and thickness
That way, when something goes wrong, you can compare with previous jobs and quickly find the cause.
✨ Conclusion
Laser engraving and cutting are all about precision, cleanliness, and consistency.
In nearly 90% of cases, problems are caused by setup or maintenance, not by hardware failure.
By following these troubleshooting steps, you’ll extend your laser’s lifespan, achieve cleaner results, and make every project look professional.
laser engraving, laser cutting, laser troubleshooting, LightBurn settings, air assist, laser focus, lens cleaning, diode laser, CO2 laser, hobby laser
Comments ()