
How to Pack an EPP Travel Kit Without Losing Tiny Pieces
English paper piecing should be wonderfully portable. Then you open your project bag and discover three loose hexagons, a wandering needle and one fabric piece that has apparently separated from the herd.
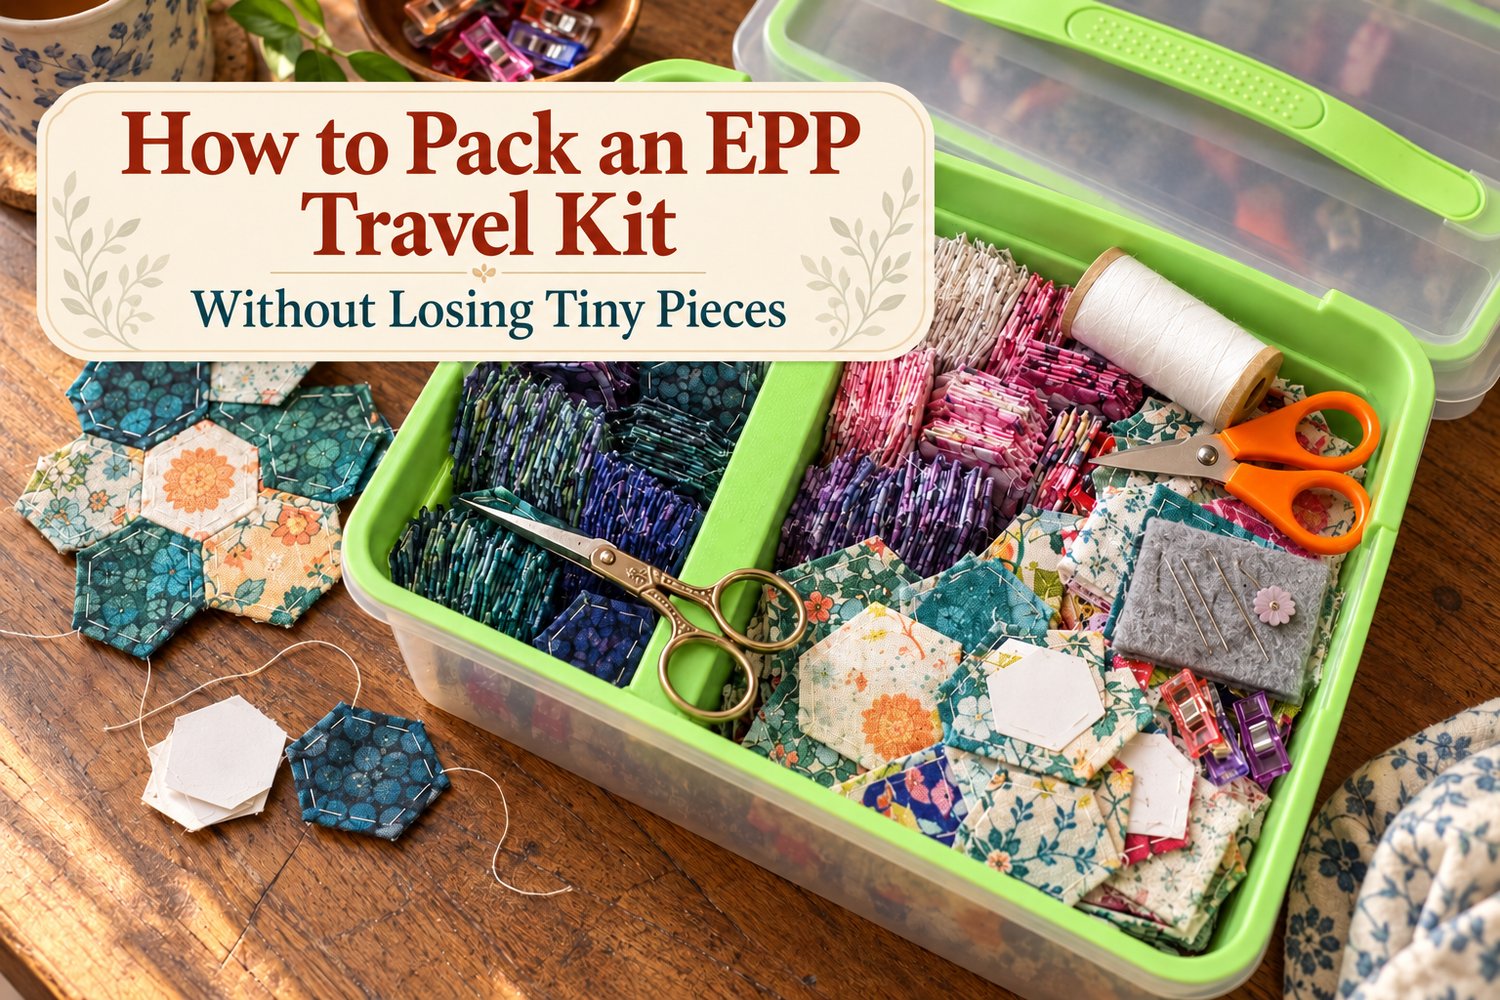
You do not need an elaborate handmade organizer to keep an EPP project under control. A small zippered pouch, divided container or lunch-size storage box can become a practical portable EPP travel kit.
Choose One Small Project
Begin with one rosette, block or section of your project. Leave the rest safely at home.
Count the paper templates and fabric pieces needed for that section, then include two or three extras. This gives you enough work for an appointment, car line or quiet afternoon without requiring you to carry a quilt’s worth of tiny shapes.
Place the pattern or a photo of the intended layout in the kit. That small reference can prevent a surprising amount of staring and rearranging later.
Divide the Kit into Three Zones
Use small reusable bags, envelopes or compartments to separate:
- Unbasted fabric and templates
- Prepared pieces ready to sew
- Completed units
This simple division keeps finished pieces from being mistaken for loose supplies. Label each section if your project includes several colors or shapes.
A small container with a firm lid is especially useful for protecting cardstock templates and keeping pieces flat.
Prepare a Short Stitching Batch
Before leaving home, cut the fabric and templates for your chosen section. Thread-baste or glue-baste several pieces if you want your travel time to be devoted to joining them.
Pack only the thread colors needed for that batch. One working spool and a backup are usually more useful than bringing the entire thread collection along for moral support.
Make a Tiny Tool Capsule
Your essential tools are:
- Needles in a needle book or secure case
- Thread
- Small scissors or a thread cutter
- Clips, if you use them
- Your preferred basting supplies
- A thimble, if needed
Add a small scrap of felt for parking the working needle. A loose needle hiding inside a project bag is a rather unpleasant surprise.
Reset the Kit When You Get Home
Remove completed units, replenish templates and replace dull needles. Record what you finished and prepare the next small batch.
The Made to Learn English Paper Piecing Project Planner and Templates can help you keep piece counts, colors, materials and progress together. Its printable template masters include several shapes and sizes, while the planning pages give your portable project a clear next step.
Pack one manageable section, close the lid and enjoy having a project ready whenever you find a few quiet minutes.
Made to Learn — Learn to Make.