
How to Start an Embroidery Kit Without Getting Overwhelmed
An embroidery kit looks wonderfully manageable while it’s still in the package. Then you open it, find six colors of thread, a pattern full of stitch names, and a hoop that seems to require a small engineering degree.
You do not have to master the whole design today. Your first job is simply to make it easy to begin.
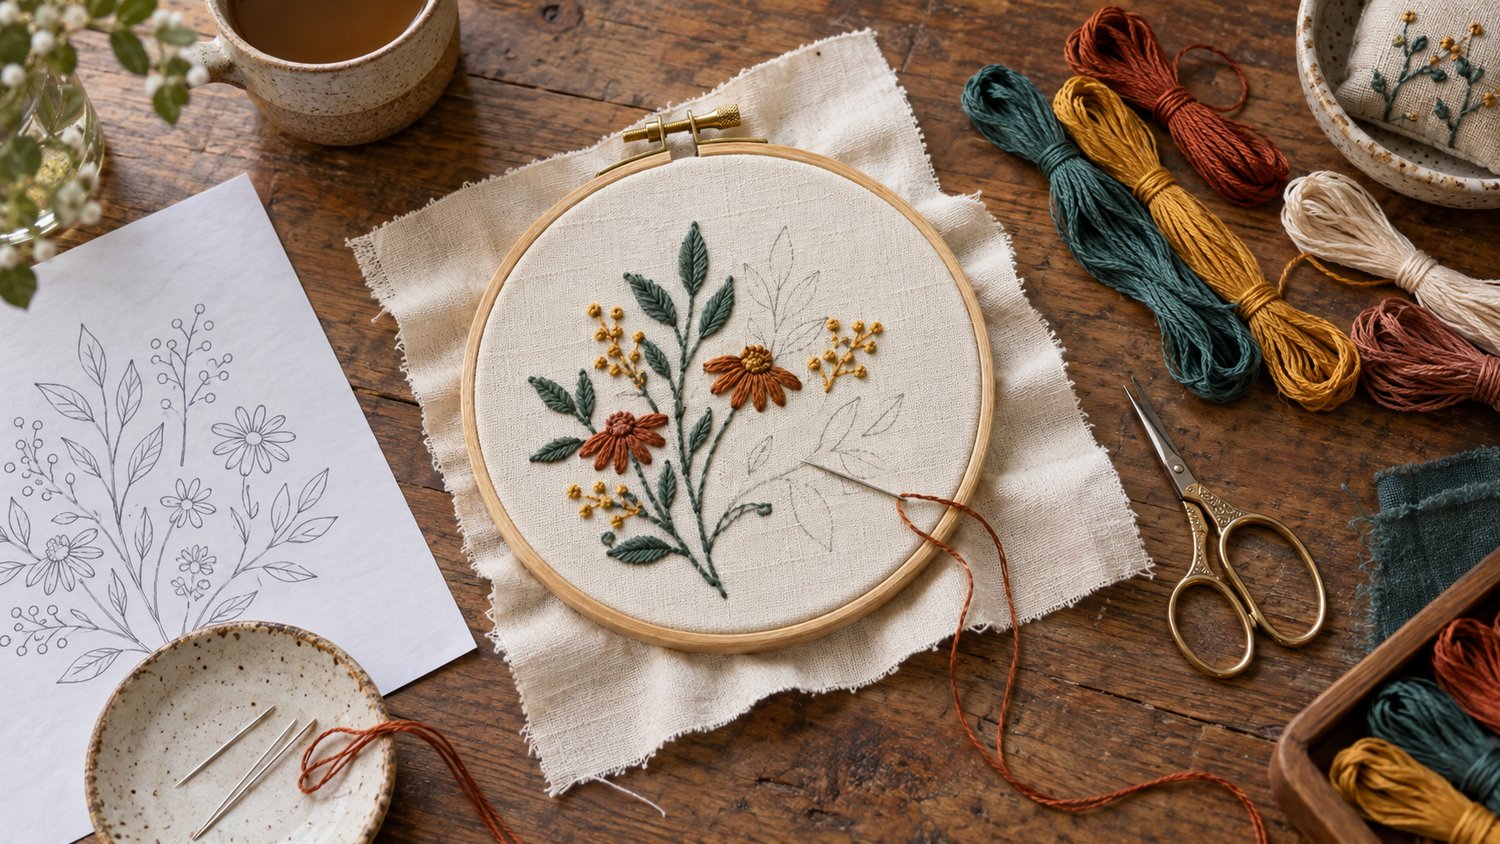
First, lay out what came in the kit. Find the fabric, pattern, needle and threads. Match the thread colors to the pattern key before you start stitching. If the kit includes written directions or a video, locate those now, too. That little bit of preparation saves a surprising amount of “Wait, which green is this?” later.
Next, choose one small section of the design. Look for an outline or a short line of stitching, not the largest flower in the picture. Check which stitch it uses. If the name is unfamiliar, practice it a few times on a spare corner of fabric or a scrap of similar cloth. The practice stitches do not have to be pretty; they just have to teach your hands what to do.
Place the fabric in the hoop so it feels evenly taut, without stretching it out of shape. Cut a comfortable working length of thread instead of trying to stitch with the entire strand. Long thread may seem efficient until it starts tying its own opinions into the back of your work.
Now stitch only your chosen section. Pay attention to where the needle comes up, where it goes down, and whether you’re pulling hard enough to wrinkle the fabric. If a stitch looks uneven, you can adjust the next one. Embroidery is learned one stitch at a time, not by producing a flawless first hoop.
Before you put everything away, do yourself one favor: write down the stitch you used, the thread color, and the exact spot where you’ll begin next time. Keep that note with the kit. Restarting is much easier when you don’t have to solve the entire project again.
If you’re juggling several ideas or kits, the Made to Learn Embroidery Project Planner offers a place to keep your project decisions together. Use it to turn a promising package into a project you can return to, even when your craft space—and your schedule—are imperfect. https://payhip.com/b/xgmGa
One small section counts as progress. That’s how we Learn to Make.
P.S. Have you checked out the Embroidery Guide with Historical Examples? https://payhip.com/b/WUZLN