

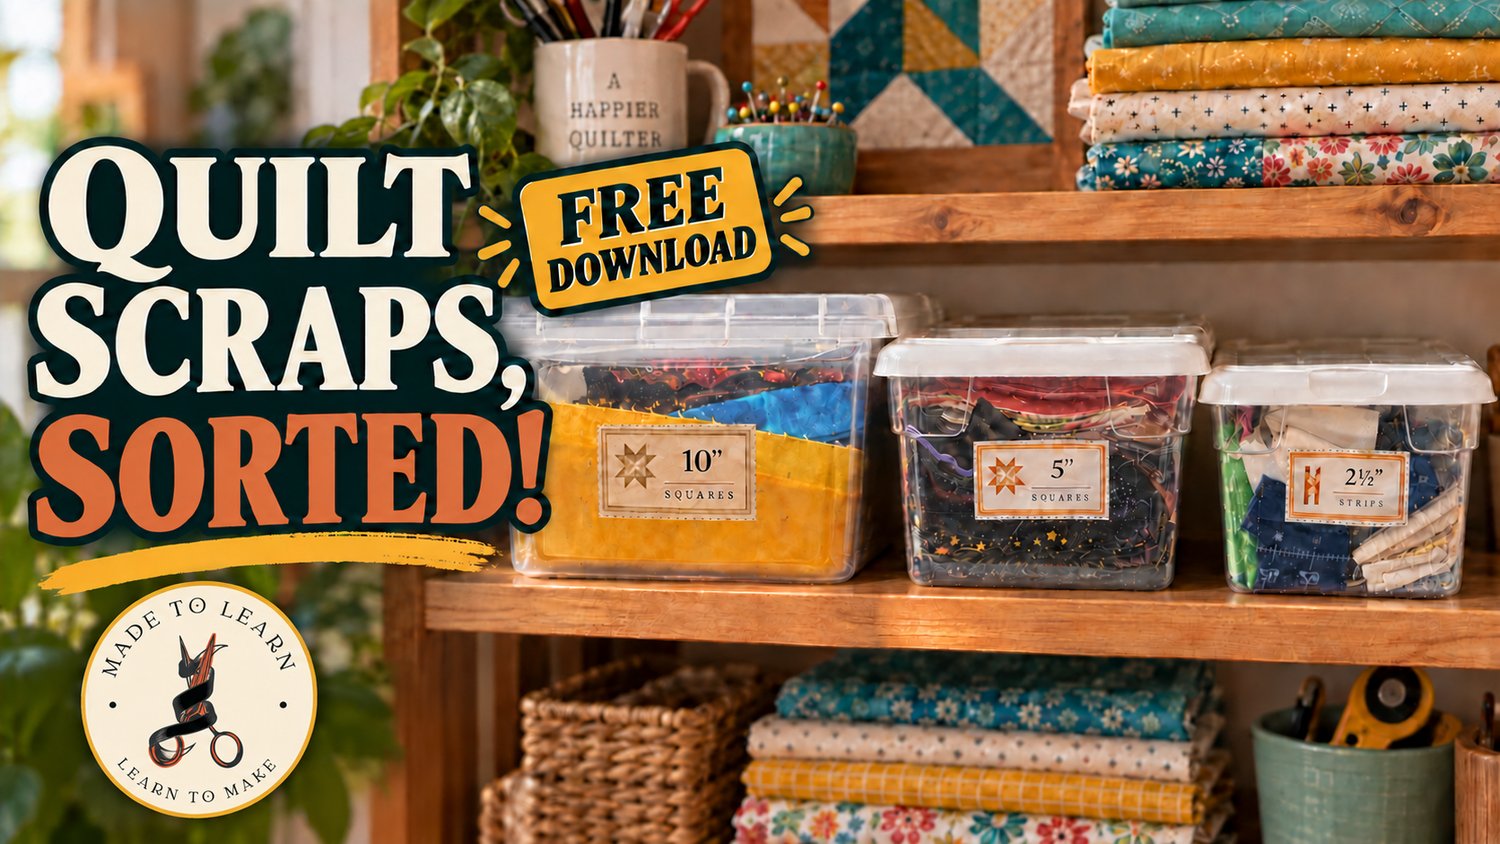
How I Organize Quilt Scraps with Free Printable Fabric Bin Labels
Quilting scraps have a way of multiplying when no one is looking. One minute, I have a few useful leftovers from a project. The next, I have overflowing tubs filled with strips, squares, crumbs, orphan blocks, and fabric pieces I am absolutely certain I will need someday.
In the video below, I’m sharing the simple system I use to organize my quilting scraps and precut fabric. It isn’t complicated, expensive, or dependent on having a picture-perfect craft room. It’s just a practical way to make my fabric easier to see, find, and actually use.
Watch the video:
https://youtu.be/_KHCEsz7AgA?is=MaLoyfNkwI96CW98
A Simple Quilt-Scrap Organization System
I sort my usable quilting fabric into clear storage boxes based on size or purpose. My current categories include:
- 2½″ strips
- 5″ squares
- 10″ squares
- Fat quarters
- Crumbs
- Works in progress
Clear containers let me see the colors inside, while the labels tell me exactly where everything belongs. This is especially helpful when I’m cleaning up quickly after sewing—or trying to rescue the craft room before starting another project.
The system also makes scrap quilting easier. Instead of cutting every piece from yardage, I can look through the appropriate box and see what is already available.
Download the Free Quilting Scrap Labels
You can use the same labels shown in the video. I created a coordinated set of printable quilting storage labels for common precut sizes and the scraps that tend to accumulate between projects. https://payhip.com/b/I8X1F
Print the labels on cardstock or adhesive label paper, cut them out, and attach them to your fabric tubs, baskets, or drawers. You can laminate them if you want something more durable, but regular cardstock works just fine.
The goal is not to create a perfect craft room. The goal is to spend less time searching for fabric and more time making something with it.
Put Your Organized Scraps to Work
Once your scraps are sorted, you may discover that you already have the beginnings of several quilts. Your 5″ and 10″ squares can become quick patchwork projects, while leftover strips work beautifully in borders, string blocks, and scrappy bindings. Even the smallest pieces can be saved for crumb blocks.
If you need help turning those ideas into an actual plan, the Made to Learn Quilting Project Planner gives you a place to record measurements, materials, color choices, block ideas, and project notes.
SHOP THE QUILTING PROJECT PLANNER: https://payhip.com/b/oeJWT
For the quilts that have already been started—but may have disappeared into a bin for a while—the WIP & UFO Rescue Planner can help you decide what each project needs and create a realistic plan for finishing it.
GET THE WIP & UFO RESCUE PLANNER: https://payhip.com/b/2Kvqm
And when it is time to calculate borders, backing, binding, or block quantities, the Quilt Math Guide and Workbook walks you through the numbers without requiring you to keep every quilting formula in your head.
SHOP THE QUILT MATH GUIDE: https://payhip.com/b/vFPQz
Your Craft Room Does Not Have to Be Perfect
An organization system only works if it fits the way you actually sew. You do not need matching designer furniture or a room full of identical containers. Use the tubs, baskets, shelves, and drawers you already have.
Start with one category. Gather your 2½″ strips, label one box, and stop there if that is all you have time to do. Small improvements still count.
A labeled box will not prevent every fabric avalanche—but it can make cleaning up easier and help you rediscover materials you already own.
Download the free labels, watch the video, and give your quilting scraps a useful place to live.
Made to Learn
Learn to Make.