

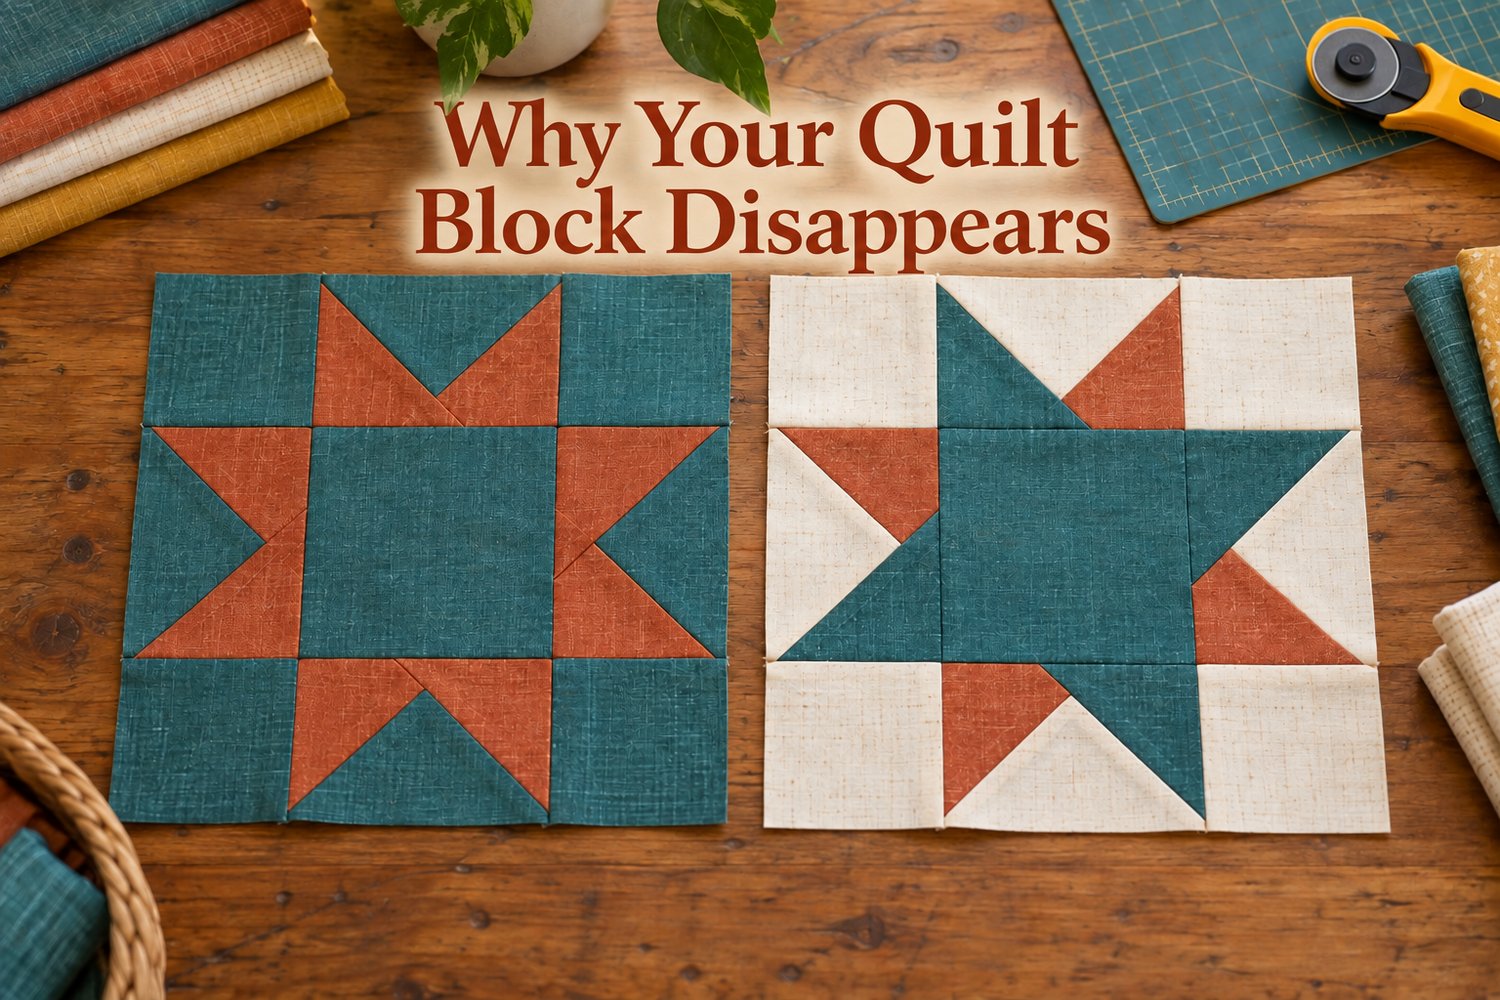
Why Your Quilt Block Looks Solid from Across the Room
Your fabrics looked different while you were cutting them. The individual pieces were easy to see while you sewed. Then you finished the block, stepped back—and all that careful piecing seemed to disappear into the background.
From across the room, your patchwork looks like one solid square.
The seams may be accurate and the colors may be lovely. The problem is usually value, which simply means how light or dark a fabric appears. Different colors can have similar values. When those fabrics touch, the edges between the pieces become difficult to see from a distance.
Before reaching for the seam ripper, try these steps.
Step Back and Find the Disappearing Point
Place the finished block on a wall, design board or neutral surface. Begin close to it, then slowly step backward.
Notice where the design begins to disappear. Which seams can you still see? Which pieces merge into the background?
You are looking for the places where two fabrics have nearly the same value. The colors may look different up close—perhaps medium teal against medium coral—but from several feet away, they can blend into one shape.
Take a Black-and-White Photo
Photograph the block in even light and change the picture to grayscale. You can also shrink the photo on your screen to imitate viewing the quilt from farther away.
Can you still see the pieced design? If most of the block becomes one gray shape, your foreground and background fabrics need more separation.
The grayscale test is useful because color can distract your eye. Two fabrics can be completely different colors while still appearing equally light or dark.
Test One Change
You do not need to replace every fabric. Pull out the leftover pieces from your block and recreate a small portion of the layout on your table.
Change one fabric at a time. Try replacing the background with a pale cream or a considerably darker fabric from your stash. Photograph the new arrangement in color and grayscale.
The goal is not always maximum contrast. Soft, blended quilts can be beautiful. The question is whether the finished block looks the way you intended.
Make a Sample Before Cutting Everything
For your next block, arrange the fabrics in their actual positions and fold them to approximately the size they will appear after cutting. Large prints often behave very differently in small pieces.
Sew one test block before cutting an entire quilt. Hang it up, step back and take another photo. This five-minute check is considerably more cheerful than discovering the problem after making forty-eight blocks.
If fabric decisions keep stalling your projects, the Made to Learn Shop Your Stash Quilt Color Workbook can help you compare fabrics before cutting. It includes spaces for swatches, value checks, color roles and palette troubleshooting, so you can build a workable combination from fabric you already own.
One disappearing block is not a failure. It is a very useful fabric lesson—especially once you catch it before block number forty-eight.
Made to Learn — Learn to Make.