
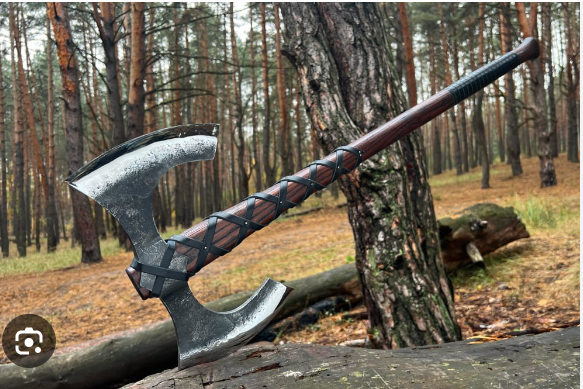
The Viking axe is an iconic symbol of Norse culture, revered for its craftsmanship, functionality, and historical significance. Crafting your own Viking axe not only allows you to connect with ancient traditions but also provides a unique opportunity to hone your woodworking skills. In this guide, we'll take you through the process of crafting a Viking axe, from selecting materials to the final finishing touches.
Materials Needed:
- Axe head blank (preferably made of high-carbon steel)
- Wooden handle blank (commonly made of hickory or ash)
- Sandpaper (various grits)
- Wood carving tools
- Epoxy or wood glue
- Linseed oil or other wood finish
- Protective gear (gloves, safety goggles)
Step 1: Designing Your Axe Before you begin crafting your Viking axe, it's essential to have a clear idea of the design you want to achieve. Research historical Viking axe designs for inspiration and sketch your desired shape and dimensions onto the axe head blank. Consider factors such as the blade shape, handle length, and overall weight for optimal balance and functionality.
Step 2: Shaping the Axe Head Using a combination of hand tools and power tools such as grinders and belt sanders, carefully shape the axe head according to your design. Start by roughing out the basic shape, then gradually refine the edges and contours to achieve the desired profile. Take your time during this step to ensure precision and symmetry in the final shape of the axe head.
Step 3: Heat Treatment Once the axe head is shaped to satisfaction, it's time to heat treat the steel to increase its hardness and durability. Heat the axe head to a critical temperature using a forge or oxy-acetylene torch, then quench it in oil or water to rapidly cool it down. This process will create a hardened steel edge capable of retaining a sharp edge through repeated use.
Step 4: Crafting the Handle Next, focus on crafting the wooden handle for your Viking axe. Start by selecting a straight-grained piece of hickory or ash wood that is comfortable to hold and provides excellent shock absorption. Using wood carving tools, shape the handle to fit snugly into the eye of the axe head, tapering it towards the end for a secure grip. Viking axe for sale
Step 5: Assembly With both the axe head and handle shaped to satisfaction, it's time to assemble the two components. Apply epoxy or wood glue to the inside of the axe head's eye, then insert the handle firmly into place. Ensure that the handle is aligned properly with the axe head to maintain balance and functionality.
Step 6: Final Touches Once the epoxy or glue has dried, sand the entire axe to smooth out any rough edges and achieve a uniform finish. Start with coarse-grit sandpaper to remove any imperfections, then progressively move to finer grits for a smooth, polished surface. Finally, apply a coat of linseed oil or other wood finish to protect the wood and enhance its natural beauty.
Crafting a Viking axe is a rewarding endeavor that allows you to delve into Norse craftsmanship while creating a functional and aesthetically pleasing tool. By following these steps and exercising patience and attention to detail, you can craft a Viking axe that not only honors ancient traditions but also serves as a testament to your woodworking skills and creativity. Viking axes