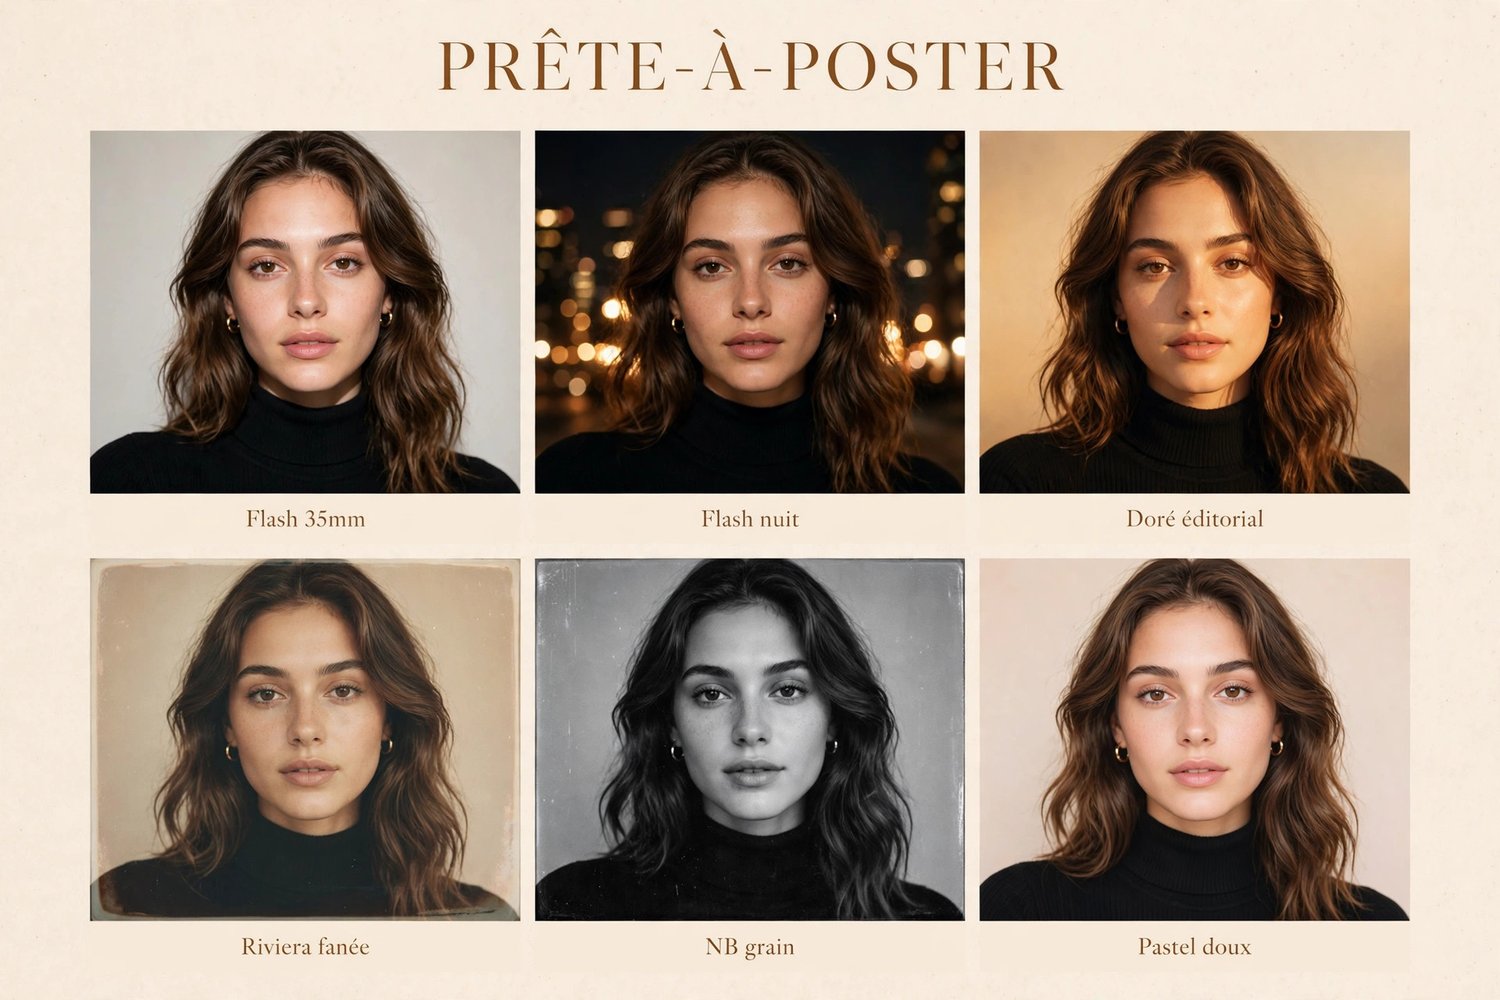

You've seen those photos with a veil of golden light in the corner, a grain that smells like film, or tiny film dust specks that give off a vintage vibe? That's an overlay: an effect image you lay over your photo. And contrary to what you might think, you don't need to be a Photoshop pro to do it.
What Is an Overlay?
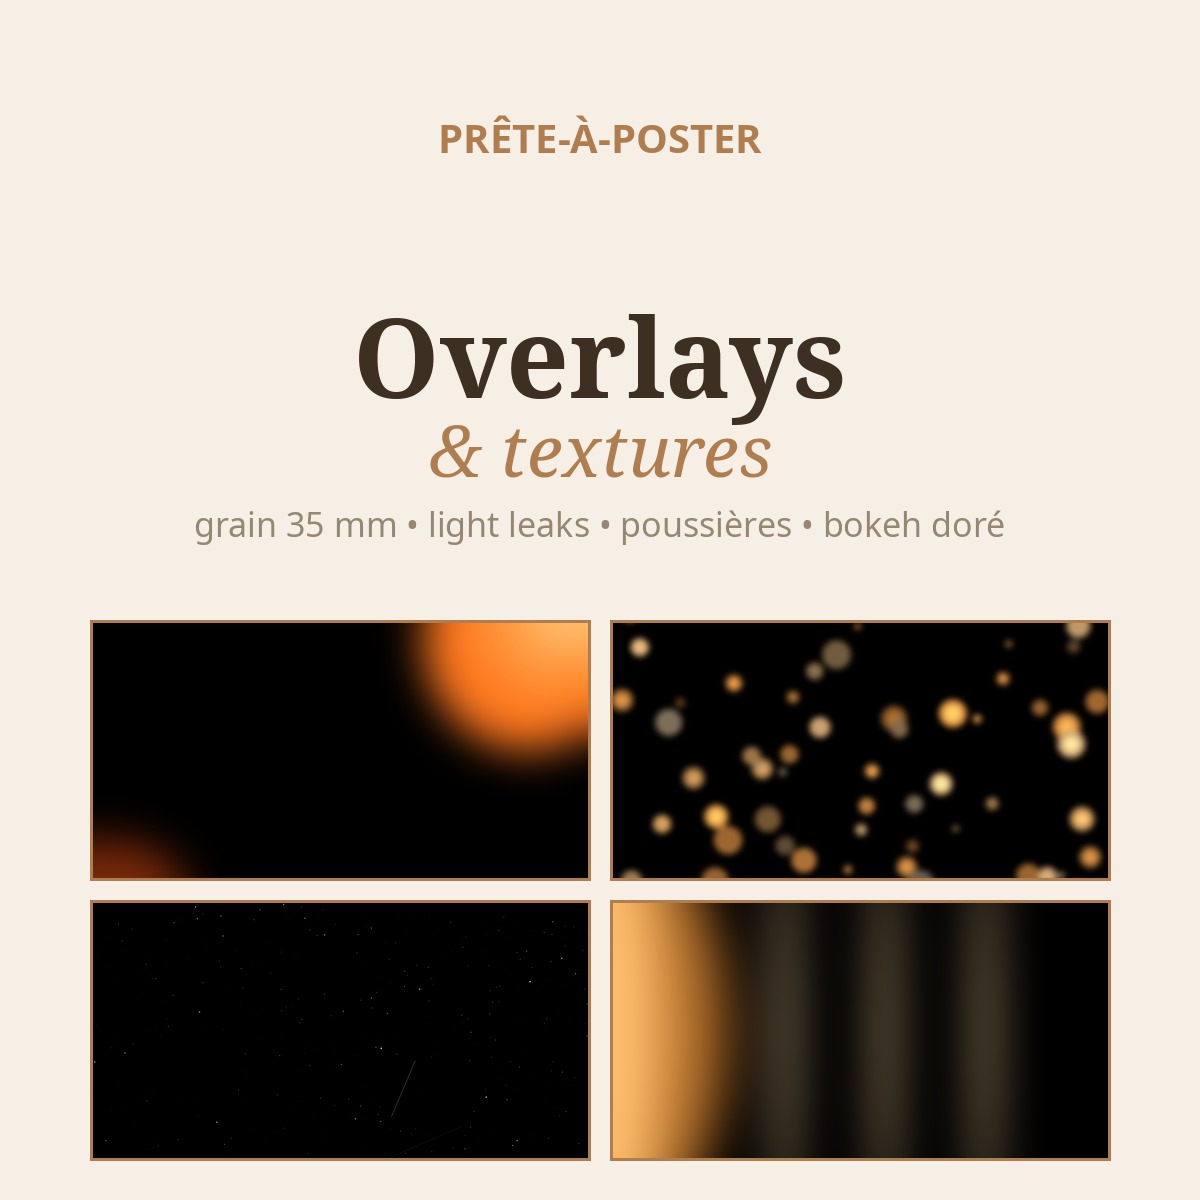
An overlay is an image file (PNG) that contains only the effect: a light leak, grain, dust, bokeh. You drop it over your photo, adjust the intensity, and you're done. The Ready to Post pack overlays are on a transparent background, so there's no complicated setup: no blend mode to hunt down, no black background ruining everything.
The pack contains 9 overlays: 2 35mm grains, 3 warm light leaks, 2 film dust and scratch textures, and 2 golden bokehs.
In Canva (the Easiest)
Step 1: Upload the overlay into your design (Upload files).
Step 2: Drag it over your photo, stretch it to cover the whole frame. Step 3: Lower the transparency to 60-80% for a subtle effect, or keep it at 100% for a bold one.
That's it. The transparent background does the work: your photo stays intact, only the effect gets added.
In Photoshop or Affinity Photo
Step 1: Place the overlay above your photo layer (File > Place Linked).
Step 2: Adjust the opacity to dial in the intensity.
Step 3: Set the layer to Screen mode for an even more luminous look on light leaks and bokeh. For grain,
try Soft Light at 30-50%.
In CapCut (for Your Reels and TikToks)
Step 1: Add the overlay on a track above your video (Overlay menu).
Step 2: Adjust the opacity to dose the effect. A subtle grain over a night-out video changes everything.
The Golden Rule
Always start with low opacity and work your way up. An overlay you notice too much is a failed overlay: the effect should be felt, not seen.
The Ready to Post Overlays & Textures pack: 9 overlays on transparent backgrounds + step-by-step PDF guide, $12 CAD.