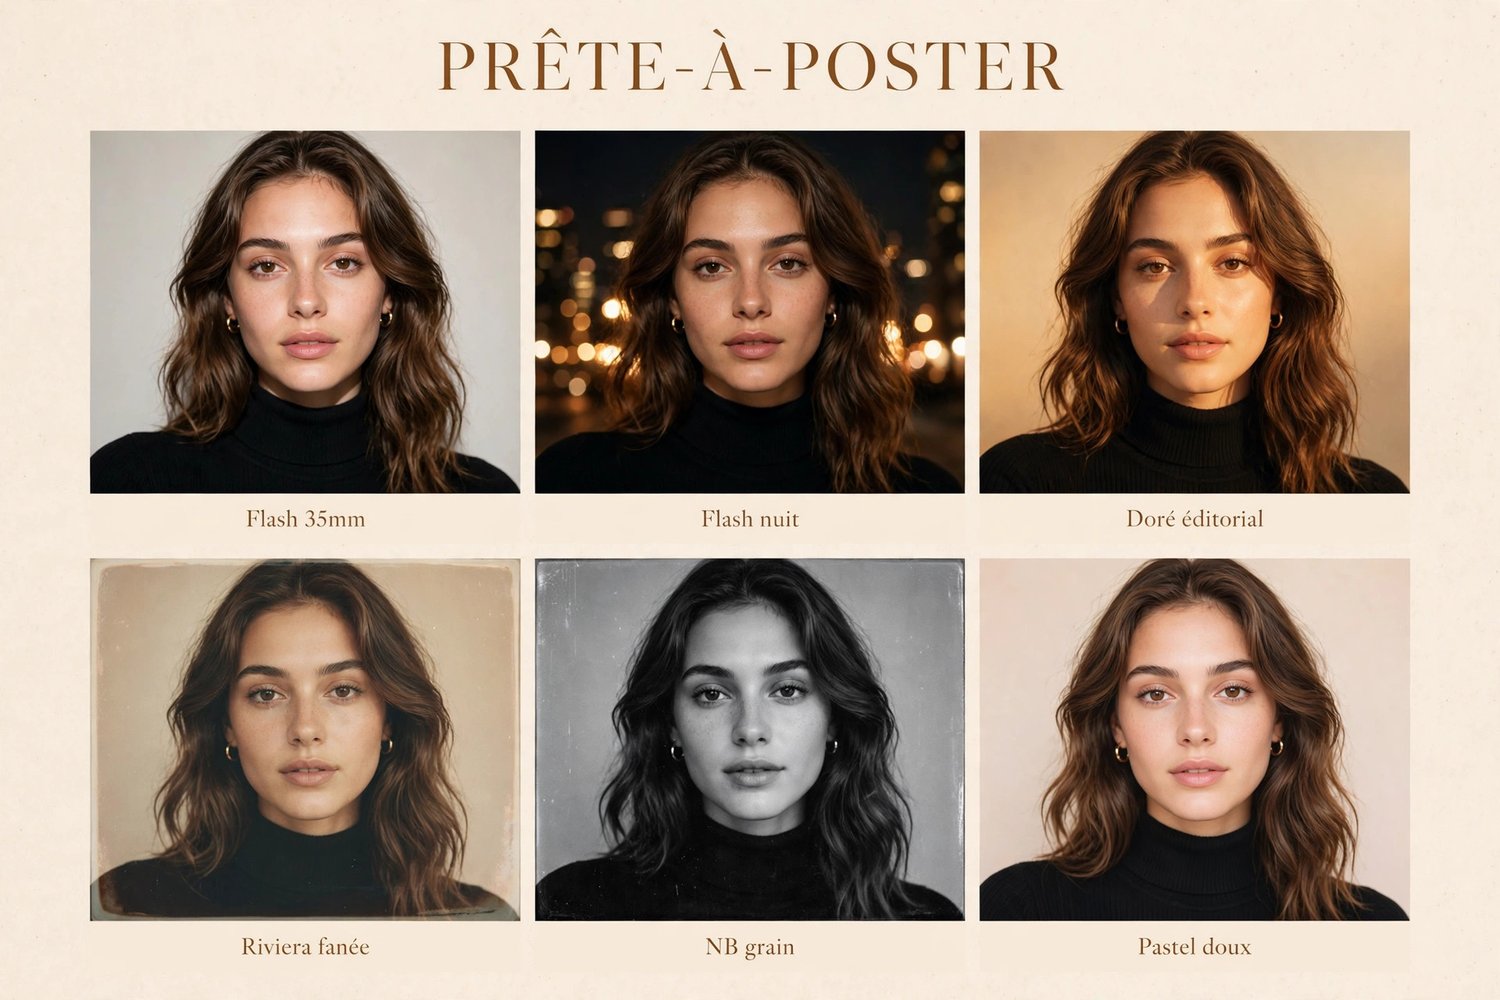

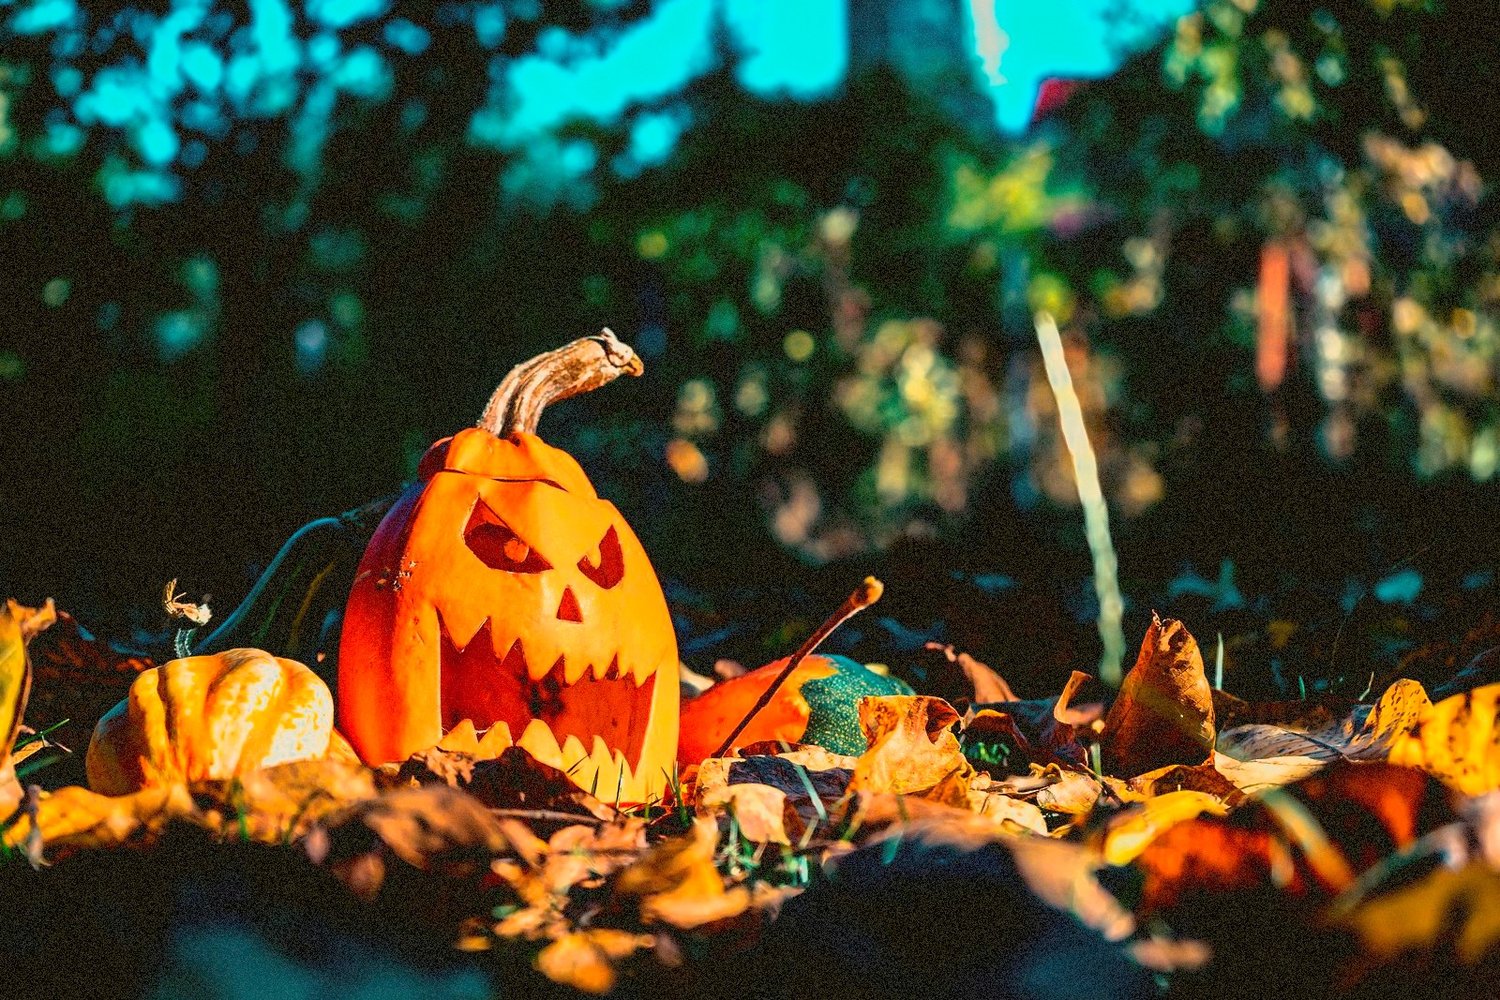
Halloween is the hardest photo season of the year — and the most fun. Mixed lighting, neon decorations, candlelit pumpkins, costumes shot at 11 PM under questionable bulbs. Your camera tries its best, but the raw file usually comes out flat: gray pumpkins, muddy costumes, skin tones that look like they belong in a horror movie (the wrong kind).
Good news: you don't need to be a retouching wizard. Here are 7 concrete Lightroom edits that turn ordinary October shots into photos that actually feel like Halloween.
1. Shoot RAW and protect your highlights
This one happens before the edit. Pumpkins, candles and neon signs are tiny bright spots surrounded by darkness. If you blow them out, the orange turns to white mush and no slider will bring it back. Shoot RAW, underexpose slightly, then lift the shadows in Lightroom instead. A dark file with intact highlights is always easier to save than a bright one with clipped ones.
2. Decide your temperature before anything else
White balance sets the entire mood. For cozy pumpkin-and-candle scenes, warm it up (around 6,000–7,000 K) — it deepens the amber glow and makes everything feel inviting. For eerie night shots, do the opposite: cool it down (3,500–4,500 K) for that cold, cinematic dread. Don't leave it on auto; Halloween photos with neutral white balance look like they were taken in July.
3. Crush the blacks — but watch the costume details
A little crushed black is what separates “spooky” from “snapshot.” Pull the blacks down until the background melts away, then check your costume: if the black cape or witch hat has lost all texture, ease off slightly. The goal is depth, not a black hole. The Blacks slider is your mood dial — small moves, big payoff.
4. Make your pumpkins pop with the HSL panel
Orange is the star of October, so give it a solo. In the HSL panel, push Orange luminance up and nudge its saturation — your pumpkins will glow like they're lit from inside. Then do something counterintuitive: desaturate the Greens. Lawns and leaves going slightly muted makes the orange read even stronger. It's the oldest color-theory trick in the book, and it works every single time.
5. Fake the glow with negative Dehaze
Candlelight and string lights should bloom. Lowering Dehaze (to around −10 to −20) softens contrast locally and creates a hazy, glowing veil around bright spots — instant atmosphere. Combine it with a touch of Clarity reduction on a masked selection over the lights only, and your photo will look like it was shot through a dream. Just keep it off faces, where it turns skin waxy.
6. Add grain for a film-horror finish
Nothing says “cinematic Halloween” like a fine layer of grain. Lightroom’s built-in grain works, but the film-style grain packs do it better — the kind with a fine, even structure that sits in the shadows instead of screaming “digital noise.” A subtle grain layer is the fastest way to make a phone photo look like a still from a movie. Our Overlays & Textures pack (https://payhip.com/b/2HJoM) was built exactly for this finish.
7. Start from a preset, then make it yours
Here's the honest shortcut: don't start from zero. Apply a Halloween-grade preset as your base — warm pumpkin glow for decor shots, neon contrast for costumed nights out, deep moody blacks for dramatic portraits — then tweak exposure and white balance to fit your photo. That's how the pros actually work: a strong starting point, then 60 seconds of personal adjustment.
That's the whole idea behind the Ready to Post Halloween Pack (https://payhip.com/b/DqmlG): six one-click Lightroom presets built for spooky season — Golden Pumpkin for candlelit warmth, Pumpkin Neon for orange-and-magenta nights, Ink Night for deep cinematic blacks, Purple Fog for witchy haze, Ghost Flash for hard party flash, and Sour Candy for punchy, saturated color. Each one is a starting point; you adjust exposure to your photo and you're done.
The takeaway
Halloween editing isn't about filters — it's about light. Protect your highlights, commit to a temperature, deepen your blacks, let orange be the hero, and finish with grain. Do those five things and your October photos will look like you planned them, even the ones you shot at midnight on your phone.
The Ready to Post Halloween Pack (https://payhip.com/b/DqmlG