
You spent weeks on your costume — or twenty minutes and a lot of attitude — and now all you have to show for it is a blurry mirror selfie under yellow bathroom light. Sound familiar?
Costumes deserve better. Whether it's a full DIY build or a last-minute vampire cape, here are 7 concrete ways to photograph yours so it looks as good on screen as it does in your head.
1. Photograph the costume before you wear it
Lay the pieces out on your bed or the floor — dress, boots, hat, props — and shoot them from directly above. This flat-lay shot takes thirty seconds and does two jobs: it documents the details you'll never capture once you're wearing it, and it makes a perfect opening slide for your Halloween carousel. Plain background, natural light from a window, done.
2. Shoot the full look against a clean background
The biggest costume-photo killer is a busy background. Find a plain wall, a closed door, even the side of your house. Stand a few steps in front of it, phone at chest height (not eye level — chest height keeps proportions honest), and shoot the full length. One clean shot of the whole costume beats ten cluttered ones.
3. Use direct flash for instant drama
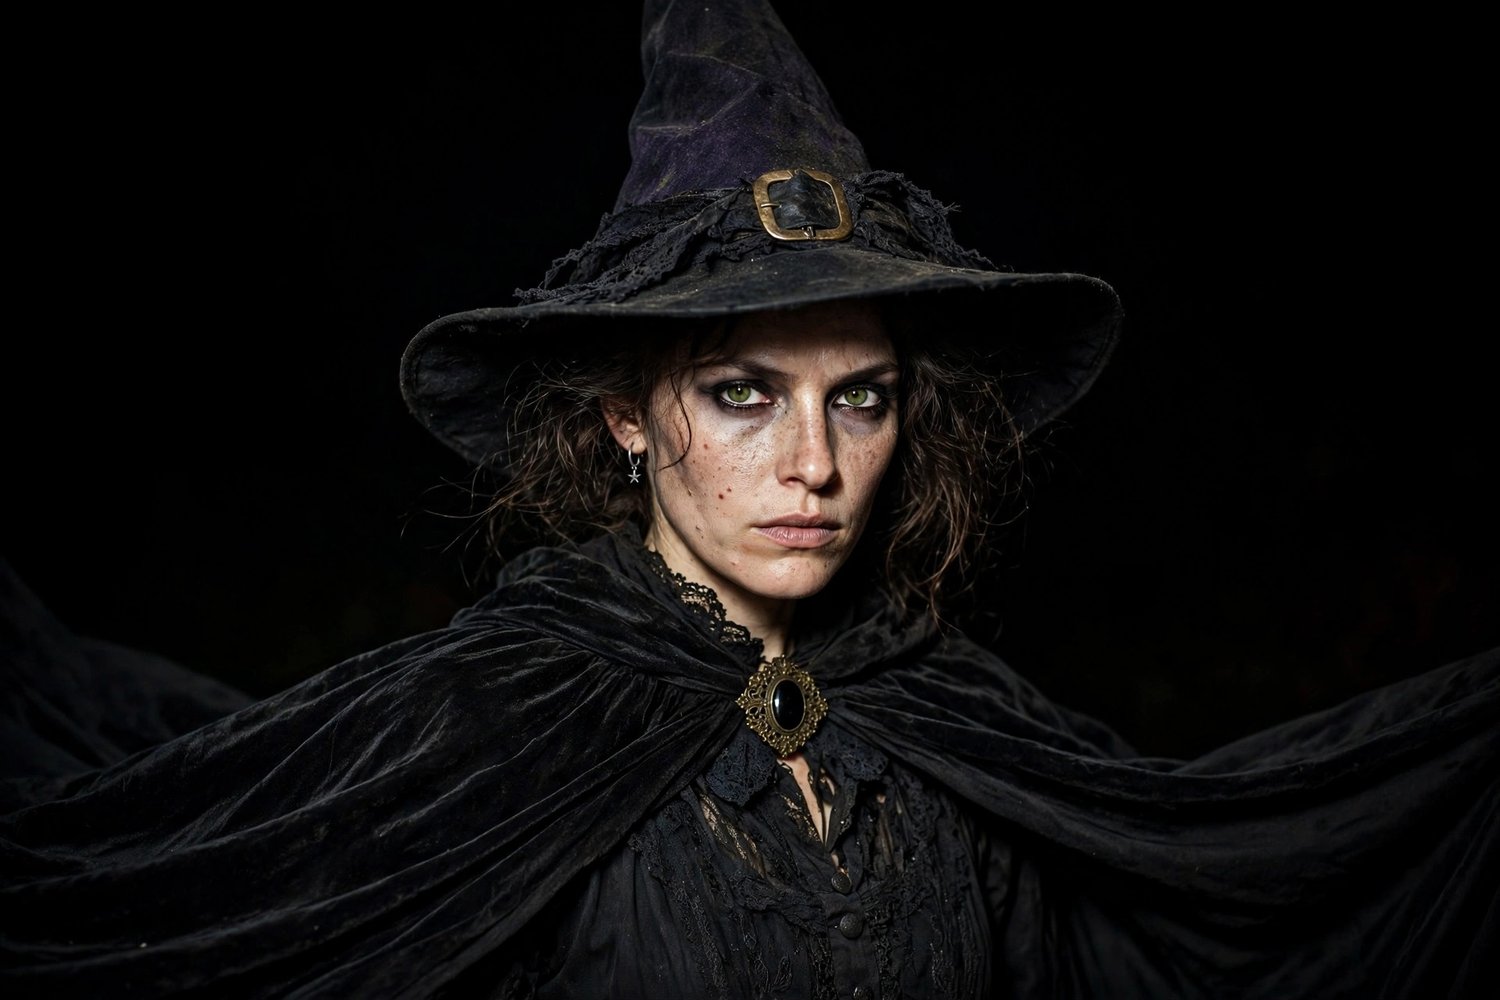
This is the secret behind every great Halloween party photo. Flash on, room lights low, and shoot. Direct flash drops the background into darkness, freezes you sharp, and gives that digicam look that makes costumes read editorial instead of amateur. Bonus: flash loves texture — capes, lace, fake fur all come alive under it.
4. Steal the golden hour before the party
If your costume runs warm — oranges, reds, golds, anything witchy — shoot it outside thirty to forty-five minutes before sunset. Low warm light does half your editing for you. Backlight it for a halo around hats and hair, then lift the exposure in editing later. This is the one time of year when "spooky" and "gorgeous light" overlap.
5. Move for the camera
Static costume photos look like product shots. Twirl the cape, toss your hair, lunge toward the lens, hold the prop like you mean it. Have someone burst-shoot while you move — one frame out of twenty will catch the perfect mid-motion energy. Capes and long sleeves especially: they need movement to show their shape.
6. Get the detail close-ups
Close-ups sell a costume. The stitching on the corset, the claws, the makeup near your eye, the chipped black nail polish. Get close — uncomfortably close. Detail shots are what make people stop scrolling, and they're the ones that show off the work you actually put in.
7. Edit for the mood, not against it
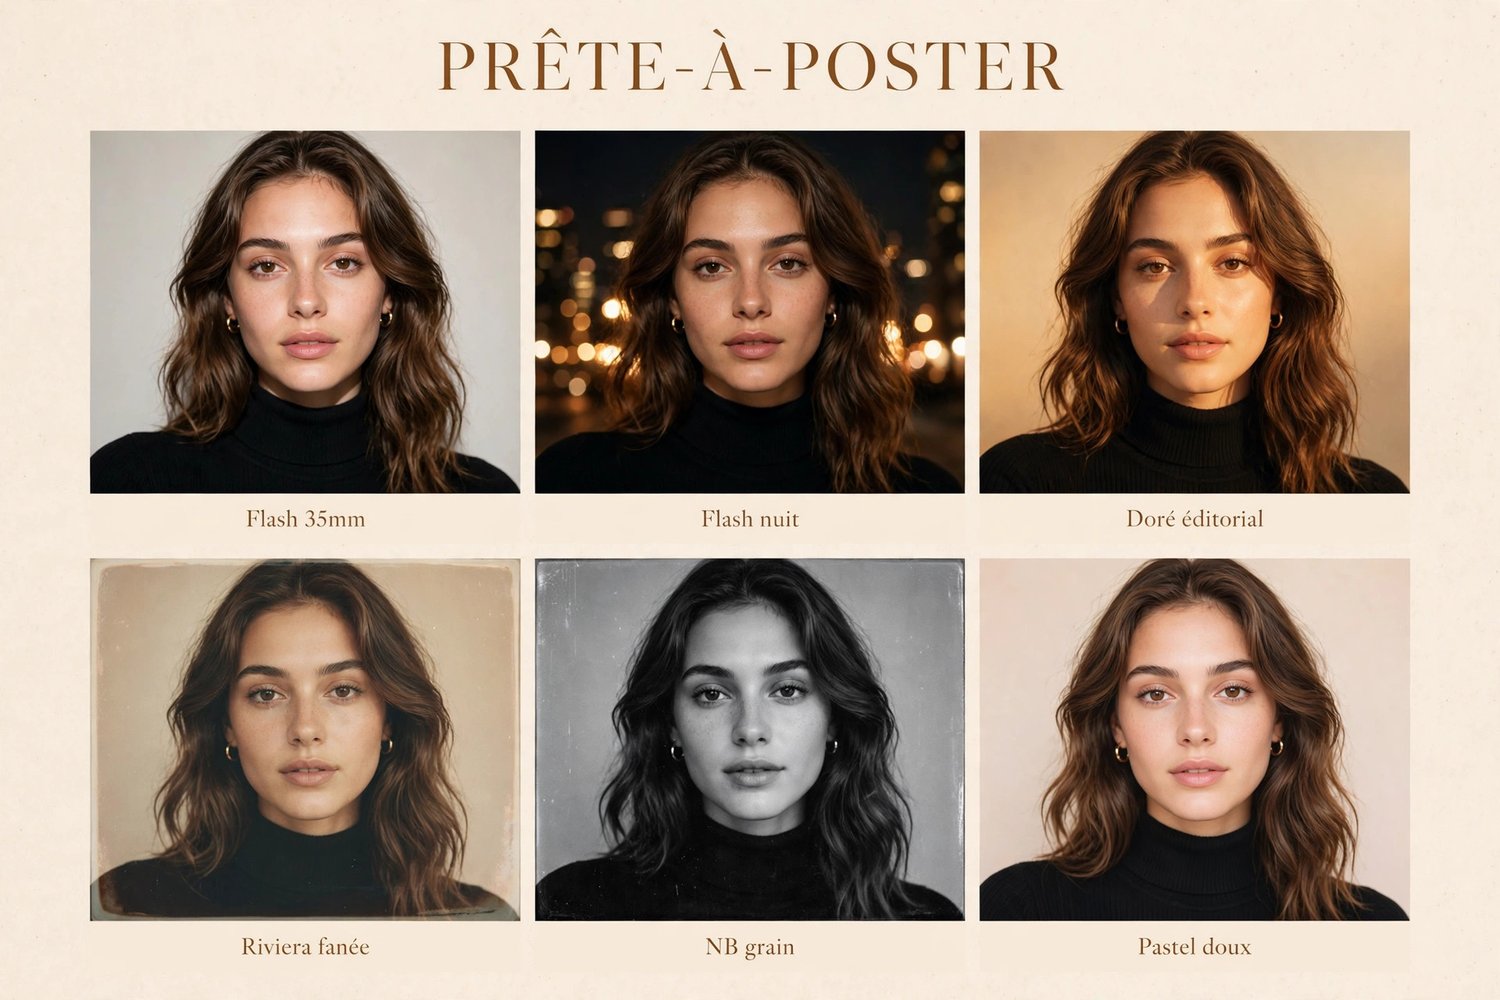
This is where most Halloween photos fall apart: editing that fights the costume. Commit to a mood. Deepen the blacks for drama, let orange and purple lead, cool the temperature for eerie night shots or warm it for candlelit ones. And don't start from zero — apply a preset built for spooky season as your base, then adjust exposure to your photo. A preset like Ghost Flash from the Ready to Post Halloween Pack was made for hard-flash costume shots; Ink Night handles the deep cinematic blacks for dramatic portraits. Sixty seconds of adjustment on top of the right base beats twenty minutes of slider-guessing.
The takeaway
Great costume photos aren't about a better camera — they're about intention. Shoot the flat lay, find a clean background, turn the flash on, move, get close, then edit for the mood you want. Your costume did the hard work; the photos just need to keep up.
The Ready to Post Halloween Pack : 6 Lightroom presets (.xmp) + English PDF guide, CA$29.