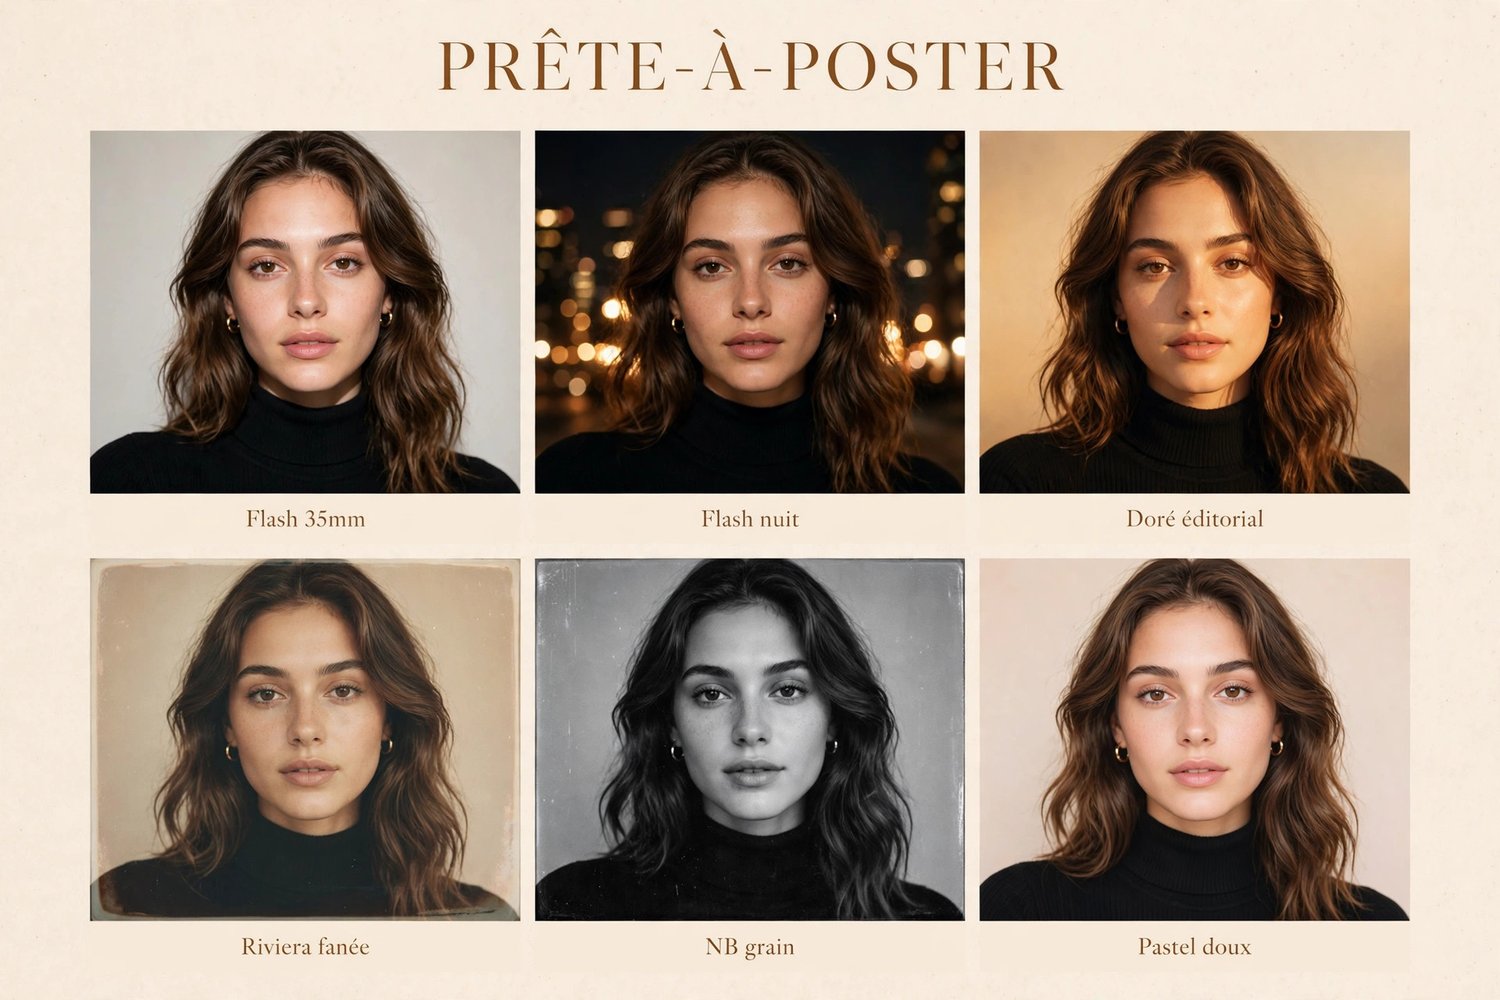

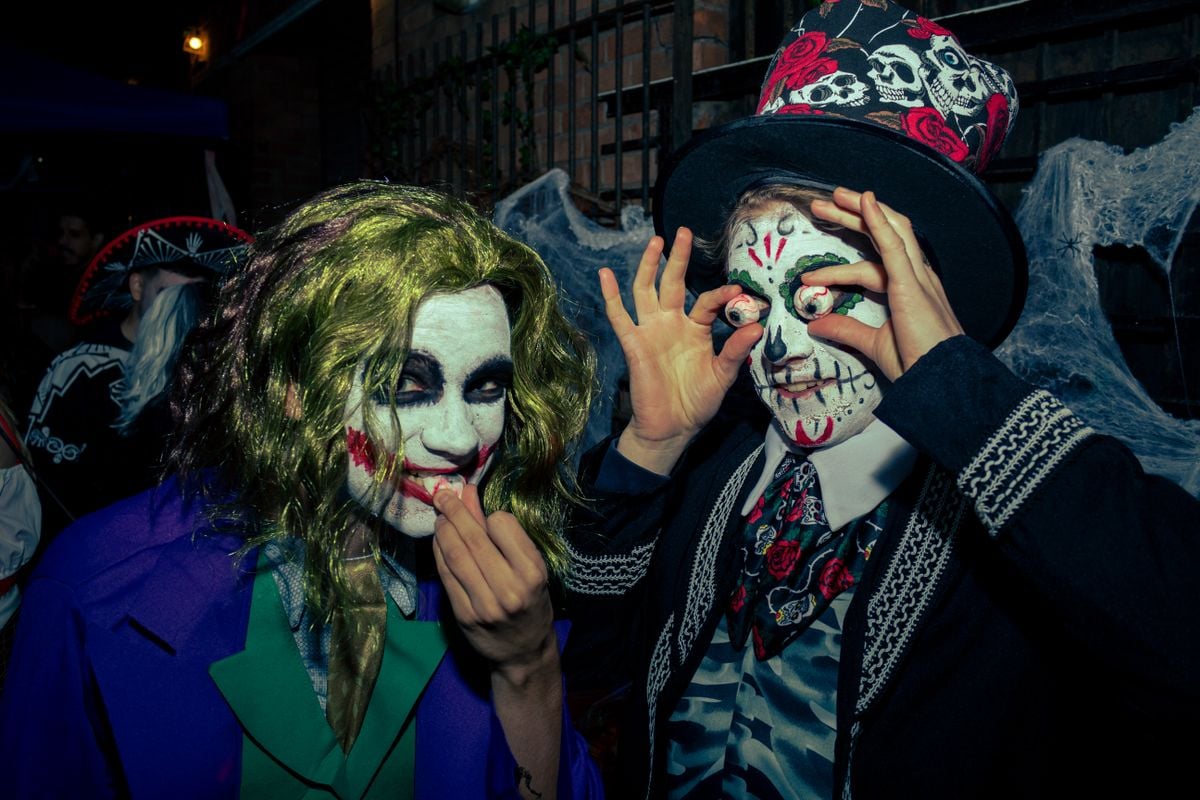
There's a specific look to great Halloween party photos, and you know it when you see it: harsh direct flash, dark background falling to black, costumes glowing white-hot in the middle of the frame. It's the 2000s digicam aesthetic, and it's having a massive moment right now.
The good news? You don't need a vintage camera to nail it. Your phone — or that old compact camera gathering dust in a drawer — can do it. You just need to stop treating the flash like an enemy.
Here are 7 concrete tips for Halloween party photos that actually look like the night felt.
1. Embrace the direct flash — don't diffuse it
Forget everything about "flattering light" for one night. The digicam look IS hard, direct, on-camera flash. No bounce, no diffuser, no softbox. That flat, paparazzi-style blast of light is what freezes the costume, kills the ambient gloom, and gives you that unmistakable party photo energy. If your camera has a pop-up flash, pop it up. If your phone asks, force the flash ON — don't let it decide for you.
2. Get close — flash has a range
Built-in flashes are weak. They light roughly 1 to 3 meters (3 to 10 feet) and fall off fast after that. This is why so many party photos look like floating heads in a black void: the subject was too far away. Get closer than feels polite. Fill the frame with your friends. The dark background dropping to pure black behind them isn't a flaw — it's the look.
3. Turn off night mode
Night mode is the enemy of the flash aesthetic. It drags the shutter, brightens the background, and turns your punchy flash photo into a blurry orange mess. Switch to the regular photo mode, flash forced on. Yes, the background will go dark. That's exactly what you want.
4. Choose your background like it matters — because it does
With direct flash, whatever is behind your subject either disappears into black (great) or ruins the shot. Scan for mirrors, windows, and glass frames before you shoot — flash bouncing off glass creates a white blob that kills the photo. A plain dark wall, a curtain, or just the dark room itself is perfect. Bonus: a few string lights or neon decorations in the far background will render as tiny glowing dots. Chef's kiss.
5. Shoot candids in bursts, not posed group shots
The best party photos are never the "everyone squeeze together and smile" ones. Keep shooting: people laughing, mid-costume-adjustment, holding their drink, dancing badly. Take 10 frames for every one you keep. Digital film is free. The candids always win because the flash freezes a real moment instead of a stiff pose — and stiff poses under hard flash look like mugshots.
6. Fix the two classic flash flaws in seconds
Two things go wrong with direct flash, and both take seconds to fix. First, red or glowing eyes: every phone editor has a red-eye tool, or just slightly desaturate the reds. Second, shiny foreheads and hot spots: pull the Highlights slider down a touch and you're done. Don't overthink it — the charm of this style is that it's a little rough around the edges.
7. Edit for the flash look, not against it
Resist the urge to "fix" the contrast. The digicam aesthetic wants crushed blacks, punchy whites, and slightly cool or neutral skin tones — not warm golden-hour vibes. A preset built for flash photography gets you there in one click: apply it, adjust exposure to your shot, done. That's genuinely how these photos are made to look effortless.
Want the full method? The compact flash photography guide walks you through the whole system — camera settings, flash distance, party scenarios, and the exact editing workflow — so you can stop guessing and start shooting. Pair it with flash-built presets like Ghost Flash from the Halloween Pack for spooky-season parties, or the Night Out Pack when the costumes come off but the nights out continue.
The Ready to Post Halloween Pack: 6 one-click Lightroom presets (.xmp) + English PDF guide, CA$29. When the costumes come off, the Night Out Pack keeps the flash look going all year.