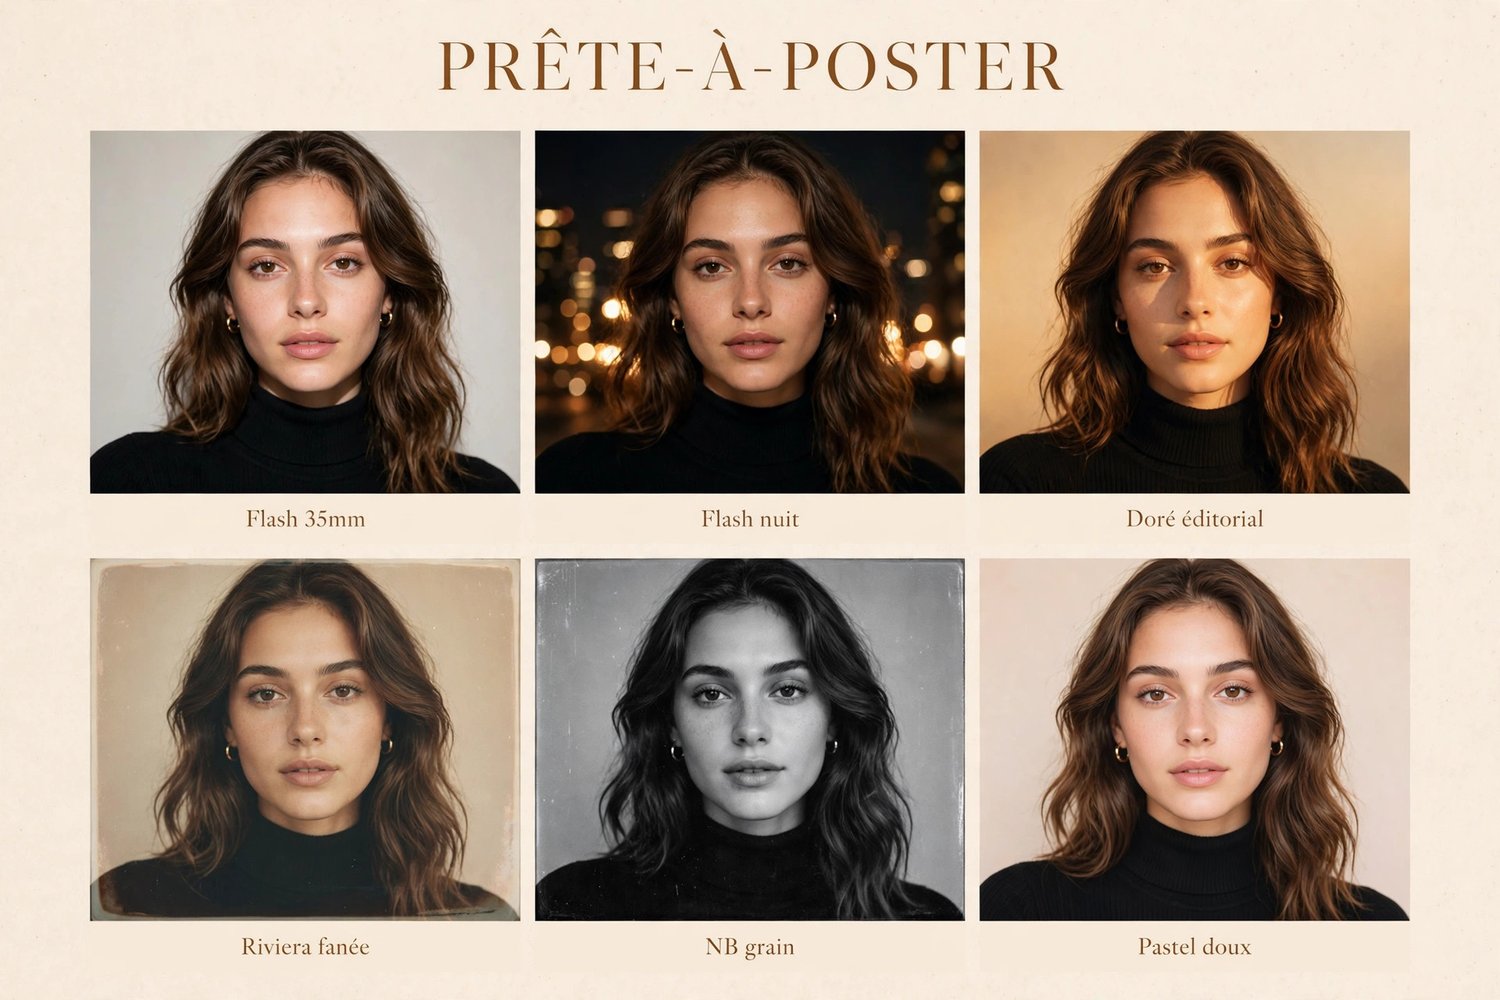

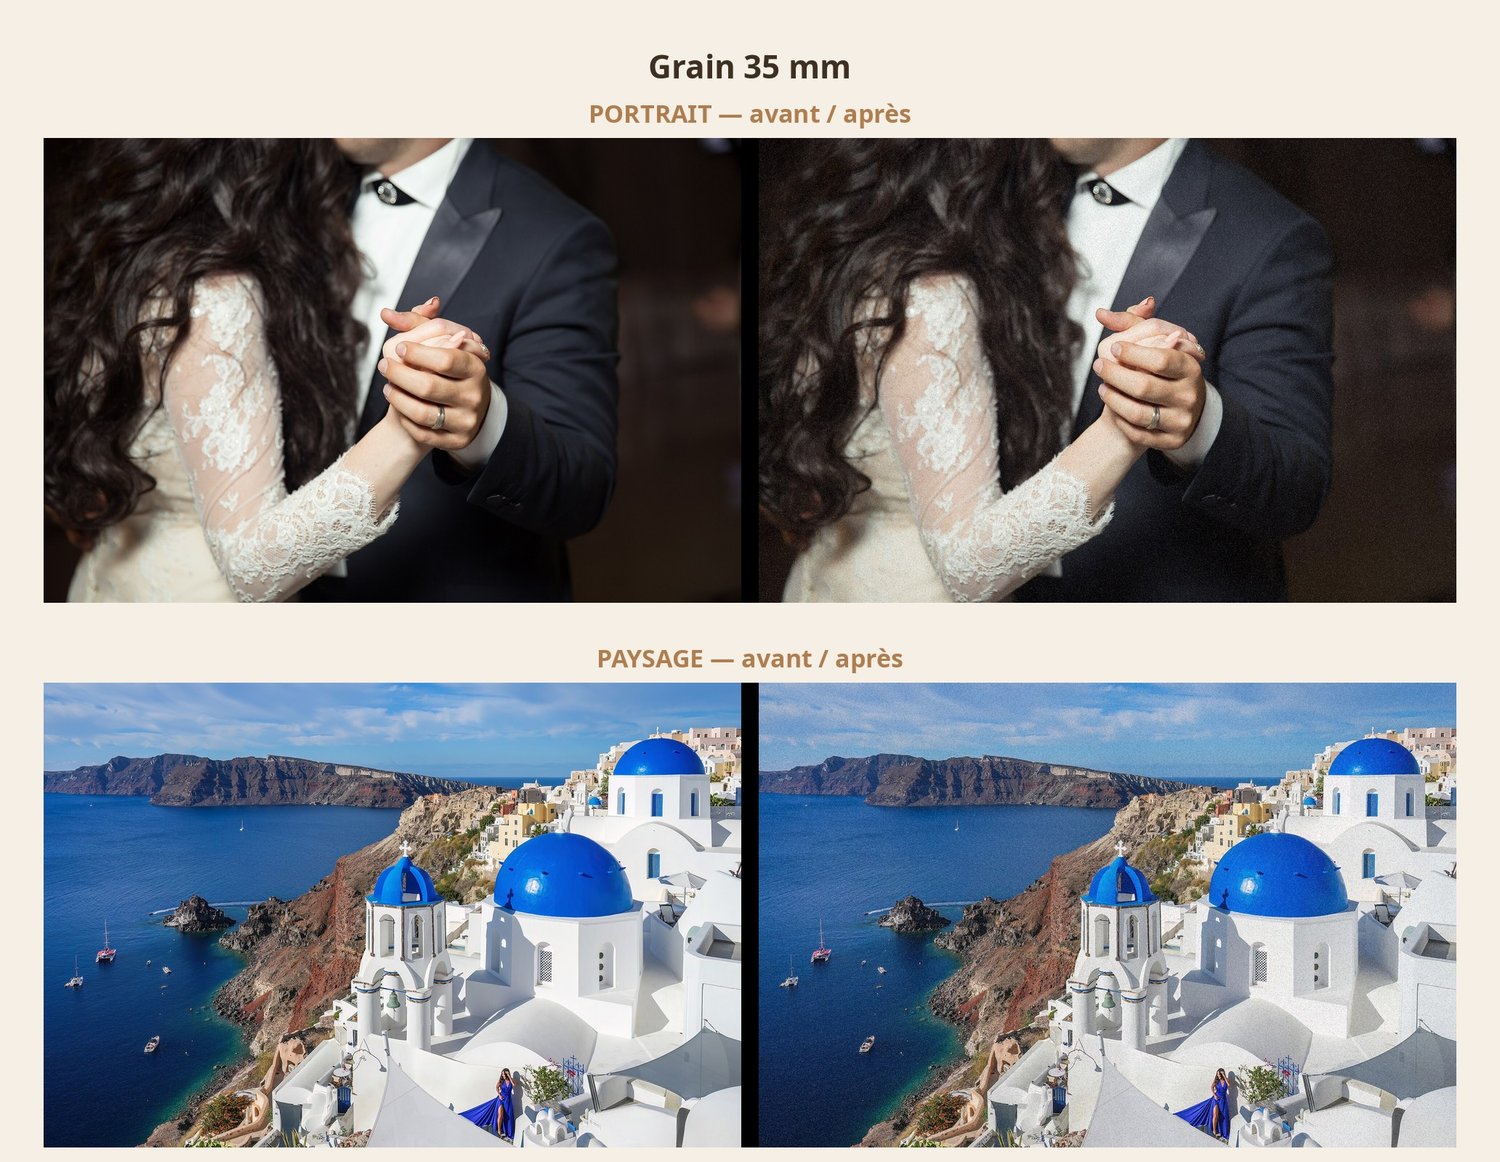
Look at a film photo next to a phone photo: the difference isn't (just) the colors. It's the grain. That subtle noise, that texture that gives the image substance. Digital photos are too clean, too smooth — grain is what gives them their soul back.
Why It Works
Grain does three things at once:
- It softens: it breaks the overly crisp, overly "digital" look of phone photos.
- It unifies: on a flash photo or in low light, it blends noisy areas into a consistent texture.
- It tells a story: subconsciously, we associate grain with film photography, and therefore with the "real" moment, the authentic one.
That's why a flash portrait with grain looks editorial, while the same portrait without grain looks like a blurry party photo.
Subtle or Bold?
The pack contains two intensities, and the choice depends on the photo:
- Fine grain: for everyday use. Barely noticeable on a phone screen, but the photo has more character. Perfect on portraits and everyday shots.
- Heavy grain: for the unapologetic film look. Visible, textured, it turns a simple photo into an image that looks straight out of a film camera. Perfect on flash photos, parties, editorial looks.
In both cases: apply the grain last, after your preset or edits.
How to Add It
The files are transparent-background PNGs: you lay them over your photo in Canva, Photoshop, or CapCut, with zero complicated setup. The step-by-step guide is included in the pack, with the recommended opacity settings for each app.
My favorite combo: the "October Gold" preset + heavy grain + a subtle film dust. Three layers, two minutes, a fully film look.
The Mistake to Avoid
Too much grain kills the grain. If you see the texture before you see the photo, it's too much. The right dosage: you feel the photo has character, but you can't say exactly why.