

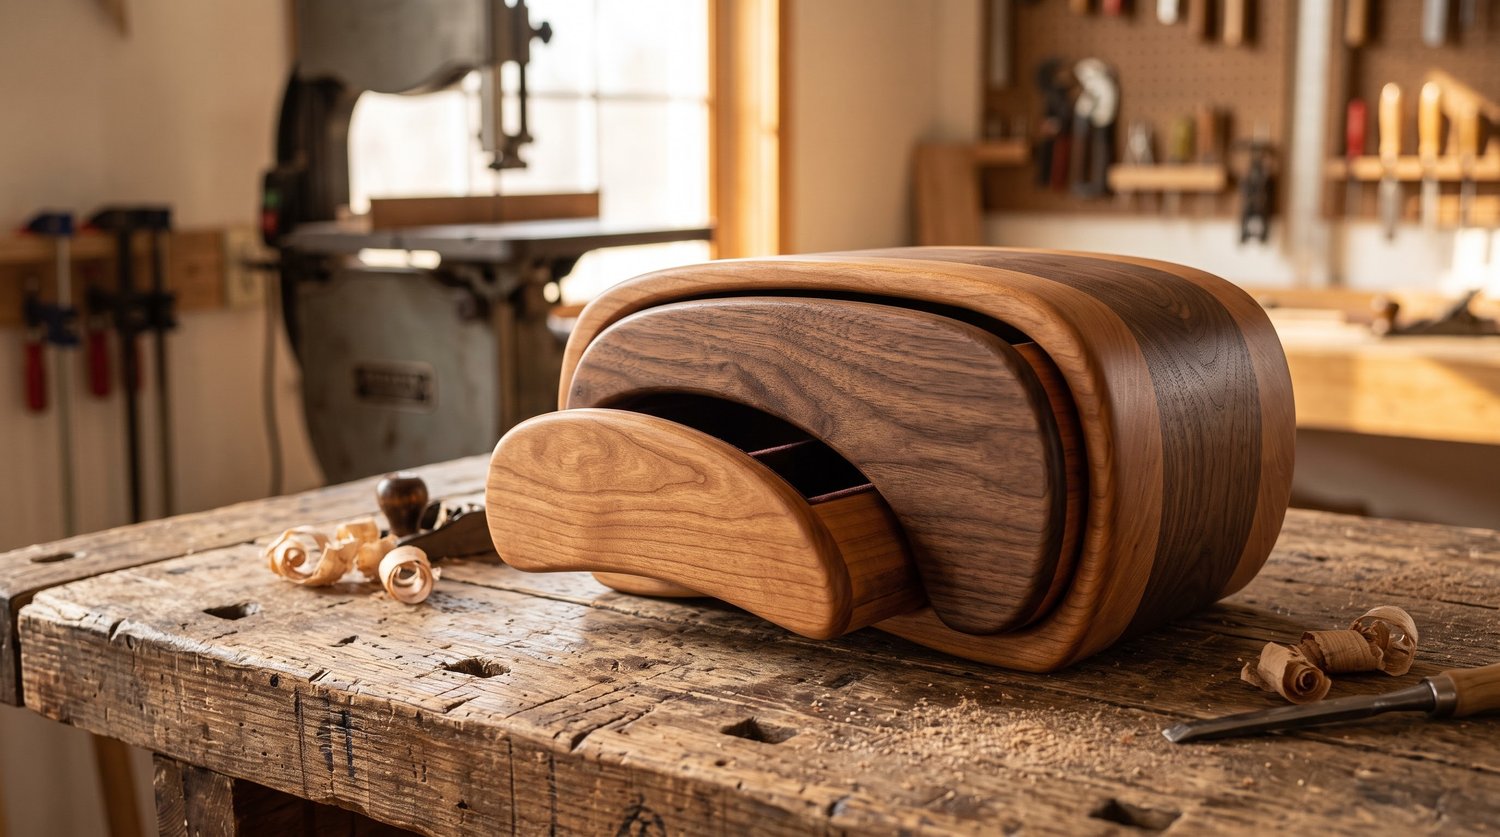
# Post 1: How to Make a Bandsaw Box: A Step-By-Step Beginners Guide
If you own a bandsaw, there is a rite of passage every woodworker should experience: transforming a solid, laminated block of wood into a seamless wooden jewelry box with smooth, organic curves.
Unlike traditional cabinetry or joinery that demands precision dovetails, mortises, and tenons, bandsaw boxes rely almost entirely on continuous curved cuts, clever slicing, and glue reassembly. The beauty of a bandsaw box is that the grain flows effortlessly around the exterior shell and right across the face of the drawer, because the entire piece comes from a single block of wood.
Whether you have a 10-inch benchtop saw or a 14-inch cast-iron workhorse, here is the complete, practical guide to making your first bandsaw box without unnecessary headaches or ruined lumber.
---
## The Basic Anatomy of a Bandsaw Box
Before you make your first cut, it helps to understand how a bandsaw box works mechanically. Every standard bandsaw box consists of four primary elements:
1. **The Outer Body (Carcass):** The exterior shell that encloses the drawer cavity.
2. **The Back Plate:** A thin slice (typically 1/4 inch to 3/8 inch thick) cut off the rear of the block before cutting the drawer cavity, then glued back on afterward.
3. **The Drawer Core:** The interior chunk cut directly out of the center of the block.
4. **The Drawer Front and Back:** Slices cut from the front and back of the core before hollowing out the drawer pocket.
When assembled, the blade kerf is virtually invisible, giving the illusion that you somehow carved the inside of a closed hollow log.
---
## Step 1: Prepare Your Laminated Blank
While you can make a bandsaw box from a single thick chunk of hardwood (such as 12/4 or 16/4 timber), most woodworkers build their blanks by laminating multiple boards together.
### Recommended Dimensions for Beginners
For a comfortable first project, aim for a blank roughly:
- **Width:** 6.5 inches to 7 inches
- **Height:** 4 inches to 4.5 inches
- **Depth (Thickness):** 3.75 inches to 4 inches
A reliable, affordable method is face-gluing five layers of standard 3/4-inch hardwood stock (e.g., contrasting layers of cherry and walnut, or oak and maple).
**Shop Tip:** Make sure your face-glued boards are flat and square. Run the laminated block across your jointer or hand plane one reference face so the bottom sits dead flat against your bandsaw table. If the bottom rocks during a cut, your blade can pinch or wander off 90 degrees.
---
## Step 2: Apply Your Cutting Template
While seasoned makers occasionally sketch freehand curves onto wood, beginning with a verified, 1:1 scale printable cutting template saves hours of frustration. A well-designed template gives you safe entry points, predictable wall thicknesses (usually 3/8 inch), and clean interior turning radii that won’t trap your blade.
For your first build, a clean, single-drawer design like **The Classic Flat** (available in the printable [9 Bandsaw Box Pattern Bundle](https://payhip.com/b/EFgd0) from Stuff That Works) keeps your cuts predictable and your proportions balanced.
### Applying the Pattern:
1. Print your template at 100% scale (ensure "Fit to Page" is unchecked).
2. Cover the face of your wood block with blue painter’s tape.
3. Lightly mist the back of your paper template with spray adhesive and smooth it over the tape.
4. The tape prevents sticky residue from absorbing into your bare wood fibers, peeling away cleanly once the cuts are done.
---
## Step 3: Slice Off the Back Plate
Your first cut on the bandsaw is slicing off the back of the entire block:
1. Set your bandsaw fence approximately 1/4 inch to 3/8 inch from the blade.
2. Use a steady push block to slice the rear face of the blank in one continuous, straight pass.
3. Set this back slice aside in a safe spot. Label the orientation (top/bottom) lightly with a pencil so you can align the wood grain perfectly during final glue-up.
---
## Step 4: Cut the Outer Drawer Cavity
Now comes the signature bandsaw box technique: extracting the interior drawer core from the carcass.
1. **Choose Your Entry Cut:** Locate the entry path marked on your template. Always choose an entry point that follows the natural grain line or enters along the bottom or side where it will be least noticeable.
2. **Follow the Line Smoothly:** Guide the blank through the blade at a steady, moderate pace. Keep your eyes 1/2 inch ahead of the blade rather than staring directly at the teeth.
3. **Turn the Corners:** Do not force the wood around curves. If you hear the motor bog down or see the blade twist, back off slightly.
4. **Exit the Cut:** Complete the interior perimeter and exit through your original entry line. The center block will slip right out.
---
## Step 5: Hollow Out the Drawer
With the center core free, you are ready to turn it into a functional drawer:
1. **Slice the Front and Back of the Drawer:** Just like you did with the main body, slice approximately 1/4 inch off the front of the core and 1/4 inch off the back. Set both slices aside.
2. **Cut Out the Drawer Pocket:** Take the remaining middle section of the core. Following your template lines, cut out the interior cavity, leaving a 1/4-inch to 3/8-inch bottom and side wall.
3. **Glue the Drawer Together:** Glue the front and back slices back onto the hollowed-out drawer core. Clamp lightly with spring clamps or blue painter’s tape. The grain on the front of the drawer now matches the surrounding carcass perfectly.
---
## Step 6: Glue the Carcass and Back Plate
1. Apply wood glue to the thin kerf line where the blade entered the main carcass. Clamp the entry cut shut with a small bar clamp or parallel clamp.
2. Once the entry cut is dry, apply a uniform layer of glue to the rear rim of the carcass and re-attach the back plate.
3. Clamp evenly and allow to cure for at least 3 to 4 hours.
---
## Step 7: Sanding, Fitting, and Pulls
Once the glue has fully cured:
- Sand the interior of the box carcass and the exterior of the drawer box using an oscillating spindle sander or 120-grit sandpaper wrapped around a wooden dowel.
- Check drawer clearance: the drawer should slide in and out with smooth, gentle friction. If it binds, take a light sanding pass along the drawer sides.
- Shape and attach a custom wooden pull to the drawer face, or carve a subtle finger notch along the top edge.
- Apply your favorite wipe-on finish, such as Danish oil, tung oil, or wipe-on polyurethane, to bring out the depth of the laminated hardwood grain.
---
### Ready for Your Next Build?
The secret to building heirloom-quality bandsaw boxes isn't expensive machinery—it’s having tested, well-proportioned patterns that prevent blade bind and wasted wood. If you want full-scale, print-ready templates designed with exact cutting paths, check out the [9 Bandsaw Box Pattern Bundle at Stuff That Works on Payhip](https://payhip.com/b/EFgd0). Each design includes actual-size printable PDFs, side lamination guides, and accessory foot patterns to get you building immediately.
Comments ()