Your Cart
Loading

Tools and techniques for coloring

A closer look at some tools and techniques that public coloring guides often cover, with example pages from our books. Most of it is common advice from public coloring guides; the Monochrome notes are our own. Every pencil, pen and paper behaves a little differently, so try a spare page first. For paper and printing tips, see the Coloring tips page.

Colored pencils

Wax-core pencils tend to be softer and break more easily; oil-core pencils tend to be harder and break less.

Guides favor a hand-held sharpener for control, and a dull blade can crumble the point. A sharper point snaps more easily; a blunter point protects the core.

Holding the pencil near the tip gives darker color, farther back gives lighter.

A colorless blender (a pencil with no pigment) can smooth layers; heavy use can leave a waxy film that wipes off with a paper towel. More layers, or a lighter pencil over the top, also blend.

A kneaded eraser can lift and lighten pencil, but not erase it fully.

Build color in layers

Use light, circular strokes and build color gradually instead of pressing hard in one pass. Layering also lets you mix new colors.

Burnishing means pressing firmly at the end for a smooth, glossy finish. It makes adding more layers hard, so many guides save it for last.

Digital preview colored by AI, not by hand. Your pages will differ.

Markers and pens

Water-based markers are often easier for beginners. Alcohol-based markers blend smoothly but can bleed through thin paper.

Many brush tips make a fine line with light pressure and a broad one with more.

With alcohol-based markers, brush and chisel tips are said to blend best, and worn or dirty tips blend unevenly. Scribble on a spare page first.

A white gel pen gives crisp highlights on shiny things such as glass or water; a white pencil gives soft highlights on matte or fluffy things.

Big areas, small zones

Streaks often come from thin paper, long straight back-and-forth strokes, and long gaps between layers. Work in small zones that overlap the next while the ink is still wet, with short circular or flicking strokes and light pressure.

Guides differ on timing: some add each new layer while the last is still wet, for a smoother blend; others let each layer dry first. Try both on a spare page.

With alcohol-based markers, one common gradient is: lay the light color, add a medium tone while wet, then the dark in the smallest shadow area, blending each step back toward the lighter. Skipping the mid-tone can leave a blotchy blend. Some guides go from dark to light instead; both are taught, so use whichever works for you.

Digital preview colored by AI, not by hand. Your pages will differ.

Light, shadow and highlights

Pick one side for the light and put shadows on the opposite side. The simplest shadow is another pass of the same color.

Add highlights on the lit side with a white gel pen (crisp) or a white pencil (soft).

Digital preview colored by AI, not by hand. Highlights in this example are areas left uncolored. Your pages will differ.

Choosing colors

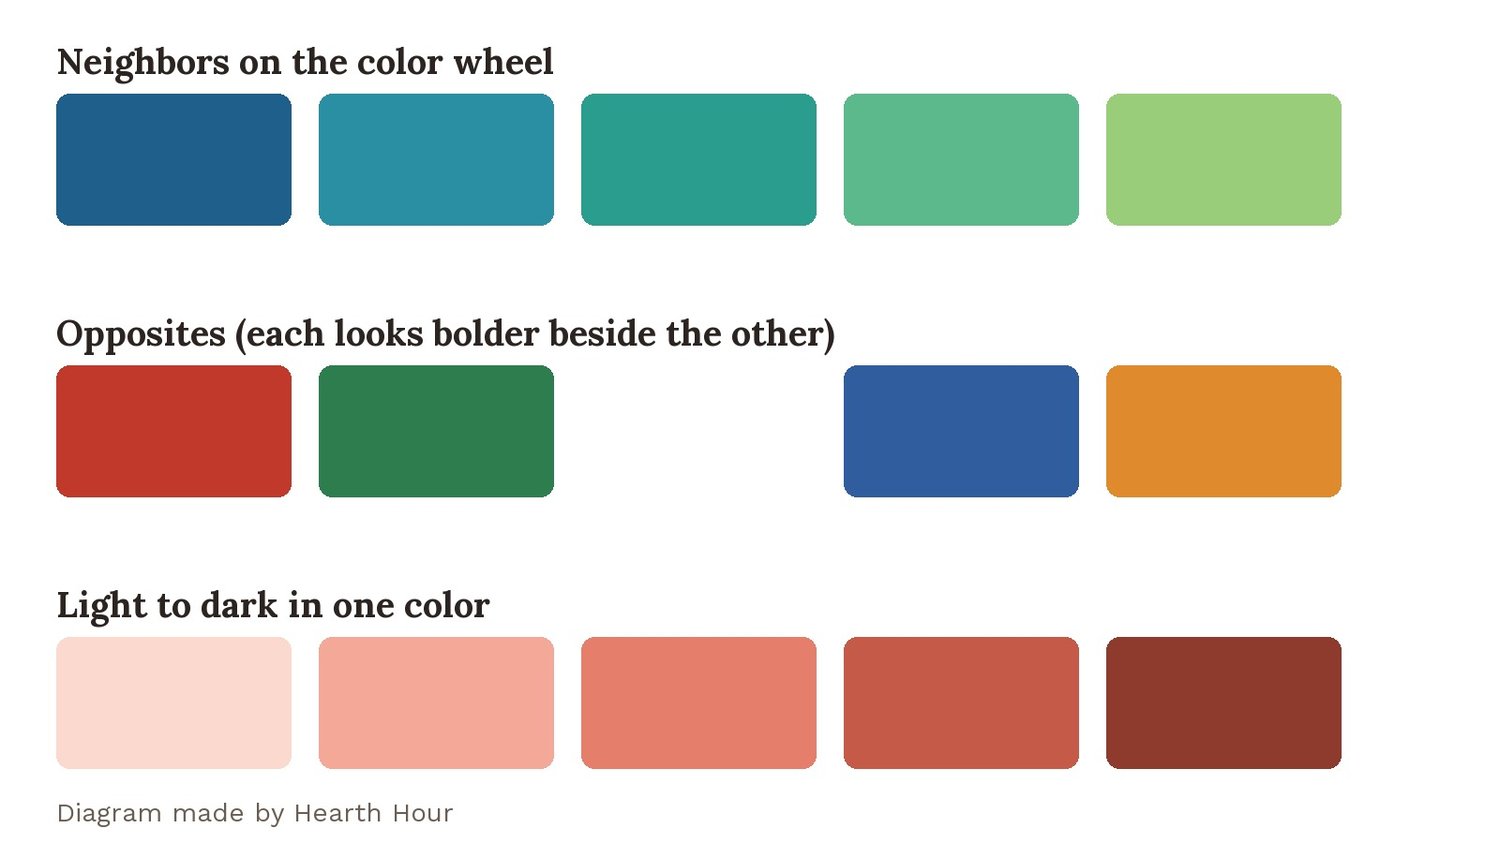
Colors that sit next to each other on the wheel tend to look harmonious. Opposites look most vivid side by side. A small palette can keep a page from looking busy, and warm colors tend to come forward while cool ones sit back.

Diagram made by Hearth Hour.

Coloring a Monochrome book

Fill every gray shape with one marker, in any color, even black. Under a translucent marker the gray reads as gentle shading. Medium and dark colors cover it best; light colors keep a soft gray shade underneath. On a home printer the gray tone depends on your printer and print quality. Try the nine test patches on the How it works page first.

Digital preview: filled in teal at the bottom, unfilled soft gray at the top. Your pages will differ.

Fixing mistakes

Marker too dark? Flick a lighter color into the spot instead of pushing the dark outward. A mid-tone in small circular touches can calm muddy or streaky areas, but too much can cause cloudy blooms. A lighter shade layered over a heavy shadow can reduce contrast.

A colorless blender marker can nudge small strays while the ink is still workable; it moves color, it does not remove it.

Pencil can be lifted a little with a kneaded eraser, not erased fully.

General tips only; results vary with your tools, paper and printer. Example pages are digital previews.