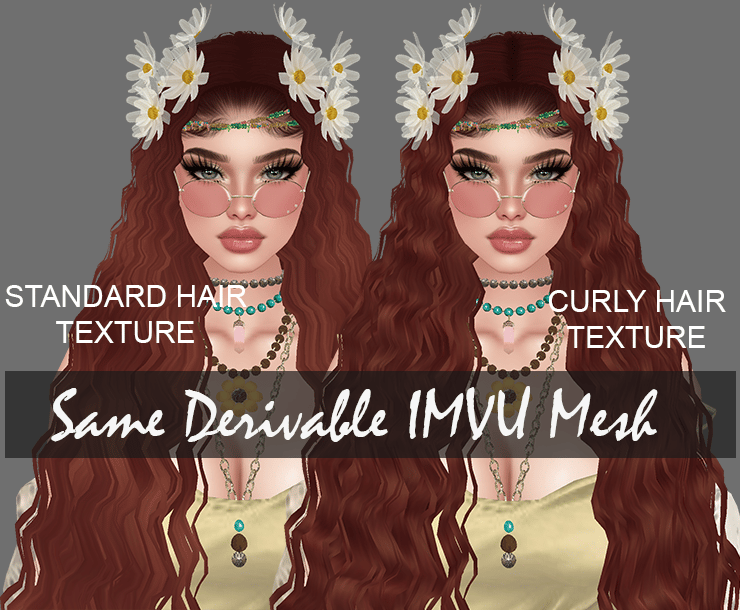
One of the great things about digital hair textures is that they can often be adapted to suit different hairstyle types with a little experimentation.
While every editing program works differently, the basic principle remains the same.
For this example, I'll be using Adobe Photoshop.
My Basic Workflow
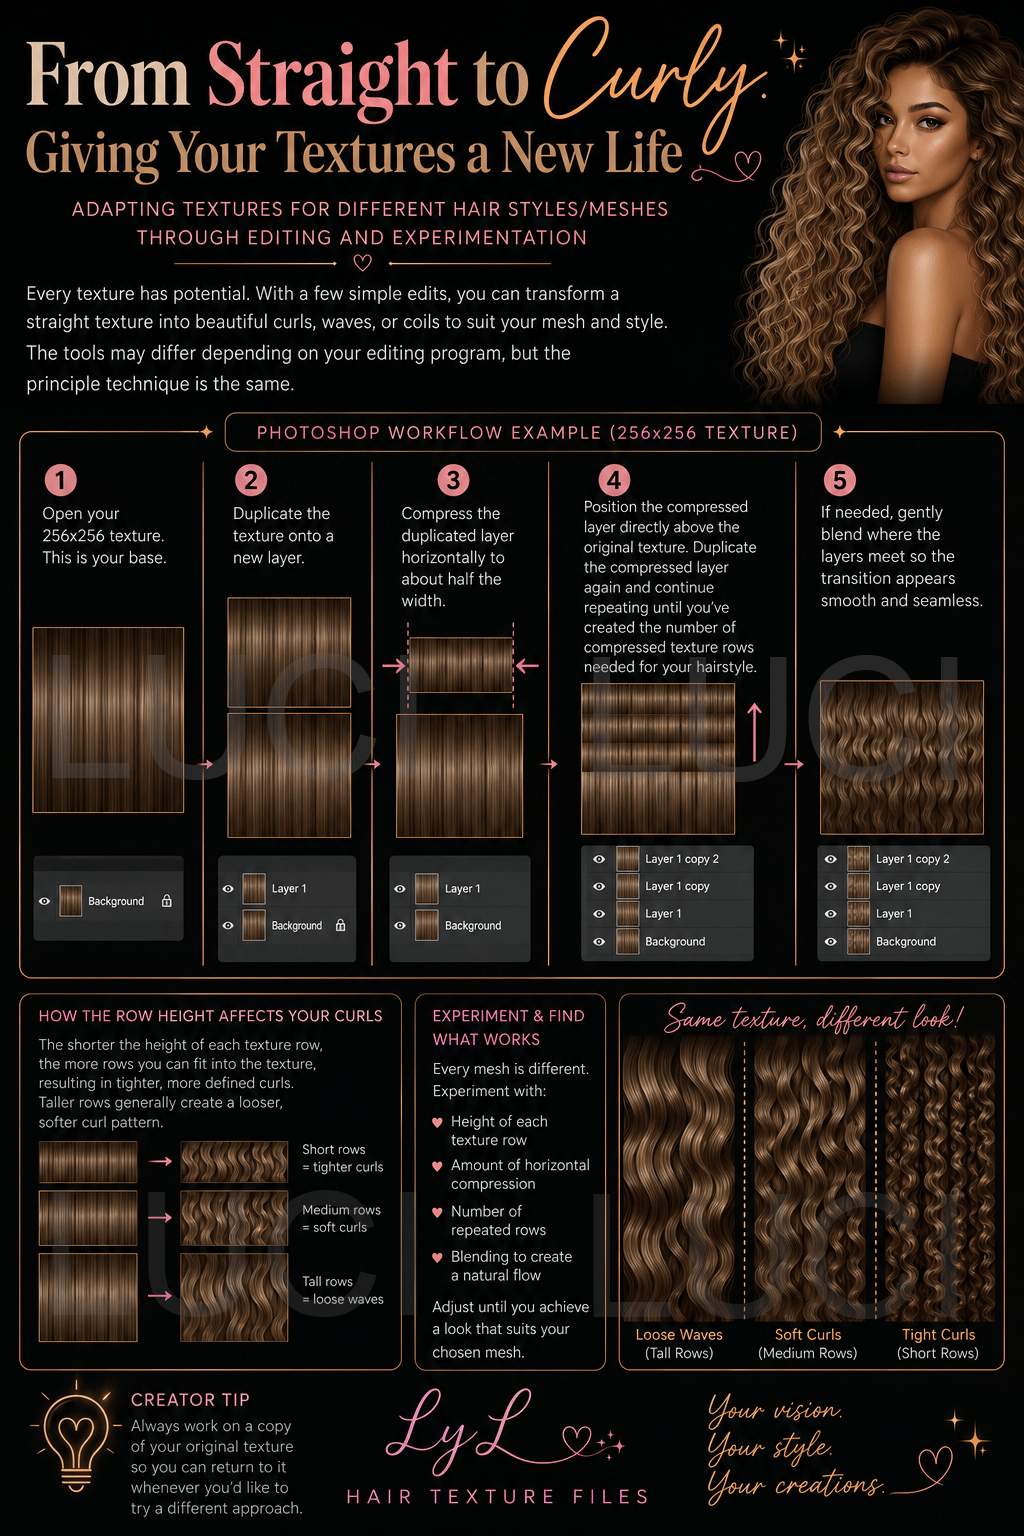
- Open your 256 × 256 hair texture.
- Duplicate the texture onto a new layer.
- Compress the duplicated layer horizontally until it is approximately half the width of the original.
- Position the compressed layer directly above the original texture. Duplicate the compressed layer again and continue repeating the process until you've created the number of compressed texture rows needed for your hairstyle.
- If needed, gently blend where the layers meet so the transition appears smooth and seamless.
The shorter the height of each texture row, the more rows you can fit into the texture, resulting in tighter, more defined curls. Taller rows generally create a looser, softer curl pattern.
Every hair mesh is different, so don't be afraid to experiment with the height of each texture row, the amount of horizontal compression, and the number of repeated rows until you achieve a look that suits your chosen mesh.
✨ Creator Tip: Always work on a copy of your original texture so you can return to it whenever you'd like to try a different approach.
Please note: This is one workflow that I personally use in Adobe Photoshop. The same principle can usually be achieved in other image editing programs using equivalent tools, although the tools and terminology may differ.
Tutorial Note: The textures shown in this tutorial are simplified examples created solely to demonstrate the editing technique.