
Download the free Print Readiness Check
A bigger image file and more original detail are different things. Resizing can add pixels, but it cannot recover details that were absent in the source.
1. Divide pixels by inches
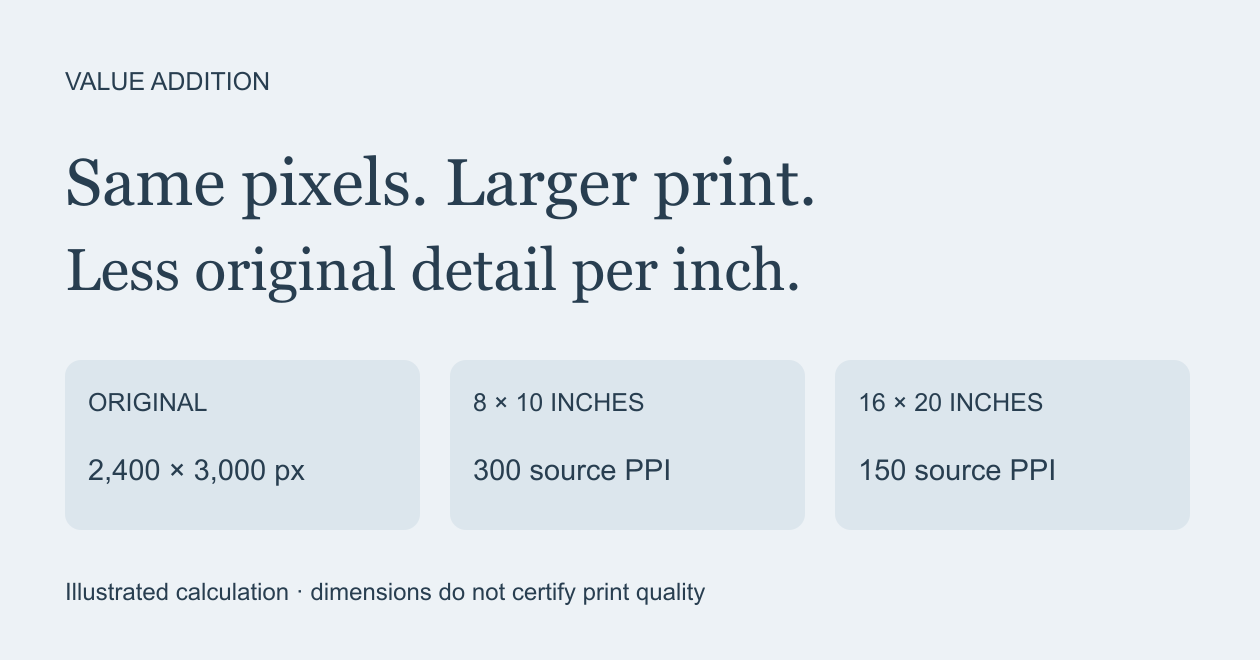
A 2,400 × 3,000-pixel original used at 8 × 10 inches has 300 source pixels per inch in each direction: 2,400 ÷ 8 = 300 and 3,000 ÷ 10 = 300. The same original at 16 × 20 inches has 150 in each direction. These numbers describe available source detail, not a guarantee of a good print.
2. Choose Fit or Fill
Fit preserves the complete image and may add borders. Fill covers the chosen shape by cropping edges. If the source and target shape already match, these modes can look the same. Our diagram uses a landscape source and portrait target to show the difference; it is an illustration, not a tool screenshot or customer's print.
3. Check before exporting
Keep the original. Check the intended physical size, available source detail, crop position and enlargement warning. Printing software may ignore size metadata, so set the intended physical size there too. A physical proof is still needed to judge colour, sharpness and printer behaviour.
4. Start with the free check
The free Print Readiness Check reads PNG, JPEG or WebP locally, or lets you enter original pixel dimensions. It reports dimensions and available source detail. It does not export resized artwork or certify colour, blur or print quality. Extract the download and open its HTML file in a desktop browser; it is a downloadable local tool, not a hosted upload service.
5. Use the paid exporter only if it fits
Print Size Studio adds PNG/JPEG export and a ZIP of up to four chosen sizes, with a size record. Fit/Fill, crop position, background and PPI controls are included. It reads artwork locally. Transparent areas use your chosen background; this edition has no transparent export, AI detail enhancement, CMYK proofing, bleed or crop marks. Large exports have stated size limits and may fail on low-memory devices.
Photopea is a broader free image editor that also resizes images. If it already covers your workflow, keep using it. Print Size Studio is an optional focused export workflow, not the only way to do this task. Photopea's own guide: https://www.photopea.com/learn/
By Value Addition. Original AI-assisted tools and illustrated examples. No customer result, physical proof or guaranteed print-quality claim.