

When you think about emergency preparedness, food often comes to mind first. But water is the single most important resource your family needs to survive. Without safe water, meals can’t be prepared, hygiene is compromised, and health risks rise quickly. The good news is, with the right storage methods, water can stay safe and usable for years.
Many people make the mistake of filling a few bottles and assuming that’s enough. The truth is, water can go bad if it’s not stored properly—developing bacteria, algae, or strange tastes. That’s why having a system is key. Below are five easy steps to make sure your water supply stays safe, fresh, and ready when you need it most.
Step 1: Choose the Right Containers

Not all containers are safe for storing drinking water. Some plastics degrade, while others leach chemicals into the water.
- Use food-grade containers made from BPA-free plastic or stainless steel.
- Avoid reusing milk or juice jugs—they can harbor bacteria and are difficult to clean thoroughly.
- Consider large water storage barrels (55-gallon drums) or smaller stackable containers for easier rotation.
- Mason jars and glass jugs also work well for smaller amounts, especially if you keep them out of direct light.
Your container is the first line of defense against contamination. Choosing the right size also matters—smaller containers are easier to carry in an evacuation, while larger ones are better for long-term home storage. Think about your space and your family’s needs before you buy. A combination of container sizes often works best.
Step 2: Clean and Sanitize Before Filling

Even the best container can cause water to spoil if it isn’t sanitized first.
- Wash thoroughly with warm, soapy water and rinse well.
- Sanitize using a solution of 1 teaspoon of unscented household bleach per quart of water.
- Swish the solution inside the container, making sure it touches all surfaces.
- Rinse thoroughly with clean water before filling.
This simple step prevents mold, algae, and bacteria from taking hold. If your container has a spigot or lid, be sure to sanitize those parts too since germs can hide in small spaces. Don’t rush this process—it only takes a few minutes and ensures long-term safety. Skipping this step is one of the most common reasons water goes bad.
Step 3: Add a Water Preserver (Optional but Helpful)

Tap water treated by your municipality is already chlorinated, but if you’re storing water long-term, an extra step can extend its shelf life.
- Add a commercial water preserver designed for long-term storage (lasts up to 5 years).
- Alternatively, use plain household bleach (unscented, no additives). The ratio is 1/8 teaspoon (about 8 drops) per gallon of water.
- Mix well and seal tightly.
This keeps harmful microorganisms from growing and ensures your water stays drinkable. Without a stabilizer, your water might start to taste stale or even develop growth after several months. A preserver buys you peace of mind, especially if you don’t want to remember to rotate water every year. Think of it like insurance for your water supply.
Step 4: Store in the Right Conditions

Where you keep your water matters just as much as how you store it.
- Place containers in a cool, dark location like a closet, basement, or under a bed.
- Keep them out of direct sunlight, which can promote algae growth and break down plastic.
- Avoid hot garages or attics, where heat can shorten the life of your containers.
- Store away from chemicals like gasoline, paint, or cleaning supplies that could leach fumes.
Think of your water storage like your pantry—it needs a stable environment. Extreme temperature changes can weaken containers and shorten the lifespan of the water inside. If you’re limited on space, even sliding flat containers under beds or couches can work. The goal is simply to keep your water cool, dark, and undisturbed.
Step 5: Rotate and Refresh Regularly
Even properly stored water benefits from rotation.
- Refresh tap water storage every 6–12 months if you didn’t use a stabilizer.
- Mark containers with the date you filled them.
- Use the oldest water first and replace with fresh.
- If water tastes “flat” after long storage, pour it back and forth between two containers to add oxygen.
Rotation ensures you always have a fresh, safe supply for your family. Don’t wait until an emergency to find out your water has gone bad. Building rotation into your routine makes it simple—set a reminder on your phone or pair it with other seasonal tasks like checking smoke detectors. A little consistency guarantees peace of mind.
Final Thoughts
Water is the foundation of every preparedness plan, yet it’s the step most people overlook. By following these five steps—choosing the right containers, cleaning them, using preservatives if needed, storing them correctly, and rotating regularly—you’ll know your water is safe when you need it most.
Preparedness isn’t about fear—it’s about confidence. When you’ve taken the time to store water the right way, you won’t panic in a crisis. Instead, you’ll be calm, knowing your family has what they need.
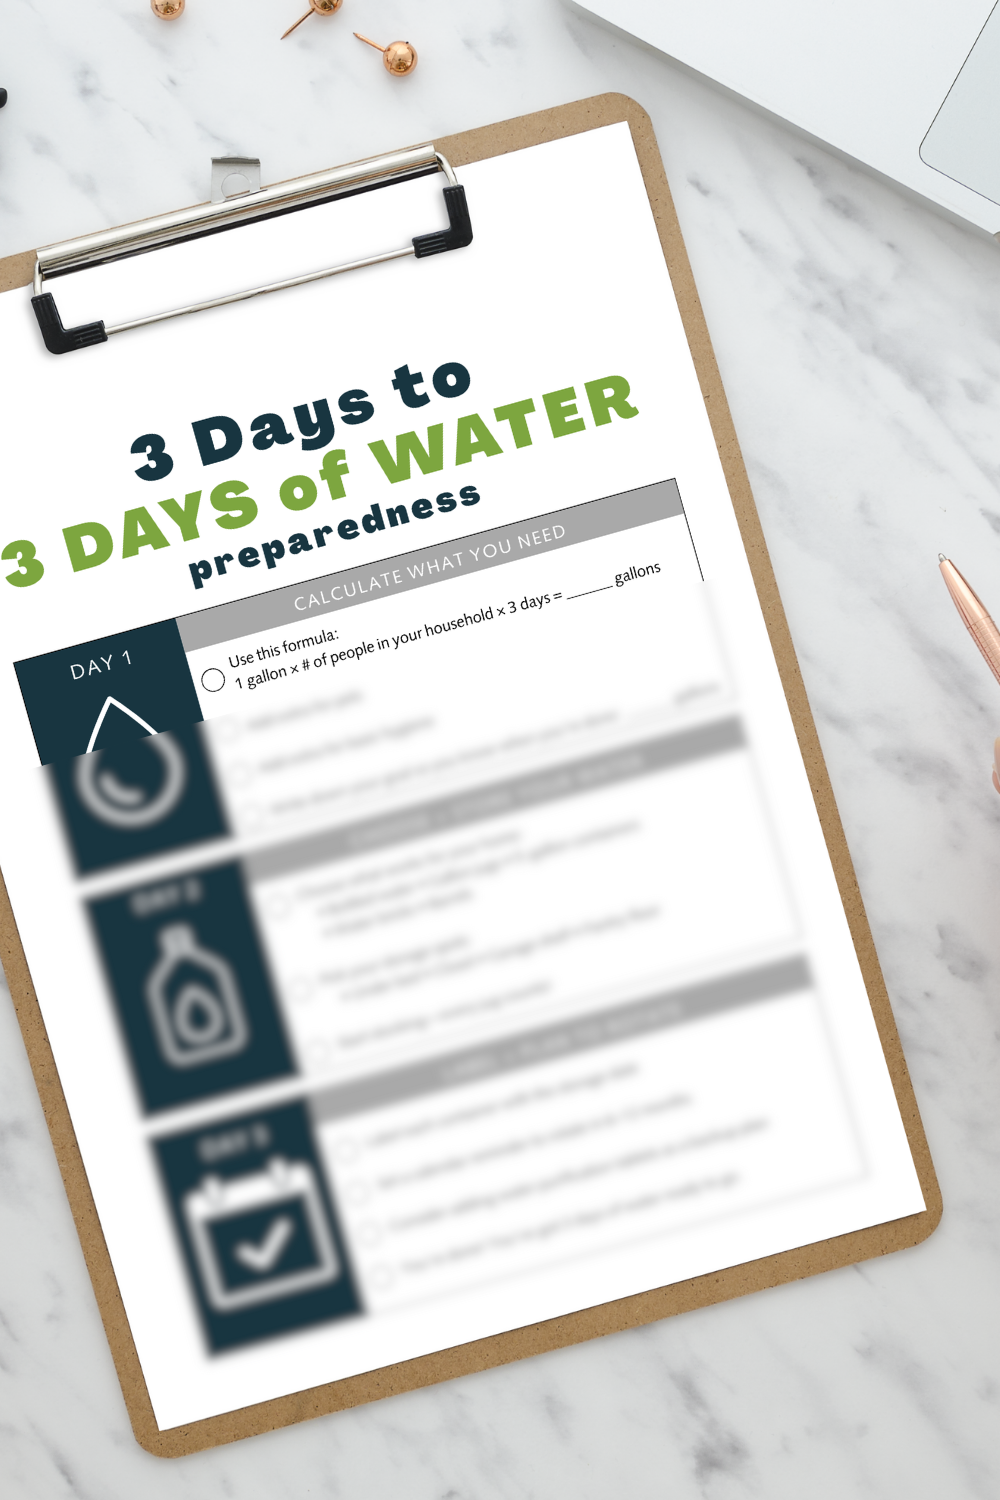
If you want a simple plan to get started, check out my 3 Days to 3 Days of Water Preparedness Printable. It walks you through exactly how much to store, where to keep it, and how to feel confident that your family will be ready in an emergency.
You may also enjoy these:
- Why Water Storage Is the #1 Step in Emergency Preparedness
- 3 Life-Saving Reasons Water Storage Must Come First in Emergency Preparedness
This post may contain affiliate links, which means I may earn a commission if you purchase through them (at no extra cost to you!) Portions of this content may be generated by AI.
Comments ()