

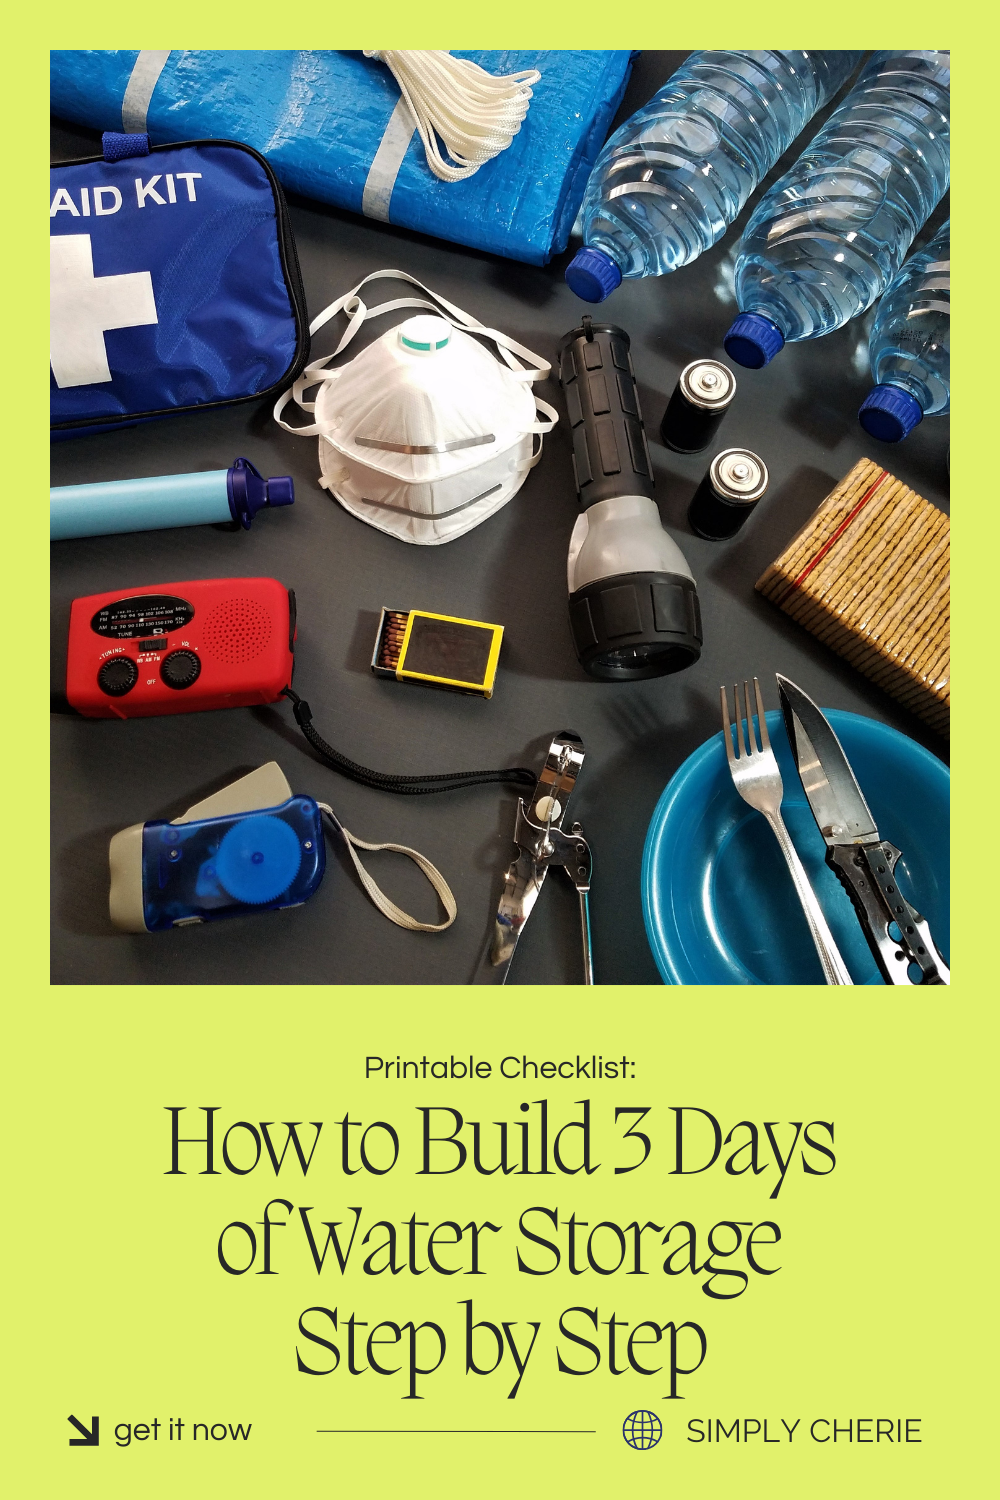
When it comes to emergency preparedness, water is the first thing you should focus on. We can go weeks without food, but only a few days without water. Having just three days’ worth set aside can make a huge difference during a natural disaster, power outage, or any unexpected event that cuts off your supply.
The good news? Building a short-term water storage system doesn’t have to be overwhelming. By following a simple, step-by-step plan, you can make sure your family is ready without feeling buried in complicated prepper advice.
Step 1: Calculate How Much Water You Need
The general rule is 1 gallon per person per day—half for drinking, half for cooking and hygiene.
- Family of 4 × 3 days × 1 gallon = 12 gallons total.
- Don’t forget pets! Small animals may need just a cup or two, while larger dogs or cats may require close to a gallon a day.
- If you live in a hot climate or anticipate heavy cooking/cleaning, add a cushion.
💡 Example: A family of four plus a medium-sized dog should plan for at least 14–15 gallons.
This calculation is the foundation of your water plan. Without knowing your numbers, it’s easy to underprepare. Think in terms of both individual needs and family needs. Even if you never face an emergency, having a clear estimate makes shopping and storing much easier. It also removes the guesswork and gives you confidence that you’re covered.
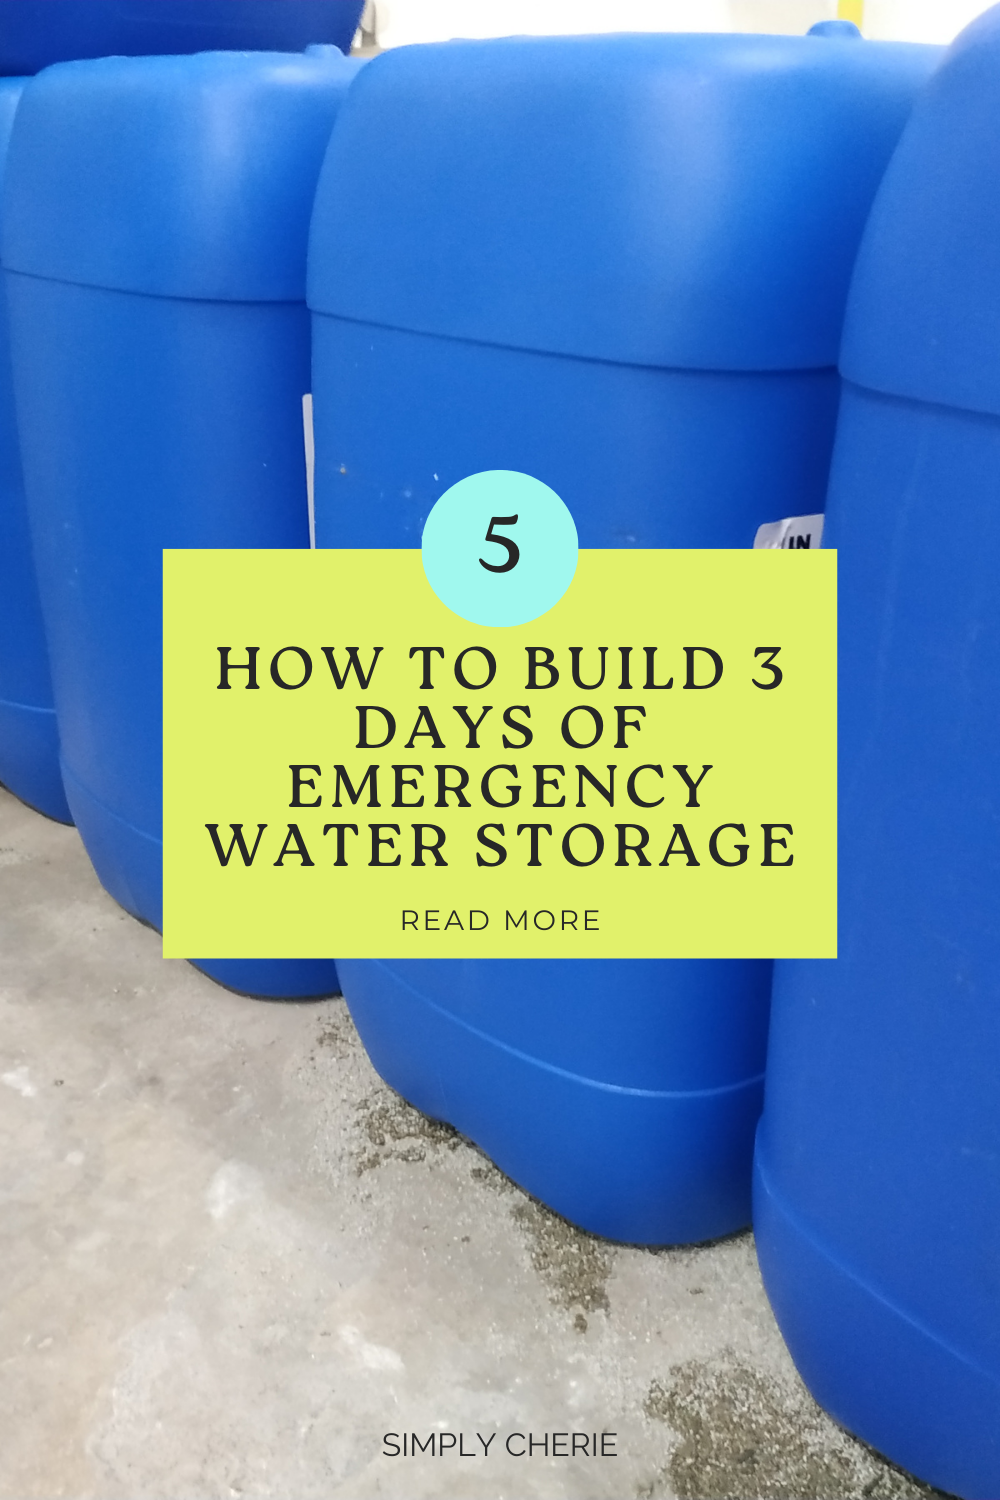
Step 2: Choose the Right Containers
Not all containers are safe for long-term water storage. Avoid old milk or juice bottles since leftover sugars and proteins can breed bacteria.
- Best options include:
- Sealed bottled water (fastest and easiest option).
- 1–5 gallon jugs with screw-on caps.
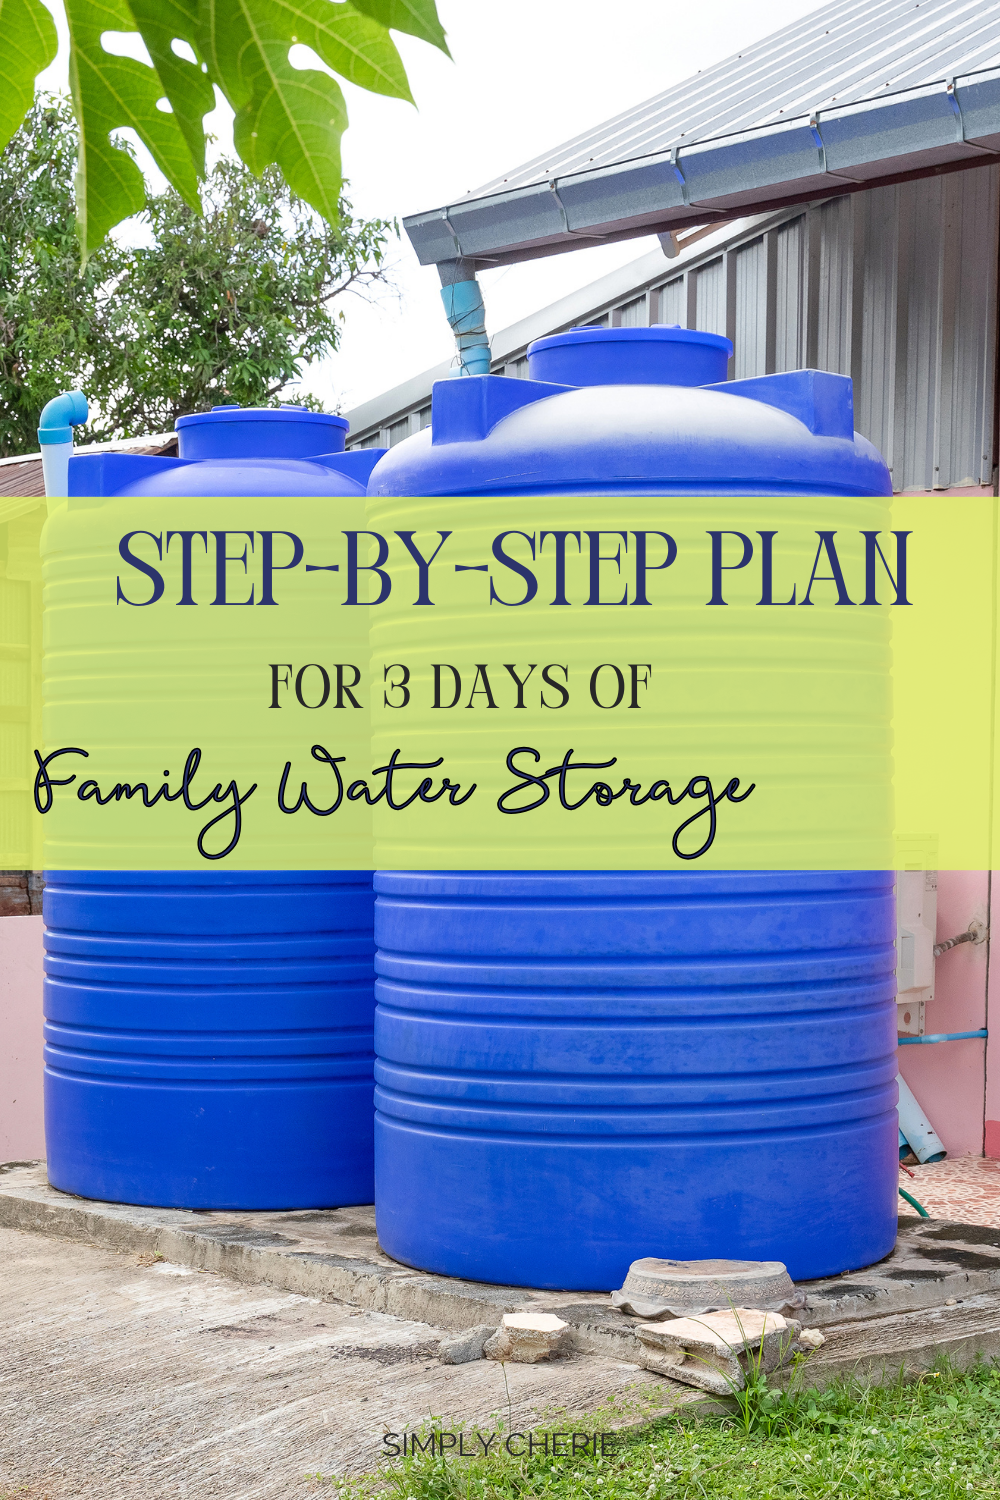
- Larger food-grade barrels for those with extra storage space.
- Always label containers as “Drinking Water” and store in a cool, dark area.
💡 Scenario: If you live in an apartment, cases of bottled water stacked in a closet are often the most practical choice.
The container you choose will determine the safety of your supply. Investing in durable, food-grade plastic or glass is worth every penny. Never risk contamination by cutting corners with poor-quality bottles. If you opt for larger containers, make sure you have a way to pour or pump the water out. The right container makes your emergency water not just stored—but usable when it counts.
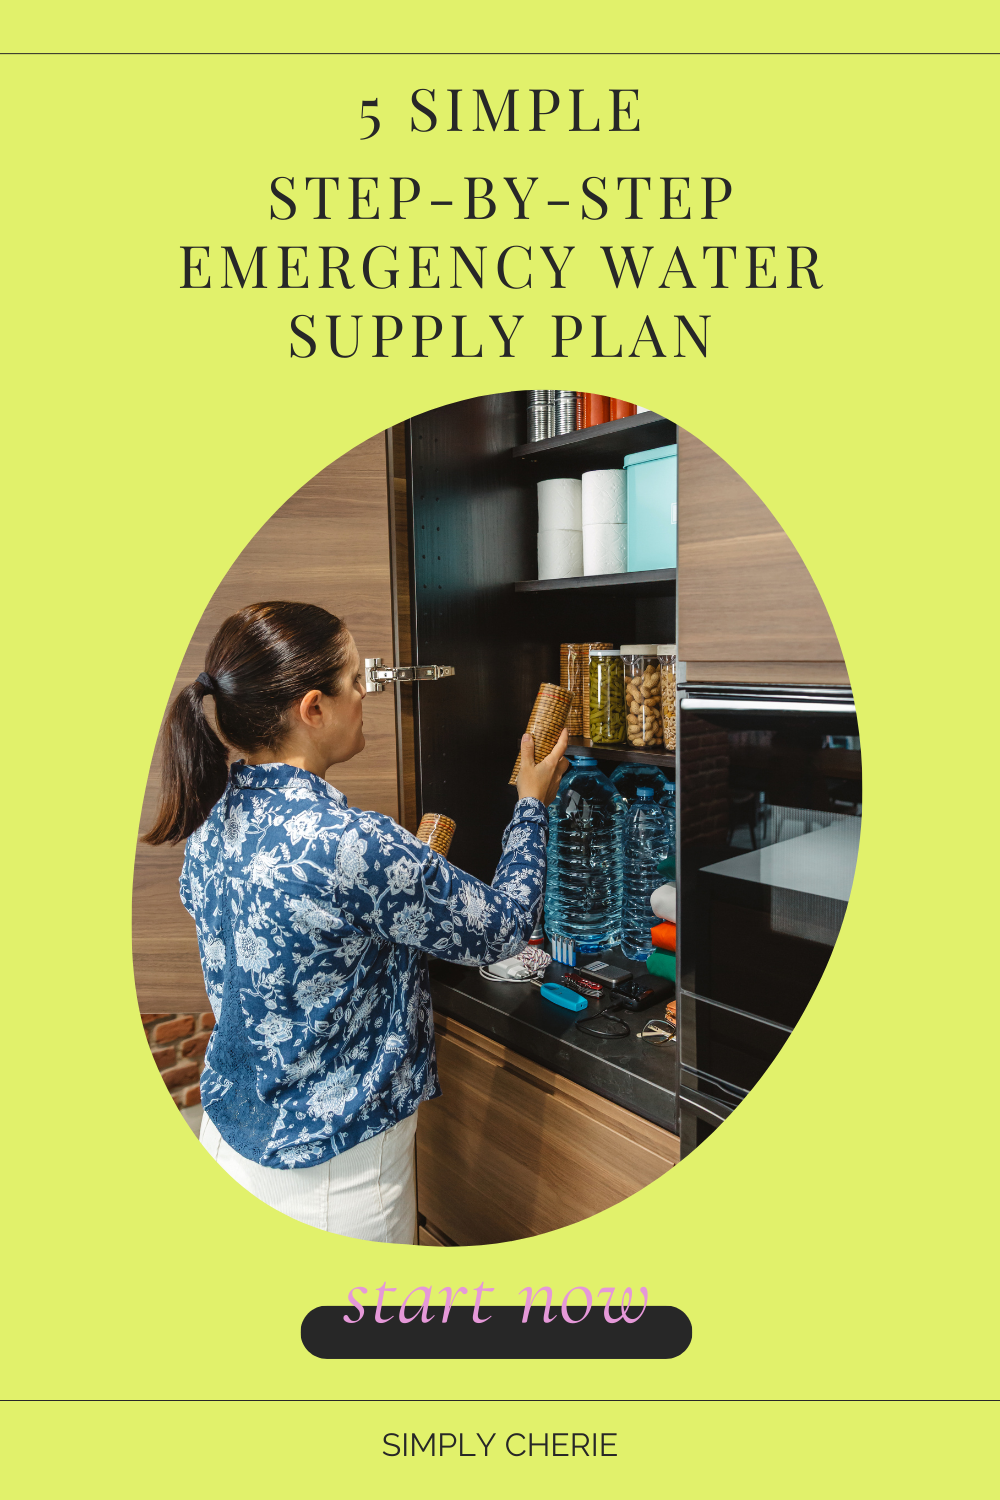
Step 3: Store in the Best Places
Where you keep your water matters.
- Spread your supply across multiple spots—some at home, some in the car, and some in your 72-hour kit.
- Avoid areas that get too hot or cold, like garages or sheds.
- Rotate every 6–12 months if you fill containers yourself. Store-bought bottled water usually lasts 1–2 years.
💡 Example: Two cases of water in a bedroom closet + two 5-gallon jugs in a laundry room gives you coverage without clutter.
Think of storage locations as part of your safety plan. If water is all in one place, you could lose access during an emergency. Spreading it out gives you multiple backup options. Look for under-bed space, closets, or unused corners of pantries to tuck bottles away. Smart storage means you’ll never have to scramble in the middle of a crisis.
Step 4: Add Water to Your 72-Hour Kit
If you need to evacuate, you’ll want portable water ready to go.
- Pack three 16–20 oz bottles per person per day into backpacks or rolling bags.
- Add a lightweight water filter like a Sawyer Mini or LifeStraw to refill on the go.
- Distribute smaller bottles into kids’ packs so the load isn’t too heavy.
💡 This way, even if you leave home suddenly, you know you’ll have safe water for at least 72 hours.
Your go-bag isn’t complete without water. Even if you have gallons stored at home, you may not be able to bring them with you. Carrying smaller bottles makes water accessible and portable. Filters extend your supply by letting you refill from natural or public sources. This step bridges the gap between home storage and mobility.
Step 5: Maintain & Rotate Your Supply
Water storage isn’t “one and done.” You need to keep it fresh.
- Put a reminder in your calendar to check your supply every 6 months.
- Drink older bottles and replace with new ones.
- Inspect caps and seals for cracks or leaks.
💡 Think of it like insurance—you’re not wasting water, you’re simply rotating it into everyday use.
Rotation is what keeps your plan reliable. Without it, you risk stale or unsafe water when you need it most. By adding it to your routine, water becomes just another part of household management. Drink and replace on a schedule, the same way you handle pantry food. Consistent upkeep makes your supply trustworthy year after year.
Final Thoughts
Having 3 days of water storage gives you peace of mind and security. By calculating your needs, using safe containers, storing them in smart locations, and maintaining your supply, you’re taking one of the most important steps in emergency preparedness.
Preparedness isn’t about fear—it’s about confidence. With just a little planning, you’ll know that you can meet your family’s needs no matter what comes your way. It’s empowering to know you’re ready for the unexpected. Start small, and you’ll find it’s easier than you think to keep water on hand. Your future self will thank you when the lights go out, and you’re not worried about the tap running dry.
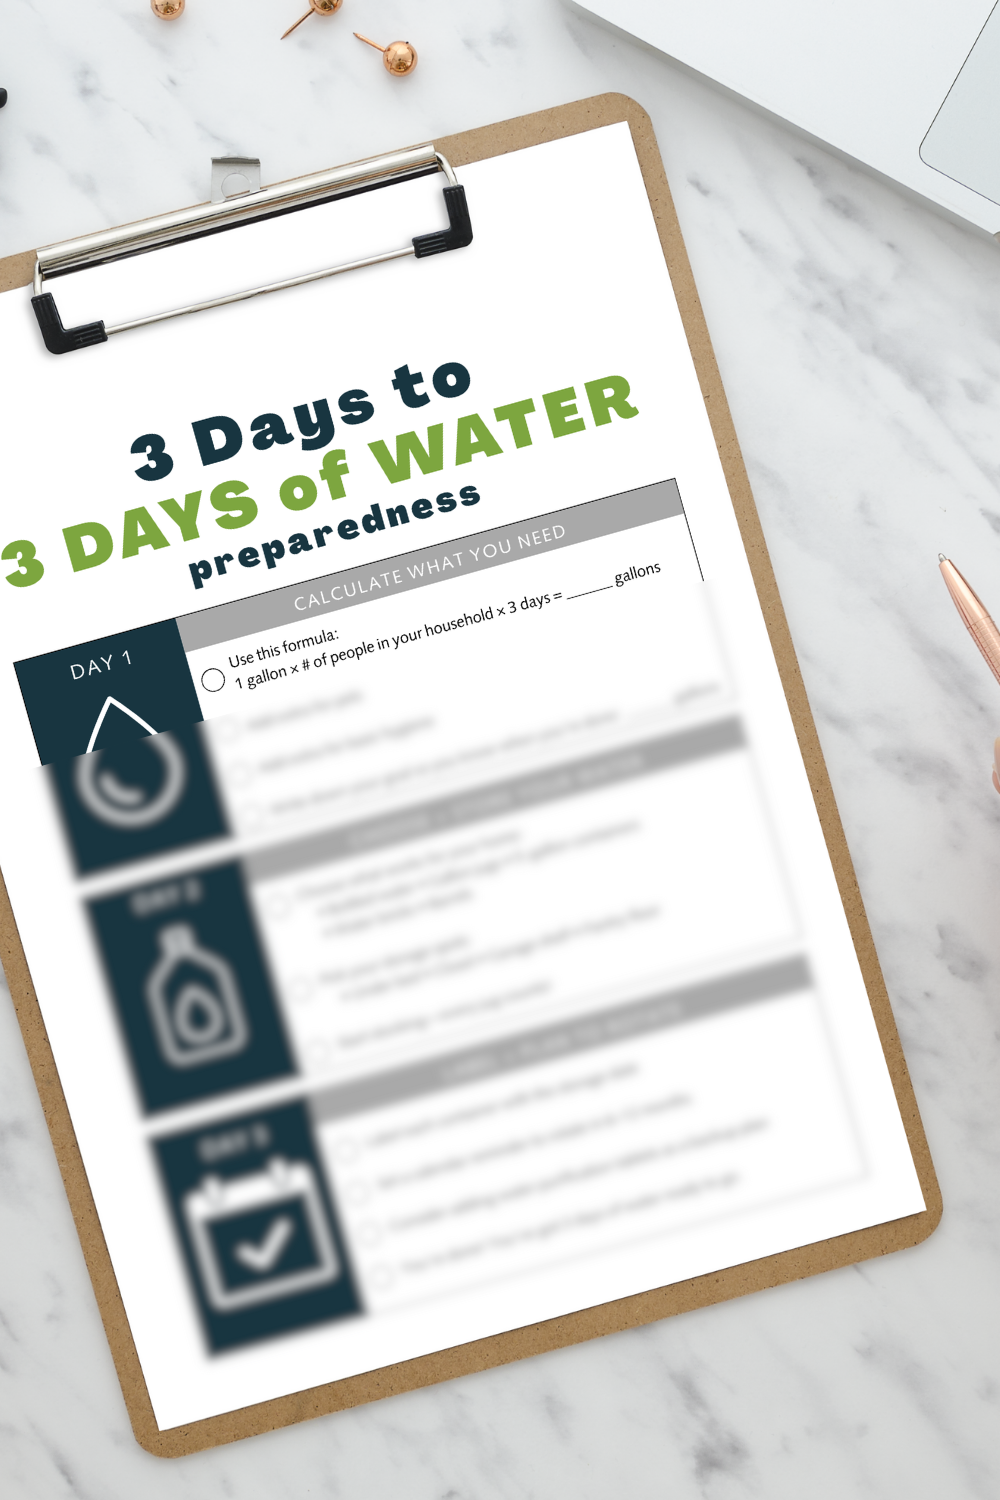
👉🏼 Want a simple way to track your plan? Download my Emergency Water Planner and stay organized with confidence.
You may also enjoy these:
- Why Water Storage Is the #1 Step in Emergency Preparedness
- 3 Life-Saving Reasons Water Storage Must Come First in Emergency Preparedness
This post may contain affiliate links, which means I may earn a commission if you purchase through them (at no extra cost to you!) Portions of this content may be generated by AI.
Comments ()