

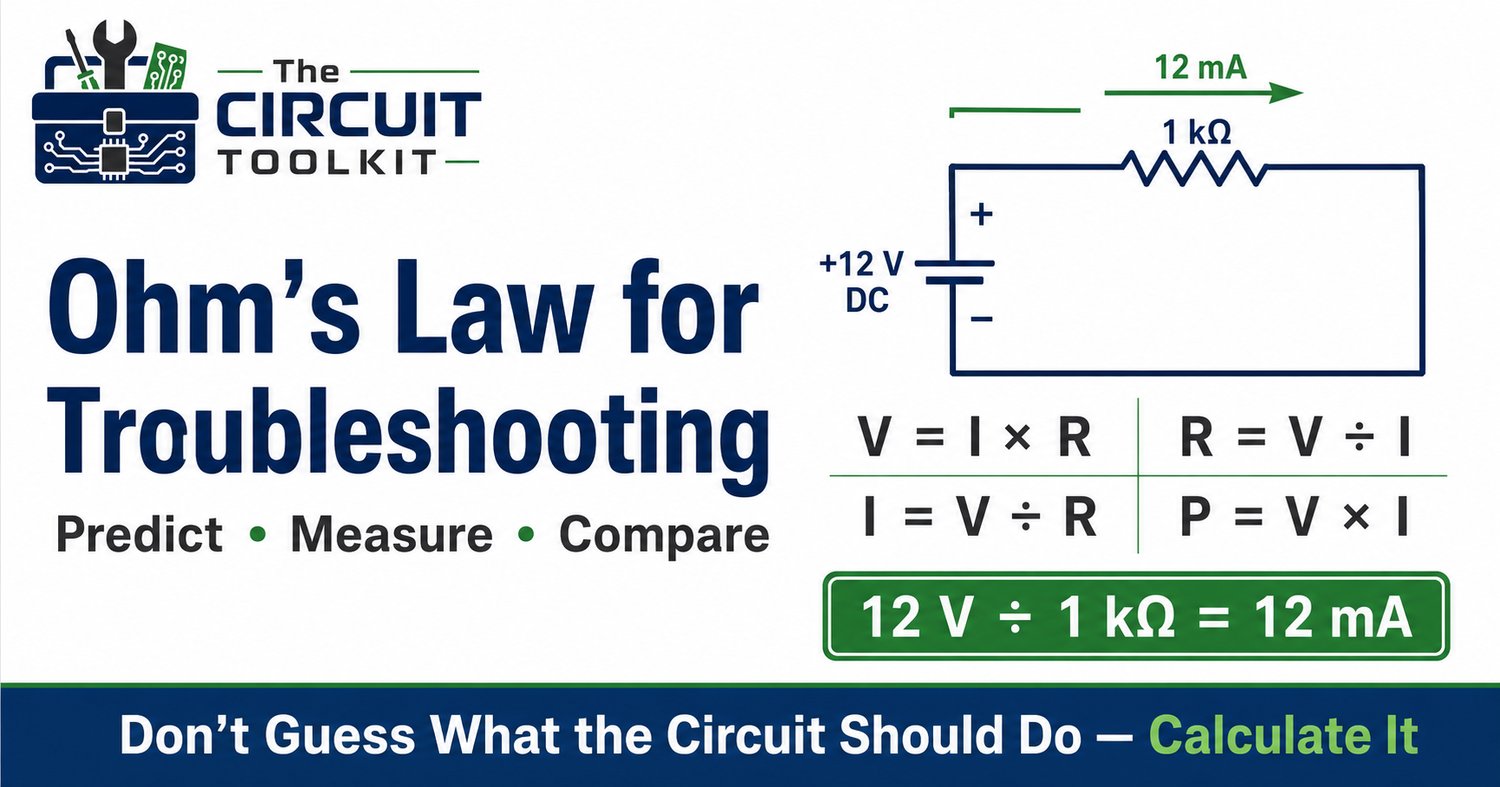
Ohm’s Law is often introduced as one of the first equations in electronics:
V = I × R
It looks simple enough that it can be tempting to memorize the formula, pass the test, and move on.
But for a technician, Ohm’s Law is much more valuable than that. It provides a way to predict what a healthy circuit should be doing. Once you know the expected voltage, current, or resistance, your measurements can tell you when something is wrong.
That turns a formula into a troubleshooting tool.
The three basic quantities
Ohm’s Law connects three electrical quantities:
Voltage (V) is electrical potential difference.
Current (I) is the rate of electric charge flow.
Resistance (R) describes opposition to current flow.
Their relationship is:
V = I × R
Rearranging the equation gives:
I = V / R
and:
R = V / I
Instead of simply asking, "What voltage do I measure?" a technician can ask, "Does this voltage make sense given the resistance and current in this circuit?"
That second question is far more powerful.
Example: Predicting current before powering a circuit
Suppose you connect a 1 kΩ resistor across a 12 V DC supply.
Using Ohm’s Law:
I = 12 V / 1,000 Ω
I = 0.012 A
or:
12 mA
Before applying power, you already know approximately what current to expect.
If the circuit draws 11.8 mA, the result is reasonable.
If it draws 300 mA, something is wrong.
This is why calculations should often happen before measurements. They give the measurements context.
Voltage drop can expose unwanted resistance
Ohm’s Law is especially useful when troubleshooting connectors, switches, wiring, and PCB traces.
Imagine a connector that should have almost no resistance. Corrosion causes its resistance to increase.
Current passing through that resistance creates a voltage drop:
Vdrop = I × R
Suppose a connection has developed 2 Ω of resistance and carries 1 A.
The voltage drop becomes:
2 V
In a 12 V system, the load may now receive only about 10 V.
The supply itself can measure perfectly at 12 V while the circuit still malfunctions.
Measuring voltage drop across the suspect connection while current is flowing can therefore reveal faults that a simple continuity check may miss.
Don't forget power
Ohm’s Law tells us what happens electrically, but troubleshooting also requires understanding power.
Electrical power can be calculated using:
P = V × I
Combining this with Ohm’s Law gives two additional useful equations:
P = I²R
and:
P = V²/R
Consider our earlier example of a 1 kΩ resistor connected across 12 V.
Current is:
12 mA
Power is:
P = 12 V × 0.012 A = 0.144 W
A 1/4-watt resistor would nominally be above that dissipation, although good design practice should consider appropriate derating, ambient temperature, tolerances, and manufacturer specifications.
Now imagine accidentally installing a 100 Ω resistor instead.
Current becomes:
120 mA
and resistor power becomes:
1.44 W
A small resistor rated for only a fraction of that power could overheat quickly.
The resistance value might therefore explain not only the current—but also why a component burned.
Use measurements to work backward
Ohm’s Law also lets you calculate quantities that are difficult to measure directly.
Suppose a resistor has 4 V across it, and you know its resistance is 200 Ω.
Current through that resistor is:
I = 4 / 200 = 0.02 A
or:
20 mA
This can be particularly useful when direct current measurement would require opening the circuit.
If the resistor is part of a known current path, measuring its voltage drop can allow current to be inferred without disturbing that path. The resistor value and measurement method must, of course, be appropriate for the circuit.
Three common troubleshooting clues
Ohm’s Law helps interpret several common failure modes.
Unexpectedly high current: Look for reduced resistance, shorted components, incorrect component values, or unintended current paths.
Unexpectedly low current: Investigate increased resistance, poor connections, open components, incorrect supply voltage, or a load that isn't being activated.
Correct supply voltage but poor load performance: Measure voltage directly at the load and perform voltage-drop testing across connectors, switches, wiring, and return paths.
Instead of randomly checking components, follow the electrical relationships.
Be careful with resistance measurements
Never use resistance mode on an energized circuit.
Resistance measurements should normally be performed with power removed and stored energy safely discharged.
Also remember that measuring a resistor while it remains connected to a circuit can produce misleading results because other components may create parallel current paths.
When a resistance reading doesn't agree with the expected value, understand the circuit topology before declaring the component defective.
Calculate first, measure second
One of the strongest troubleshooting habits you can develop is:
Predict → Measure → Compare → Investigate
Calculate what the circuit should do.
Measure what it actually does.
Compare the two.
Then investigate the difference.
That process transforms Ohm’s Law from a classroom formula into a practical diagnostic method.
For quick calculations at the bench, The Circuit Toolkit’s Ohm’s Law and electrical-power reference is designed to keep the essential relationships between voltage, current, resistance, and power readily accessible while you're designing or troubleshooting.
Browse The Circuit Toolkit guides
Safety: De-energize circuits and safely discharge stored energy before resistance or continuity measurements. Live voltage measurements should only be performed with properly rated equipment and appropriate procedures for the energy and voltage involved.