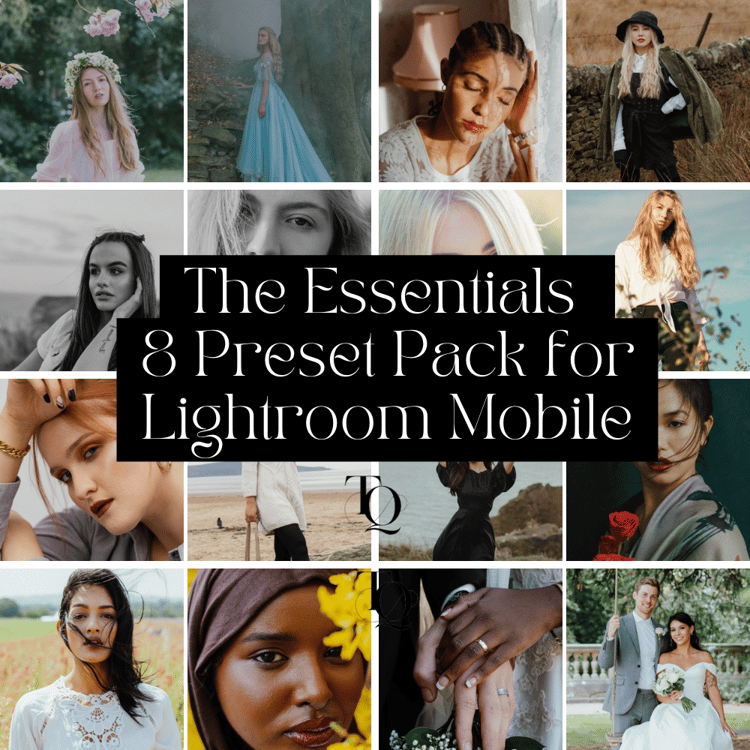


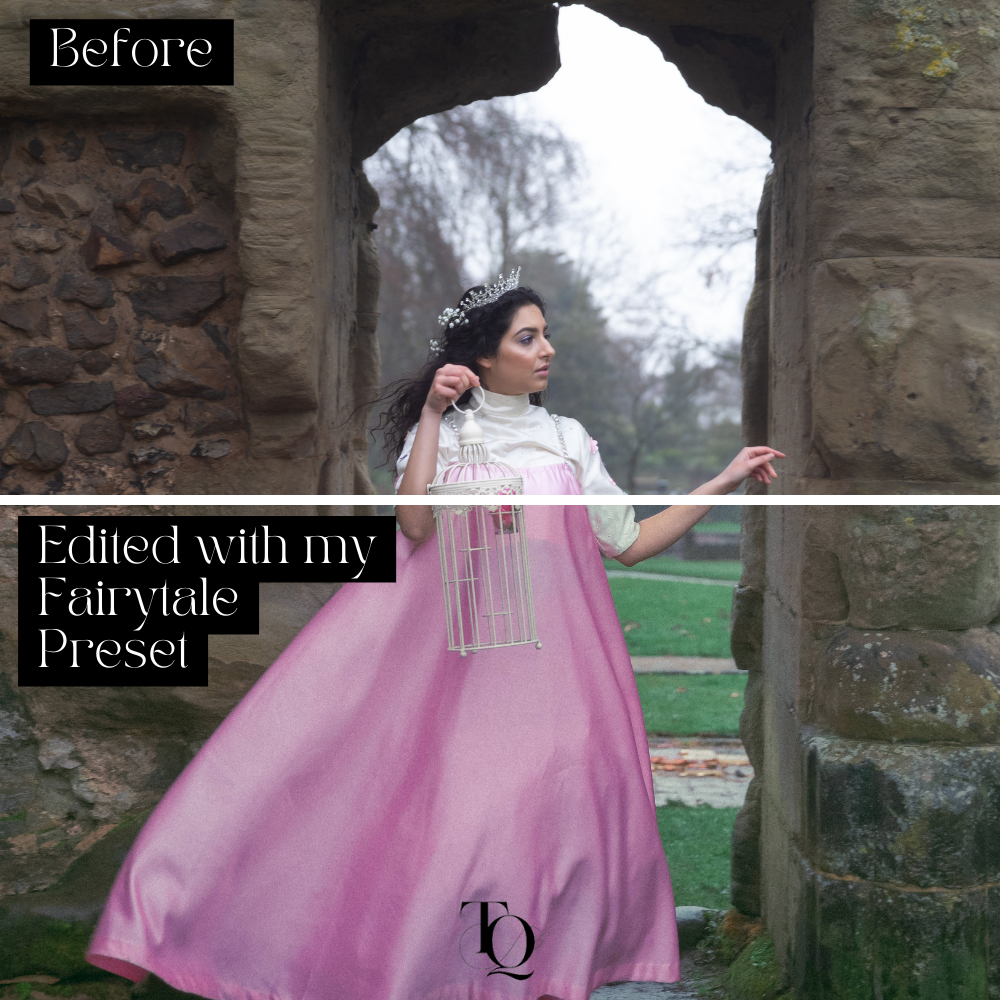


Fairytale Lightroom Preset
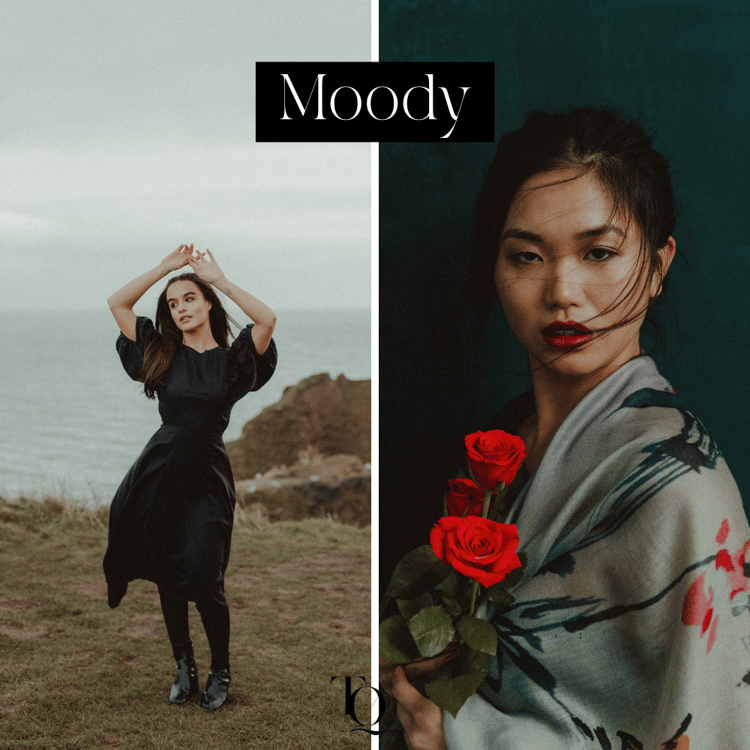
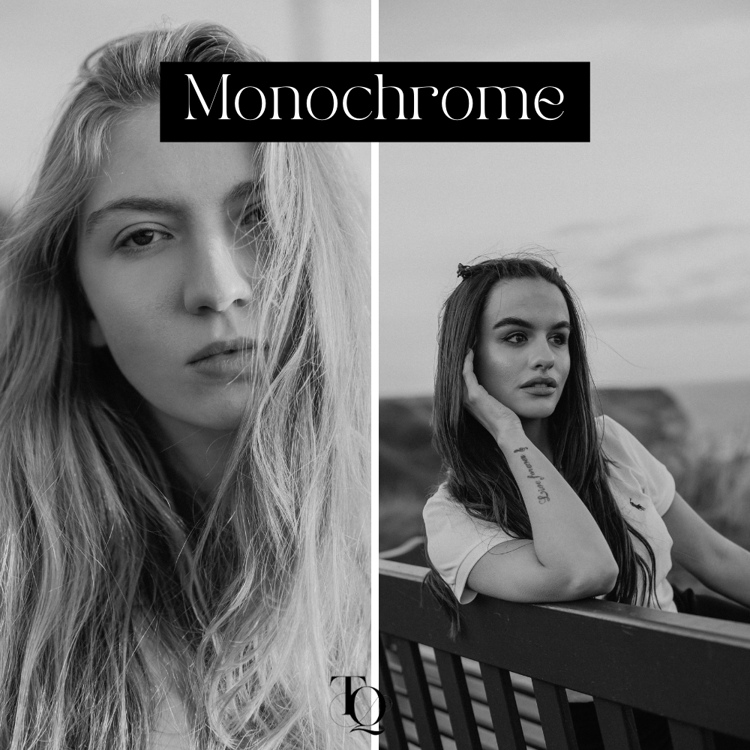
Introducing my Fairytale preset. This preset has an ethereal feel, featuring deep hues of pinks, blues and teal.
This preset is available in .XMP, .LRTEMPLATE and .DNG file formats. .XMP presets work with Adobe Lightroom Classic (Version 7.3+), Adobe Lightroom CC Desktop and Adobe Photoshop (Camera Raw). .LRTEMPLATE presets are compatible only with Adobe Lightroom (Versions 4, 5 & 6+). .DNG presets are compatible with the Lightroom Mobile App for iOS and Android.
Adobe Lightroom Classic (Version 7.3+), Adobe Lightroom CC Desktop & Adobe Camera Raw
Step 1. Download your Lightroom Presets and unzip the file. The presets will come in a .zip file and will be in a .XMP format.
Step 2. Navigate to the Develop Module in Lightroom and click on File > Import Develop Profiles and Presets.
Step 3. Next, Navigate to the folder that holds the XMP preset files.
Step 4. All done! To apply the preset, open the Presets Panel and click on a preset to apply it to your image!
Adobe Lightroom Desktop (Version 4, 5 & 6)
Step 1. Download your Lightroom Presets and unzip the file. The presets will come in a .zip file and will be in a .LRTEMPLATE format.
Step 2. In Lightroom, find Preferences in the top menu bar..
Step 3. A new window will appear on the screen. Choose the Presets tab.
Step 6. Click on the button named “Show Lightroom Presets Folder”.
Step 7. Find the ‘Lightroom’ folder in this new window and then open the folder called “Develop Presets”. Copy and paste the .LRTEMPLATE preset file into this location.
Step 8. Restart Lightroom. Go to the left in the Develop module and you will see the presets on the left hand side.
Adobe Lightroom Mobile App
Step 1. Download your Lightroom Presets to your mobile and unzip the file. The presets will come in a .zip file and will be in a .dng format.
Step 2. Open the Lightroom app on your mobile device and tap Add Photos.
Step 3. Navigate to the location where you saved the DNG file and select the one that you wish to import.
- If you are using an iOS device, tap "From Camera Roll" to proceed.
- If you are using an Android device, tap "Gallery/Folder".
If you saved the DNG files on cloud storage, tap "From Files" on iOS devices and the specific cloud storage folder on Android devices.
Step 3. Tap Create Presets and add a name for your newly imported preset.
Step 4. Add the new preset to a Preset Group of your choice and tap the check mark at the top of the screen to save the preset.
Step 5. To apply the preset, open the photo to which you wish to apply the preset. Tap the Presets panel at the bottom of the screen.
Step 6. Tap Yours and select the Preset Group in which you saved your new preset.
Step 7. Select the preset you wish to use and tap check mark to apply the preset to your image.
Please note: These presets may need to be tweaked based on the tones and colours of you are applying them to. Feel free to adjust the settings to your liking.
All presets and actions are non-refundable.