

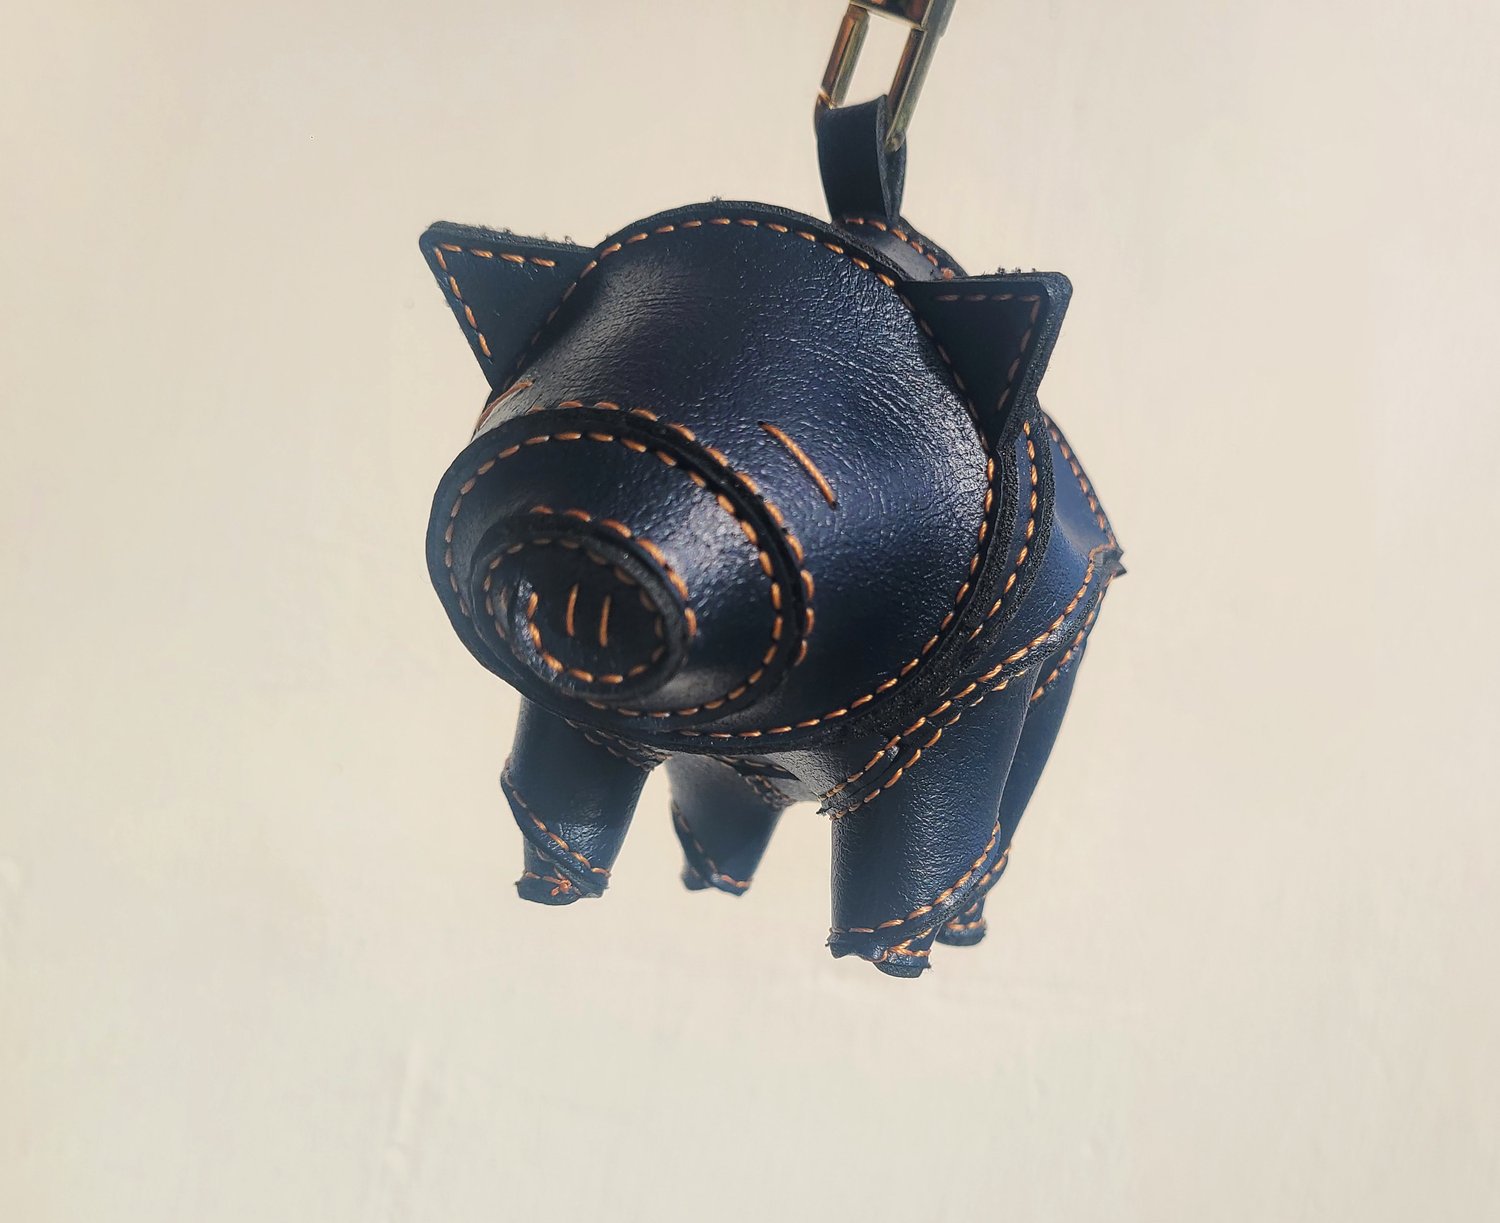
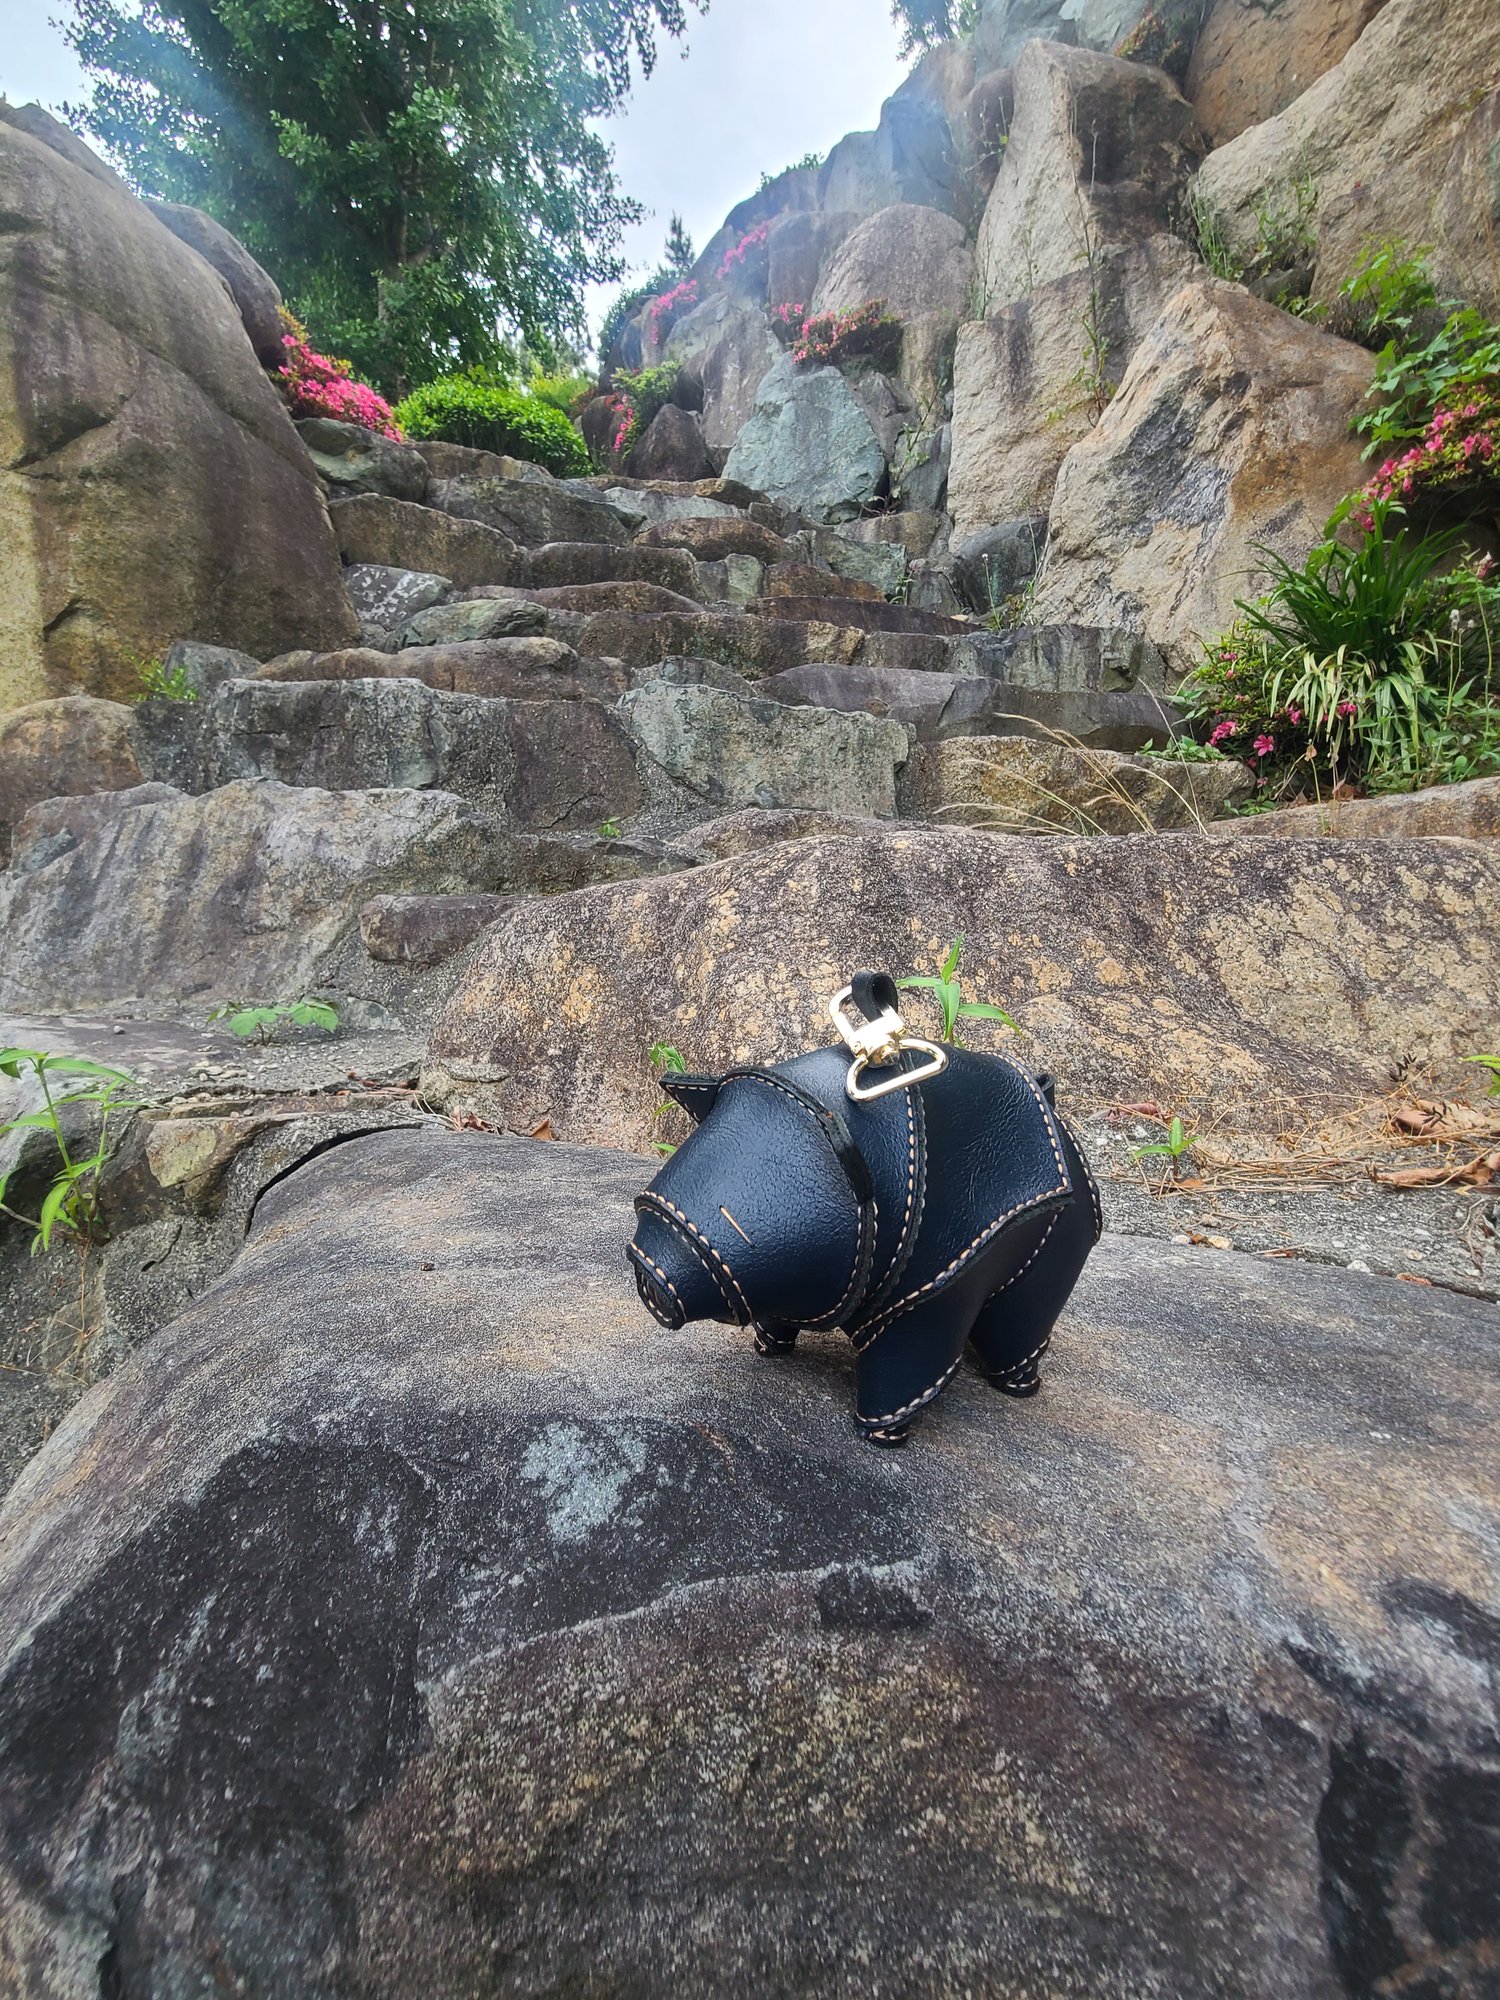
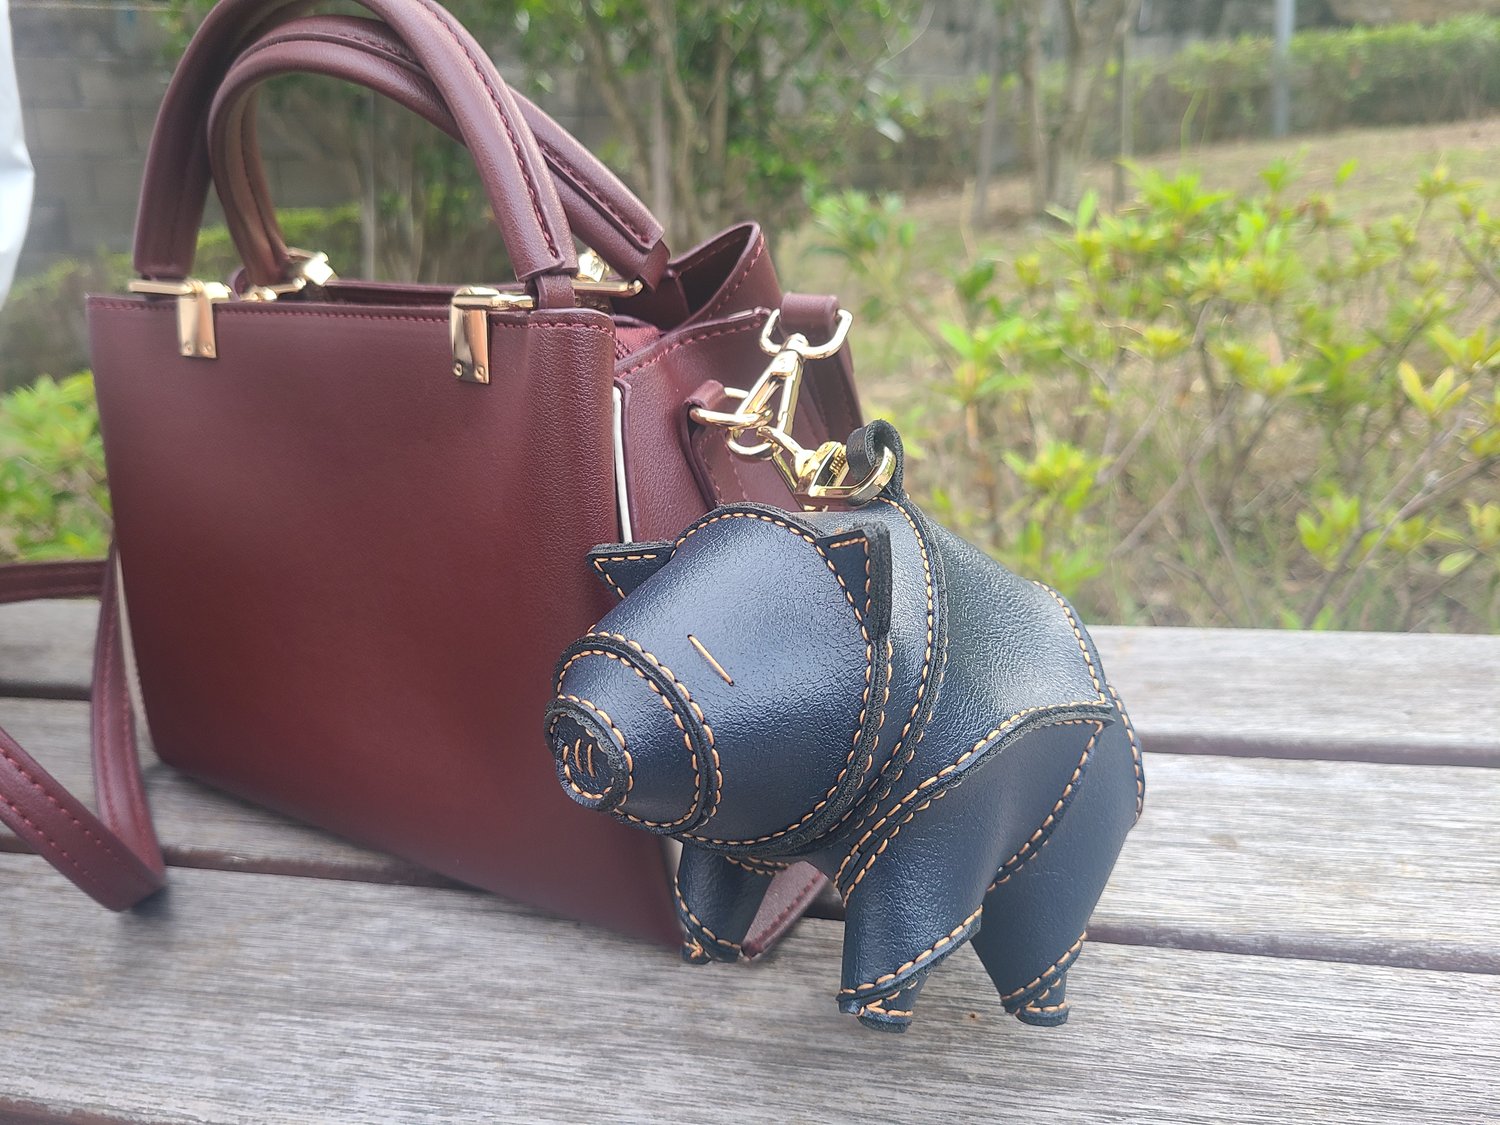
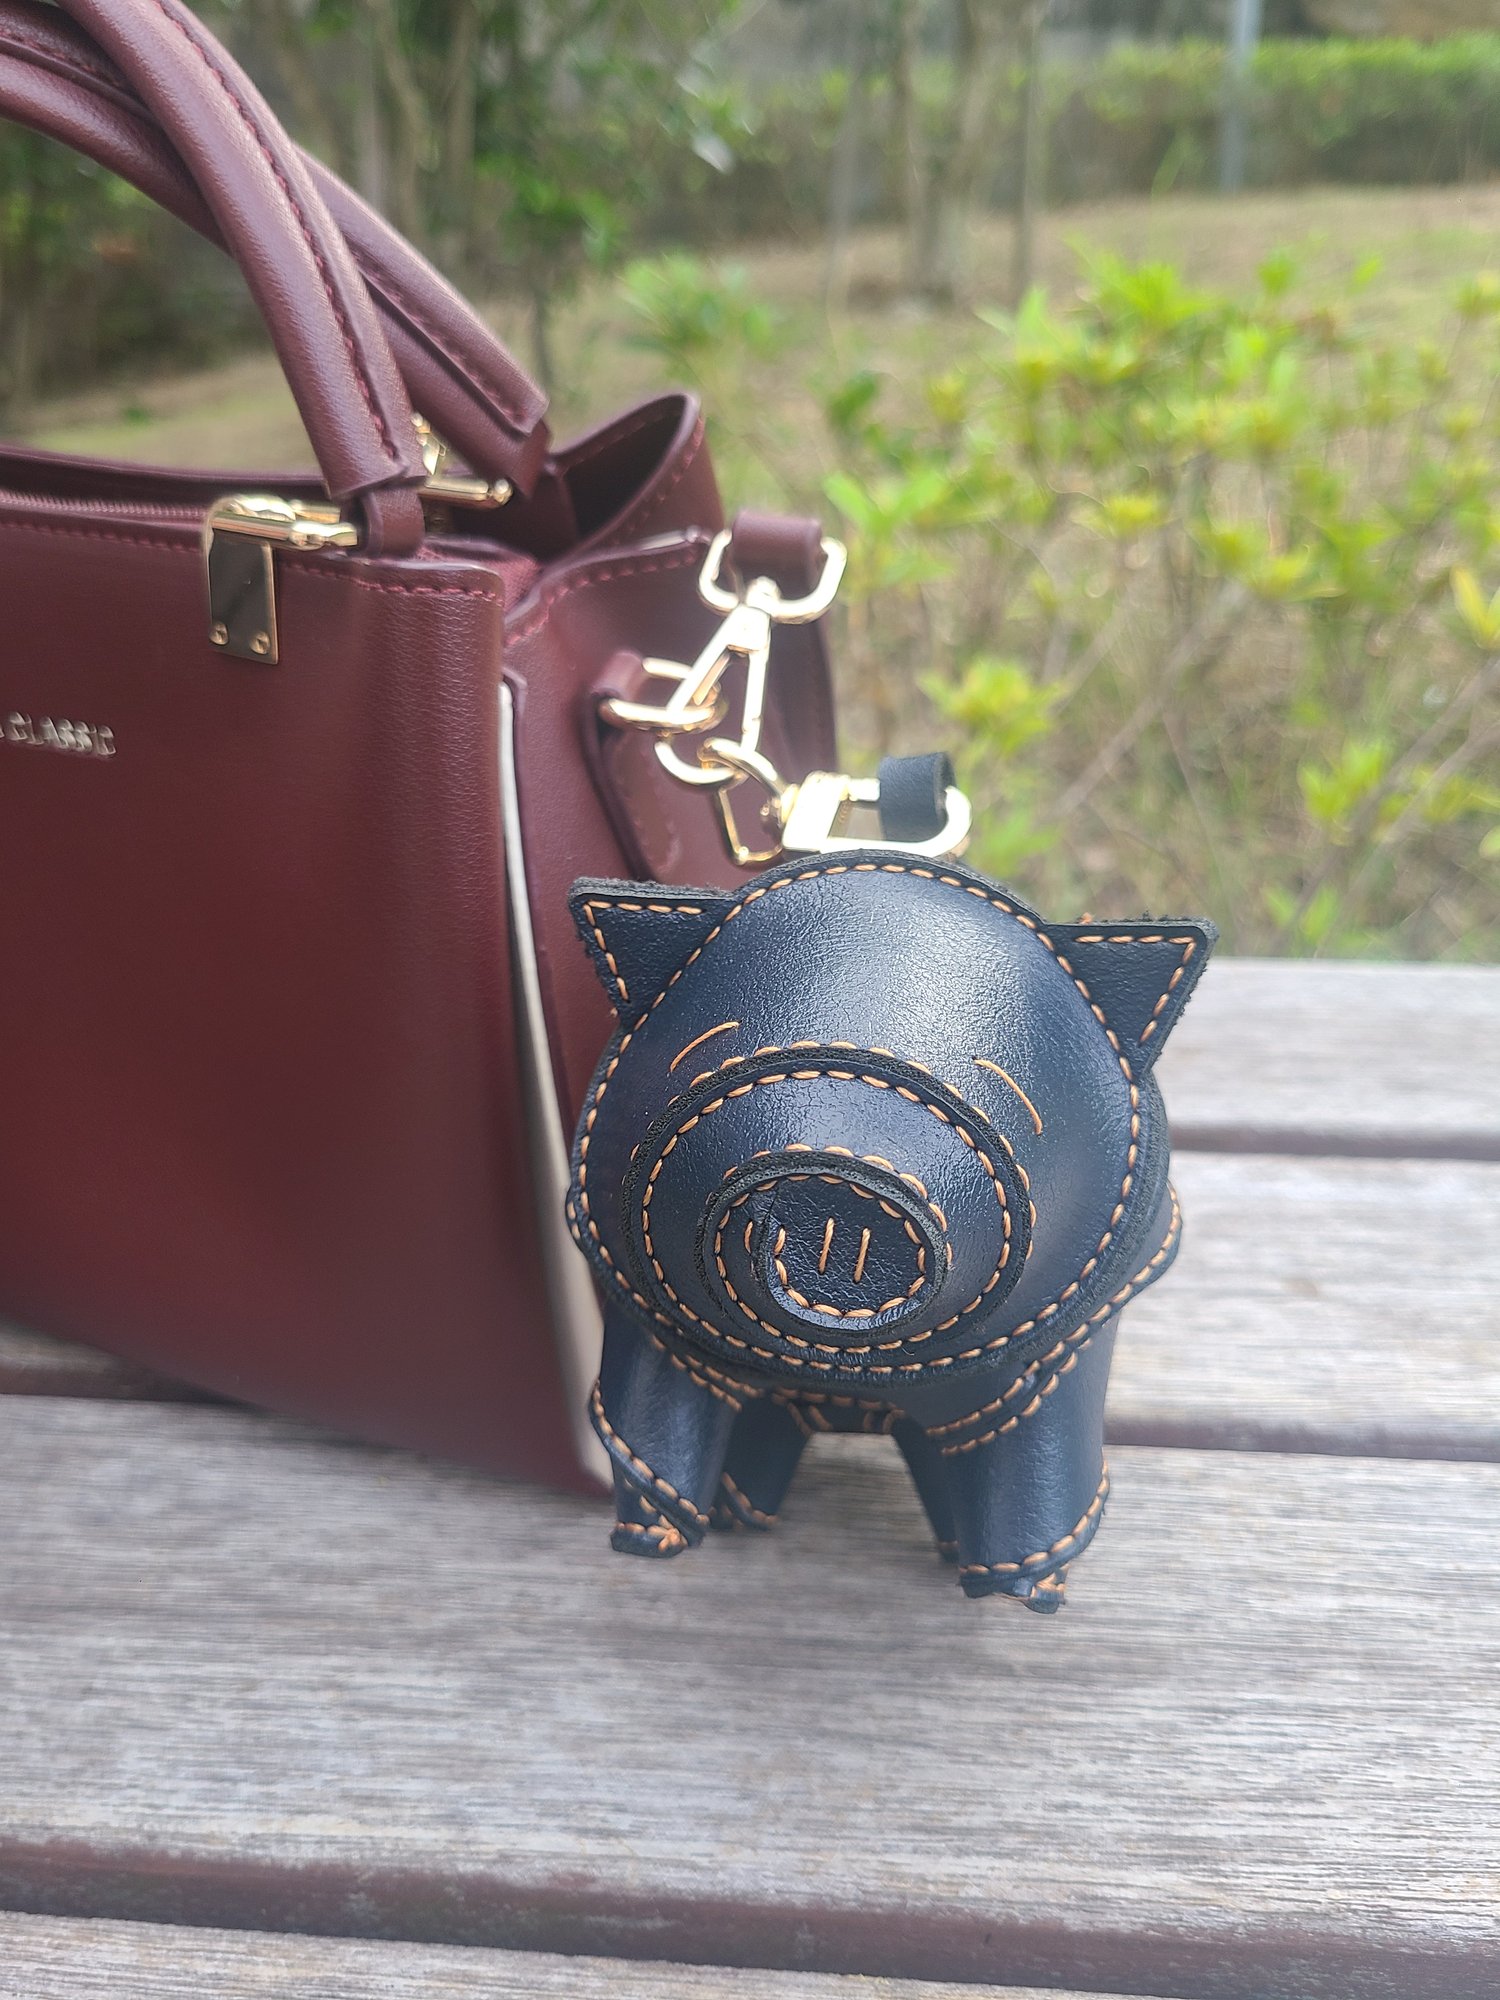
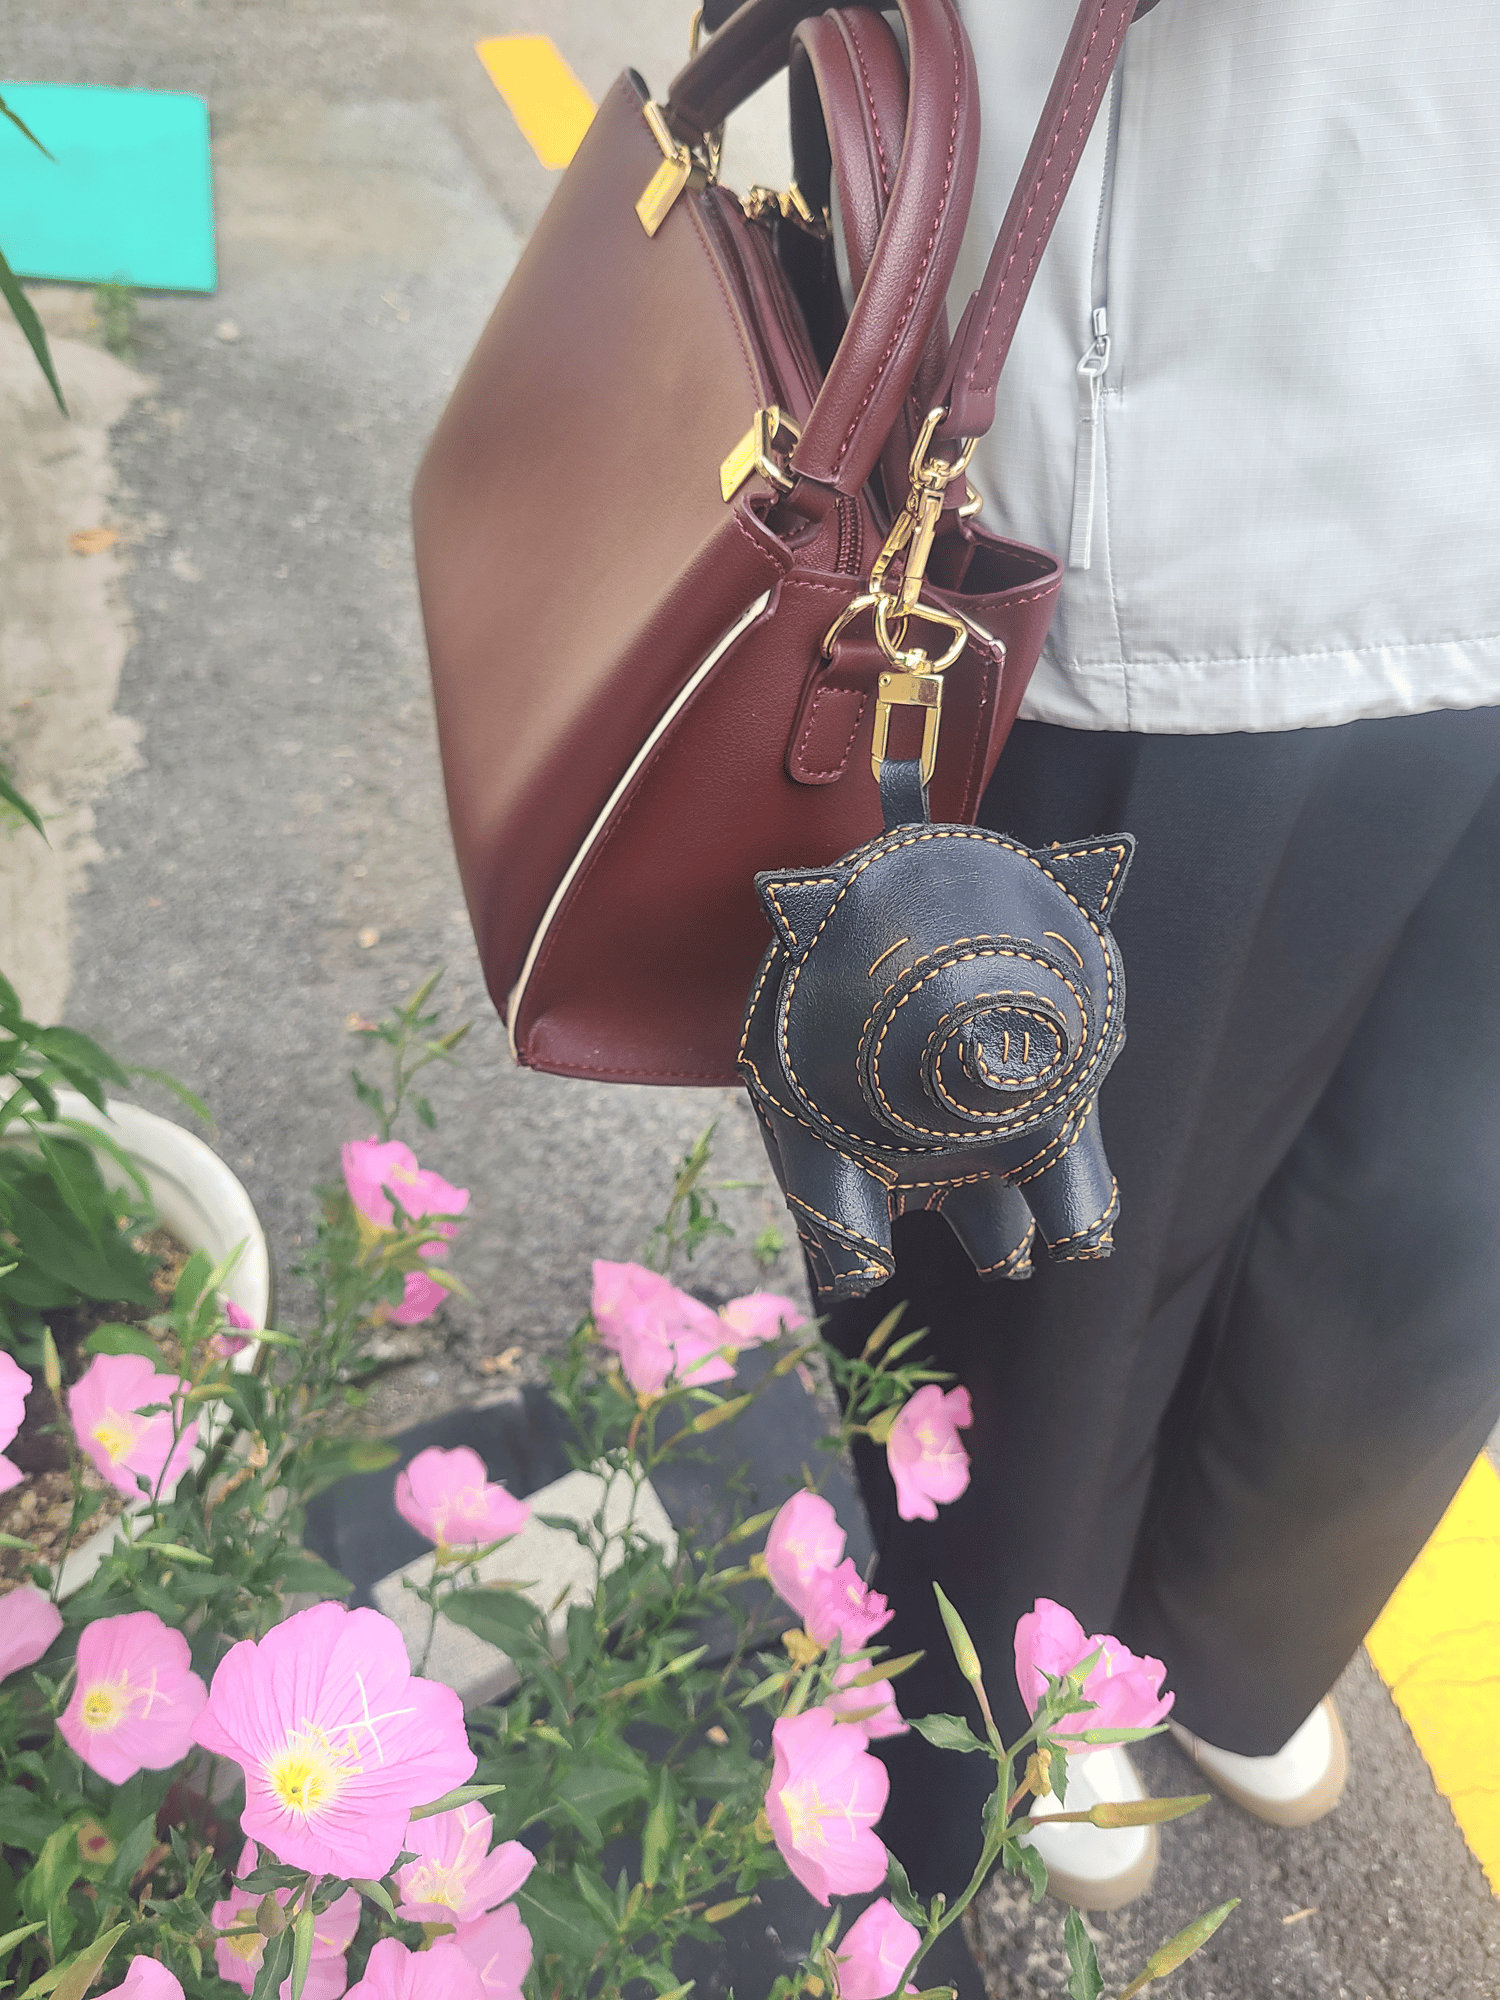
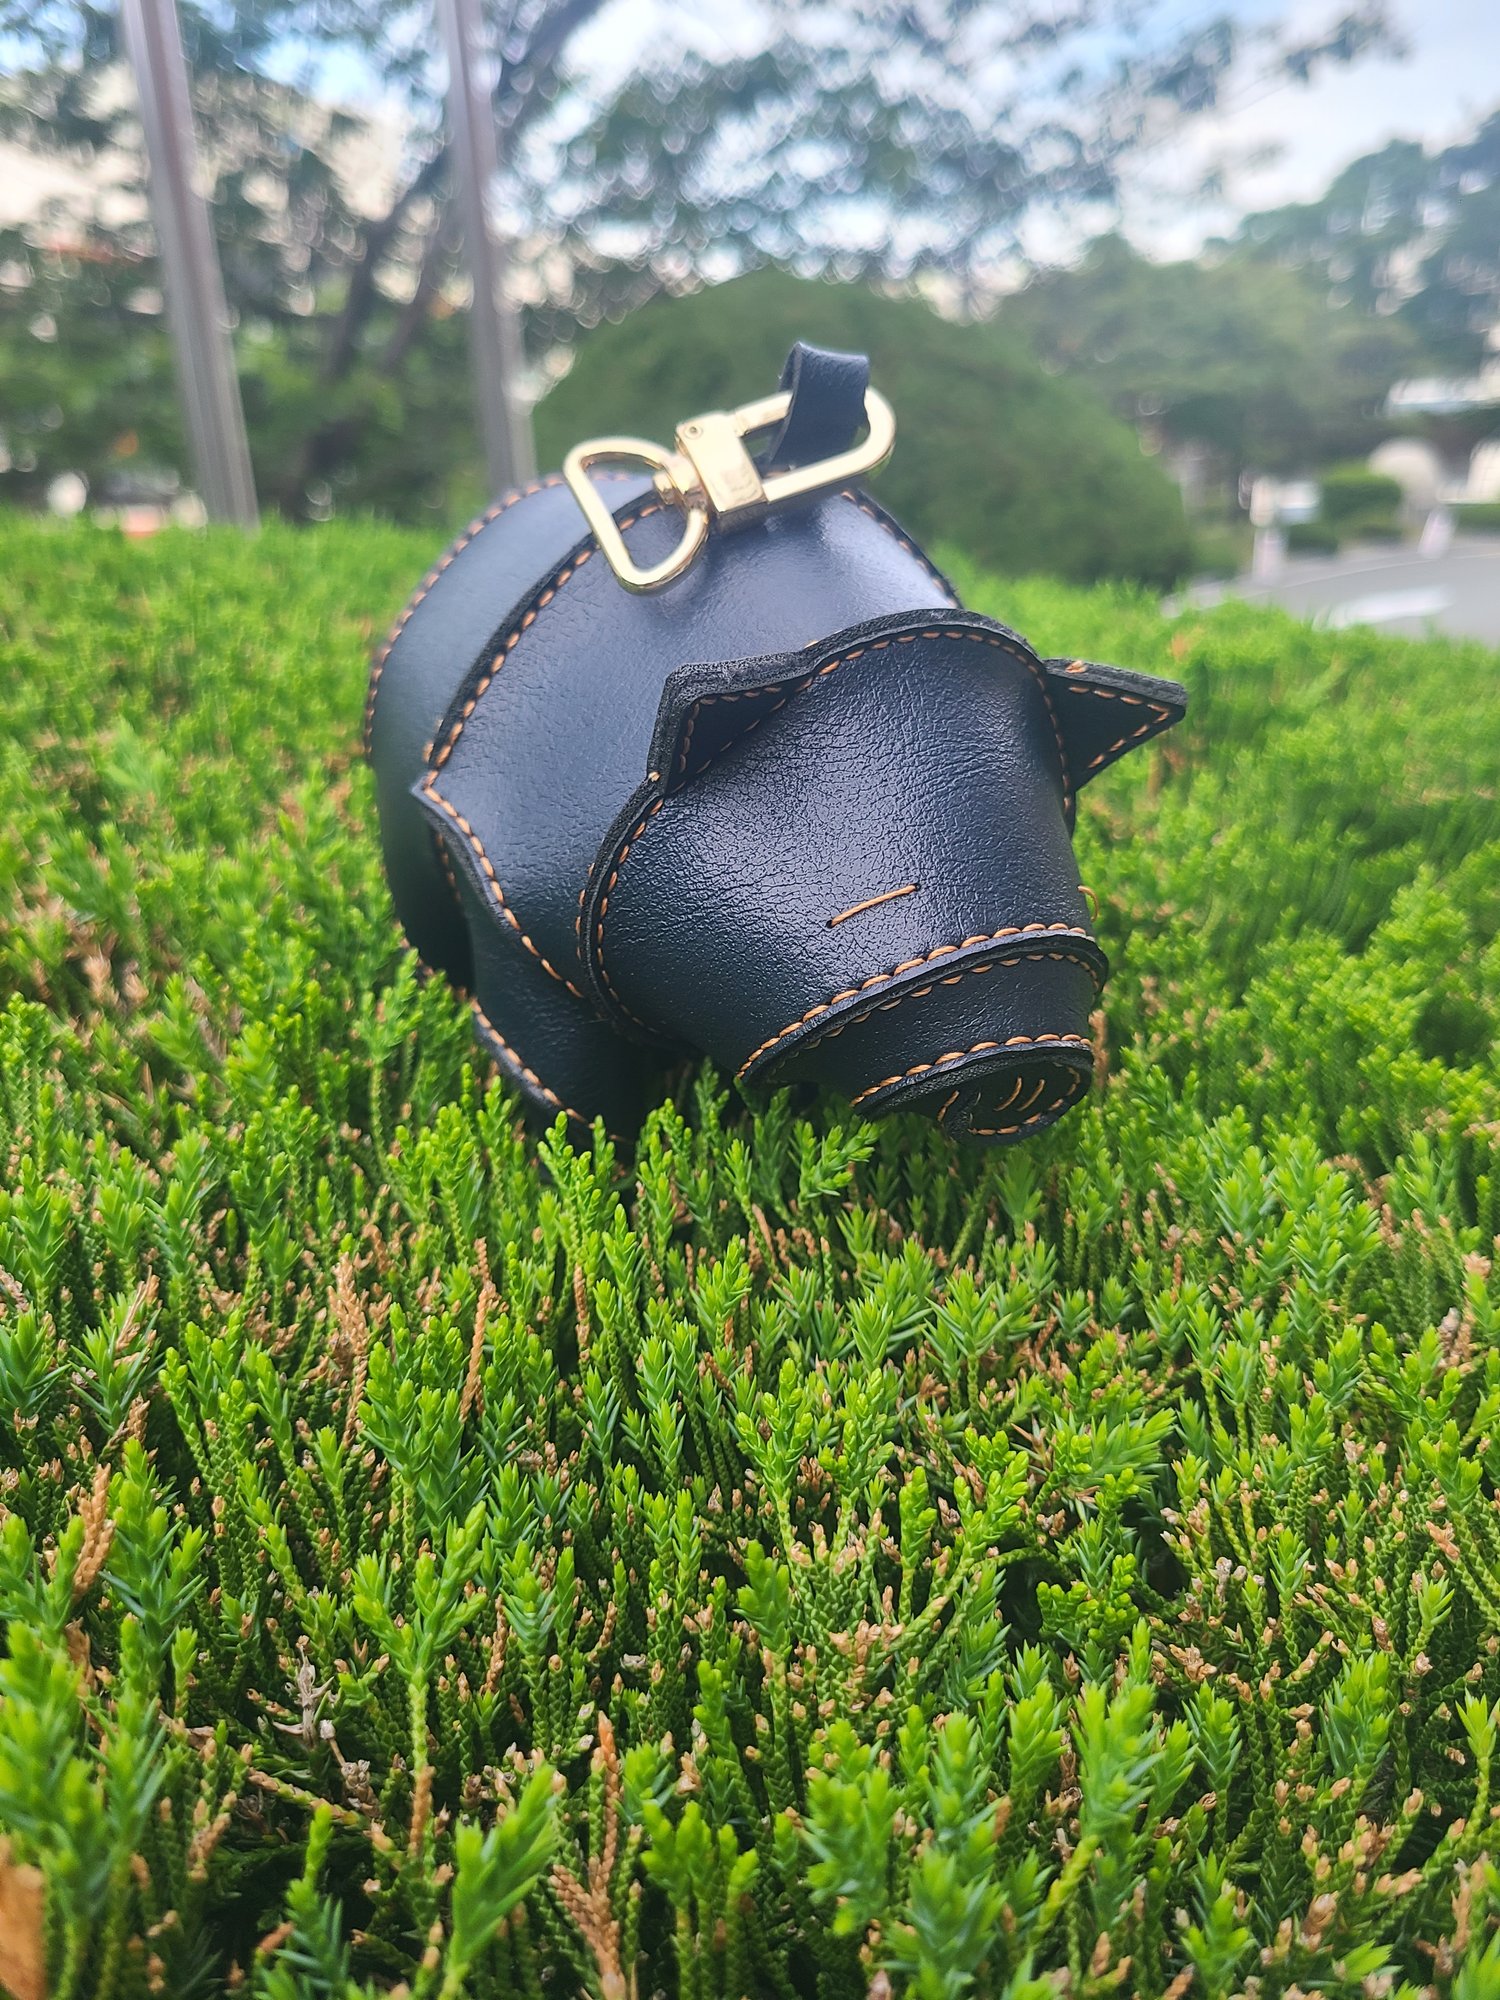
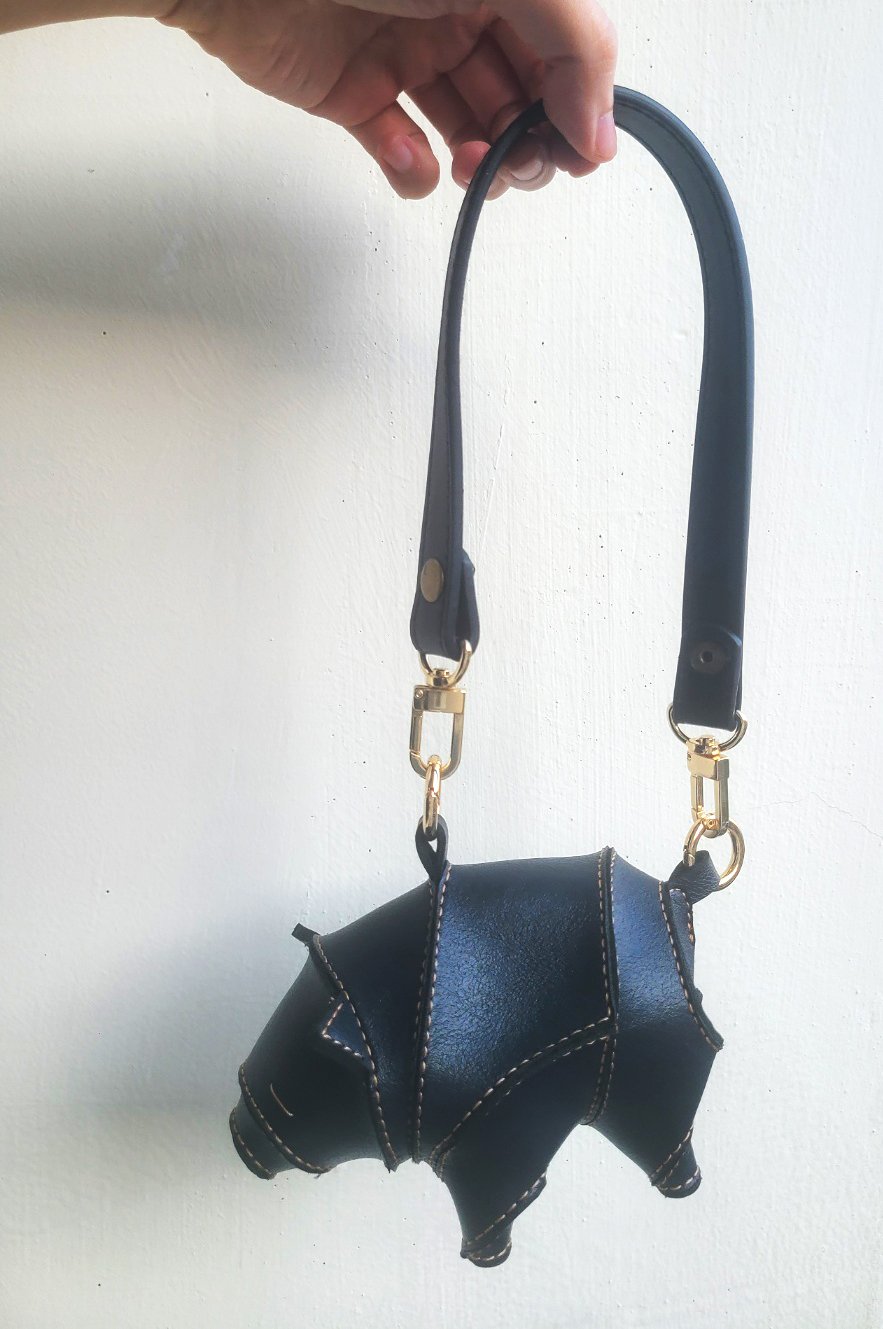






Minimalist One Piece Premium Leather Piggy Keyring Pattern - Laser Cut SVG DXF PDF File for xTool S1, Minimalist Cute Pig Charm DIY Template
■ MASTER BLUEPRINT SPECIFICATIONS (Project No. 03):
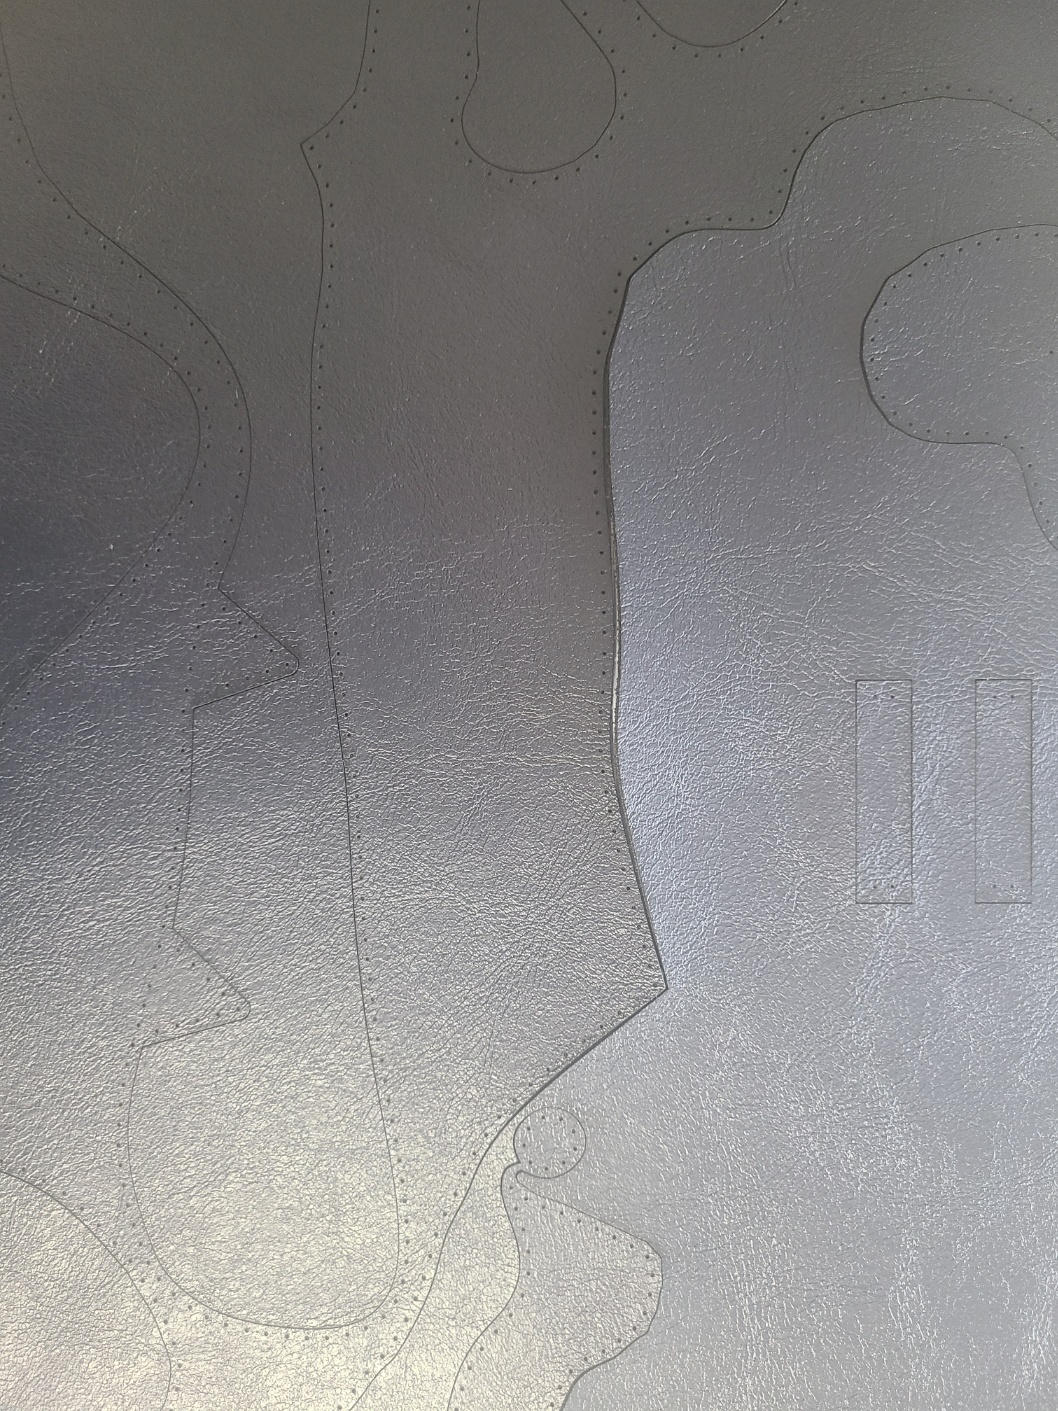
This pattern is designed for minimalists who appreciate the beauty of raw structure. Through precise geometric lines and micro-engineered stitching holes, a single flat sheet of leather transforms into a high-end 3D artwork without any bulky additions.
📺 Watch the Satisfying 3D Crafting Video Here:
👉 https://www.youtube.com/@halimah.vortex/shorts
(See how beautifully it transforms from a flat sheet into a 3D masterpiece!)
[ WHAT YOU GET (Instant Download ZIP) ]
• 1 x Laser-Cut Ready Vector File (.SVG)
• 1 x CAD Technical Machinery File (.DXF)
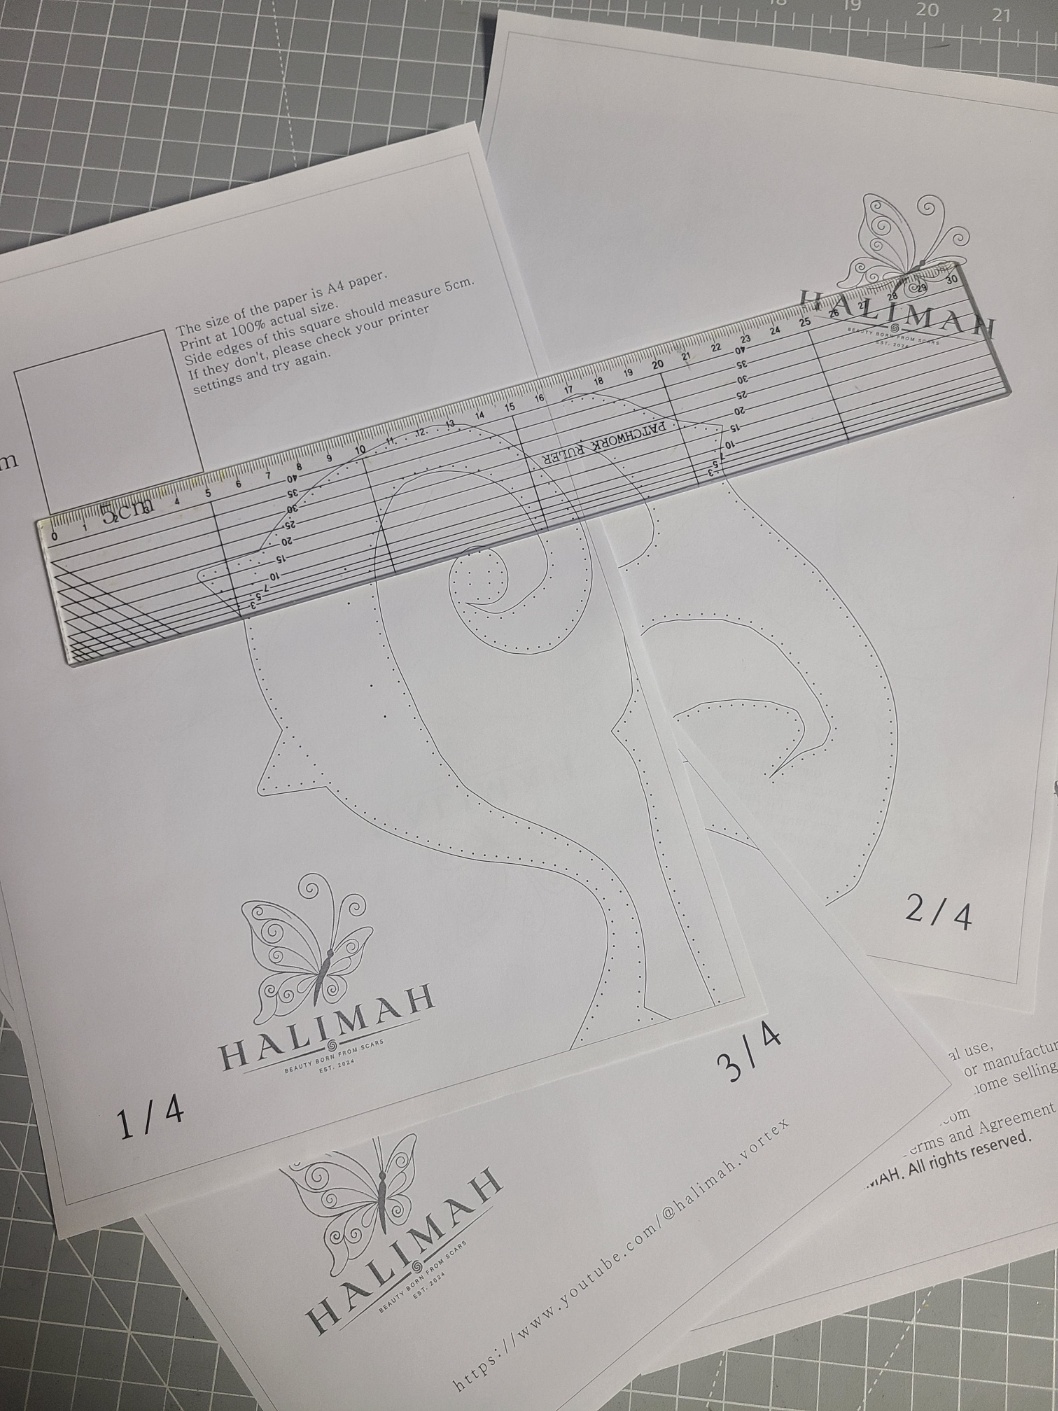
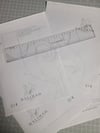
• 1 x High-Resolution Printable Blueprint (.PDF)
--------------------------------------------------
■ CRITICAL PRINTING SPECIFICATION (For PDF User):
To protect the exact millimetric precision of this 1-Piece architecture, you MUST configure your printer settings as follows. Any auto-scaling will completely destroy the stitching hole alignment.
• PRINT SCALE: Set to "100%" or "Actual Size" (Do NOT use 'Fit to Page')
• PAPER SIZE: Must be set to "A4 Paper Size"
• AUTO-ROTATION: Must be UNCHECKED / DISABLED (Turn off 'Auto-Rotate and Center')
--------------------------------------------------
■ RECOMMENDED MATERIAL & HARDWARE SETUP:
• LEATHER SHEET DIMENSIONS: 290 mm (Vertical) x 435 mm (Horizontal)
• LEATHER SPEC: 1.0mm - 1.2mm Firm Temper Vegetable Tanned Leather / Hard Leather.
• THREAD SPEC: 0.45mm - 0.6mm Waxed Thread (Glove-style tight stitching).
--------------------------------------------------
■ MASTER ARTISAN'S STITCHING SEQUENCE:
To achieve a perfect 3D contour without any alignment distortion, follow this precise sequence:
• STEP 01: Pass the thread ONCE through the eye and snout holes to define the facial silhouette.
• STEP 02: Begin the main stitch from the snout, moving smoothly down the throat path.
• STEP 03: Completely wrap and finish the Right Front Leg first as you reach it.
• STEP 04: Cross the belly axis to wrap and finish the Left Front Leg next.
• STEP 05: Advance along the underbelly path toward the rear to finish the Right Rear Leg.
• STEP 06: Cross the rear axis to wrap and finish the Left Rear Leg.
• STEP 07: Securely stitch up the buttocks, tie a tight final knot at the tail end, and your masterfully engineered 3D Piggy Keyring is complete!
--------------------------------------------------
NOTICE: These patterns are intended for personal use only, not for commercial manufacturing or mass production. To inquire about commercial licensing for small-scale home selling or individual business use, please contact halimah.vortex@gmail.com to request the "Partnership Terms and Agreement" document.
Copyright © 2026, HALIMAH. All rights reserved.
https://www.youtube.com/@halimah.vortex