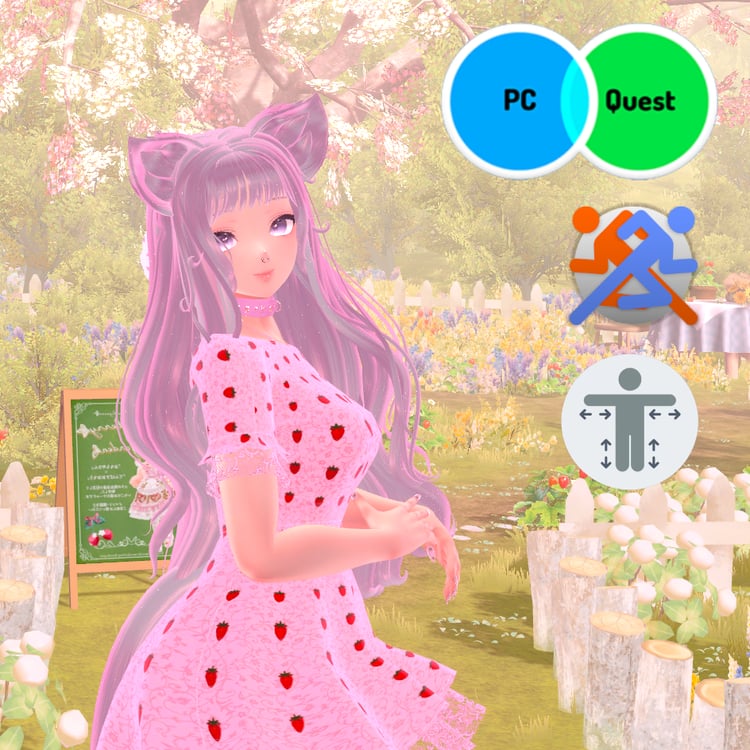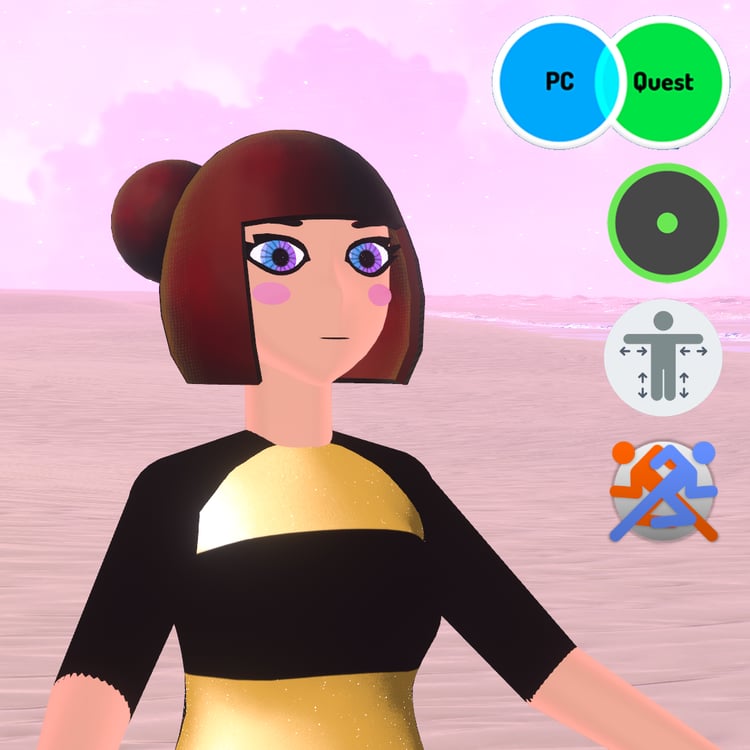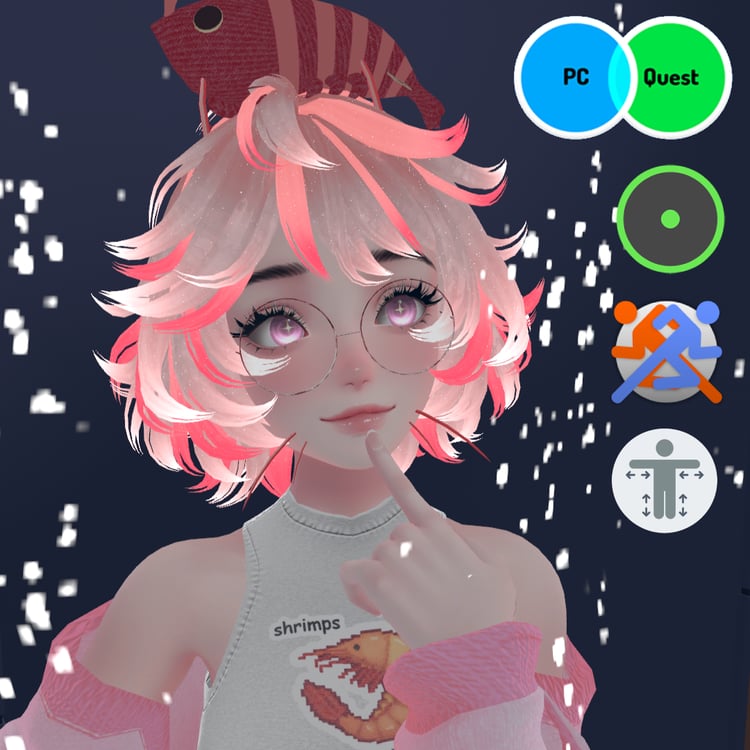


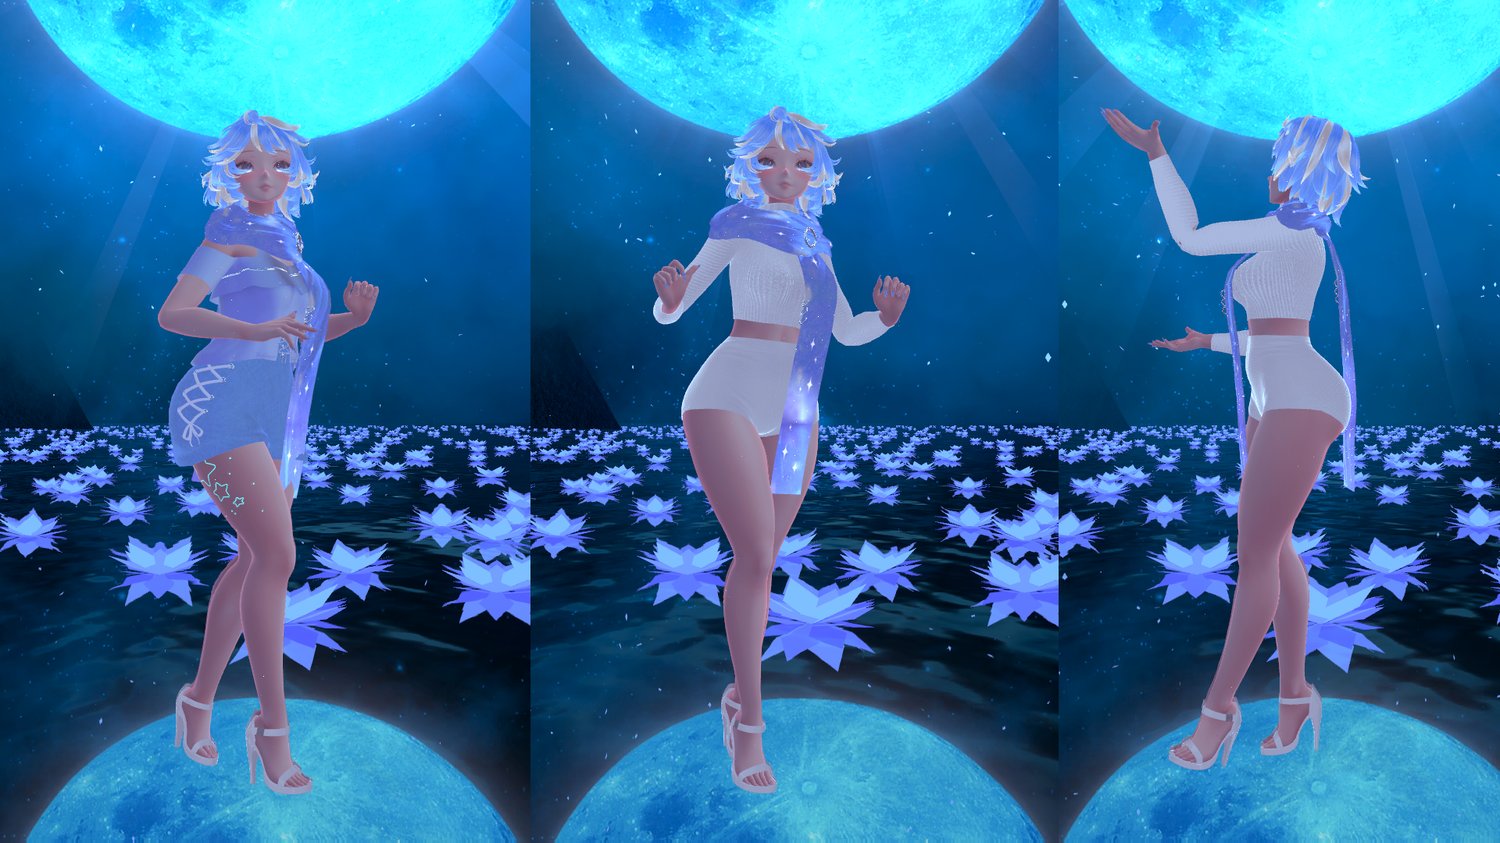
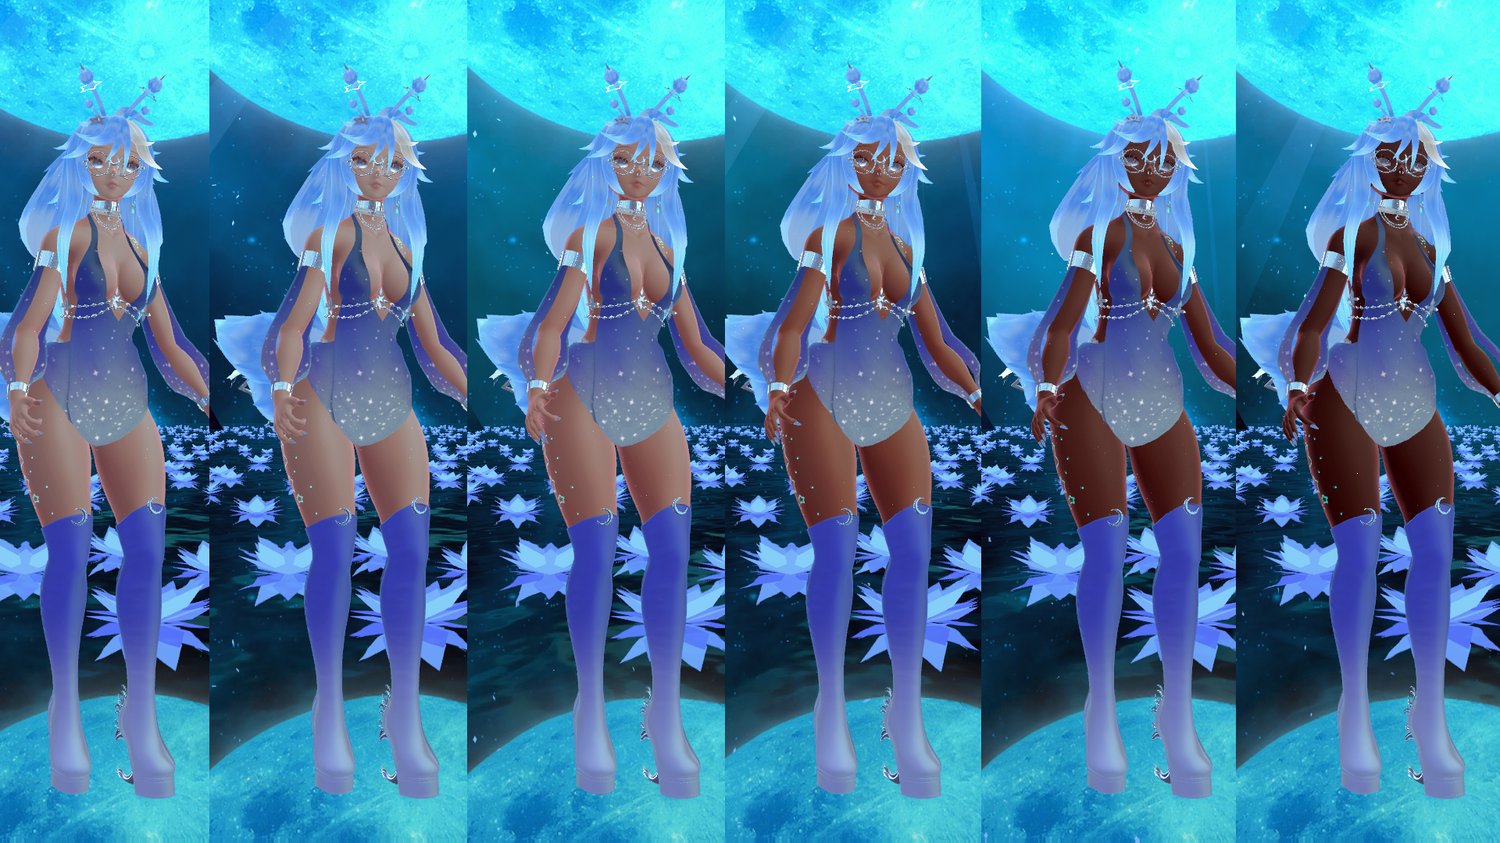


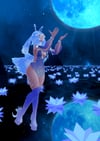

Rabbit in the Moon
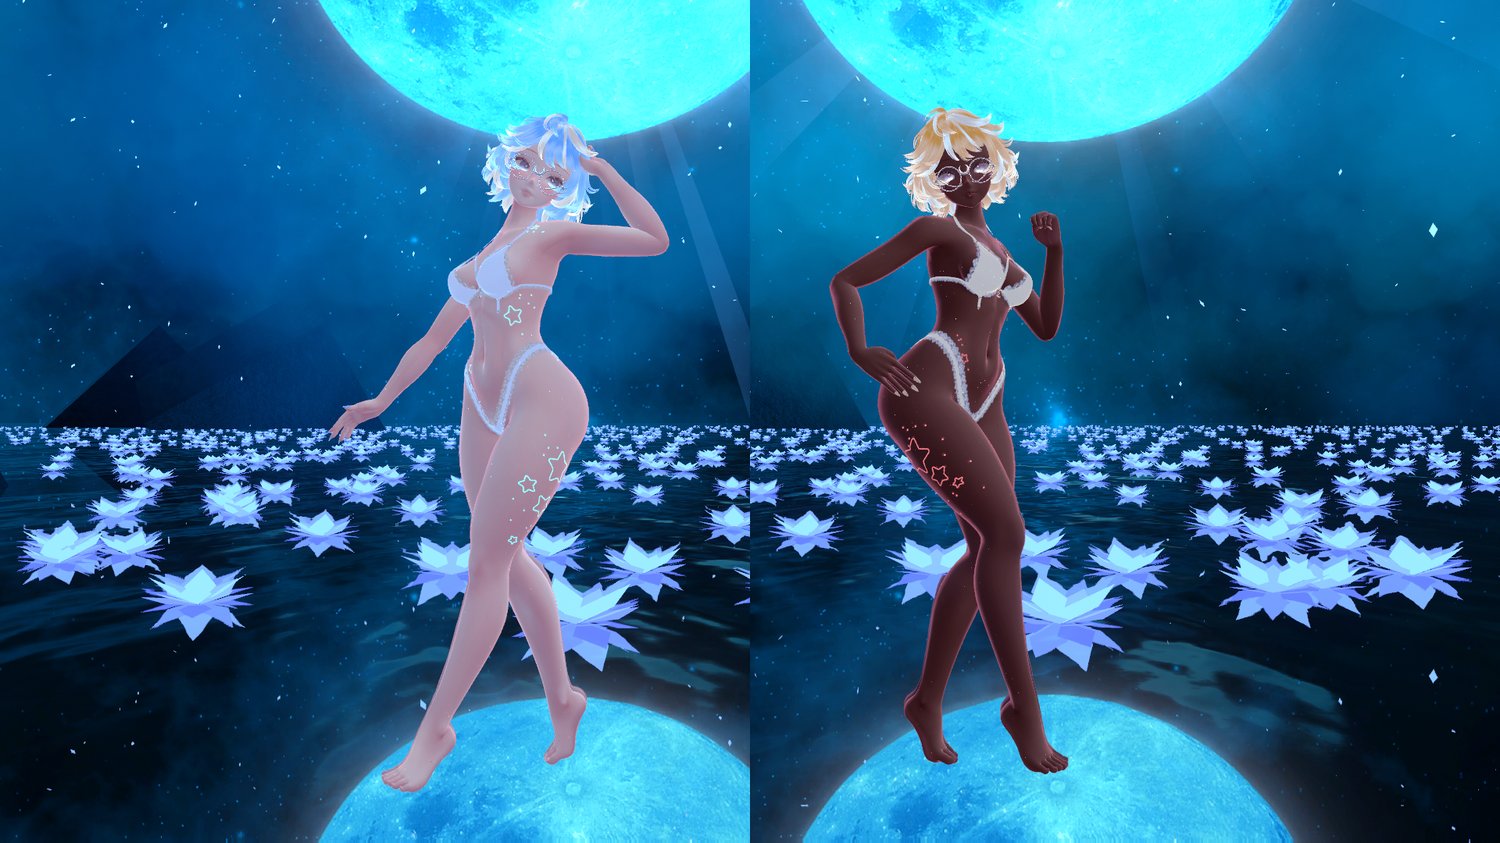
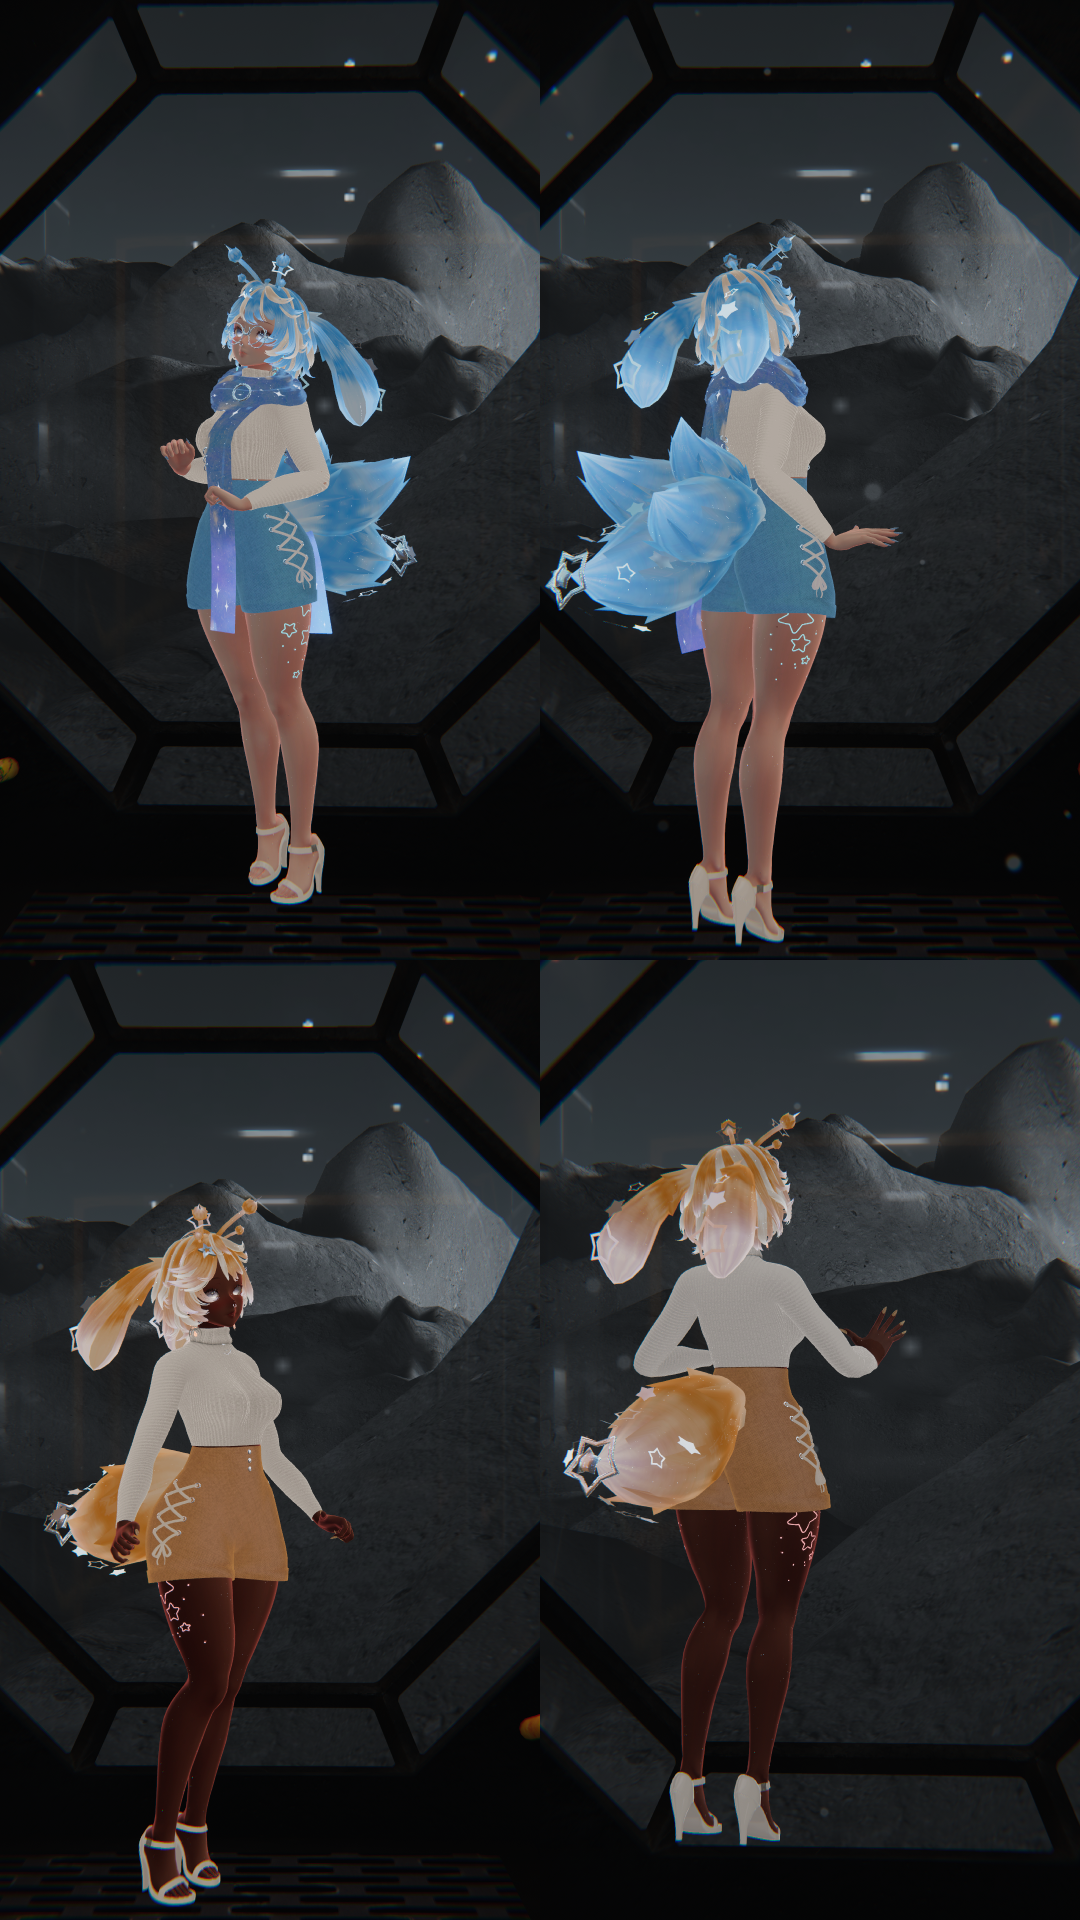
A cute Moon Rabbit avatar with dancing fans and ribbons that flow beautifully! She brings the old lunar folklore to life with pretty glowing details, but she also has comfy options for when you just want to chill. The perfect mix of a magical celestial dancer and a cozy vibe.
PC & Quest versions included in the Unity Package!!
Includes GogoLoco - franada
And Limb Scaler - Nanochip
Toggles:
Accessories:
- Short Hair
- Antenna
- Rabbit Ears
- One Tail
- Three Tails
- Hair Pin
- Septum Piercing
- Moon Choker
- Moon Earrings
- Glasses
- Scarf
- Nose Booper (Stars) and Eye pokes
- Dancing Fans
- Dancing Ribbons
Clothes:
- Goddess Top
- Cropped Turtleneck
- Flowy Top
- Underwear Set
- Yoga shorts
- Laced Shorts
- Moon Boots
- Simple Heels
Material changes:
- 6 Skin Tones
- Adjustable Tattoo Emissives
- Main Color Hue Slider
Gesture Expressions:
- Blush
- Smile
- Wink
- Blep
- Angry
- Grin
Credits:
- Head - 23Mink
- Body - Zinpia
- Willa's Head Nostrils - GM
- Moon Choker - Tom
- Nails - YamuVR
- Septum Piercing - Reptilia
- Long Hair - Yinothy
- Underwear - Cringy
- Short Hair - Minki
- Booper System - CatMallo
- Simple Heels - Polygon Emporium
- Laced Shorts - mirukubars
- Bonnie Doll Top - Yinothy
- Star Piercer Flow Toy Set - Phantomsuun
- Tail and ears - Yinothy
- Moon boots - GM
- Goddess Bodysuit - Dinzee
- Earrings - Murdermoth
- Tattoos: Me
Quick Terms of Service (Please Read!!)
Miss Molly Avatars
Hey! Before you use my avatars, here’s the short and clear version of what’s okay and what’s not. The full Terms of Service still apply, but this is the quick rundown most people are looking for.
✅ You CAN:
- Use the avatar in VRChat and similar platforms
- Use it for content (streaming, videos, social media, etc.), including monetized content
- Edit and customize it for your own personal use
- Kitbash it with other assets if you have the proper rights to those assets
🚫 You CANNOT:
- Resell, share, leak, or redistribute the avatar or any of its parts
- Upload it as public or make it cloneable (they are already public in Resonite)
- Claim it as your own work
- Use it for NFTs, AI training, or similar tech uses
- Resell edited or kitbashed versions
⚠️ Content Guidelines
- These avatars are safe-for-work and intended for general audiences
- Please don’t use them for:
- NSFW or sexual content in public or commercially
- Harassment or harmful behavior
- Disruptive or inappropriate uses in shared spaces
💡 Good to Know
- This is a personal-use license (you own the right to use it, not redistribute it)
- No refunds (digital product)
- Support is available, but not guaranteed
- Updates may happen, but aren’t promised
❤️ Final Note
I put a lot of time into these, and I really appreciate you supporting my work. Just be respectful with how you use them, and we’re all good :)
For full legal details, please refer to the complete Terms of Service on my payhip here
📂 How to Import & Set Up for Resonite
Drag the ResonitePackage file into the Resonite window. You now have your Avatar!!
📂 How to Import & Set Up for VRChat
To ensure the avatar works correctly, please follow these steps in a new Unity project (Unity 2022.3.22f1 recommended).
1. Pre-requisites (Install these first!)
Please download and import these tools in the following order before importing the avatar package:
- VRChat SDK 3.0: Download via the VRChat Creator Companion (VCC).
- Poiyomi Toon Shader: Download here (Recommended version: 8.1 or newer).
- VRCFury: Download here (Required for all toggles and menu features).
2. Importing the Avatar
- Once the pre-requisites are in your project, drag and drop the [Your_Avatar_Name].unitypackage into your Unity assets.
- Open the YourAvatar folder and find the Avatar Scene.
- Double click the scene to Open it.
3. Uploading to VRChat
- Open the VRChat SDK window (VRChat SDK > Show Control Panel).
- Log in to your account.
- Go to the Builder tab.
- Ensure there are no "Auto-fix" errors. Note: VRCFury will automatically build your menu and toggles during the upload process—don't worry if the menu looks empty in the Inspector!
- Click Build & Publish.
🛠️ Troubleshooting
- Pink Materials? Ensure you imported Poiyomi before the avatar. If they are still pink, select the materials and change the shader manually to Poiyomi/Poiyomi Toon.
- Toggles not working? Ensure you have the latest version of VRCFury installed.
- T-Pose in game? Make sure you didn't accidentally delete the Animator or Avatar Descriptor!
🚀 How to Upload Cross-Platform (PC & Quest)
To ensure both PC and Quest users see your avatar correctly, follow these exact steps:
1. Upload the PC Version First
- Open the PC Unity Project/Scene.
- Open the VRChat SDK Control Panel and sign in.
- Go to the Builder tab and click Build & Publish for Windows.
- Once uploaded, stay in the SDK window. Go to the Content Manager tab, find your new avatar, and click Copy ID. (This is your Blueprint ID).
2. Prepare the Quest Version
- Open the Quest Unity Project/Scene.
- In the Inspector, find the Pipeline Manager component (usually on the same object as your Avatar Descriptor).
- Paste the ID you just copied into the Blueprint ID box and click Attach.
- Note: If there is already an ID there, click "Detach" first, then paste yours.
3. Upload the Quest Version
- Go to File > Build Settings and ensure your platform is set to Android. (If not, select Android and click "Switch Platform").
- Open the VRChat SDK Builder.
- You should see a message saying "Existing avatar found" (matching your PC ID).
- Click Build & Publish for Android.
✅ You’re Done!
VRChat will now recognize both uploads as the same avatar. When you switch to it in-game, PC users will see the high-quality PC version, and Quest users will see the optimized Quest version.