Working in the round is easier than you might think
You might have noticed that I quite like working in the round. I'm not a huge fan of seaming (although I've warmed to the idea in some applications).
I've experimented with a few different ways of working in the round. I started off by learning how to work in a spiral with a double ended hook. This is a wonderful method for making beanies and cowls. It's not so good if you are working in stripes, mosaic or a stitch pattern that will look weird in a spiral.
This is where a cabled hook comes in. There are quite a few ways of using that cable to work in the round. You may have come across tutorials on the 'magic loop method' - this is the first way I learned and if I'm honest, I can't remember how to do it. It's kinda clunky!
A few years back, I used a method pioneered by my friend Rachel Henri. She invented a connecting stitch that works really well and I've used it to make one of her amazing jumper patterns. This method leaves a little jog that just wasn't working for me on Tunisian Crochet mosaic.
It was actually one of my pattern testers that told me about Ben Burchall. His video for this method seems to have vanished, but it was his video demonstration that taught me how to do it.
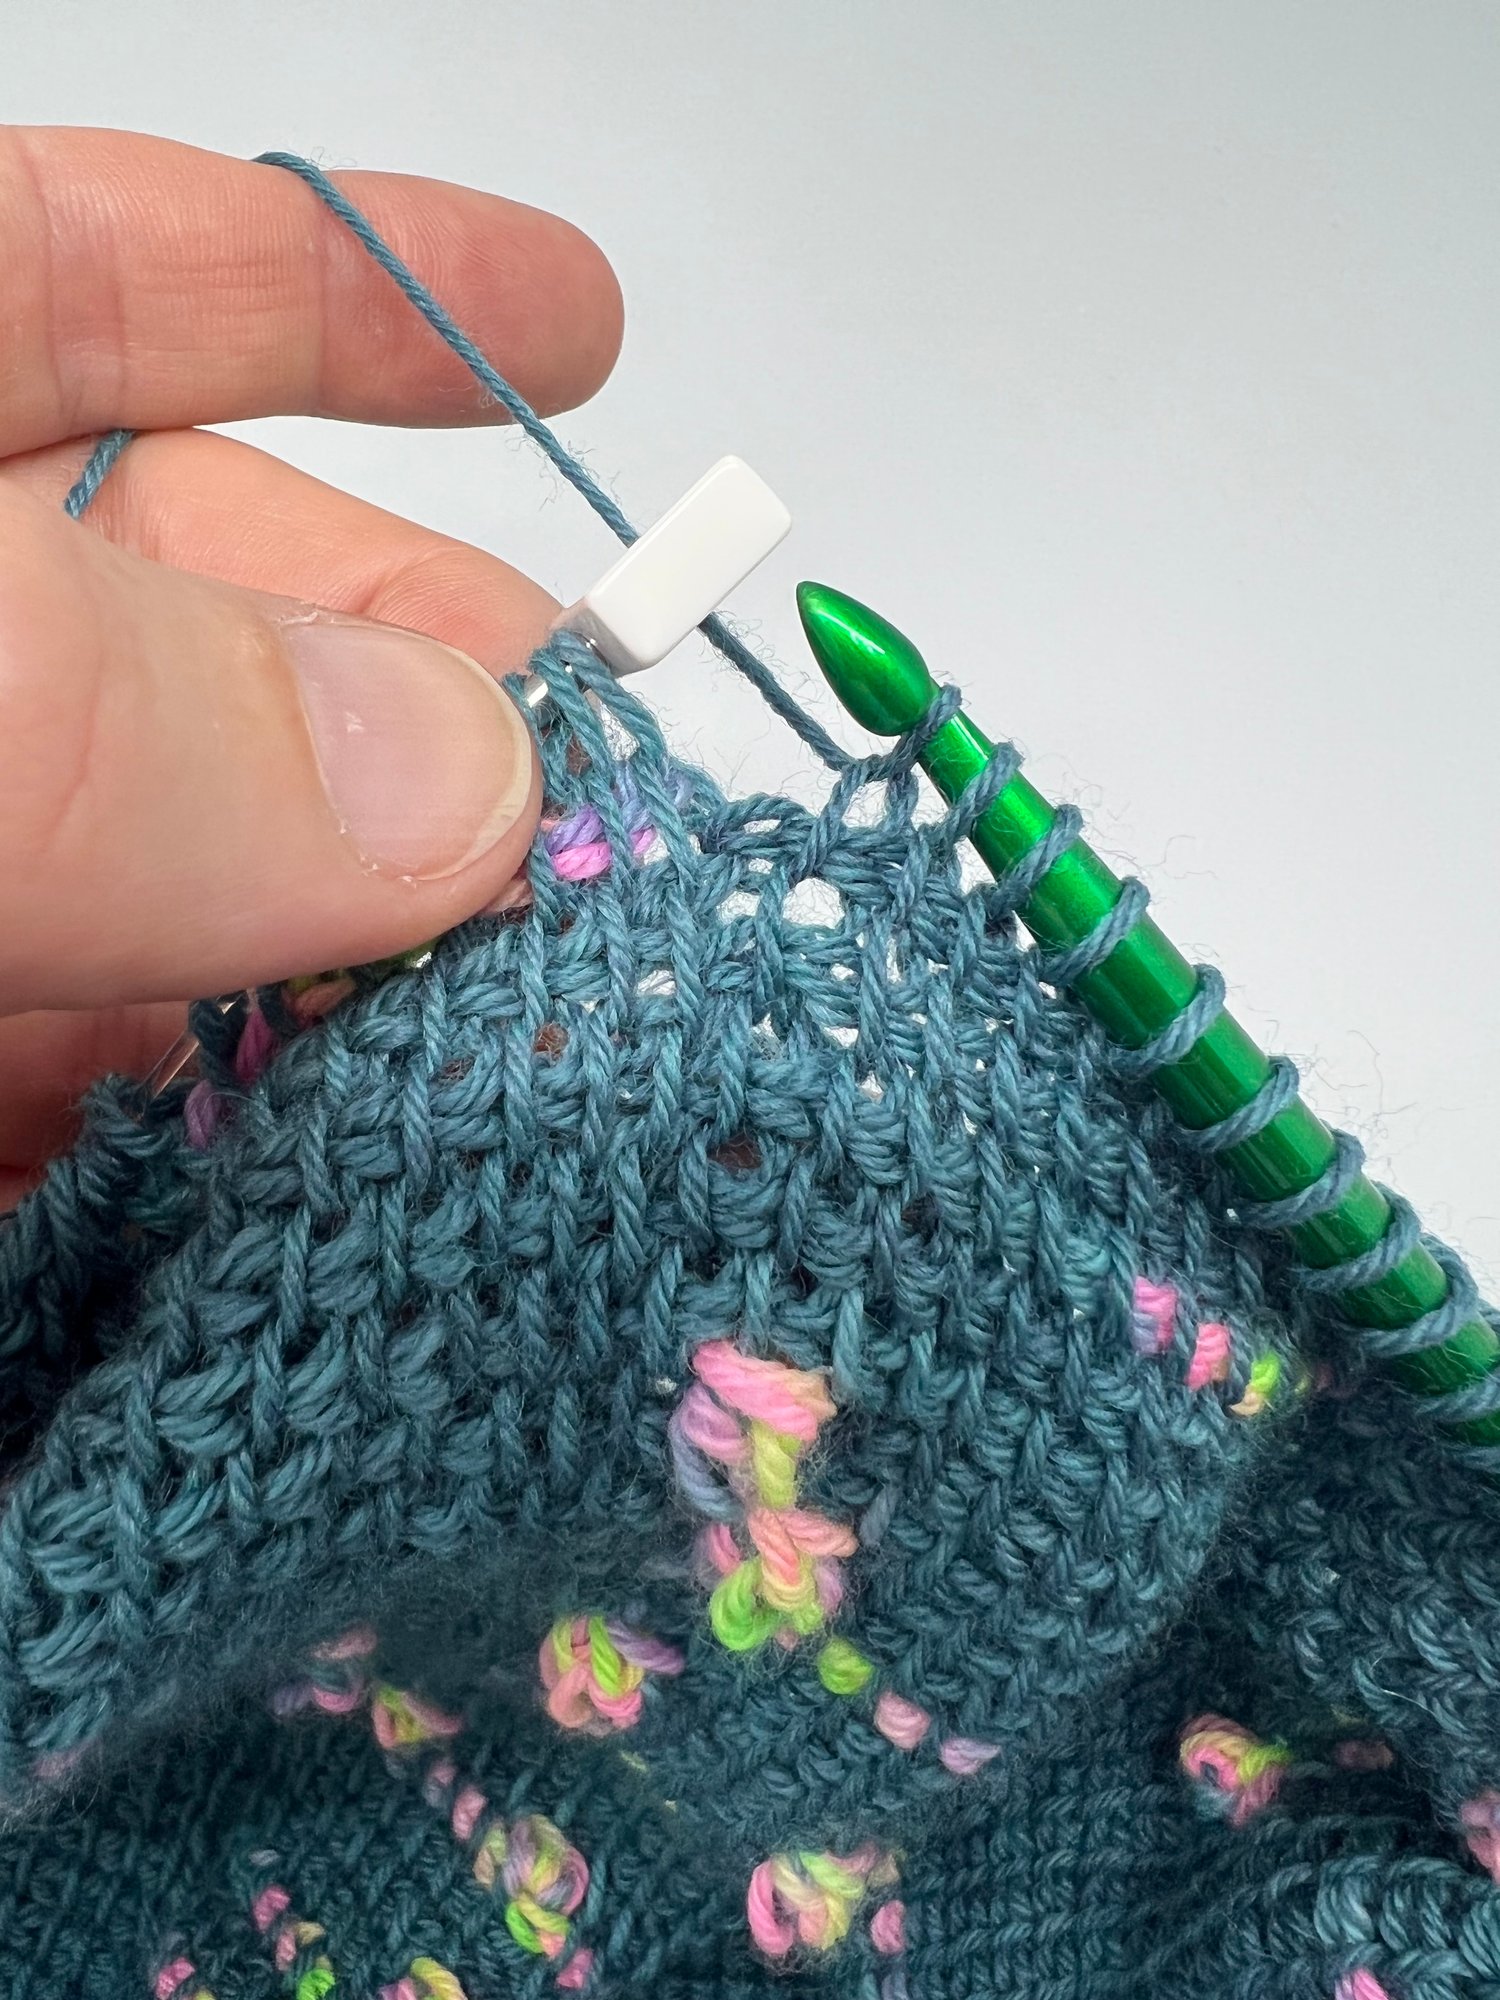
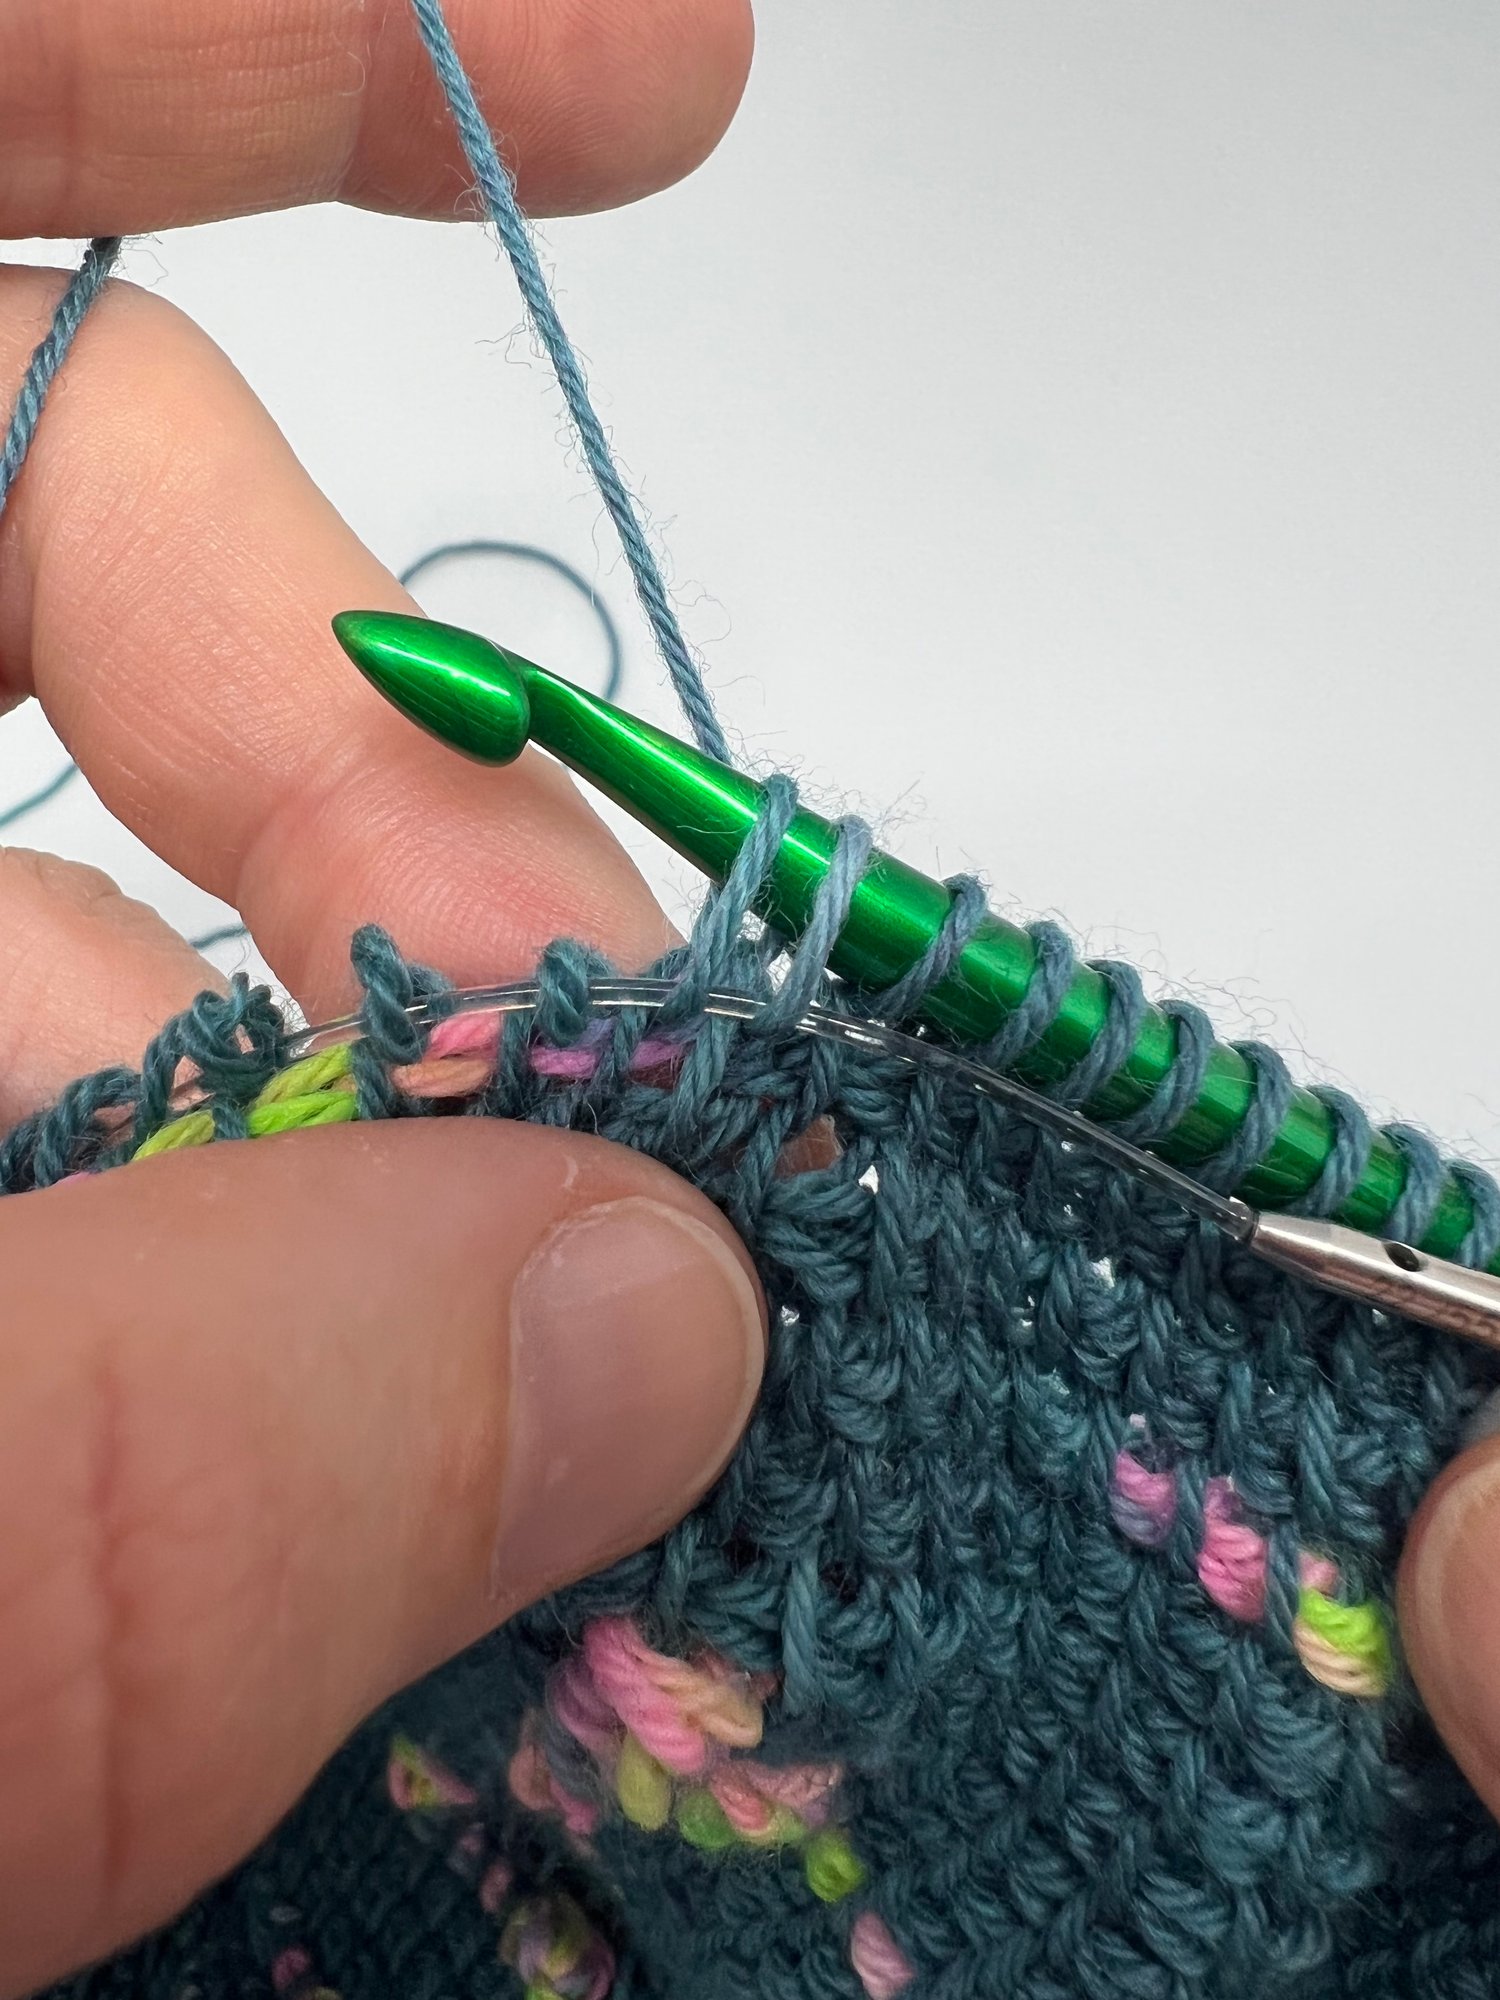
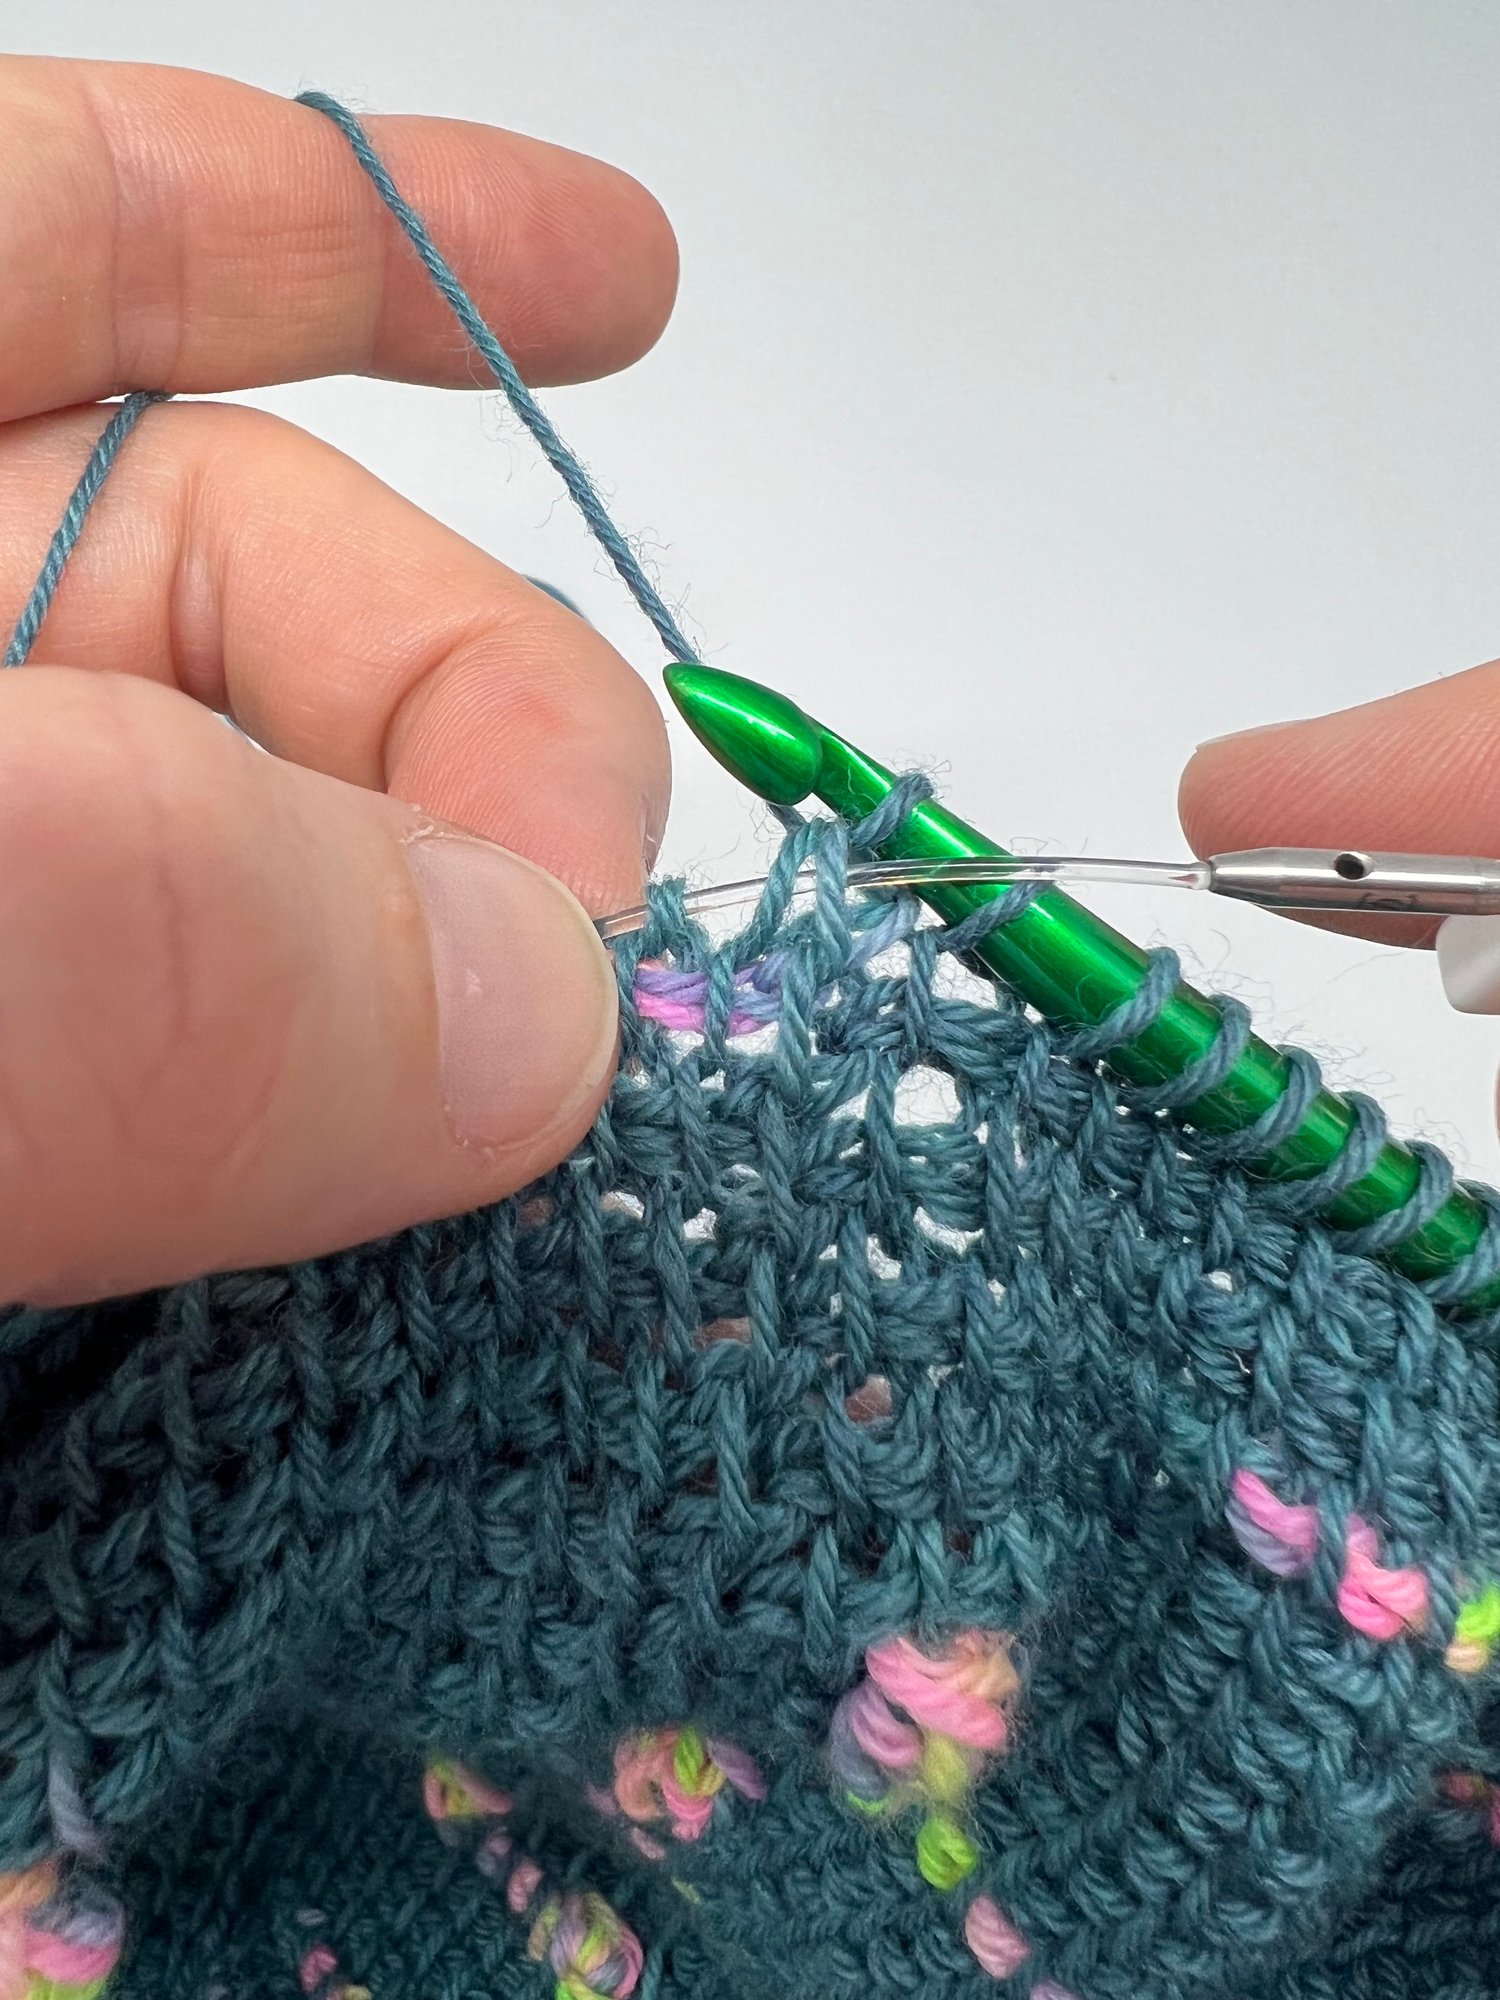
You still work in rows with a forward and return pass. You even pick up the edge stitch. Once you've picked up all the loops in the round, you bring the start of the round up to the hook tip using the cable to help you do it.
The video and images below should give you the tools you need to learn this method. Just remember that practice makes perfect; don't give up if it's wonky for the first few times