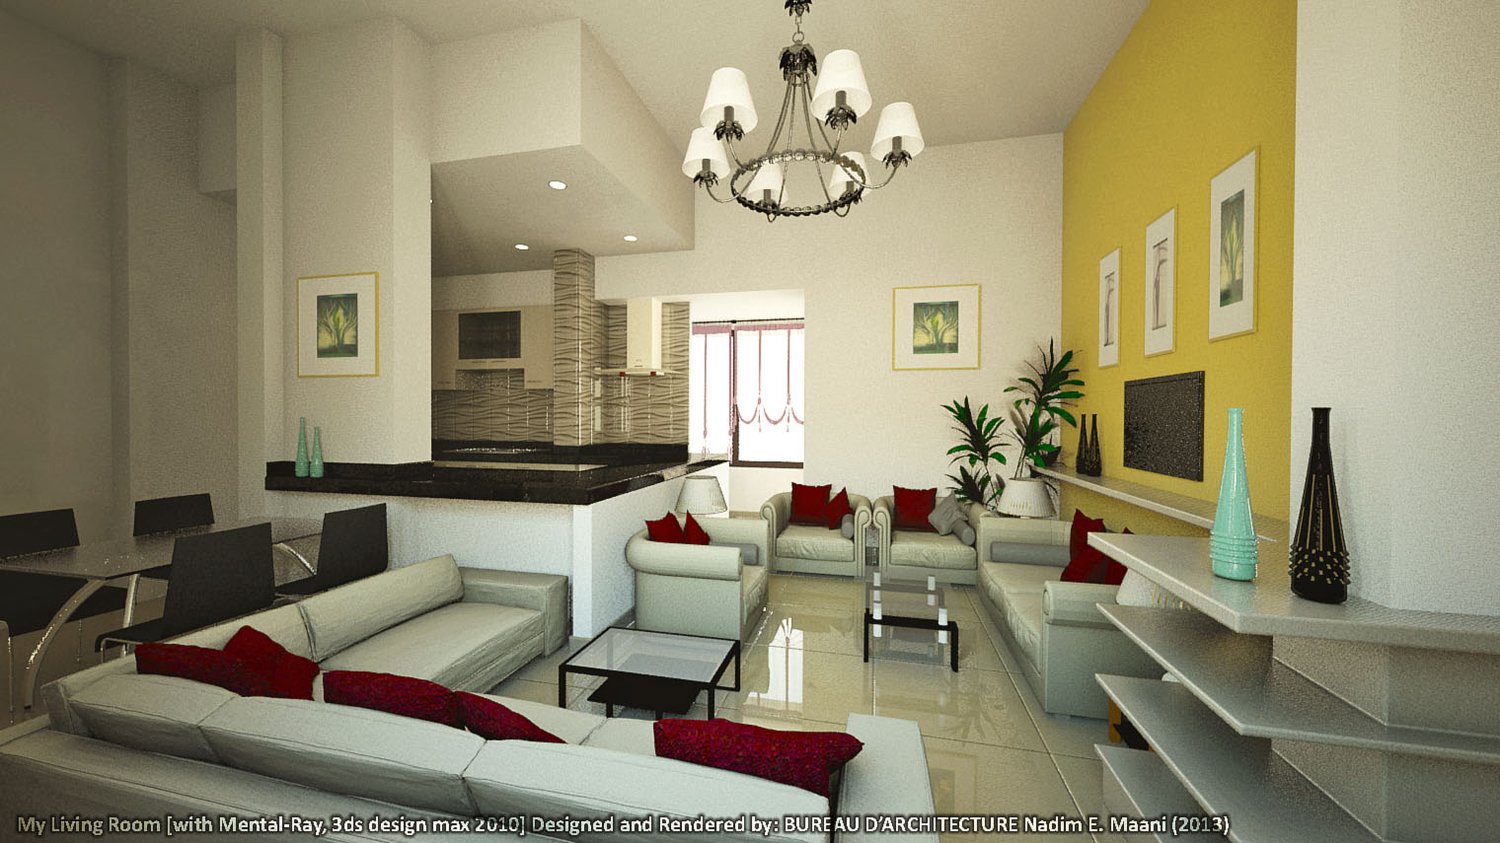
In-door lighting settings for mental ray rendering engine
On Sale
$55.00
$55.00
Get this valuable and helpful file that will help you improve the settings and some other technical notes related to it, important for both students and professional people to adjust the lights within an indoor scene.
Usually, designers and visualizers struggle when it comes to rendering internal scenes, due to major illumination and lighting constraints and the difficulty of creating helping lights within small spaces. Therefore I'm sharing this setup file that contains all the necessary fixings and improvements that will enhance your indoor renders.
FileRender info: Mental Ray rendering engine, 3ds max design studio built-in, 2010 release, Mental Ray plug-in, version 12.00
5 Lights used in the scene: (mr stands for mental ray) essential for good rendering results.
- Omni 01 (mr Area) is located in your darkest scene area that needs some light.
- Sky01 (mr Sky) specified when selecting the mental ray option.
- Sun01 (mr Sun) 1 sun selected and dragged onto your scene in a sun-like location.
- mr Sky Portal01 (mr Sky P) is positioned in front of opening 01.
- mr Sky Portal02 (mr Sky P) is positioned in front of opening # 02. (You may need more or less of mr Sky P, depending on your scene.)