
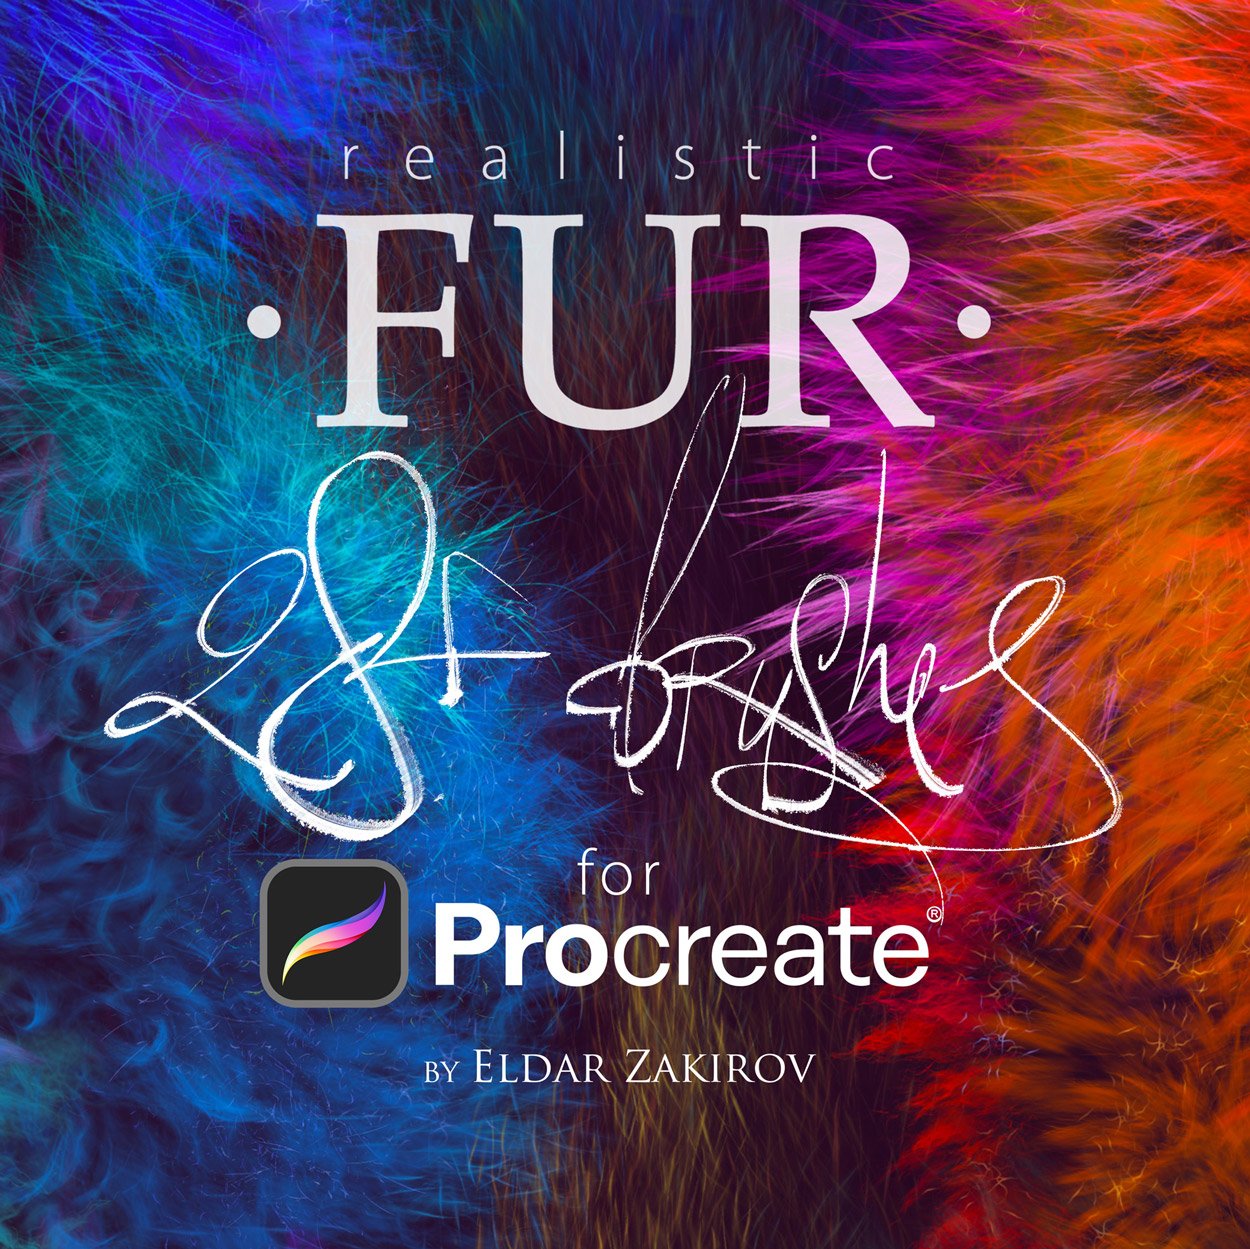
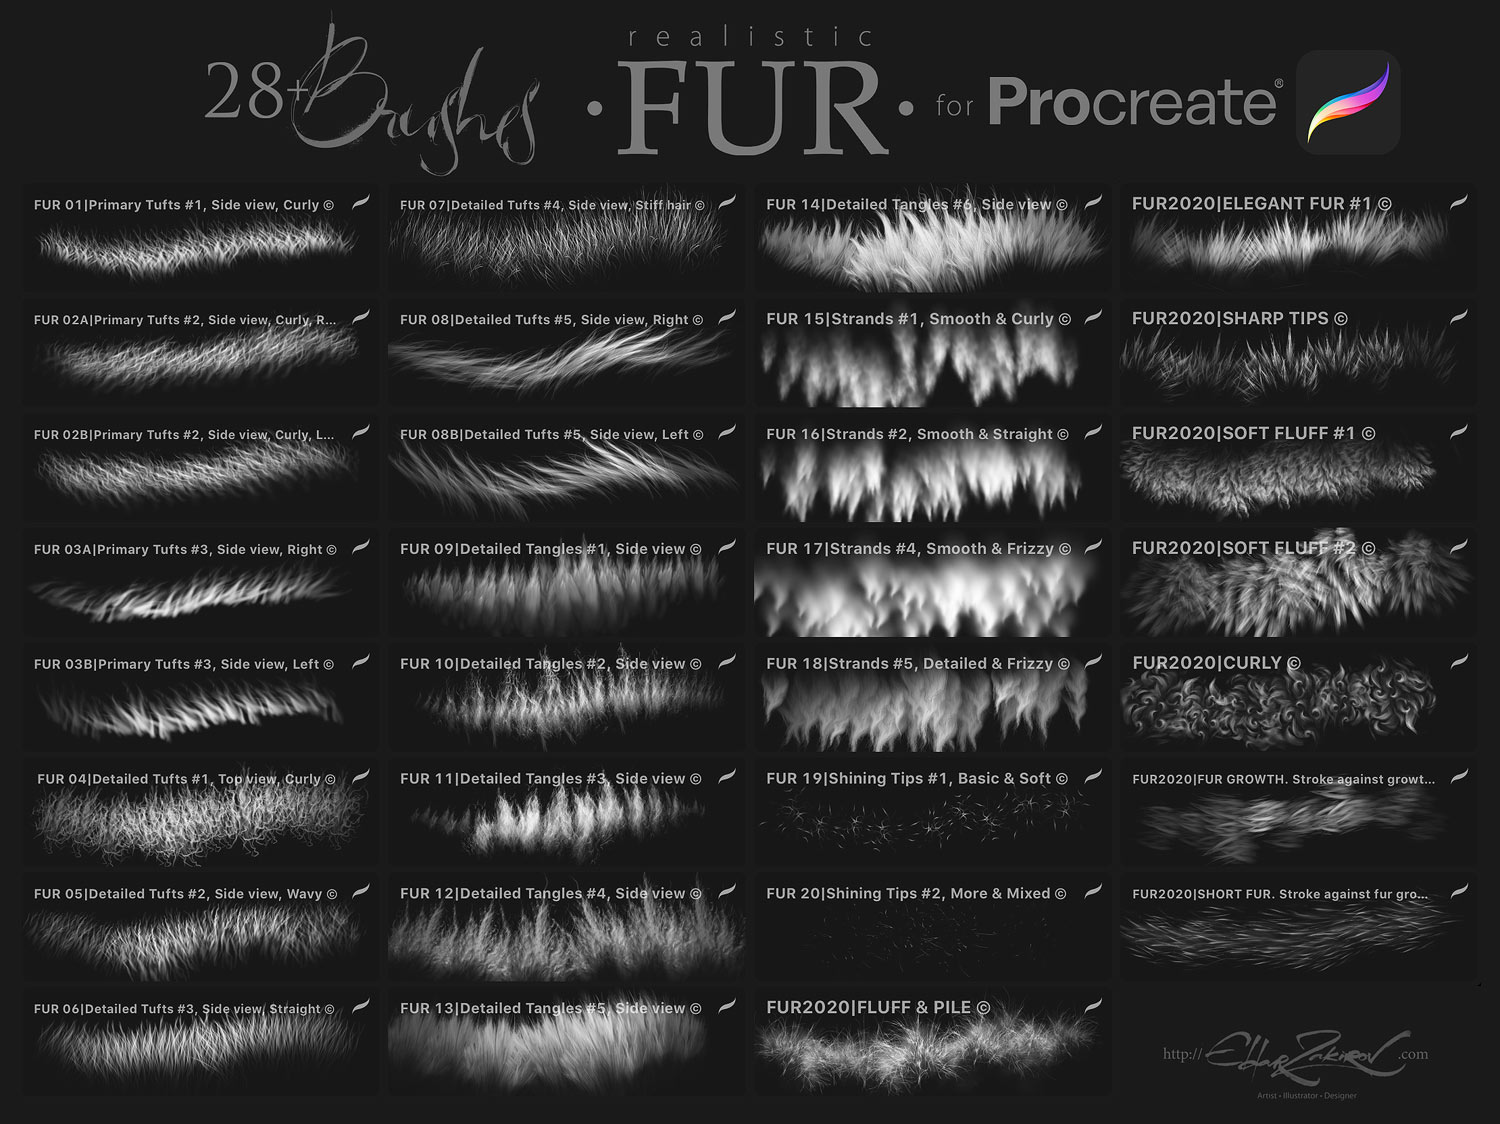

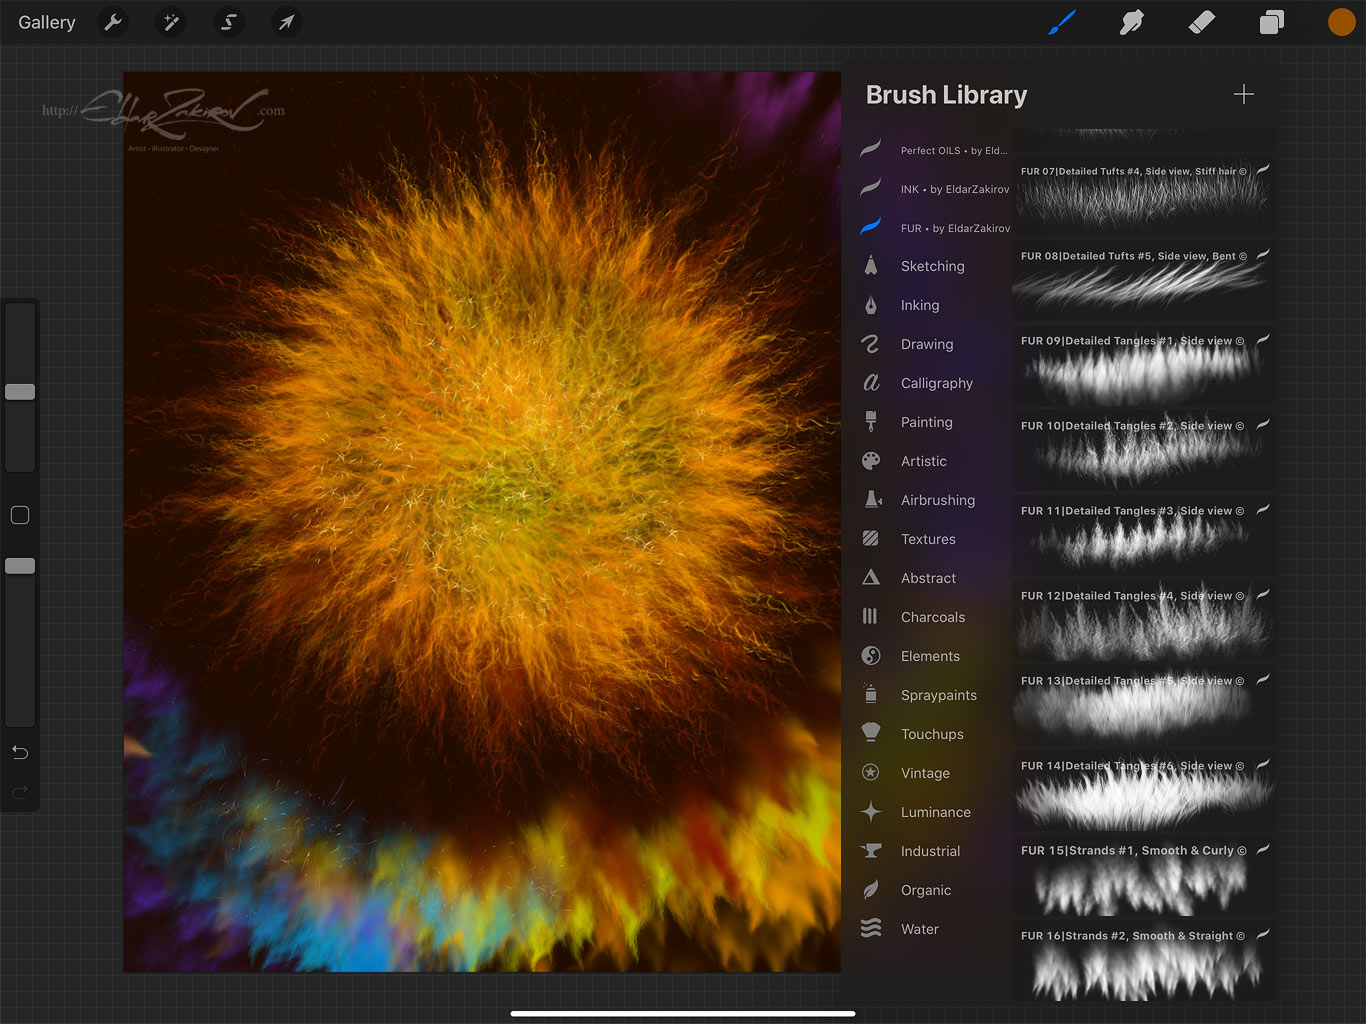


28 Realistic FUR Brushes for Procreate
No PayPal required:
👉 Get it instantly HERE (card, Apple Pay, Google Pay)
💳 PayPal is still available above if preferred (Add to cart or Buy now button) ↑
28 Realistic FUR Brushes for Procreate
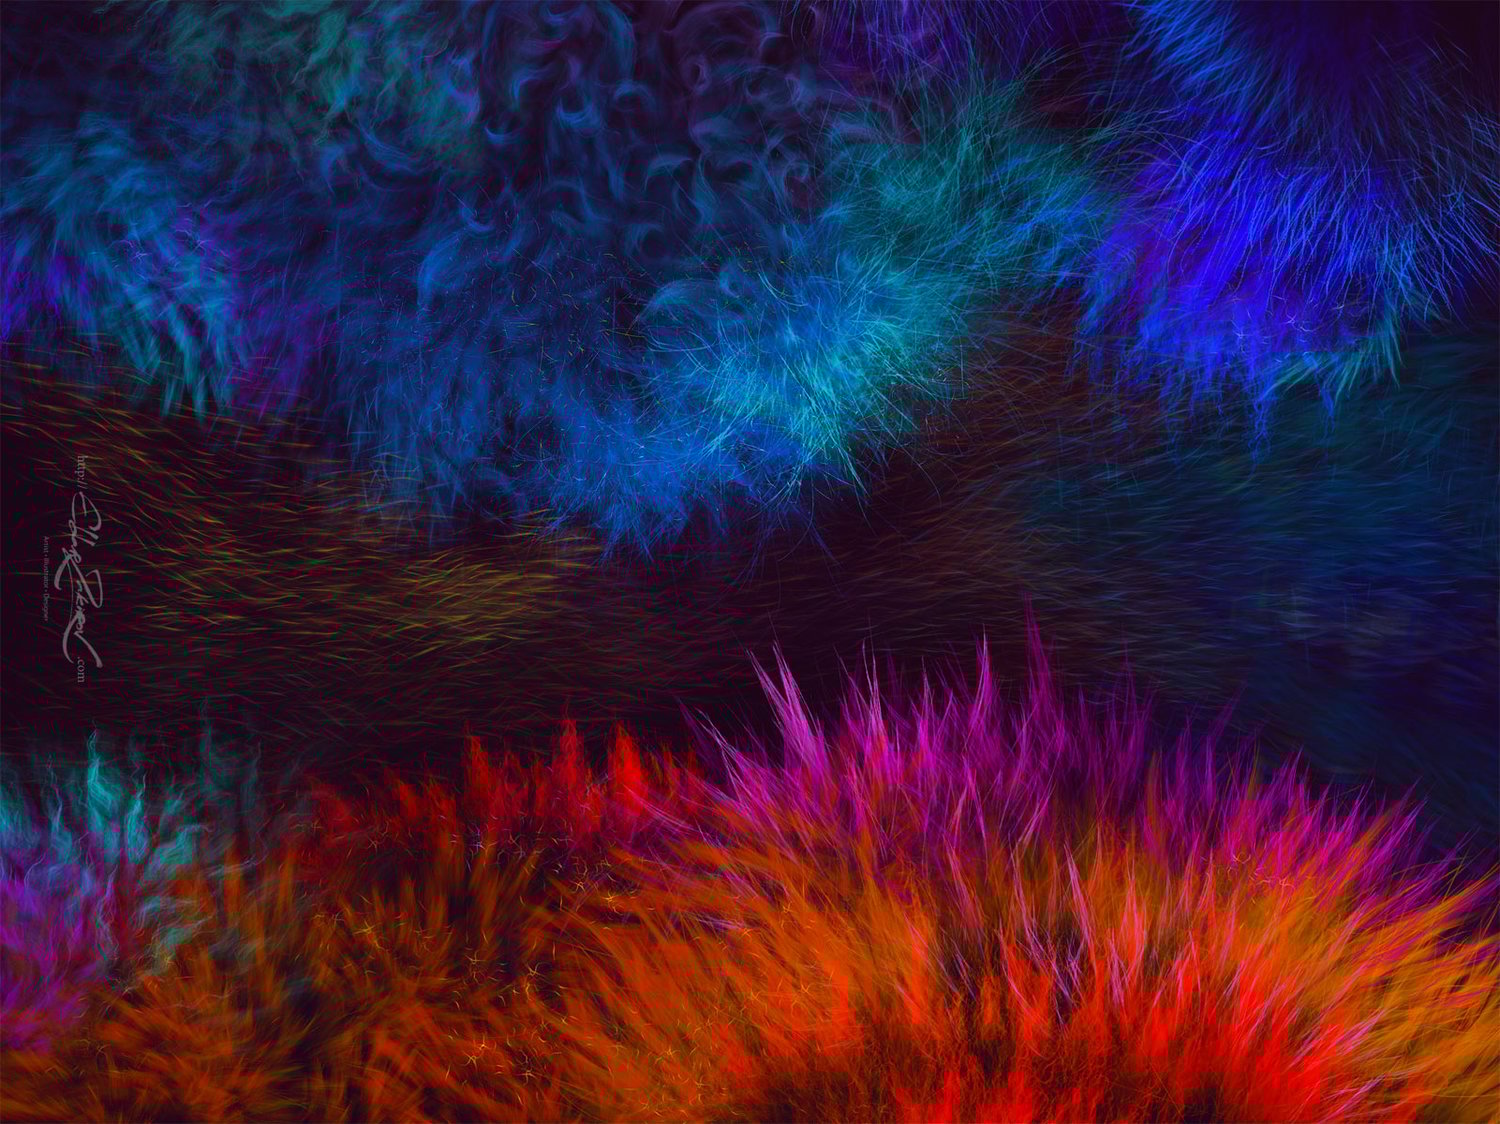
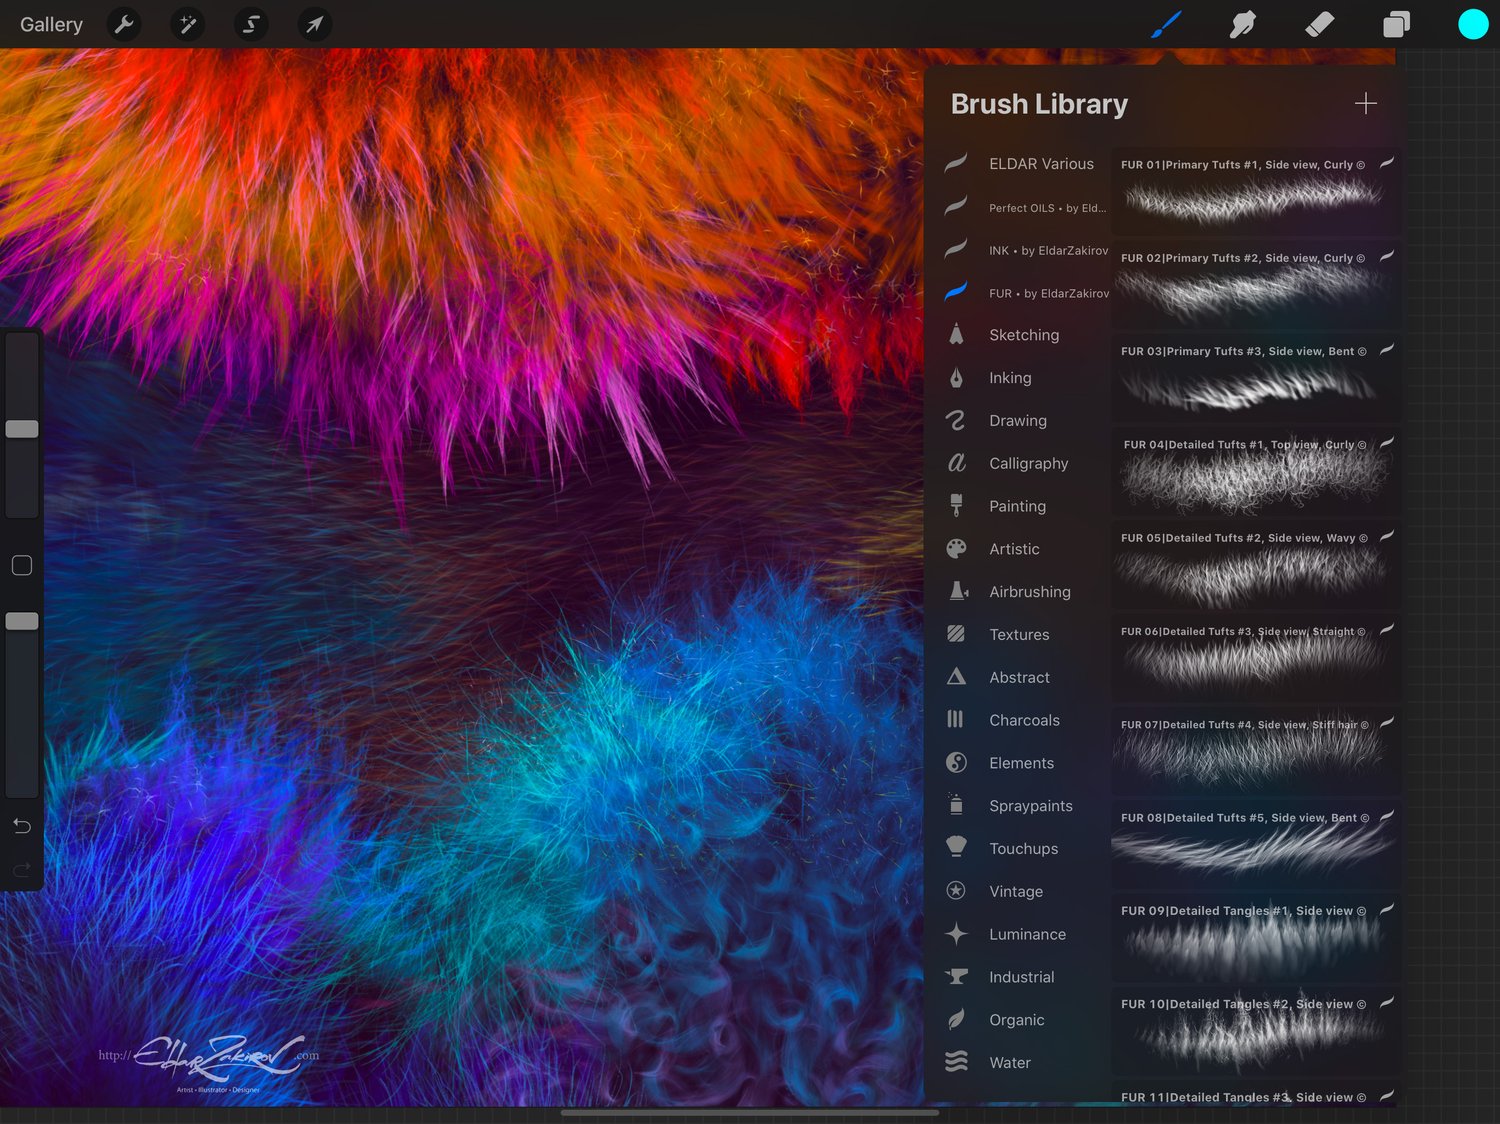
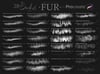
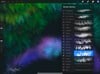
Realistic FUR is the realistic brush set for painting animals or furries, original characters with fur, and other painted woolly and fluffy creatures.
The brushes depicting fur from the side view (brushes #2, 3, and 8) offer two options for each: left- or right-handed hair growth. Therefore, there are actually three more brushes in the set — 31.
■ You receive in the ZIP archive (40.7 Mb):
- FUR_by_EldarZakirov.brushset— the file containing the FUR brushes for Procreate;
- Realistic FUR for Procreate — some tips and notes.pdf — the PDF file containing some tips you see below to have them on hand;
👇 See the demo VIDEO of HOW they work 👇
Please don't be confused by the video showing the work in Photoshop: FUR brush sets, brush behavior across various software products, and how to work with them — I made them identical:
■ Some useful tips and notes:
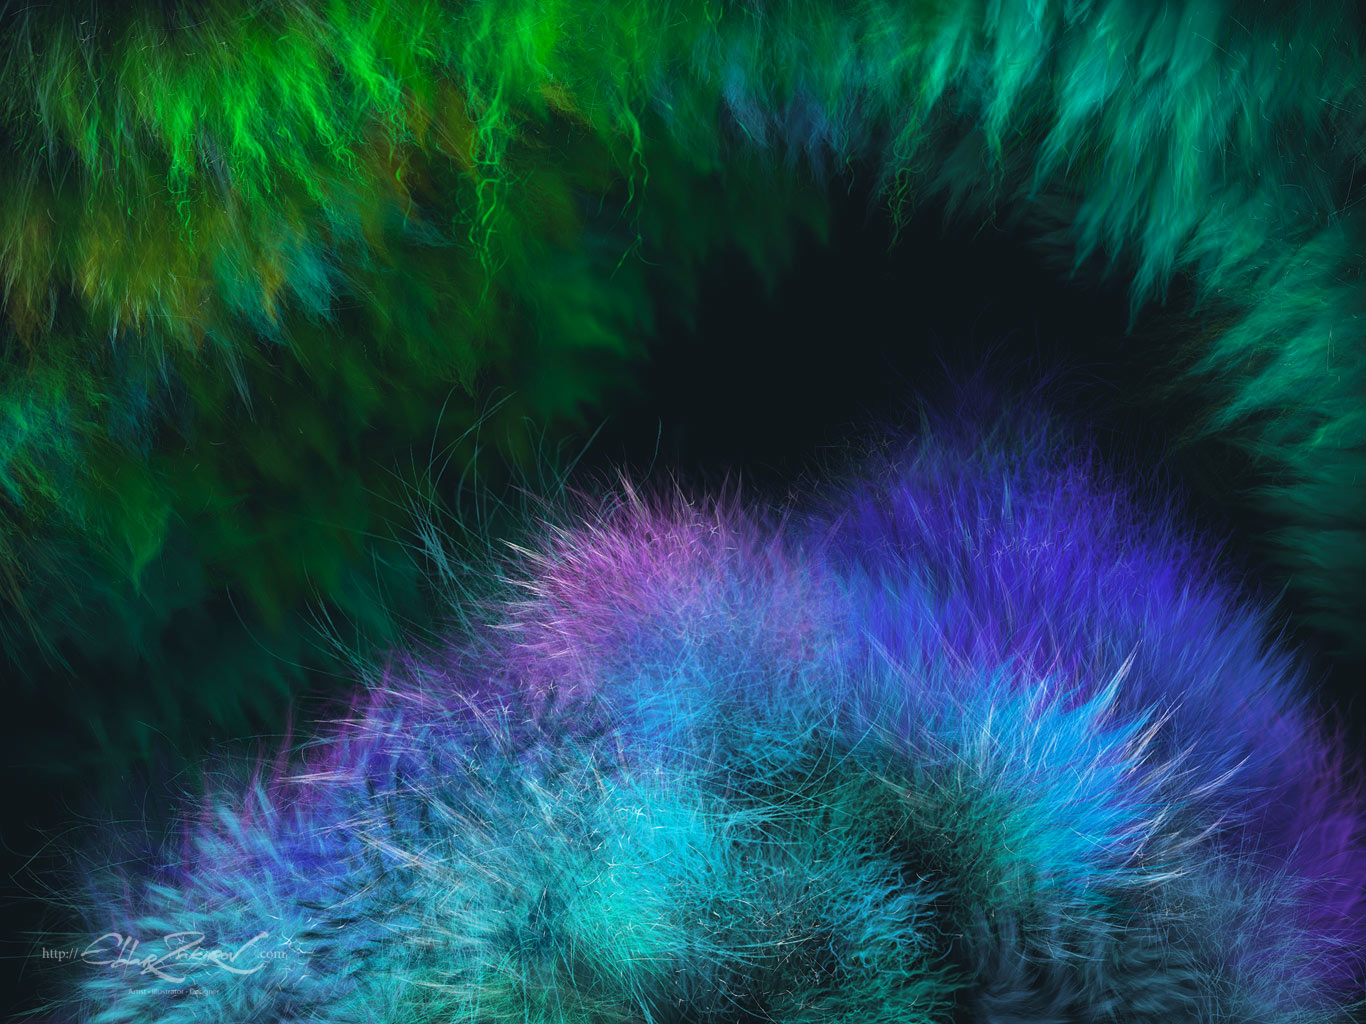
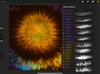
• Start coloring with a neutral, halftone local color, then shade it according to the volume and lighting, then add layers of the fur with colors a bit lighter than the underlying shading.
• Try placing basic shading with a less detailed brush, hard or soft, and then put the fur strands above, according to the form and lighting.
Then, put the fur strands above, according to the form and lighting.
• Make some areas deeper (darker) — shaded areas among strands near their roots — or set some light and highlight accents.
• Play also with layer and brush blending modes, such as Soft Light, Screen, Multiply, etc.
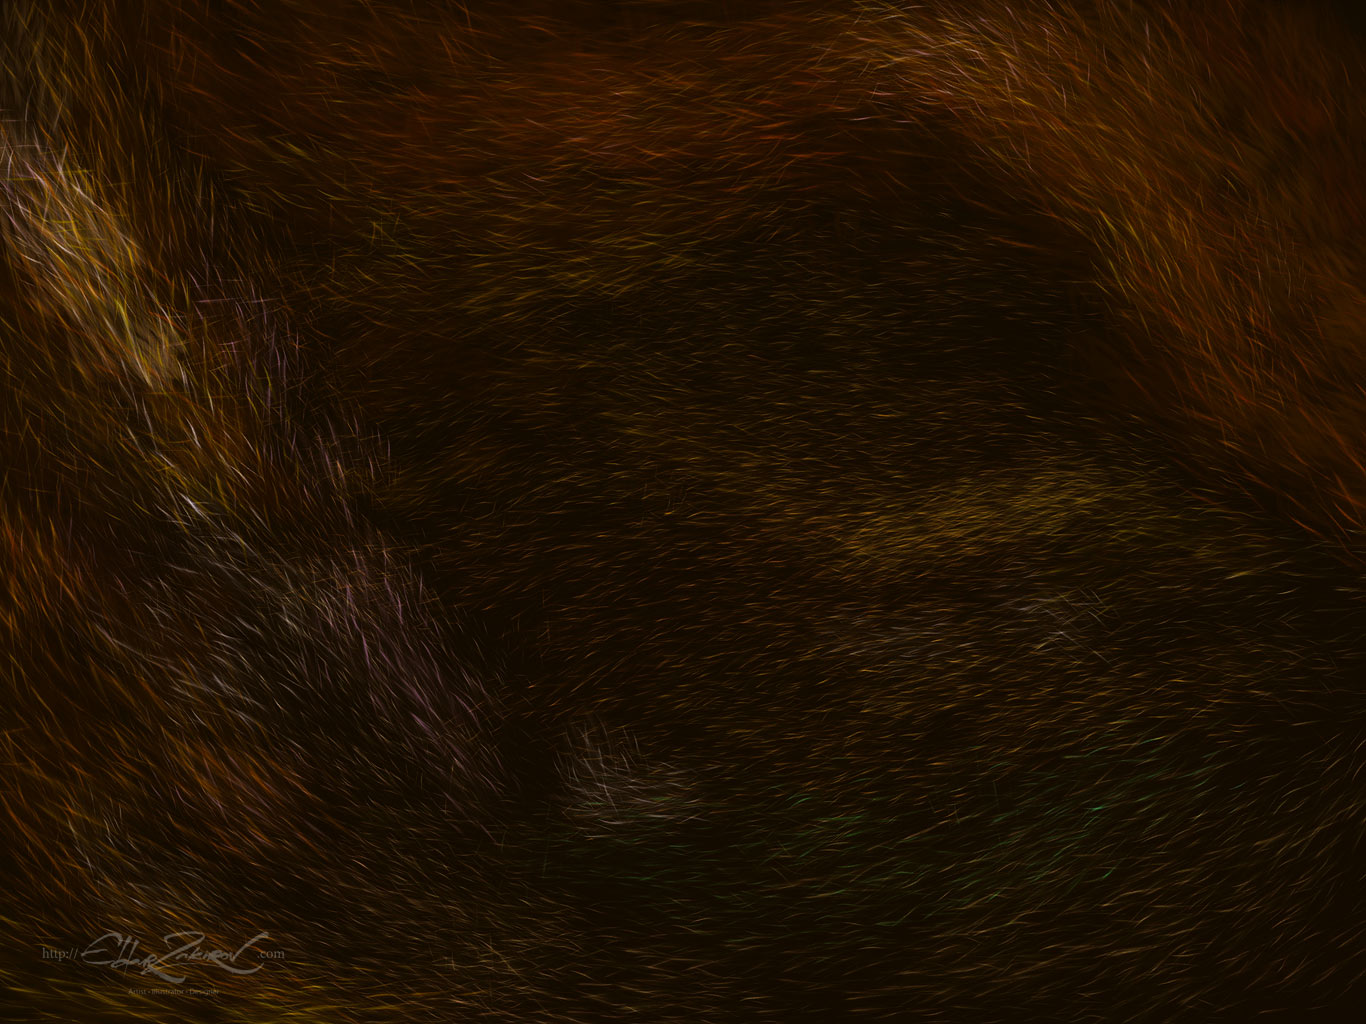
• Go from common to partial shapes: First, specify the main volumes, lights, and shadows, then go to detailing.
• In the end, I'd add some of the sharpest strands or hairs, maybe blur or darken some of the underlying strands, and light up some of the most visible, highlighted ones. Try to make some of them softer or sharper, darker or lighter in finish or work — a kind of post-processing. Add some highlights.
• As said before, brushes # 2, 3, and 8 have two options for the direction of left and right hair growth.
No PayPal required:
👉 Get it instantly HERE (card, Apple Pay, Google Pay)
💳 PayPal is still available above if preferred (Add to cart or Buy now button) ↑
■ Copyright and License:
• Please note: There are versions of this brush set for several software products: Photoshop, Clip Studio Paint, Procreate, and Affinity Photo / Designer.
You’re looking through the PROCREATE version page.
Please be sure that you’re buying the right one. I don't accept returns, exchanges, or cancellations. But don't hesitate to contact me if you have any problems with your order.
• Cannot be resold, shared, or provided to third persons entirely or partially.
• NOT released under the GPL (General Public License) or any variations.
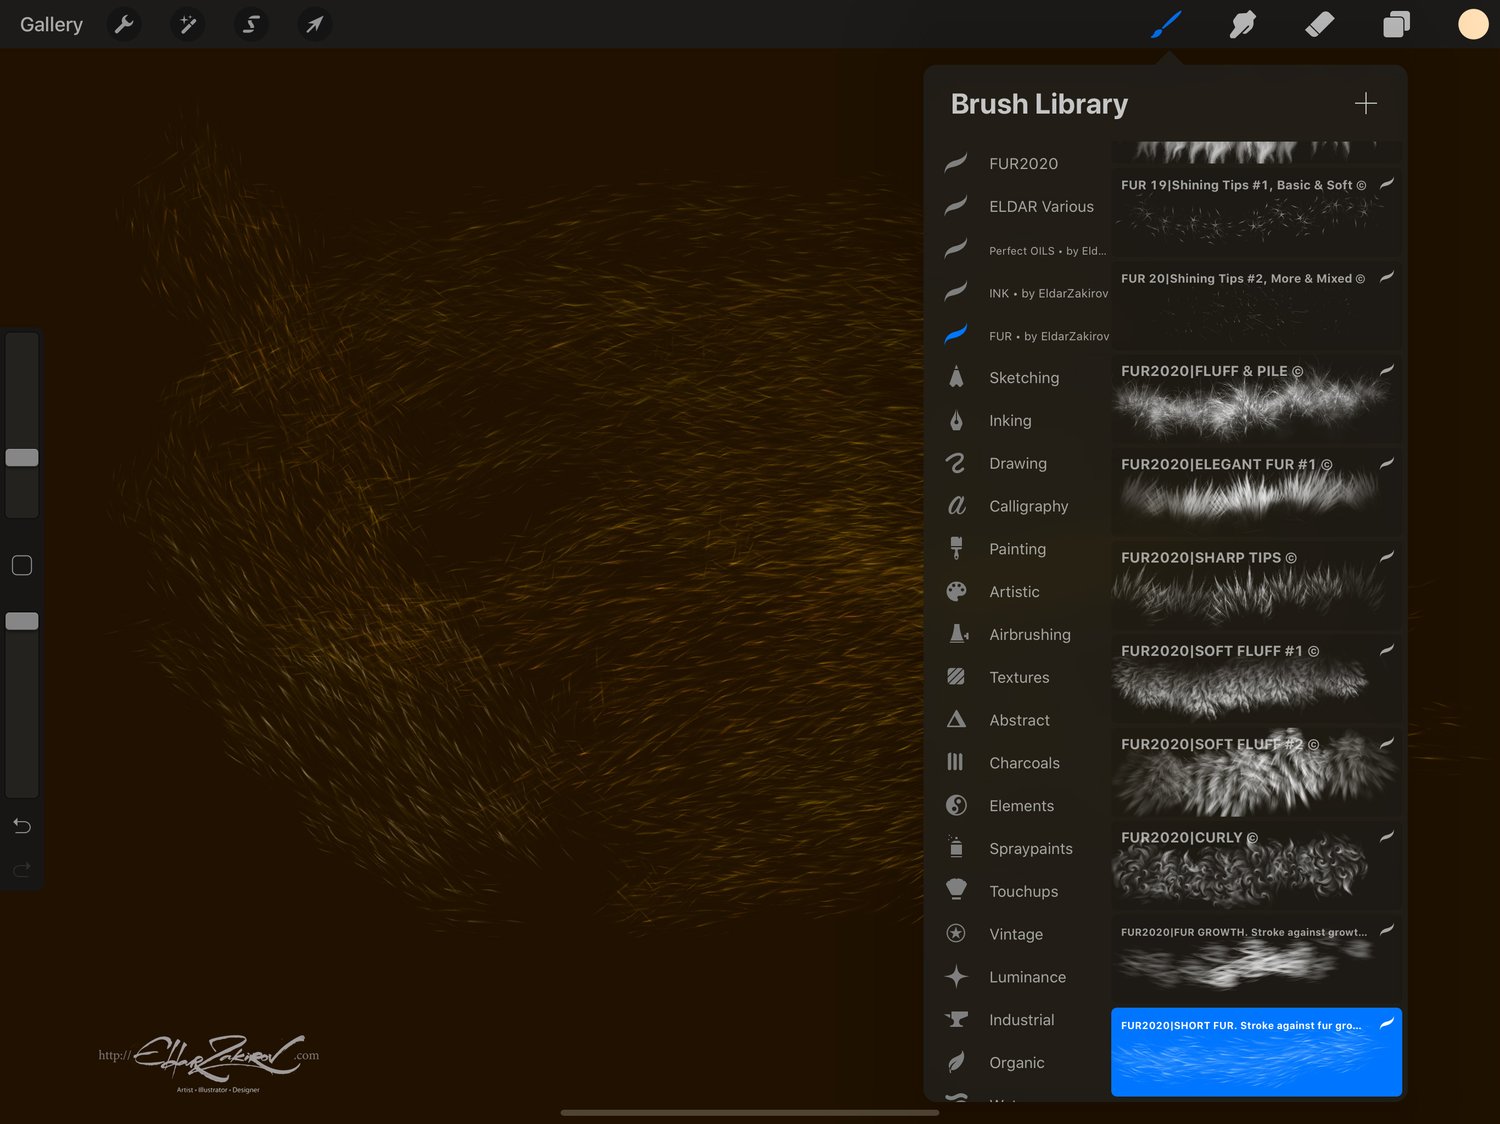
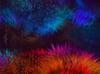
■ How to install the brushes:
- Just go to the brushes and tap the '+' sign at the top, right next to the 'Brush Library' title (or choose any of the installed brushes), then choose 'Import' at the top of the Brush Studio window.
- Then specify the downloaded brush set file (FUR_by_EldarZakirov.brushset).
- Voila! The folder with the set will appear at the top of the brush category list.
- Read more at Procreate Website >>>