
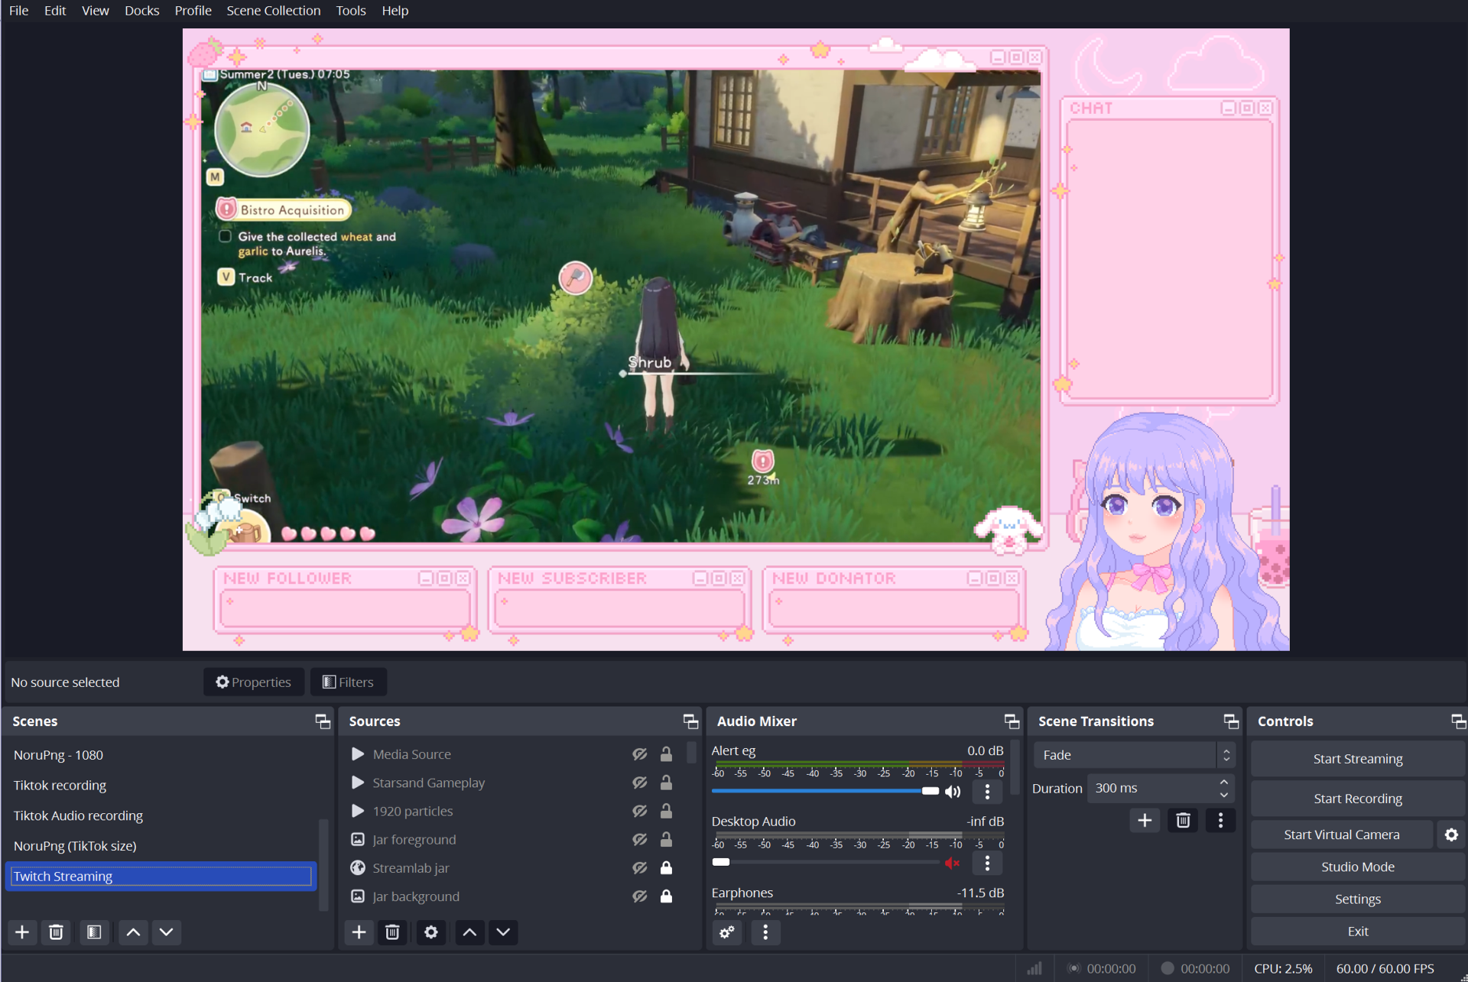
So you’ve got your hands on a shiny new overlay set, and you’re ready to level up your stream aesthetic! Setting up scene assets in OBS Studio can feel a bit daunting if you're looking at a blank canvas, but it’s incredibly straightforward once you know the workflow.
Prerequisites Before You Begin
- OBS Studio installed and updated to the latest version.
- Your downloaded overlay set unzipped/extracted into a permanent folder on your computer. Important: If you move these files later, OBS won't be able to find them!
'Full Screen Overlay' Guide
This step-by-step guide is for setting up my Overlay Sets (from my Etsy) in OBS Studio. 'Full Screen Overlay' refers to the premade 1920x1080px layouts included as part of my overlay sets.
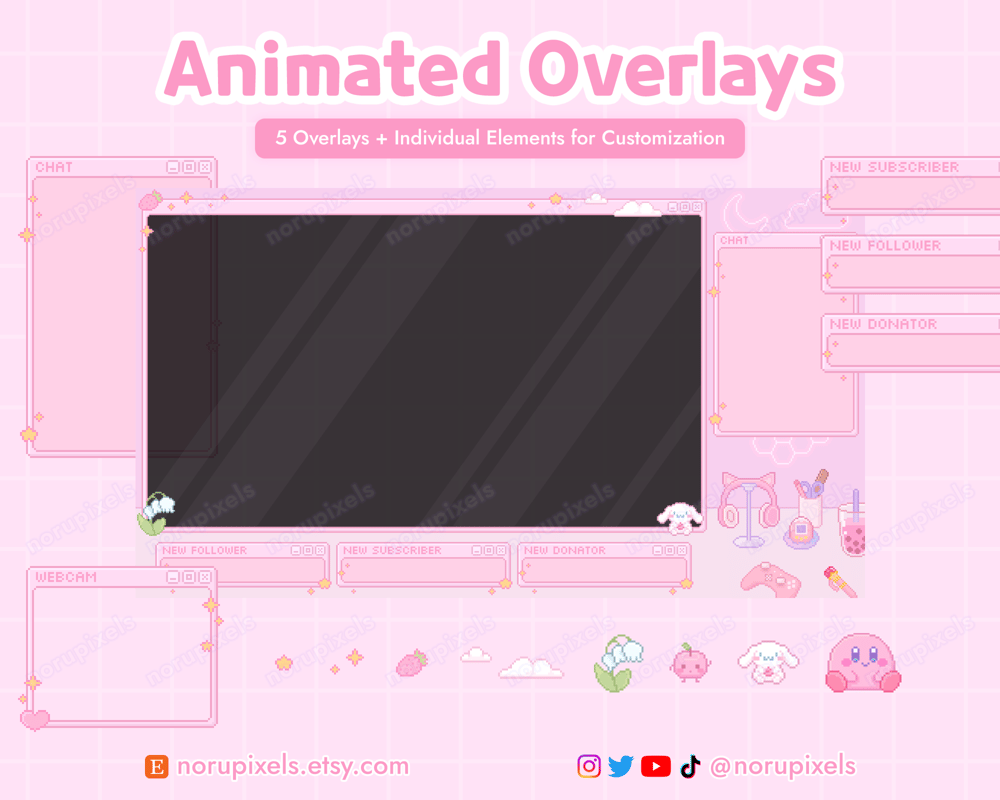
1. Create a New Scene: Launch OBS Studio. Locate the Scenes panel (usually in the bottom-left). Click the + (plus) icon, name your new scene something clear (e.g. “Just Chatting” or “Main Gameplay”), and click OK.
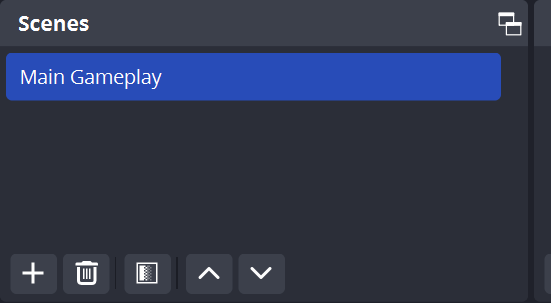
2. Add your Full Screen Overlay: With your new scene selected, move over to the Sources panel next to it. Click the + icon.
- If your overlay is a static image (PNG/JPG), select Image.
- If your overlay is animated (GIF/WebM/MP4), select Media Source.
Name the source (e.g. “Main Overlay”), click OK, browse to find your file, and hit Open. If you are using my overlay set, the 1920x1080 overlays can be found in the folder named ‘_Full screen overlays’.
Important for Animated Assets: If using a Media Source, make sure to check the box that says Loop so your animation plays continuously and doesn't play just once!

3. Layer your Gameplay Capture & Webcam/or Vtuber: Order matters in the Sources list. Because these are full screen overlays designed with built-in windows for your content, you need to layer your sources correctly:
- Add your Game Capture (for gameplay) by clicking the + icon.
- For Webcams: Click the + icon and select Video Capture Device.
- For VTuber Avatars: If you are using software like VTube Studio, click the + icon and select Game Capture (or Spout2 Capture if you use the Spout plugin). Make sure to set the mode to “Capture a specific window” targeting your avatar software, and check the Allow Transparency box so your background stays clear!
Arrange the Layering in Sources: OBS reads sources like a stack of paper. Drag your Main Overlay source to the very top of the list so it sits above your gameplay and webcam layer. If you're using a vtuber, ensure the vtuber source layer is above the Main Overlay source layer.
'Individual Elements' Guide
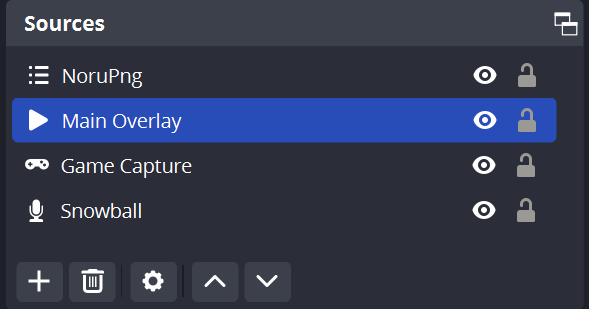
If you prefer to customize your stream layout using the individual elements included in my overlay set, this guide will show you how to import those assets as separate source layers. (Note: This guide assumes you have already created a Scene in OBS Studio.)
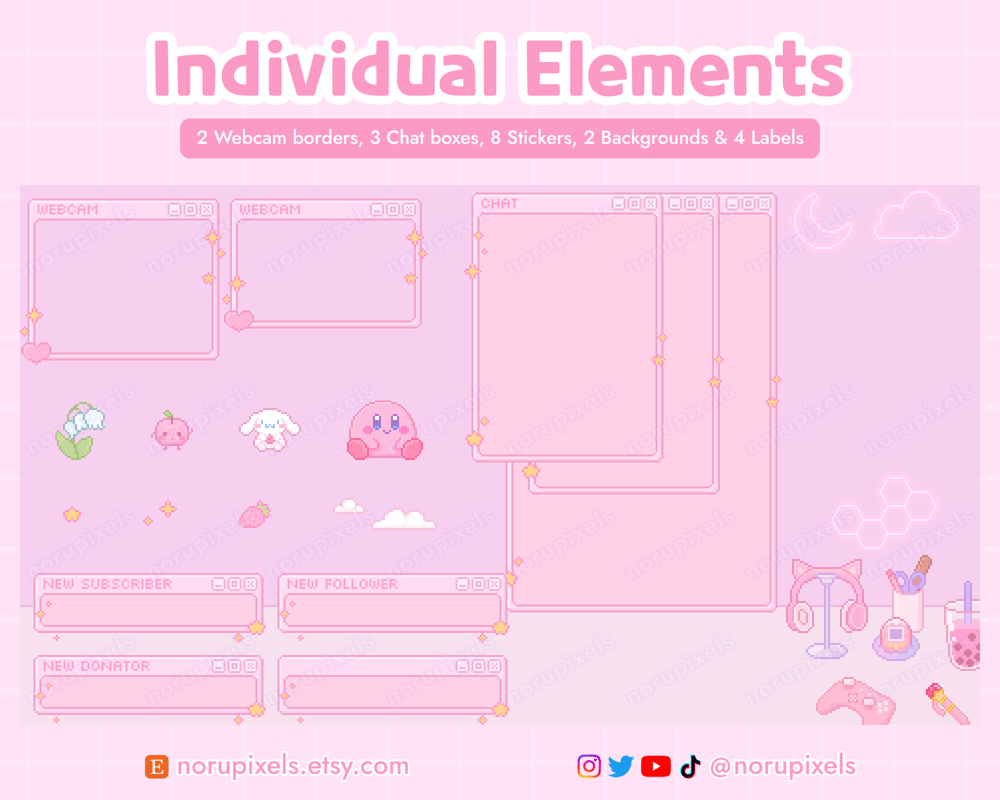
1. Add your Background: With your desired scene selected, move over to the Sources panel. Click the + icon.
- If your background is a static image (PNG/JPG), select Image.
- If your background is animated (GIF/WebM/MP4), select Media Source.
Name the source (e.g., “Background”), click OK, browse to find your file, and hit Open. If you are using my overlay set, the background(s) can be found in the ‘Background’ folder.
Important for Animated Assets: If using a Media Source, make sure to check the box that says Loop so your animation plays continuously and doesn't play just once!
The steps above apply to any other individual elements—such as stickers, chat boxes, and labels—that you would like to add to your layout. Simply import them one by one using the same method.
Below are a few quick tips for adjusting and editing these elements once they are in your scene!
Tips for Your Setup
- How to move and resize: Select the source layer you want to edit. In the preview window above, the source will be highlighted with a red border. Click and drag anywhere inside this box to position it exactly where you want it. To resize the element, hover your cursor over one of the red square corners until it changes into a diagonal arrow, then click and drag.
- How to reset your layout: If you make a mistake and want to reset an element's position or size, select the source layer, right-click it directly in the preview window, and go to Transform > Reset Transform.
- Lock your layers: Use the little padlock icons next to your sources. It saves an immense amount of frustration when you're trying to click on a specific element and accidentally drag your entire background out of alignment.