
Styling for food photography doesn't have to be difficult. Everyone can learn how to style - even those who think they can't. I have a background in graphic design and find that if I teach people how to style using the basic elements of design, it makes more sense and not just some random process. So, here are my 5 top tips for styling for delicious food photography.
#1. LEARN HOW TO STYLE LIKE A DESIGNER
You don't need to sign up for a whole course in design, but if you learn the basics such as lines, shapes, balance, color, space, and proportions, you can create the most visually exciting images. Together, these elements go hand-in-hand, and not difficult to learn and apply with a little practice.
Great food styling relies on harmony within your design. When all the basic design elements are balanced and working together, harmony will result. Lines, shapes, and forms create the basic structure to design. They can be implied or not. The most important thing to remember is that the human eye always instinctively follows lines.
Proportion refers to the scale of a particular object in relation to the other elements. It is often used to establish the focal point of the overall image and can also make a layout look cohesive and attractive.
There is a strong emotional connection between proportion and how we feel about a visual that we see. Correct use of proportion will create harmony and balance in a design. It will also establish what is called ‘hierarchy’ between objects. In other words, what the viewer’s eye will go to first.
#2. USE NEGATIVE SPACE
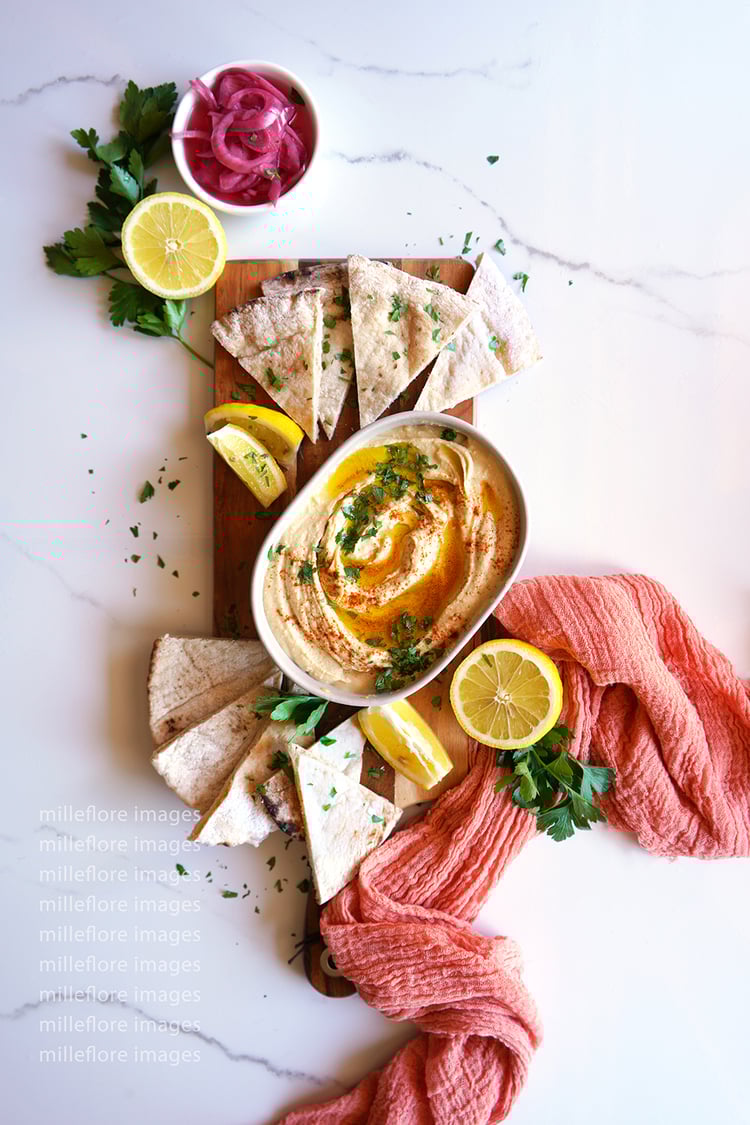
Negative space is the area in your composition that has no objects. Space is a critical element in design and food styling because it can make your food stand out - and that is what it is all about.
Space can make objects look larger by adding emphasis and by bringing them to the forefront, allowing the rest to recede. Space can guide the viewer’s eye and help create visual balance, and interest. Without space a design could easily start to look cluttered, unless of course, other elements are used to counterbalance this. But if you need a clean and uncluttered aesthetic for a particular food, then careful placement of space is absolutely necessary. This works best with a complex looking food or one that is very colorful.
Ultra closeups of food can look brilliant and even delicious but they should not be the main photograph you post to your social media if you want to stand out from the crowd and grab fast-scrolling viewers' attention. Stand back a bit when taking your photograph or shooting video and allow more space to create an invisible frame around your composition to showcase your dish.

#3. STYLE FOR CAMERA ANGLES
There are three main camera angles to shoot stand-out food photography. Each one has a specific purpose, and each one is styled differently with different use of props and backgrounds to convey that purpose:
- The 45-degree angle
- The straight-on shot
- The overhead or flatlay
The overhead or top-down angle is best used for flatlays, storytelling and top textures. The 45-degree angle creates a three-dimensional view and allows for styling layers. It also replicates what the viewer sees when looking down at their plate. The straight-on camera angle is best used for height, action hand-in shots and side-lighting highlights.
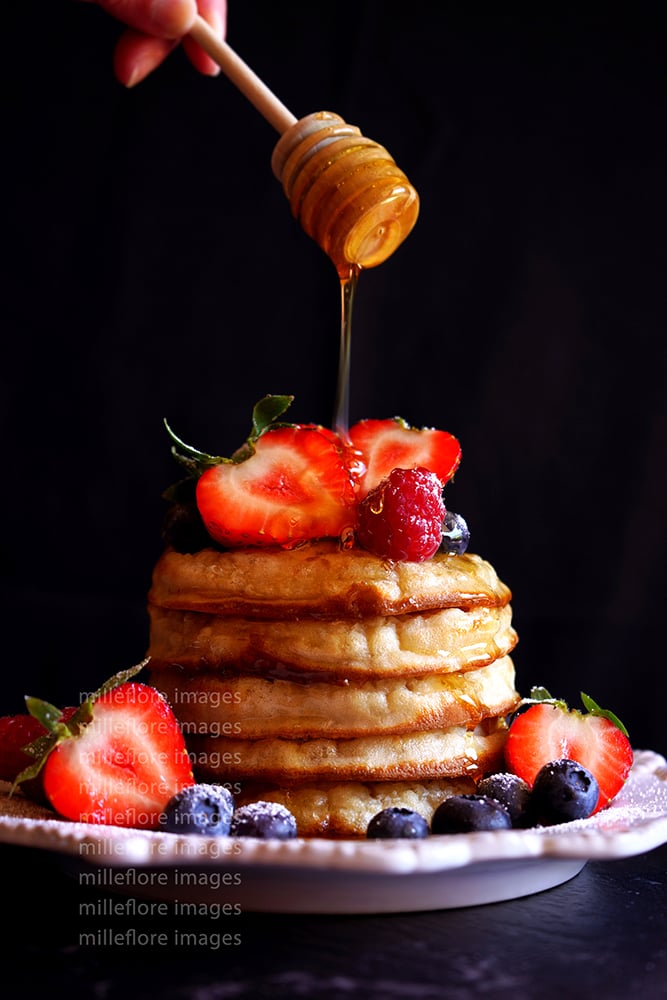
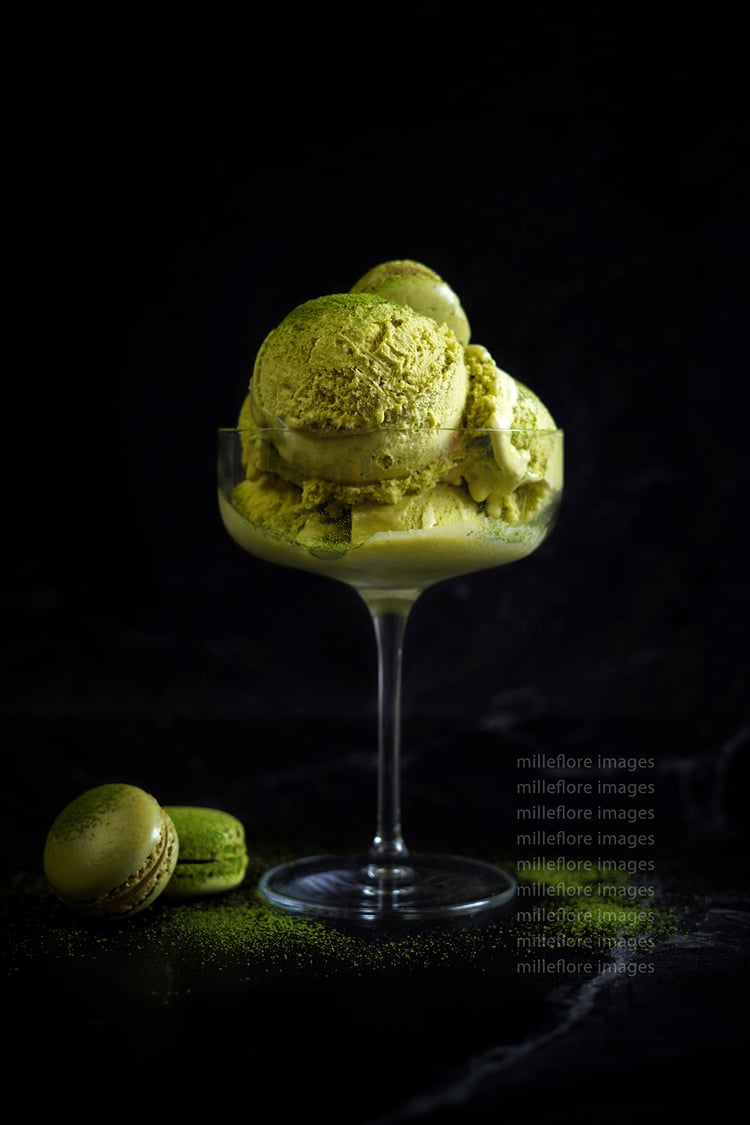
Straight-on camera angle food styling emphasizes symmetry, height, and structure, making it ideal for layered dishes, stacked items, or anything with vertical appeal. This angle mimics the diner’s eye level, creating an intimate, inviting perspective. Use props sparingly and keep backgrounds clean to avoid distraction.

The basic principles for 45-degree angle shots are similar to straight-on compositions, but you have a slight difference here: another dimension! Because your photos are now visually three-dimensional, you should capitalize on that. You can now add three layers, or even four, to your layout to add more authenticity. Your main subject should be your hero, so layer your styling by adding out of focus objects at the back and scatter small props and/or ingredients in the foreground. Use this type of shot to show the ingredients used in making the dish or to display servings, one in focus in the front and one out of focus at the back.

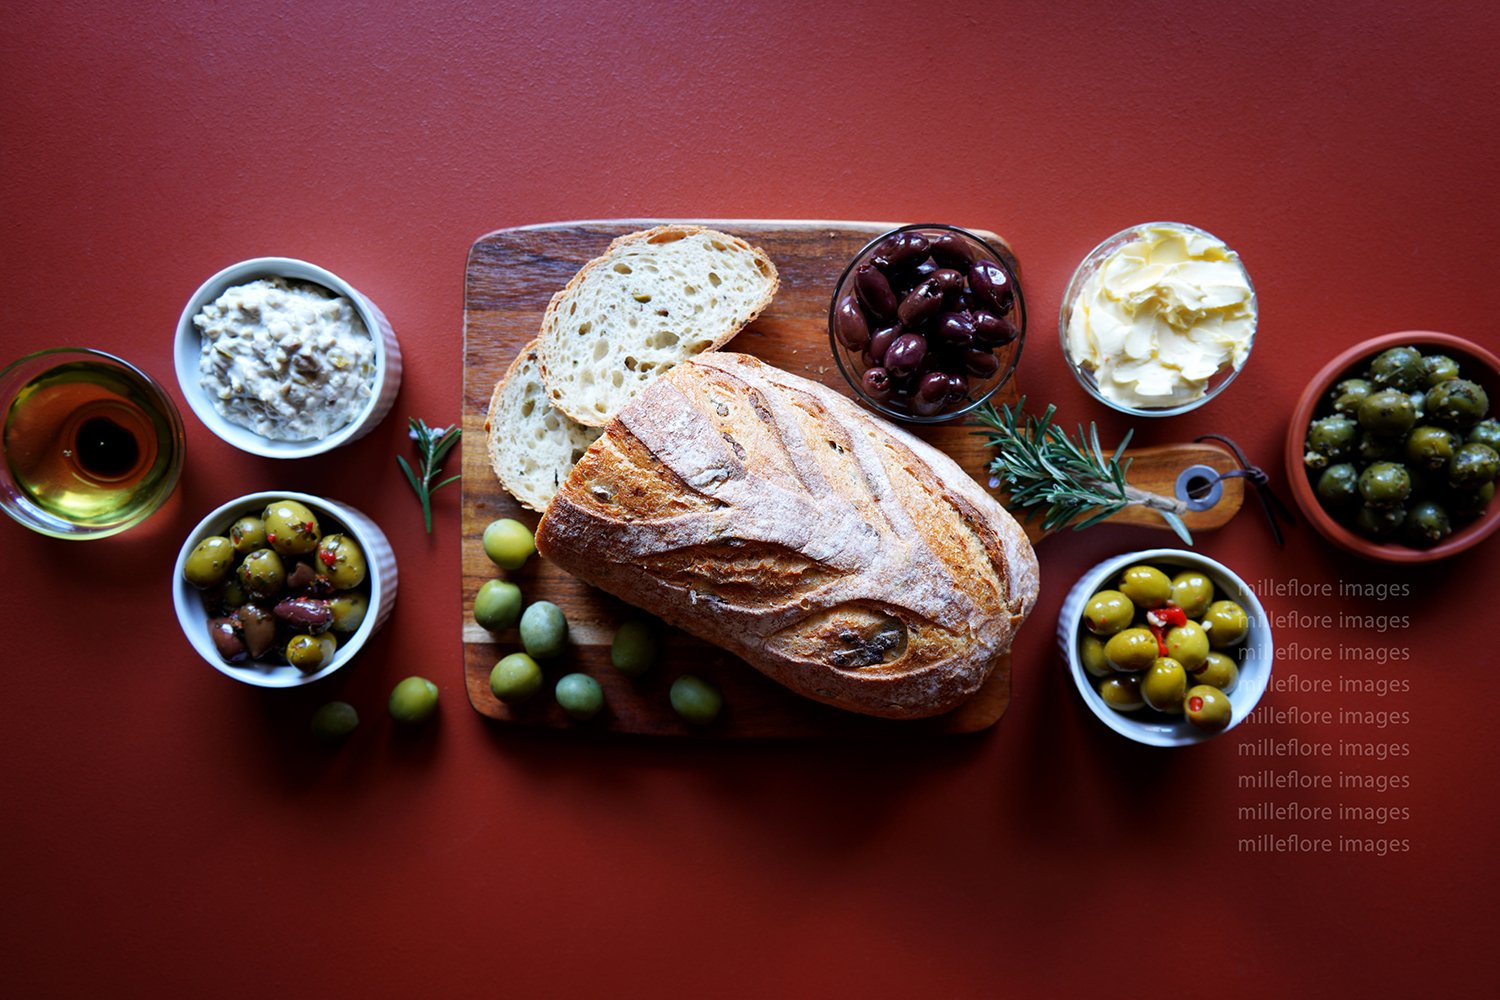
Overhead food styling is one of the most popular and versatile approaches in food photography. It offers a bird’s-eye view that captures the entire scene, making it ideal for flat lays, table spreads, and dishes with intricate details or vibrant ingredients.
This angle emphasizes composition, symmetry, and color harmony, allowing you to showcase multiple elements at once, from the main dish to the supporting props. Successful overhead styling requires careful planning, including balancing textures, creating visual flow, and using negative space effectively. When done well, it creates a clean, inviting image that draws the viewer in and tells a cohesive, mouthwatering story.
Learning these three angles and how to style for each will give you all the basics you need to know to create stunning photographs.
#4. CREATE AUTHENTICITY TO GRAB VIEWER'S ATTENTION
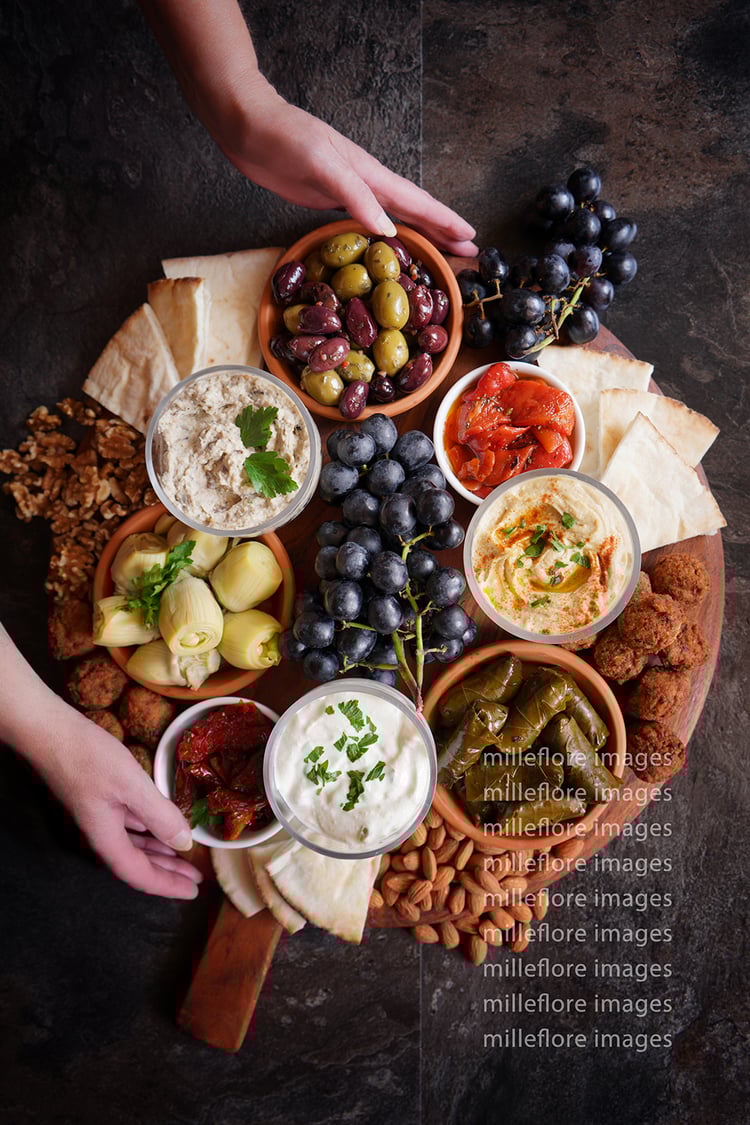
Viewers are subconsciously attracted to photos that have that added human touch. Adding 'movement' brings energy to your shots, and make your photos feel real.
The hands-in photo is your action shot. Use your hand in some natural action when eating or serving the food to make your audience feel invited to the table. This is another popular shot by food photography buyers and almost a must for your blog. Action shots add authenticity to your photography and therefore creates more interest for your viewers.
Make your setup as natural as possible. Scattering small ingredients, pouring sauces, drizzling syrups, scrunching up napkins, breaking up bread rolls can all assist in bringing another authentic dimension to your scene.

#5. DEVELOP YOUR OWN SIGNATURE STYLE
Leaders never became leaders by following the crowd. Once you have mastered the basics, it is time for you to stand out from the crowd ... and that can only happen when you develop your own style.
- Mood and Aesthetic. Start by choosing the emotional tone you want your food photography to convey: rustic and earthy, polished, moody, bright and airy, or modern and minimal.
- Choose a color palette to convey this mood. Colors convey emotion and help your work stand out.
- What stories do you want your photos to tell: comfort, celebration, vintage, simplicity or romantic?
- Develop your signature style through props. Think of props as characters in your scene and match them to your story. You can also start by finding one beloved prop, a vintage plate or a beautiful glass, and build your signature around that - just like you would design a room around an heirloom rug.
Developing a signature style can help promote your work and increase your following. Become an identity who's work people want to follow.
Remember: “No one ever made a difference by being like everyone else.” - P T Barnum
Feel free to add your comments below. I would love to hear from you,
Cheers,
Annie,
Milleflore Images
To learn more:
Delicious Photography: The Ultimate Handbook - Payhip
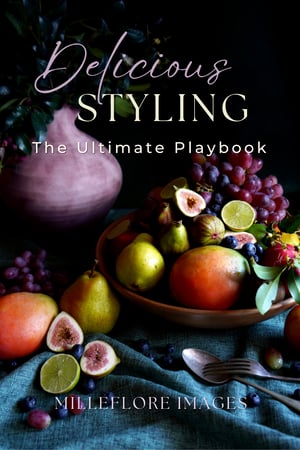
Delicious Styling: The Ultimate Playbook - Payhip
The Delicious Photography Ultimate Styling Collection - Essential 2‑eBook Starter Pack - Payhip

ABOUT THE AUTHOR
Located in sunny South Australia, award-winning photographer Milleflore Images has developed a strong presence in photography since starting in December 2012.
Her philosophy has always been, 'when they zig, you zag', and she went on to sell over 200,000 photo and video licenses over a record-breaking 8 years.
With diplomas in photography and graphic design, and a Bachelor of Business, Annie of Milleflore Images uses her background now to teach others how to create the most compelling photographs to make their images look as delicious as they taste.

Comments ()