Your Cart
Loading

Pottery, the functional art

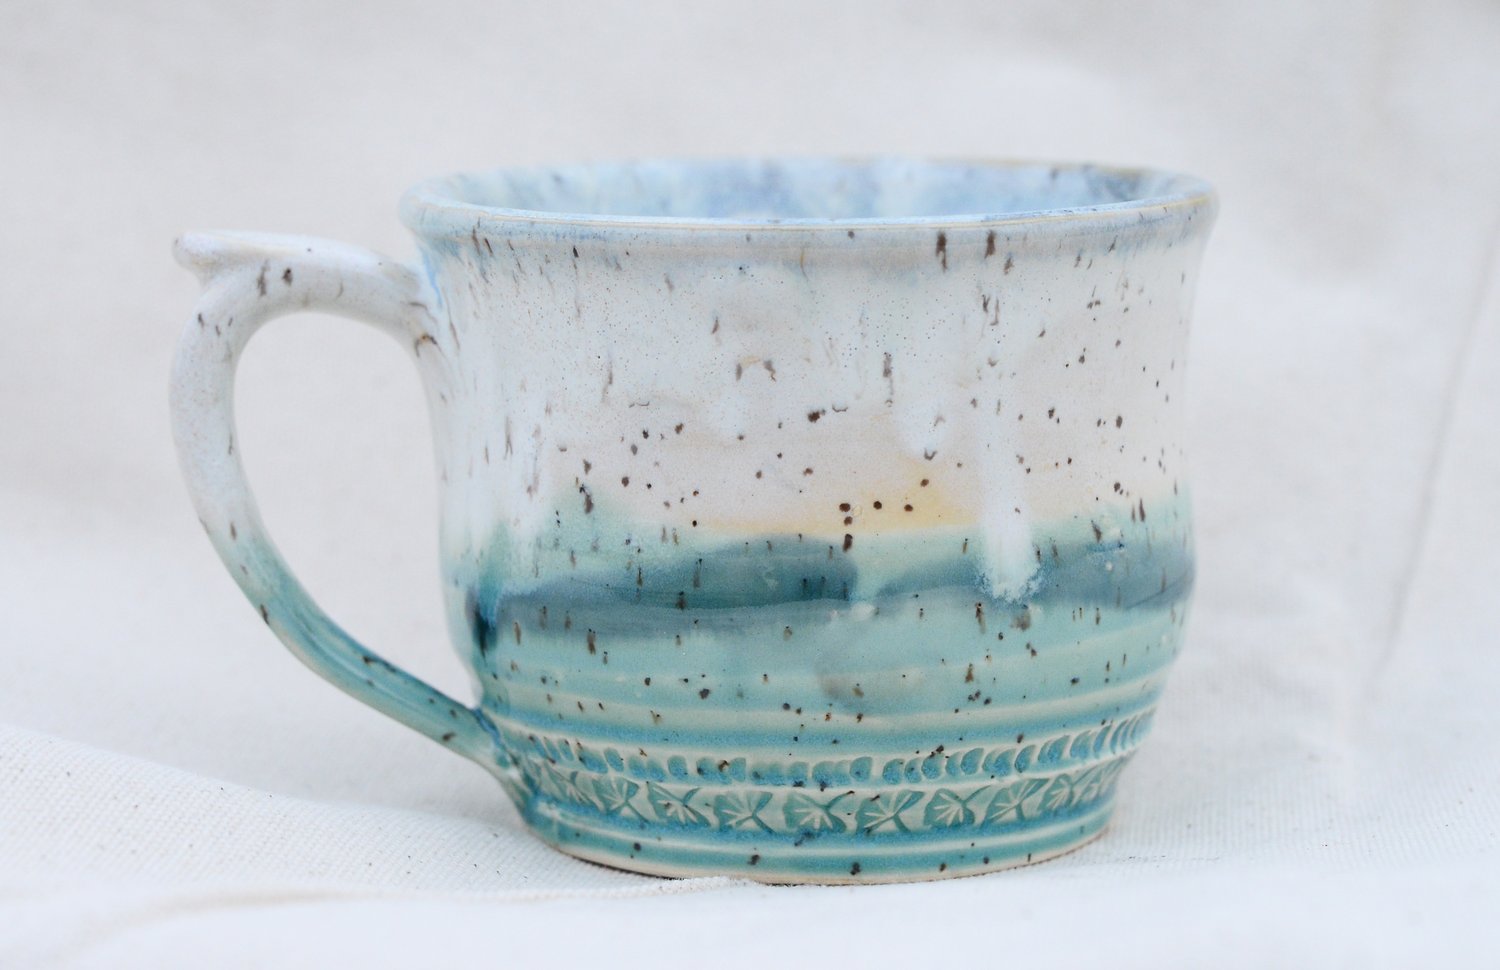
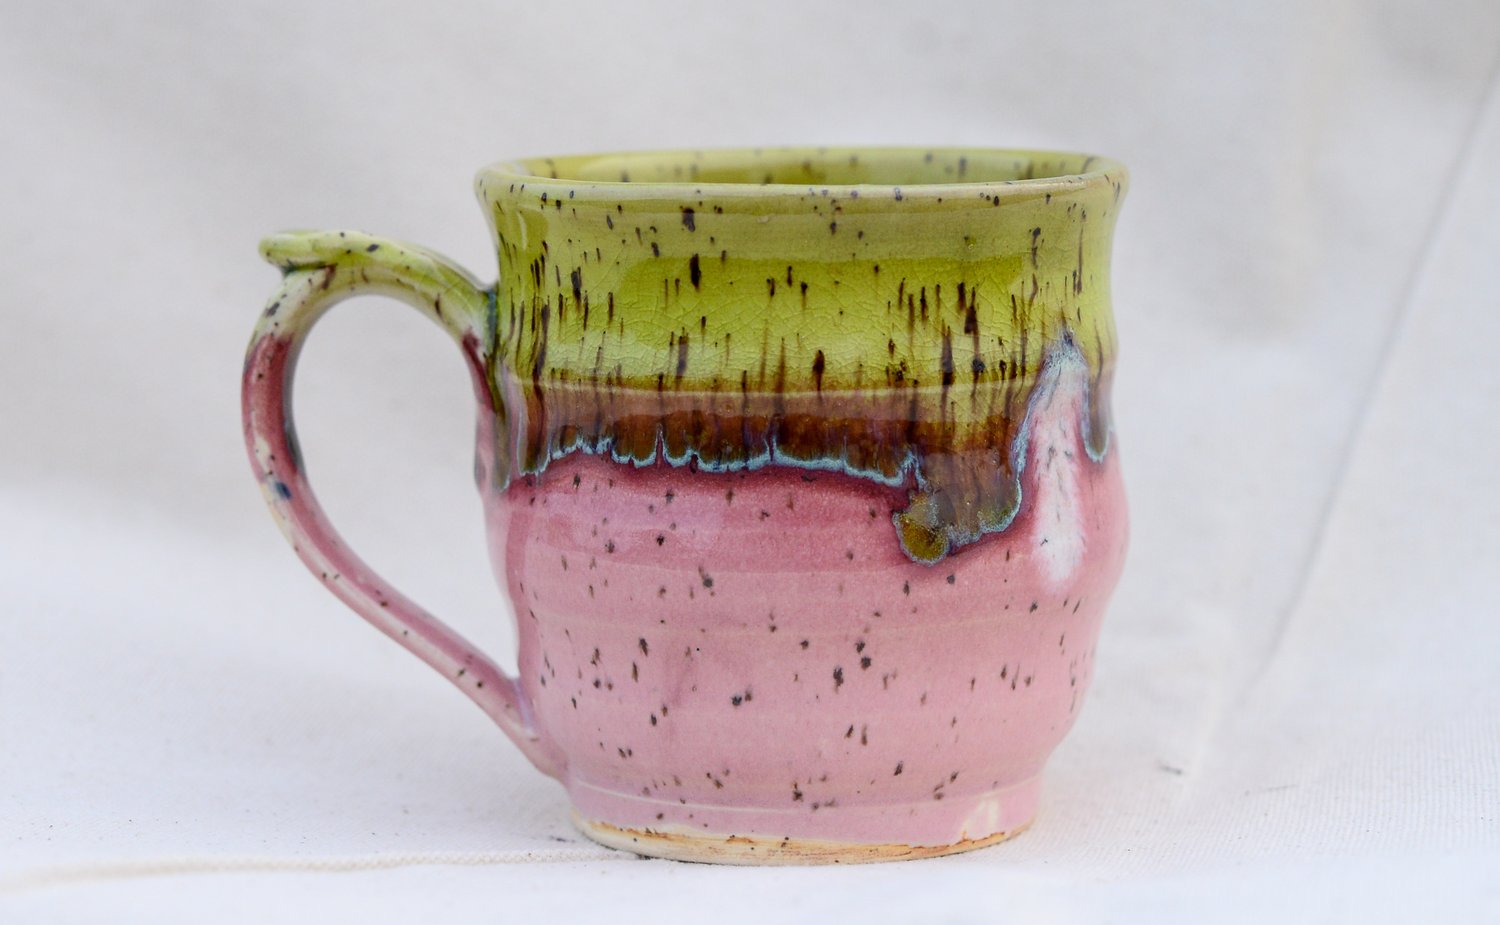
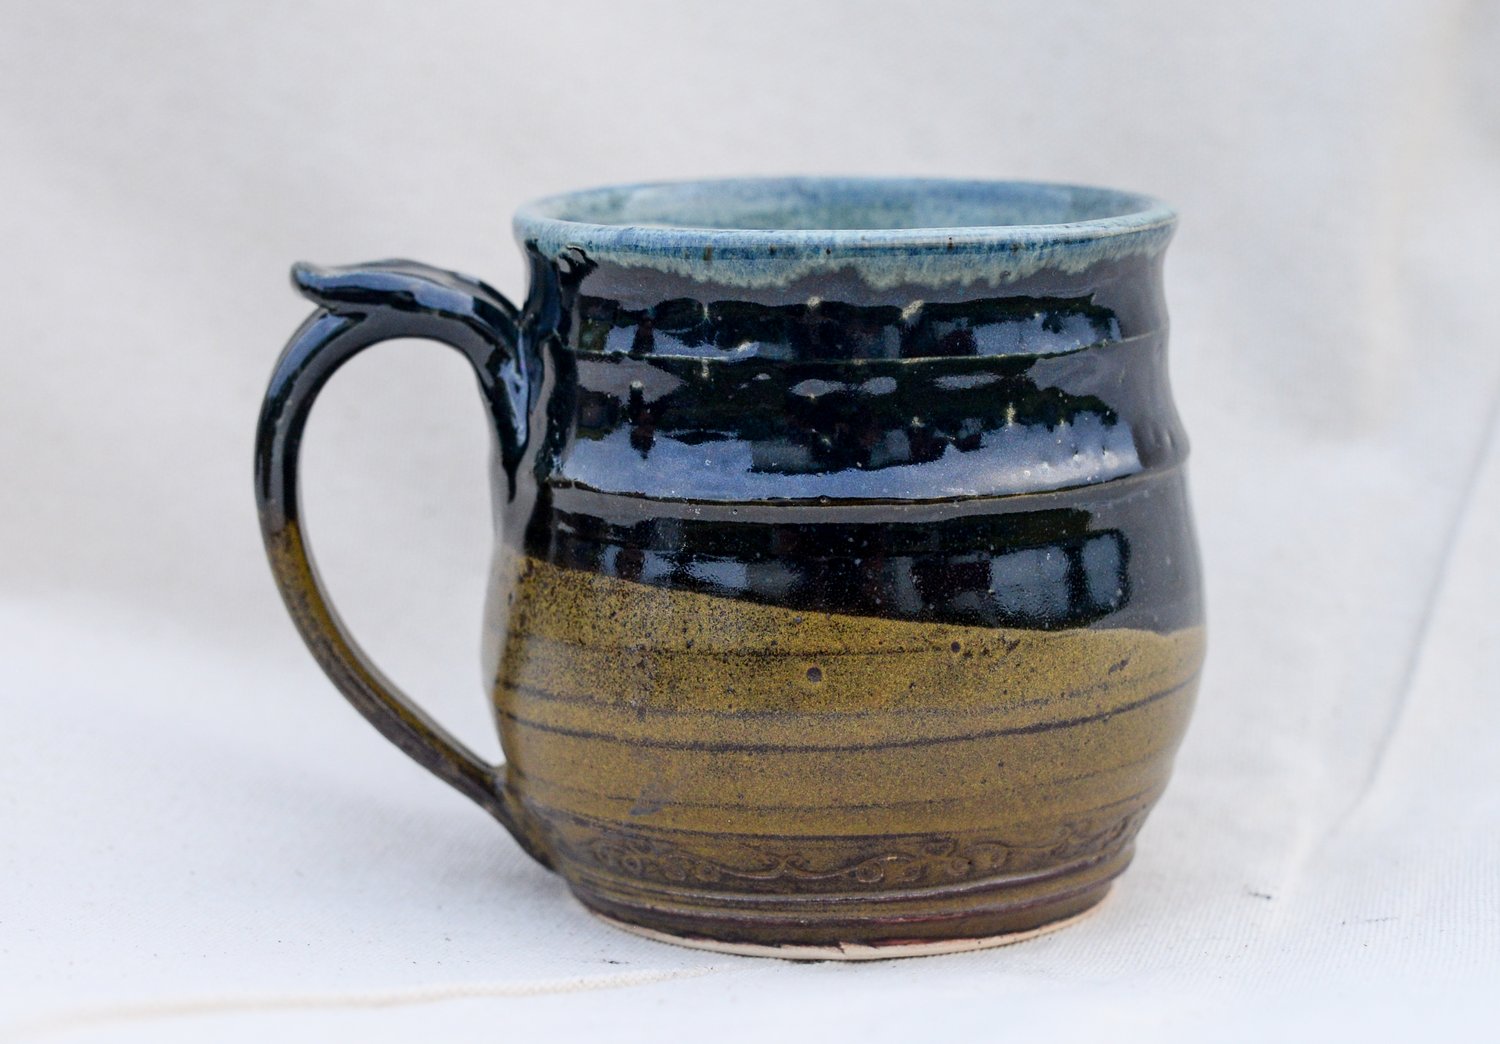
Art enriches our day-to-day lives to the point where it's impossible to go through a day without being impacted by it. Pottery is an art form and craft that is hand-made and one of a kind. It has the ability to be expressive and functionally interactive while achieving a more financially accessible price tag compared to the average traditional painting. A mug is one of the most tactile art forms in use. A good ceramic mug is something that we can snug our hands around while enjoying our beverage of choice. Ceramics have been around for thousands of years, and have been utilized for dozens of applications, including drinking vessels and food storage, cooking, and the elegant decorative vase, just to name a few. Personally, a handmade ceramic mug always brings more satisfaction to every cup of coffee, every bowl of rice, every tall mug of water is more satisfying than when I've used something mass-produced in a factory could ever give. A handmade mug brings a certain individuality and uniqueness to each and every coffee time.

Beginning of the Process

In the present day, pottery is made by thousands of potters from around the world in every culture, each with their unique touch, shape, pattern, and glazing techniques. It can be as simple as grabbing some clay from a riverbank, making a pinch pot, then throwing it into a pit fire. Or complicated blended clays with precisely calculated glaze recipes and applications, some topped off with decals and lusters for an extra special touch. Firing in a kiln at a specific temperature and cooling cycle, often using gas, electric, wood, ground, and Raku, are all common practices when firing pottery; each has its effects on the glazes and finishes.

Materials

Here at Jasperfalls, I fire at a cone 6, or around 2200ºF in an electric kiln. I currently use a Skutt 1027 kiln for glazing and a Skutt 1227 for bisque. When making clay you often have to let it sit and 'ferment' for a few months to a year to help create the elastic character of clay. While I have done this in the past I now use commercial stoneware for convenience and consistency. Often I use Standard brand or Kentucky Mudworks. There are many amazing glaze suppliers out there that many potters use, however, I make all of our glazes in-house, using different food-safe, lead-free, and cadmium-free ingredients. This allows a different 'pallet' of colors than what's widely available at community pottery studios with commercial glazes. Not only does this allow me to have unique glazes, but it also means I can tweak glazes to match my aesthetic preferences. It also lets me know exactly what is in a glaze.

Process

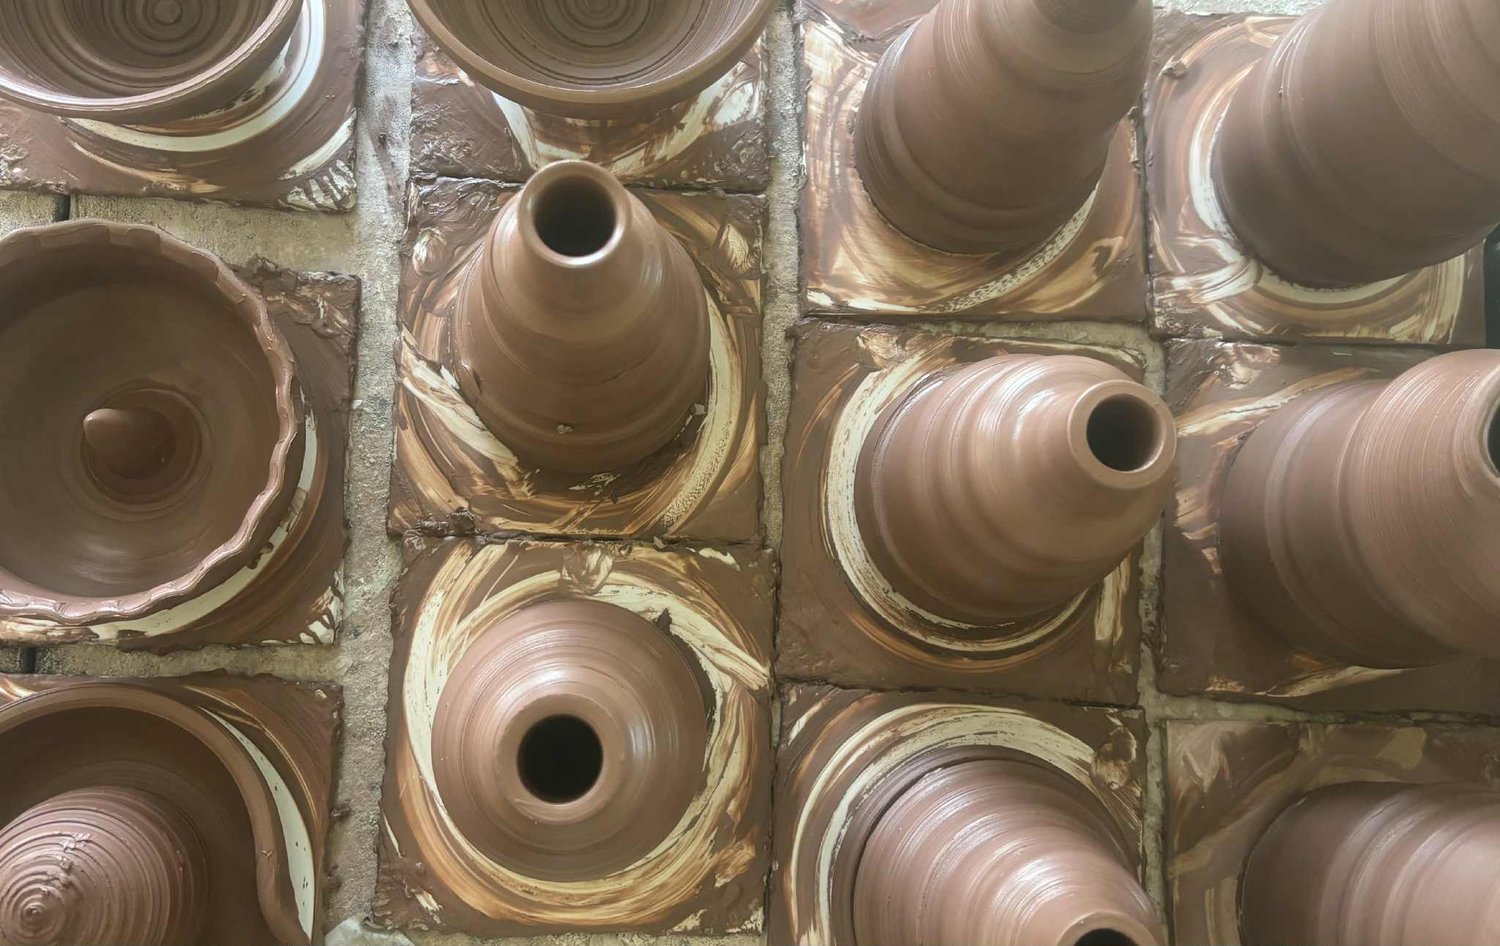
Every item here at Jasperfalls was created by me. I first wedge the clay; some items are at random weights, some items I will have specific weights to get the ideal forms, such as citrus juicers or the height needed for straw mugs. I throw everything on a wheel that is probably around 20-30 years old now. Throwing enough to fill a kiln in one or two sittings but that is only the first step in the process. Left out to dry enough to be able to turn over and trim. This level of dryness is called the leather hard state, dry enough to hold without it deforming, but wet enough to add handles, trim, and apply different hand-built applications if desired. I make sure every item is properly trimmed. Not only does it make the item lighter, but it's always good to show attention to every part of the vessel, and it helps to ensure that the vessel is level to the rim. I pull every handle; it gives a better shape and organic flow that feels better in the hand than rolled, extruded, or cut handles, in my personal opinion. Left to dry for a few more days until it gets to the 'bone dry' state, I will then sand down any imperfections, sign, and then in the kiln for a bisque firing. This hardens the clay into a ceramic in a semi-vitrified state that is sturdy enough to be glazed; at this point, it can not be recycled down into clay again. I mix all of my glazes, often using ingredients such as silica for glossy glazes, or cobalt for blue glazes, or copper for greens. I only mix dip glazes instead of brushing or airbrushing at this moment. Then back in the kiln for the final firing. At any moment, from throwing to trimming, to sanding and firing, to glazing, the vessel has a chance of breaking, exploding, or cracking, or being glued to the shelf by overrun glaze. It's a long process, and it always feels great to see that not only a piece survived the long journey, but also came out as a beautiful work of art that someone would enjoy for many years.

Glaze Types

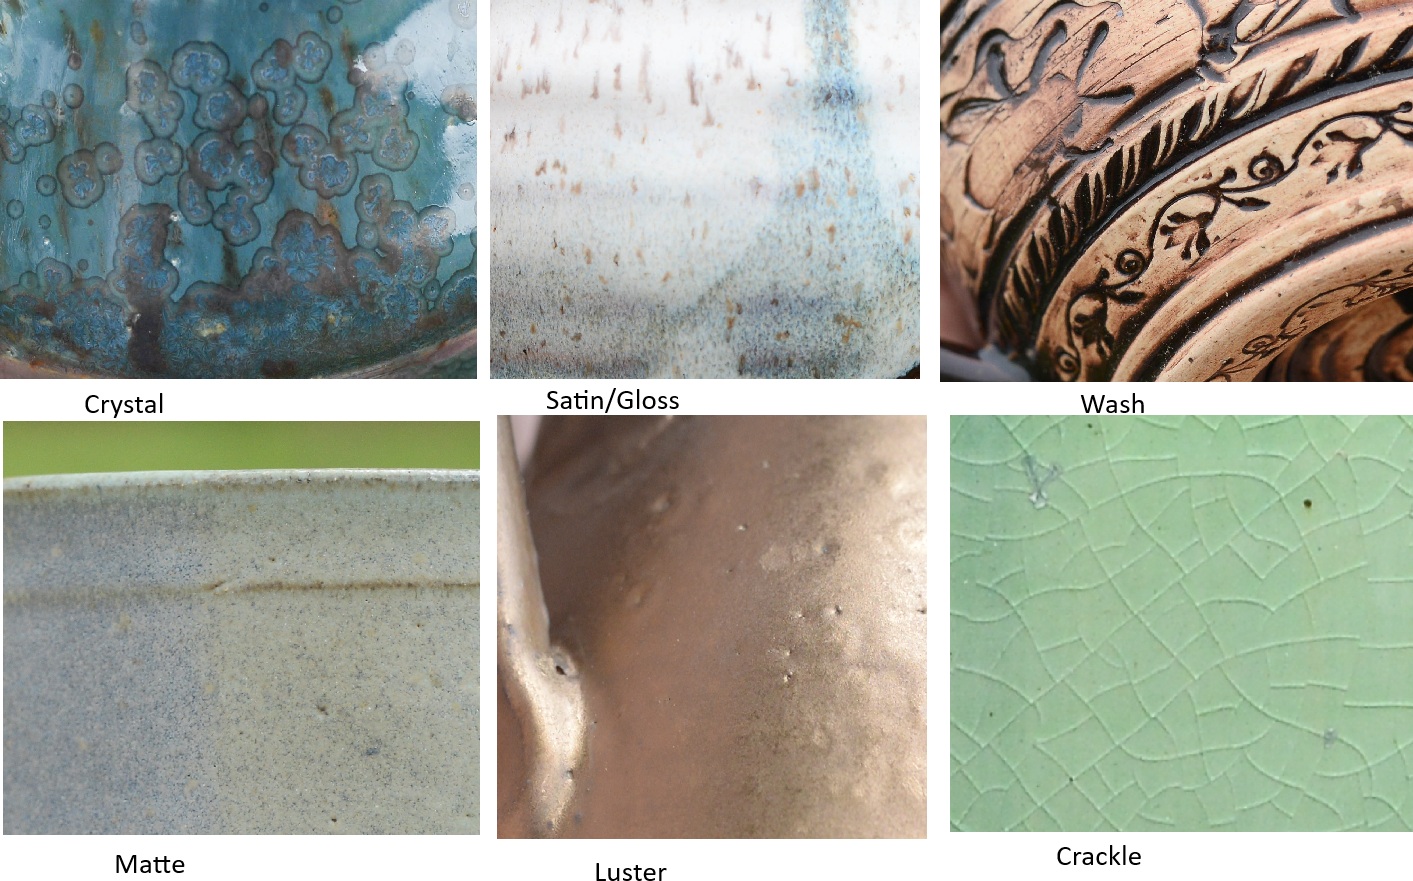
There are many glaze types in pottery, and I love to explore them all. So far, I have only used microwave-safe glazes. I do not recommend any to be used in the dishwasher, but if you do, only the Satin and Gloss mugs should be allowed. I put a food-safe satin/gloss liner glaze in every mug/food-use vessel. Many people debate the food safety of certain types of glazes, such as matte, crystal, crackle, or matalic; most claim it's fine, but since there is doubt by some, anything that falls in that category will stay on the outside which is perfectly safe. Everything I use is lead-free and cadmium-free.


Crystal Glaze is one of the top tiers of glazes, often difficult to get just right. It offers a new and unique style of glaze that many people won't see often. The crystals will form in a slow cooling kiln and will grow at random. These should never be allowed in a dishwasher, and should never be soaked on the outside, especially in acidic environments.


Satin and gloss are the best for food safety and a smooth, sometimes marble feel. I always put a food-safe glaze on the inside of my mugs, often my rutile white. White glazes on the inside are often preferred for aesthetics and allow for seeing coffee and tea strength and level a lot more easily.


Washes are used with a high iron glaze and then washed away, staining and sealing the glaze. Some claim it is perfectly safe for direct food contact, but just incase I only use them on non food contact parts.


Matte glazes are loved by many for their earthy feel, but are a subject of debate; some people avoid them altogether, some worry that since it's not glossy, it can break more easily or harbor bacteria. I haven't found this to be the case just yet. Do not put in the dishwasher and clean well with soap and water. I usually put matte glazes on the outside only just incase, however, when I first started pottery, I put them on the inside as well and used them for a decade or so with no issues. I avoid matte glazes on the inside these days, and usually stick with glossy or satin for the inside now.


Lusters look like metal but are microwave safe (the ones I use, there are many non microwave safe lusters), Lusters are often debated upon about food safety but are often used on mugs by many potters on the outside. The 'danger' is during the actual firing process, but safe once finished. However until further testing is done, I only keep it on the outside on the bottom of the mug, safe to handle, does not leach, but just incase left on the bottom out of the food contact area.


Crackle is another one that brings great visual interest and has been used for centeries, but for some reason, people still debate about the food safety. I'm on the side of it being food safe and have used them for years with no issue. The question lies if bacteria can settle in the cracks. They laser measured the cracks and say no bacteria can fit in it and should be fine and is safe to use. I still only put them on the outside with a food-safe liner. Hand wash only. Crackle glazes do tend to break more easily in a dishwasher.

Handle Types

Handles are a very important part of a mug; if it's not comfortable, you will never use it, defeating the whole purpose. I have spent years researching handles and also exploring other handles people have come up with. Figuring out what works and what may just work as a decorative piece.

***

What you will not find here:

1) "Curly q's" at the bottom of the mug, they often don't come out nice enough to justify. They are supposed to be cute or fancy, but will often come out kind of visually lumpy and throw off where the pinky will land on the mug, making it just in the way. It also gives one more breaking point on the handle.

2) Oversized thick handles meant for the hulk, while yes, this does make the mug more sturdy in the handle area and less likely to break in the handle area, I have seen them take off whole sides of mugs because the weight is just not balanced. Place it down wrong and there goes the whole side of the mug. A mug is often 1/4" thick, those thick handles are often 1-2 inches thick, the weight distribution can cause issues for the mug body, but the handle will be ok. It is also very difficult to hold often causing slipping, or just hard to grip altogether, and it will add a lot of weight to the mug both visually and physically. I often find myself bypassing the handle altogether if the handle is super thick.

3) the super thin whimsical handle that reaches out twice the width of the mug, this is just asking to break, one wrong placement or movement and they will break off in an instant, also when the mug is full, it may not have sufficient strength or balance to hold up the mug without breaking. I often see people 'clawing' the mug just in order to hold it.

******

Thumb-rests, I always see about putting a thumb rest on, it's on about 99% of my mugs. What you will not see me do is putting it on the "correct way'' other potters often say, I use thumb rests as leverage for counterbalance, not something to push against. I want you to enjoy drinking coffee, not fighting it off. The only place where that may be applicable is on large mugs used for chugging when it's lifted over your head.

******

With that said, I have explored making dozens of styles over the years, and I still make a number of them just for variety, but currently, I usually only make 4 types these days.

**

The one I make most is the "two-three finger hold", or the 'ear handle'. Often put on average-sized mugs, the thumb goes on the thumb rest, 2-3 fingers go inside the handle, and then either the ring or pinky finger on the outside bottom for balance. a great versatile handle that can go on many forms. Very comfortable and natural feeling, often great for "cupping'' mugs with the second hand.

**

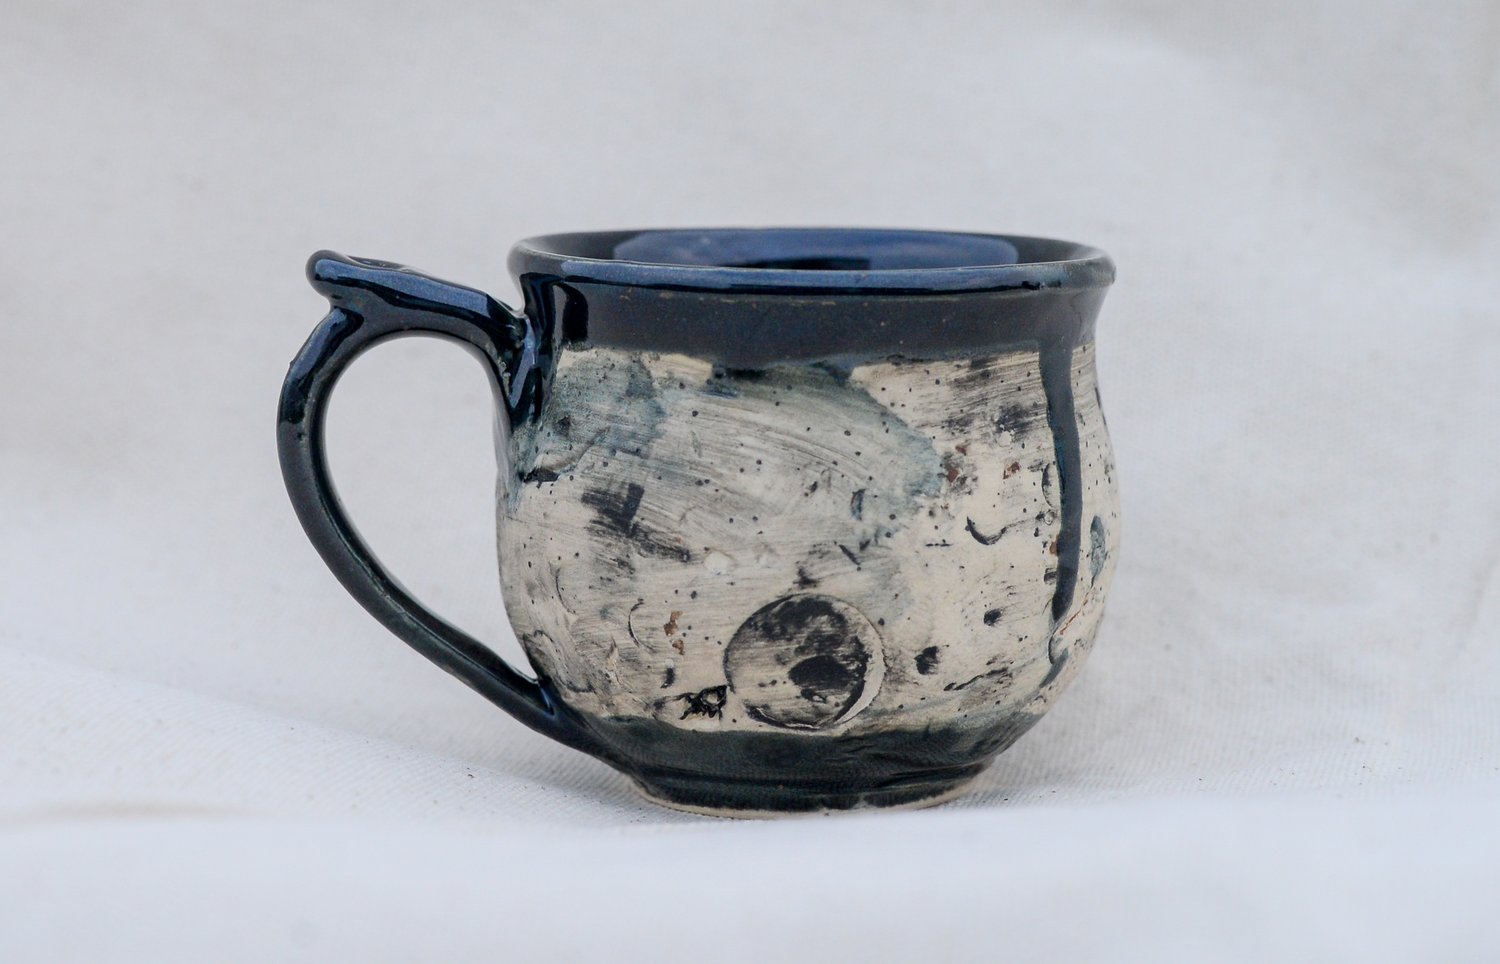
I do make a variety of one-finger mugs, but not often, usually reserved for espresso mugs or small mugs, often smaller than 6 oz. Some are meant for gripping the handle, some are meant to put the finger through the handle with the rest of the hand around the mug, just acting as an extra grip.

**

Gripping mugs usually will have concave points and ridges to help grip and rest fingers in. I make this variety mostly for my straw mugs, or sip mugs. Other mugs such as tea mugs and yunomi style I would often leave a large indented foot for grip, as well as a few finger indents for extra grip as well.

**

Full-handed handles are something I'm currently working on. I don't want it thick where it feels hard to grip, but not thin enough where you feel like it's going to break. I am still searching for the ideal balance in this now that I am going back to making large mugs again. I often "square" them off, so the handle doesn't stick out like crazy, causing the balance to be thrown off and risking it bumping into things and breaking. I am liking this shape and style but I am still working on how to make it more comfortable and more sturdy without throwing off the balance and comfort. The "ear" shape handles seen with the 2-finger mugs will not work for this. Often, the pinky will be squished at the bottom point, making it awkward, not knowing if you want it on the inside or out. Or, the top of the ear would be so far out that the leverage will be thrown off, or it could easily be bumped and broken, so on my larger pieces, you will often see my "bracket' shaped full-handed style, but it is still something I am not 100% satisfied with just yet.


***

I go for a medium thickness in my handles. Too thick will cause wobbliness and struggle, too thin can increase breakage, and feel too dainty and may cause slipping if the mug gets too heavy with coffee in it. A medium-sized handle is great in between offering balance and comfort, but needs more caution than the thick beast of a handle. If you are clumsy, this may not be the handle for you. But after a decade of use I have not broken any, and my child has been using them for years since he was two years old, and has not broken any either.


**A quick note on Mug Thickness** I aim for 1/4" thick, offering strength and lightness. If a mug is too light, it feels way too fragile to use; lightness is not always good or sturdy, too thick and it would feel too heavy to use, especially when full, and may be better off as a paper weight. I sometimes leave mugs thicker if I intend to carve them.

Concentration

Many potters will hyperfocus on certain concentrations. At this moment, I love playing with form, glaze, and different types of drinkware shapes and sizes. I don't make sets often; I love creating that "one special mug' that ends up being a special go-to vessel each morning. It is one of the most personal ceramic pieces someone can create and have someone use on a daily basis. I love making many different sizes, ranging from 2oz to 40oz. Let's face it, there is more to 'coffee' than just a plain cup of joe these days. Espresso mugs that fit under their espresso machines are a must. Or that giant mug that holds a whole pot of coffee so you can just sit at your desk working without having to get up every 5 minutes to refill. Some people love wide mugs because they can cup their hands around them, or to make latte art. Others like tall, slender mugs to hold in heat longer. I make sure not to settle into the 'one size fits all' crowd mentality, and vary from bright and exciting, to more calm and traditional.