


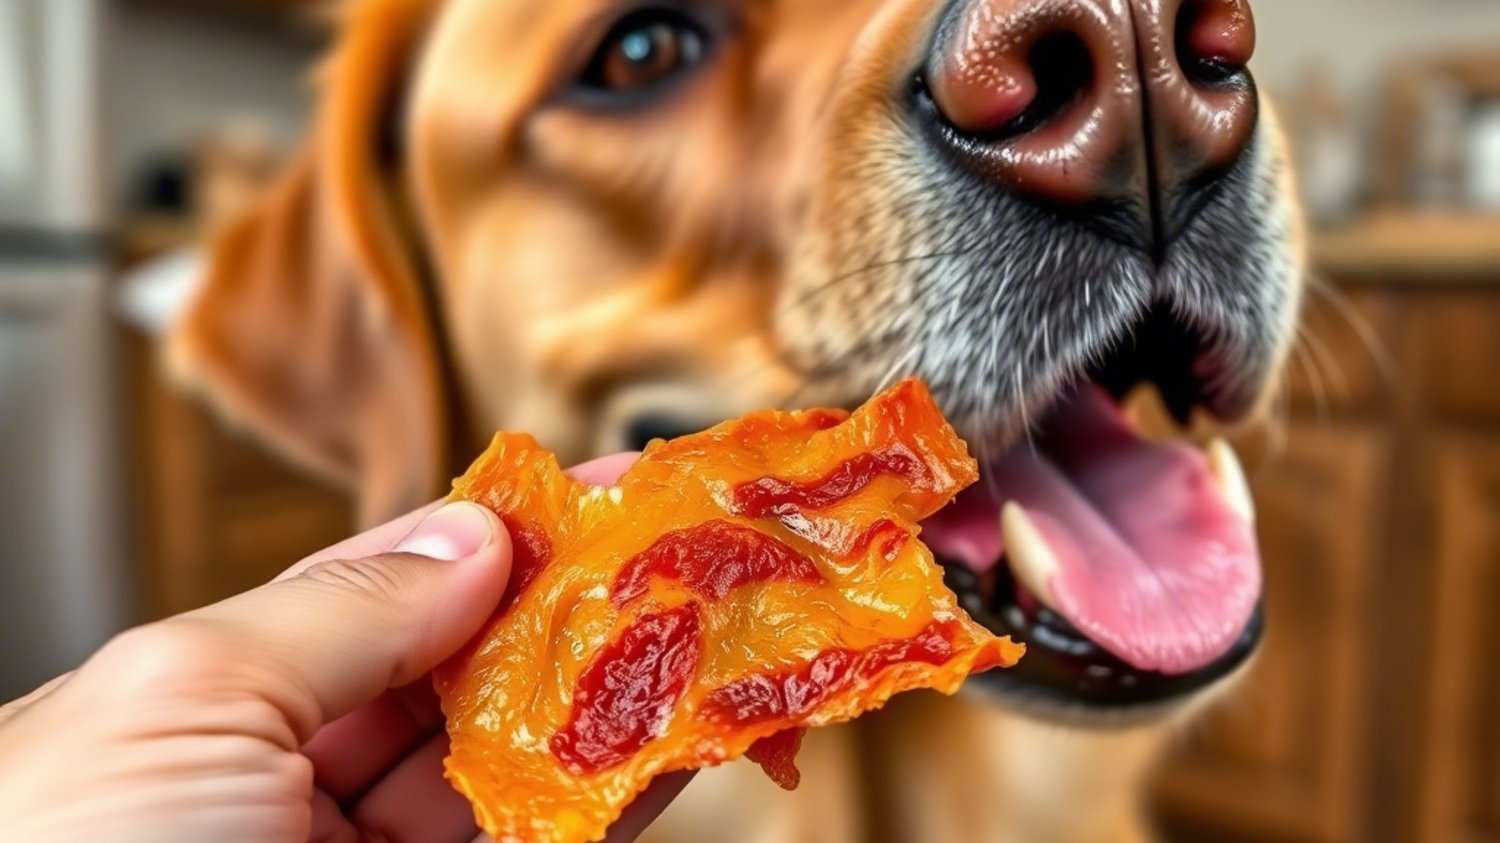
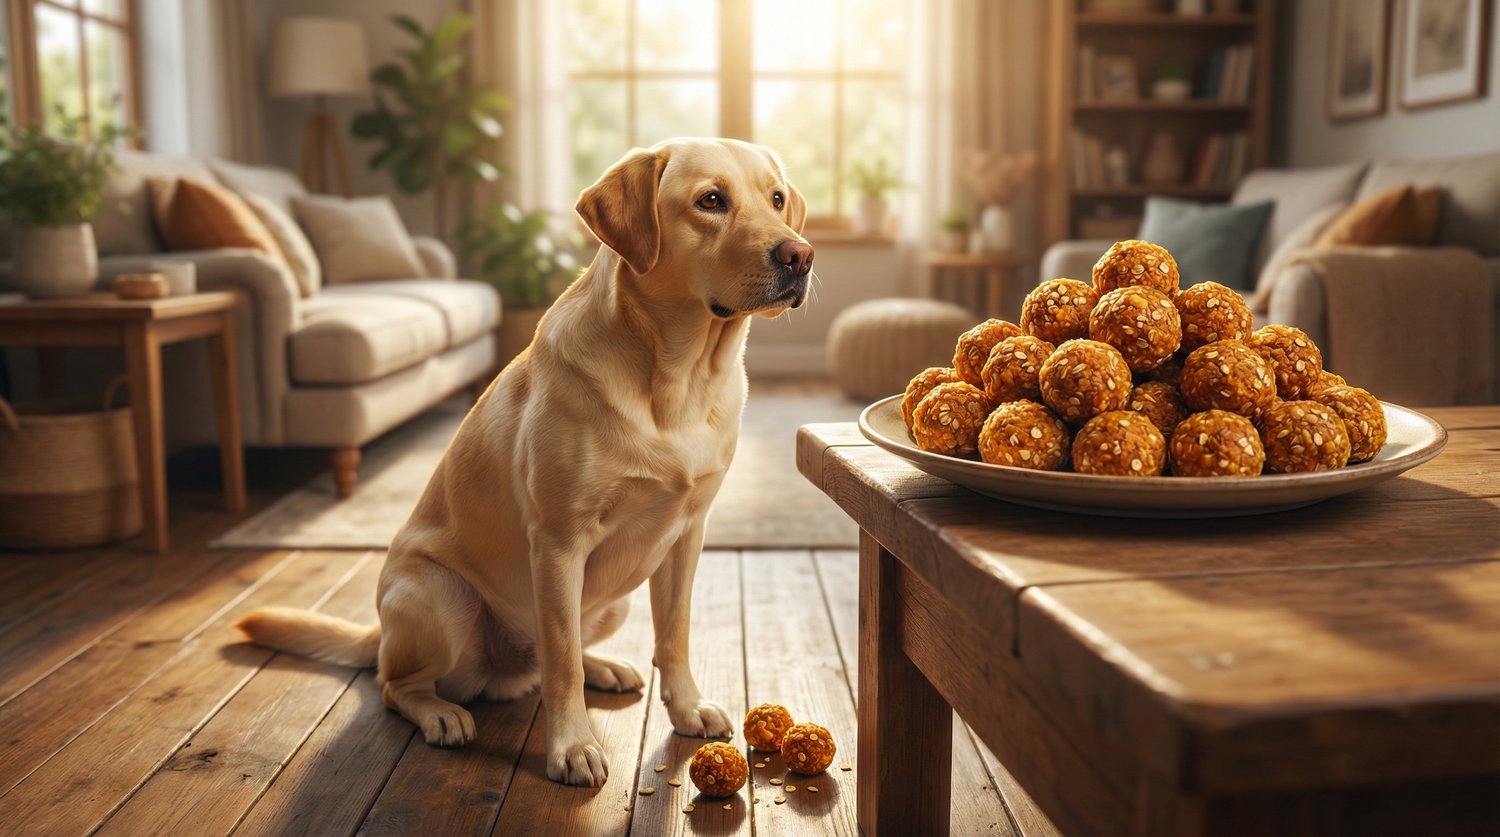
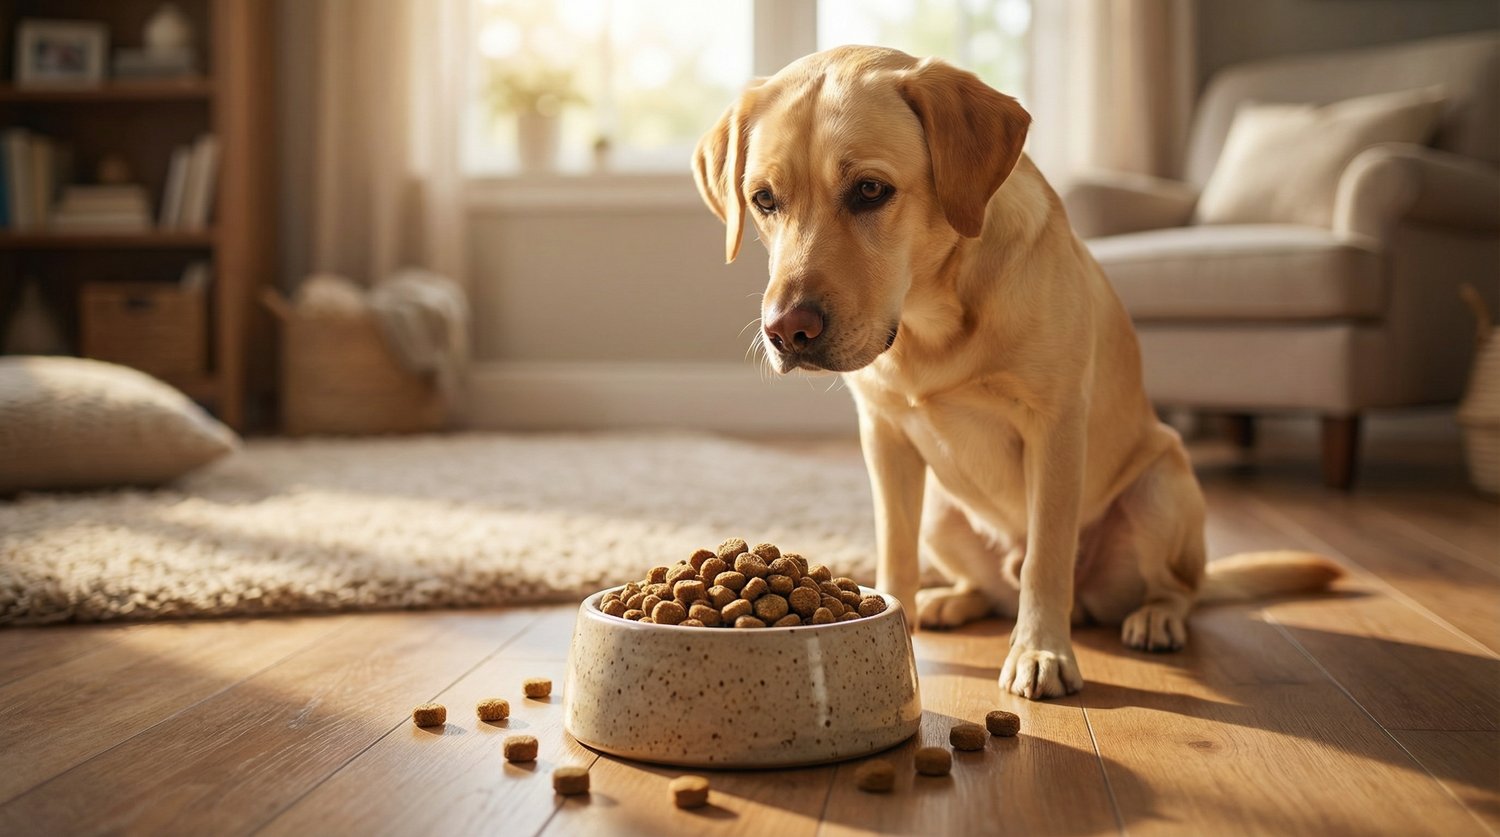
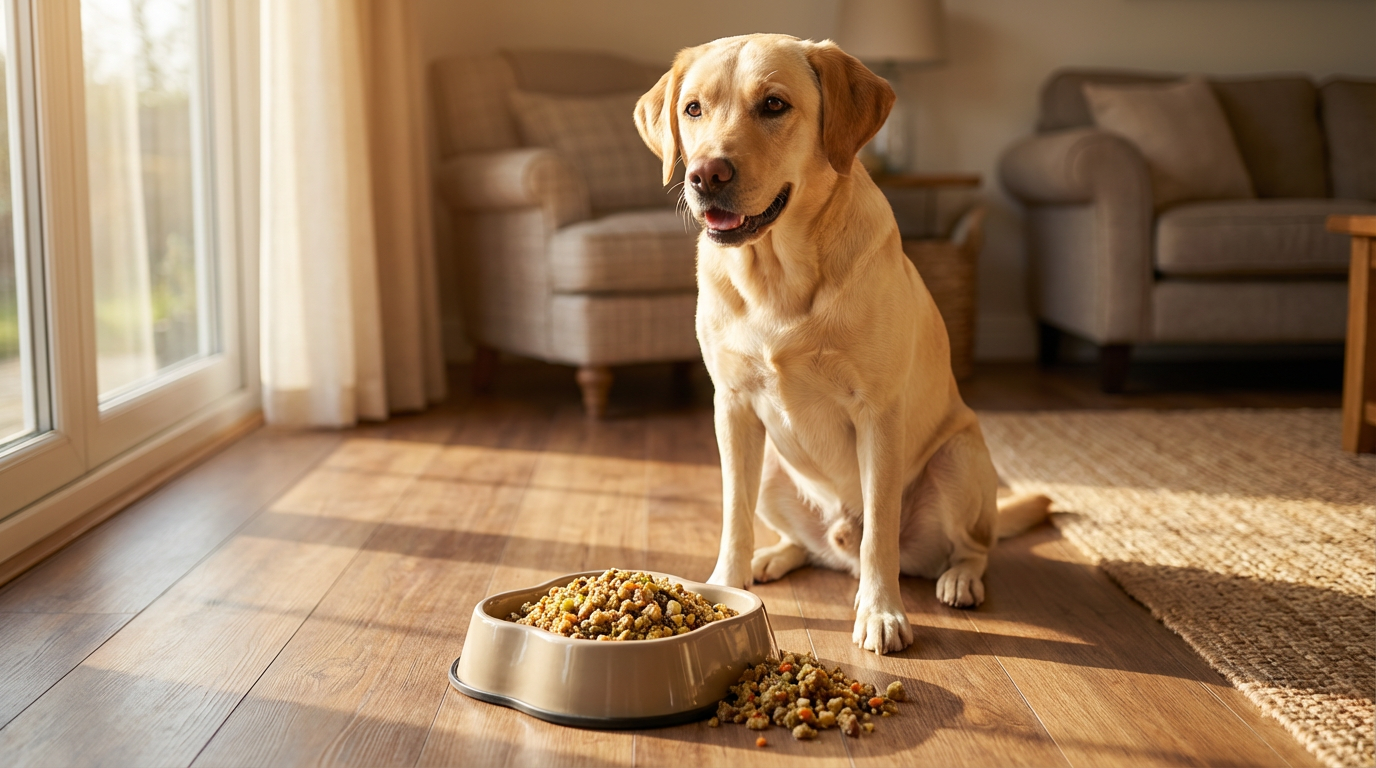
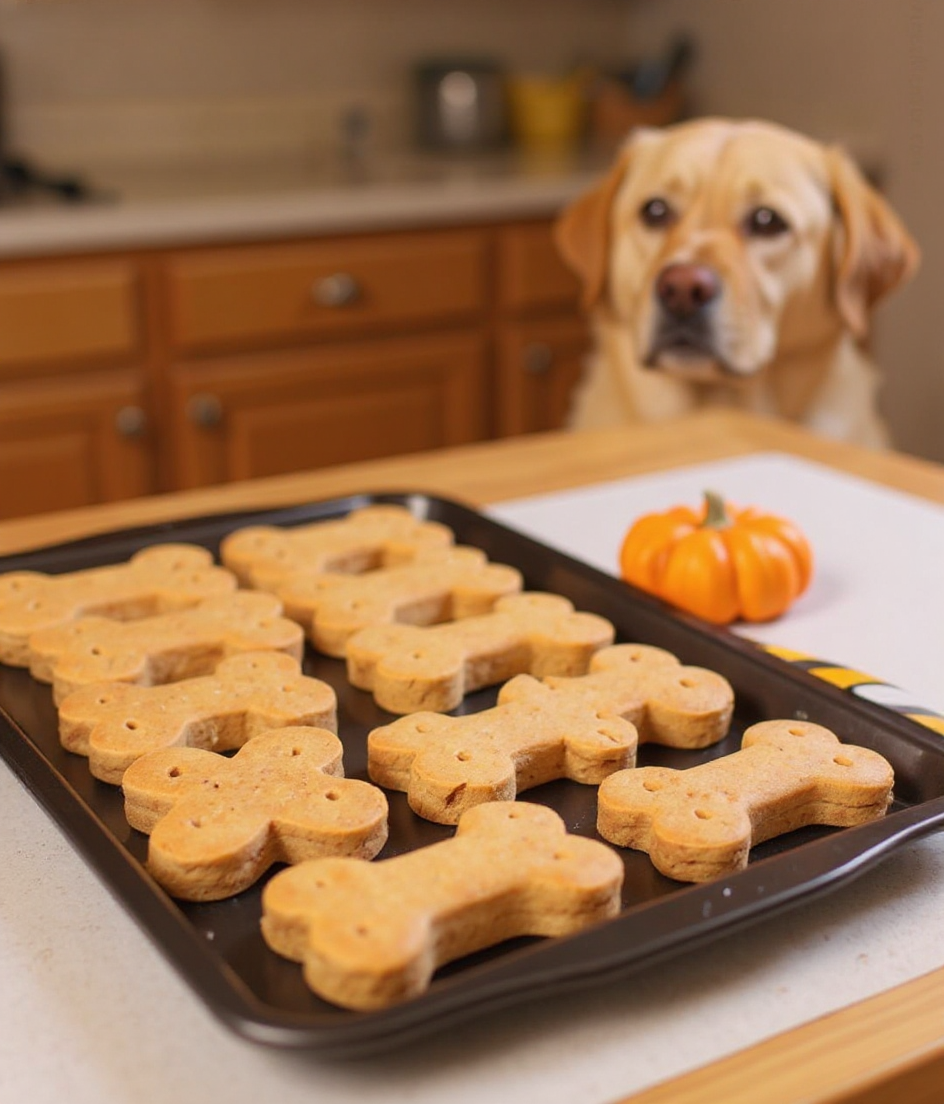
I’ll never forget the first time I brought home a bag of store-bought chicken jerky for Max, my energetic Labrador. His tail wagged like crazy as he sniffed the air, eager to get a taste. But as I read the back of the package, I was shocked. Preservatives, artificial flavors, and ingredients I could barely pronounce—was this really the best I could give him?
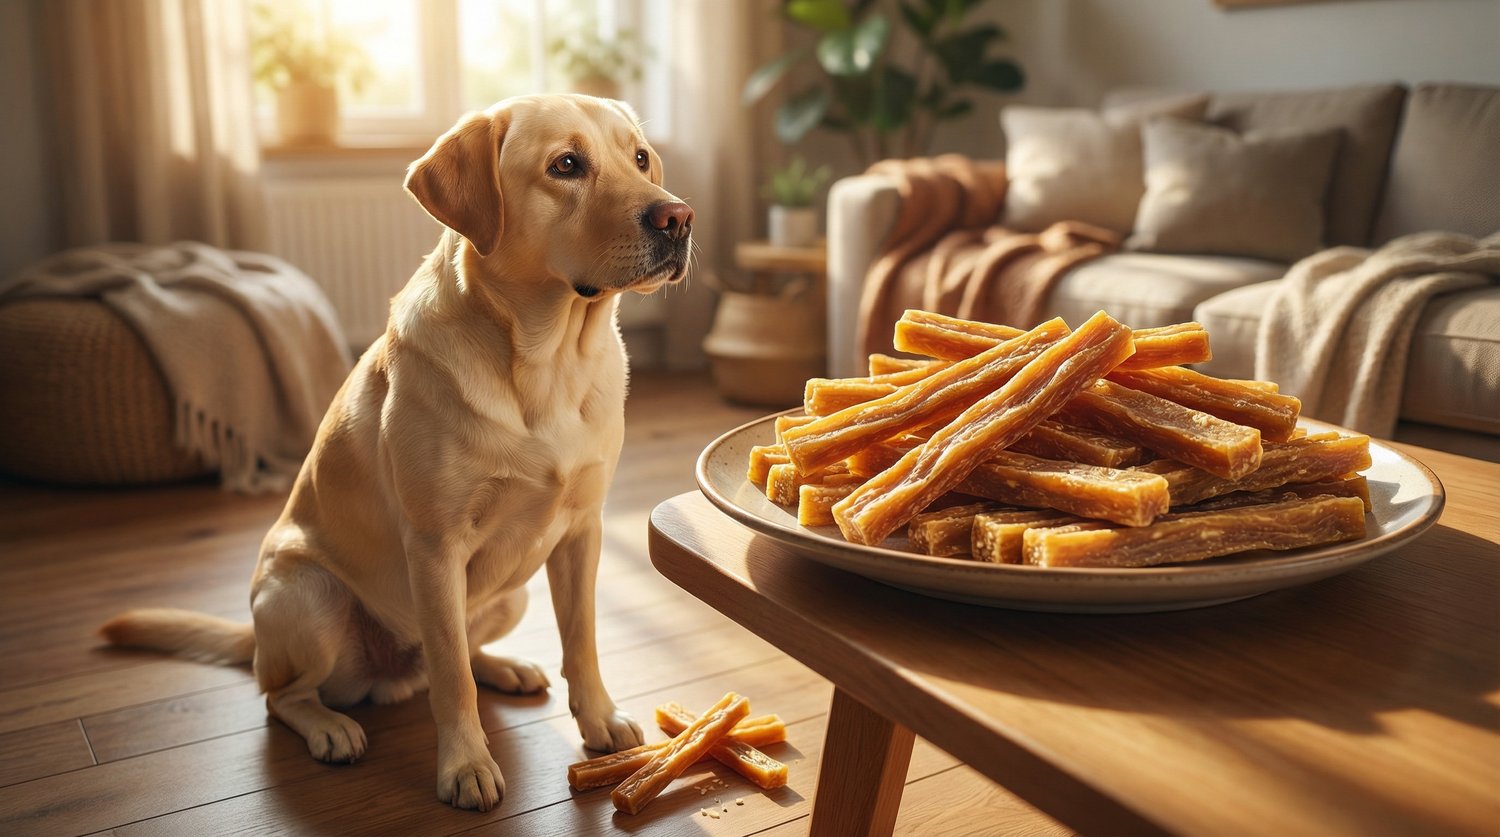
That was the moment I decided to make my own homemade, preservative-free chicken jerky. Not only would I know exactly what was going into his treats, but I could also make them even healthier with ingredients that actually benefit him. Let me tell you—Max has never looked back!
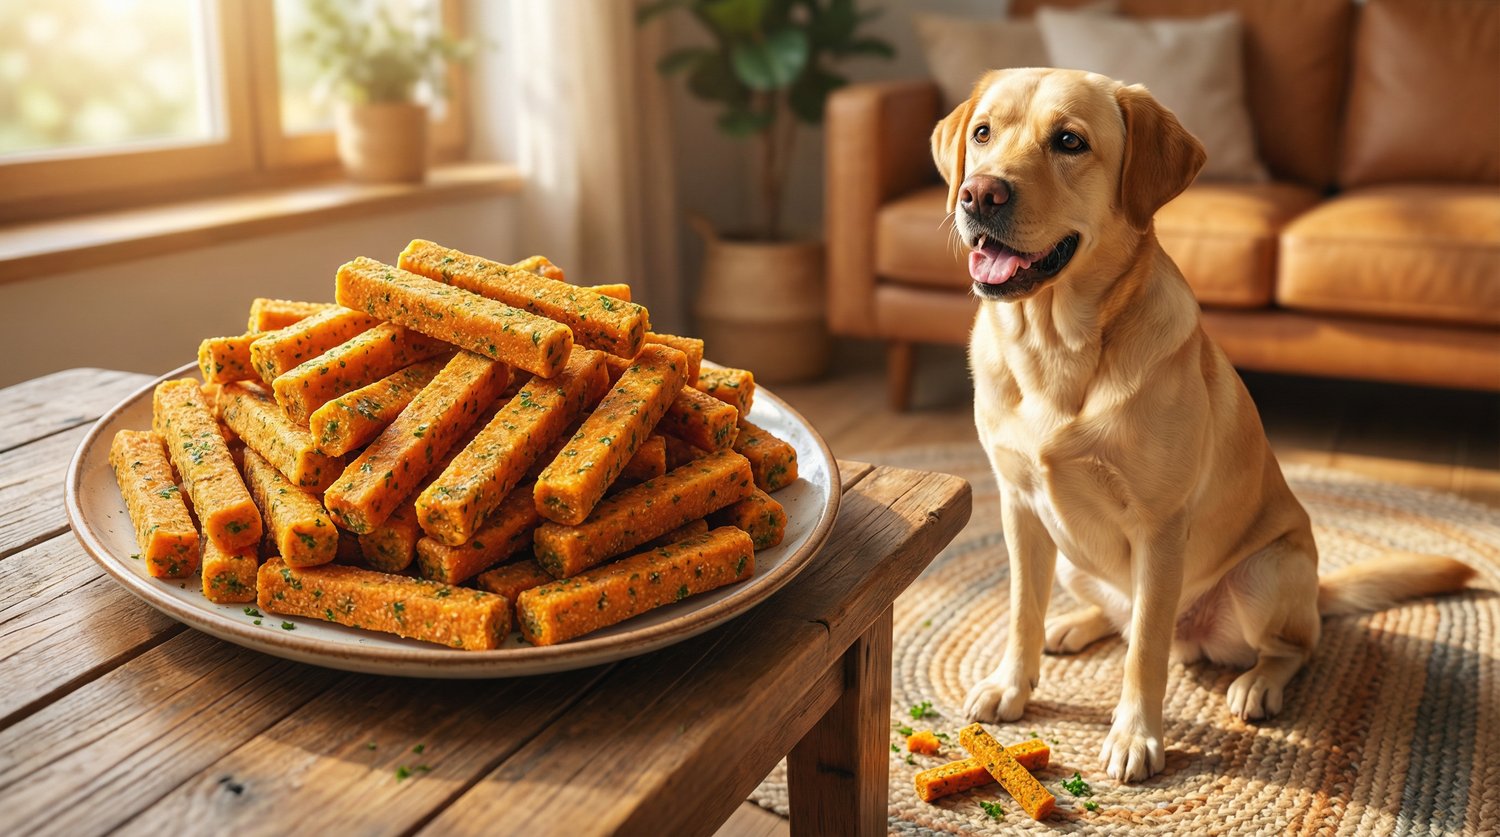
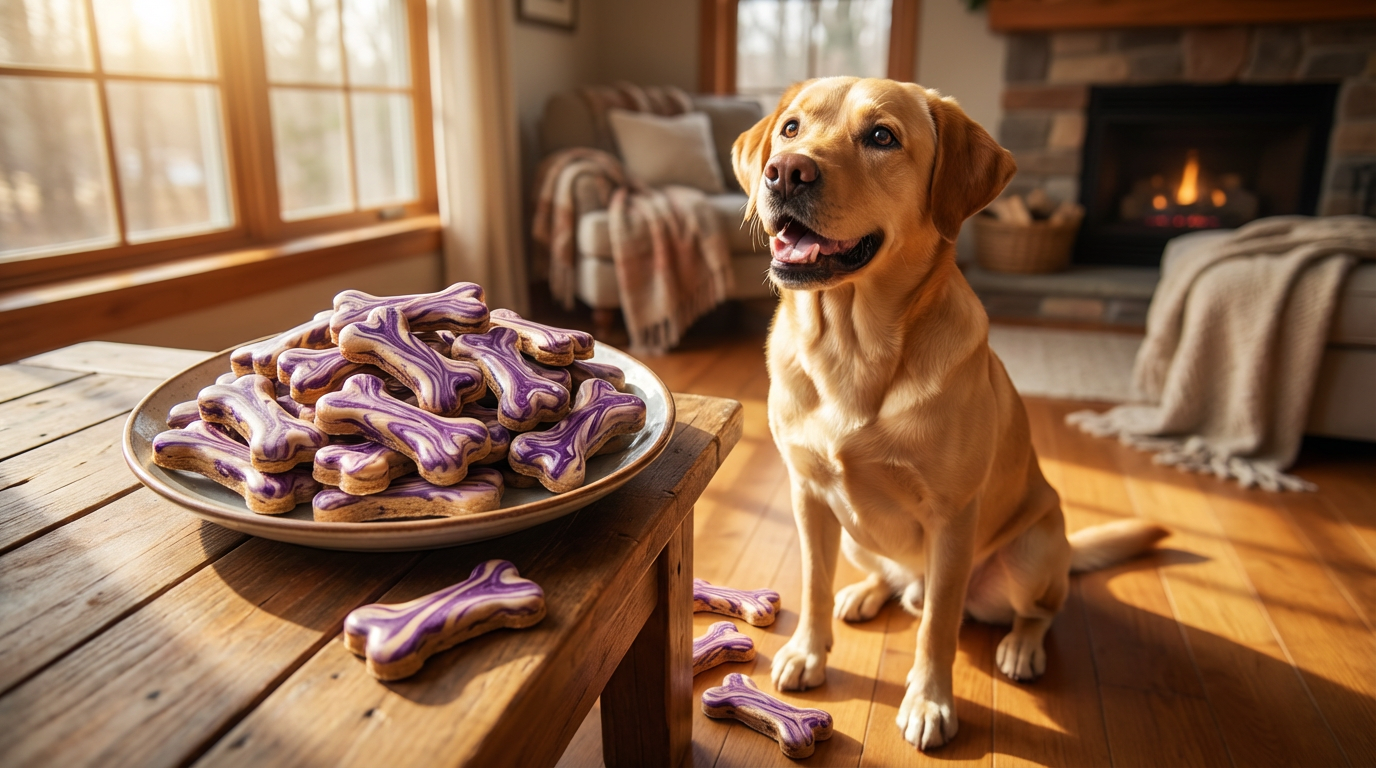
If you want to give your pup a delicious, healthy snack, this homemade chicken jerky recipe is a game-changer. It’s easy to make, contains only natural ingredients, and will have your dog drooling before you even take it out of the oven!
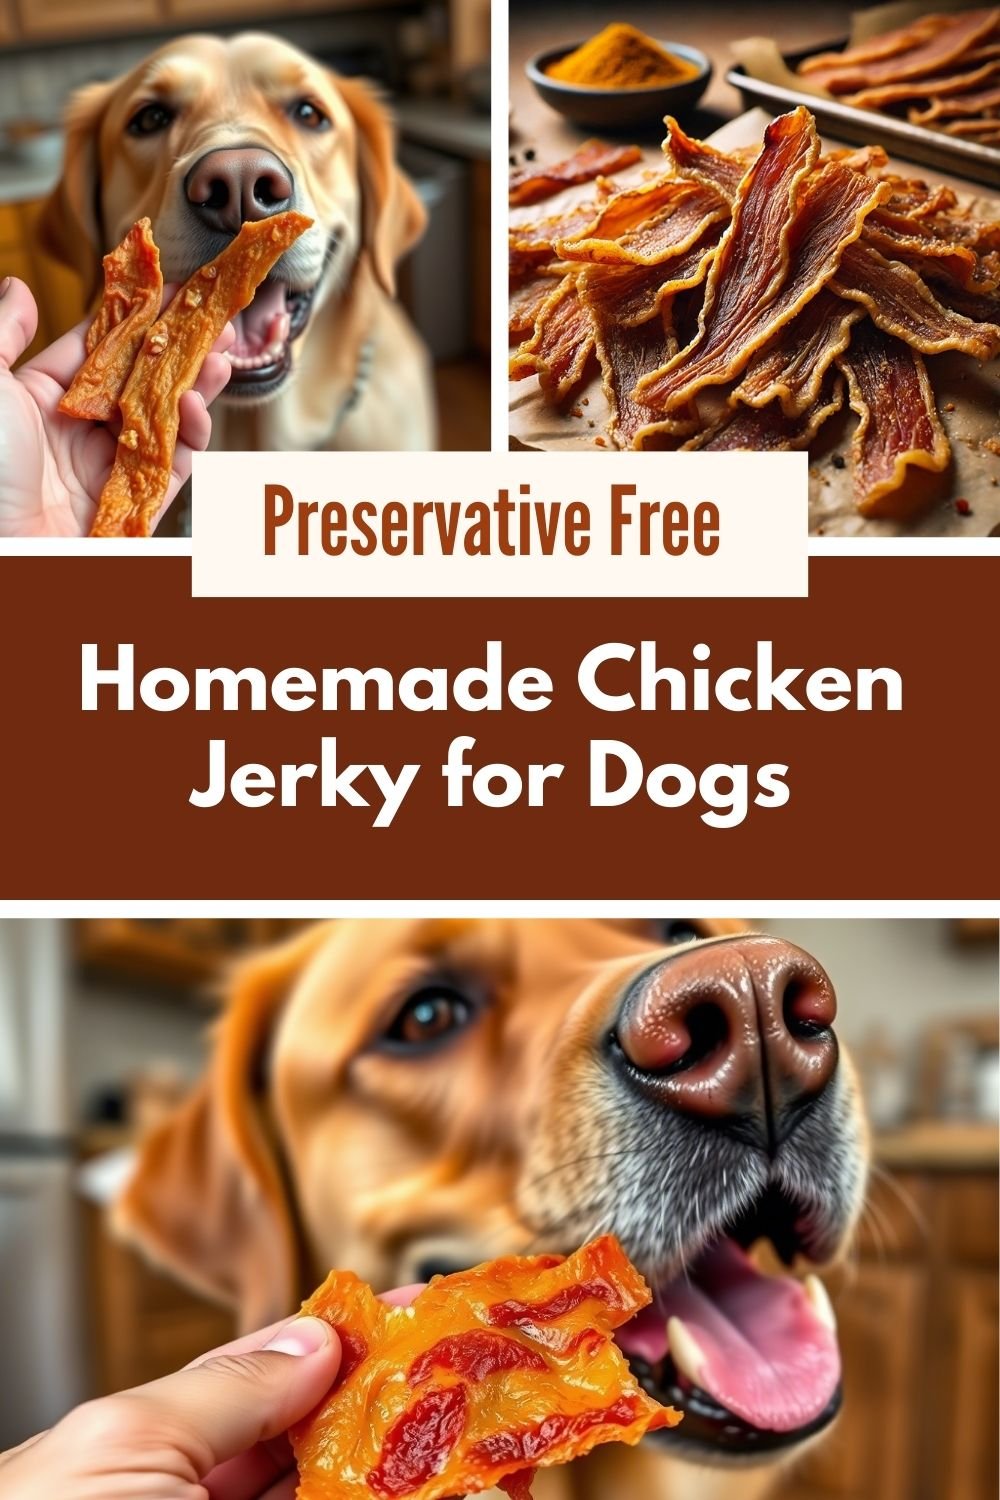
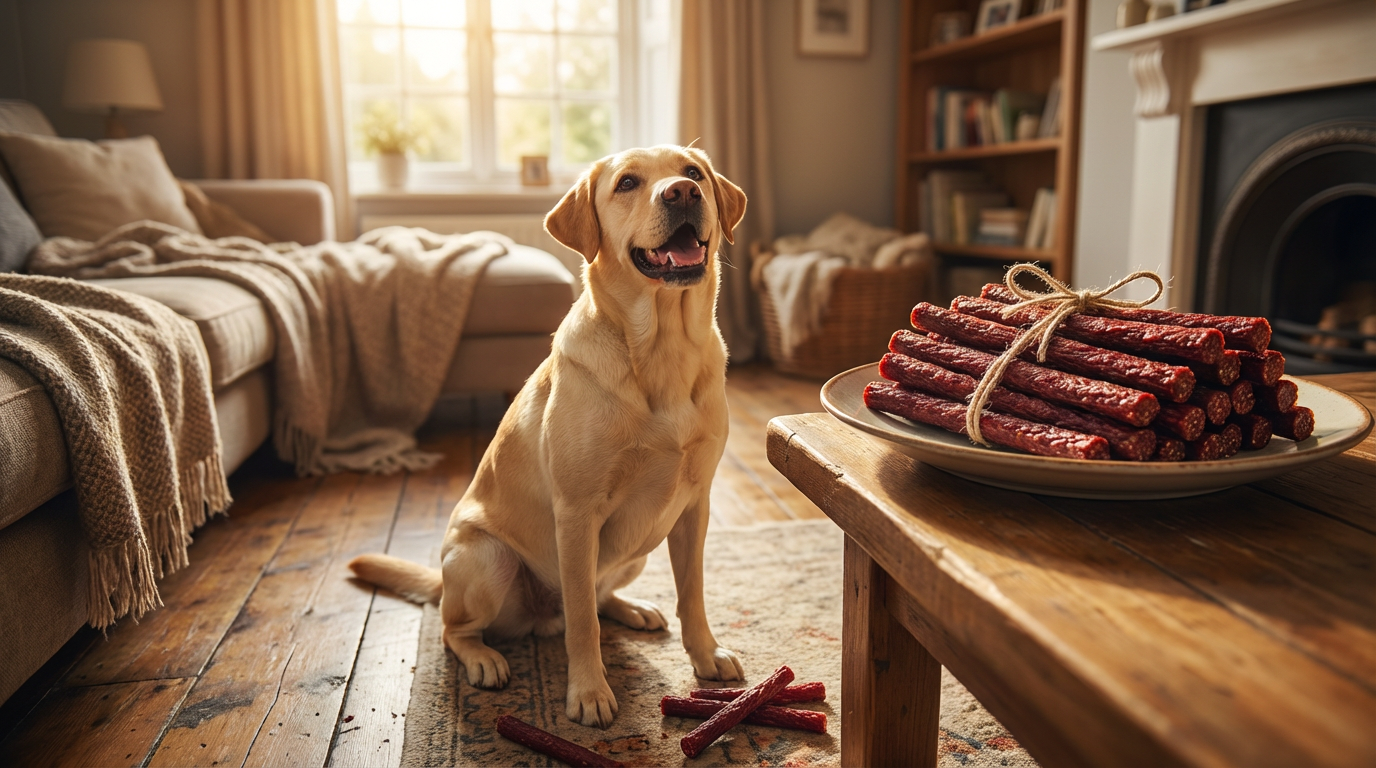
Max’s Favorite Homemade Chicken Jerky Recipe
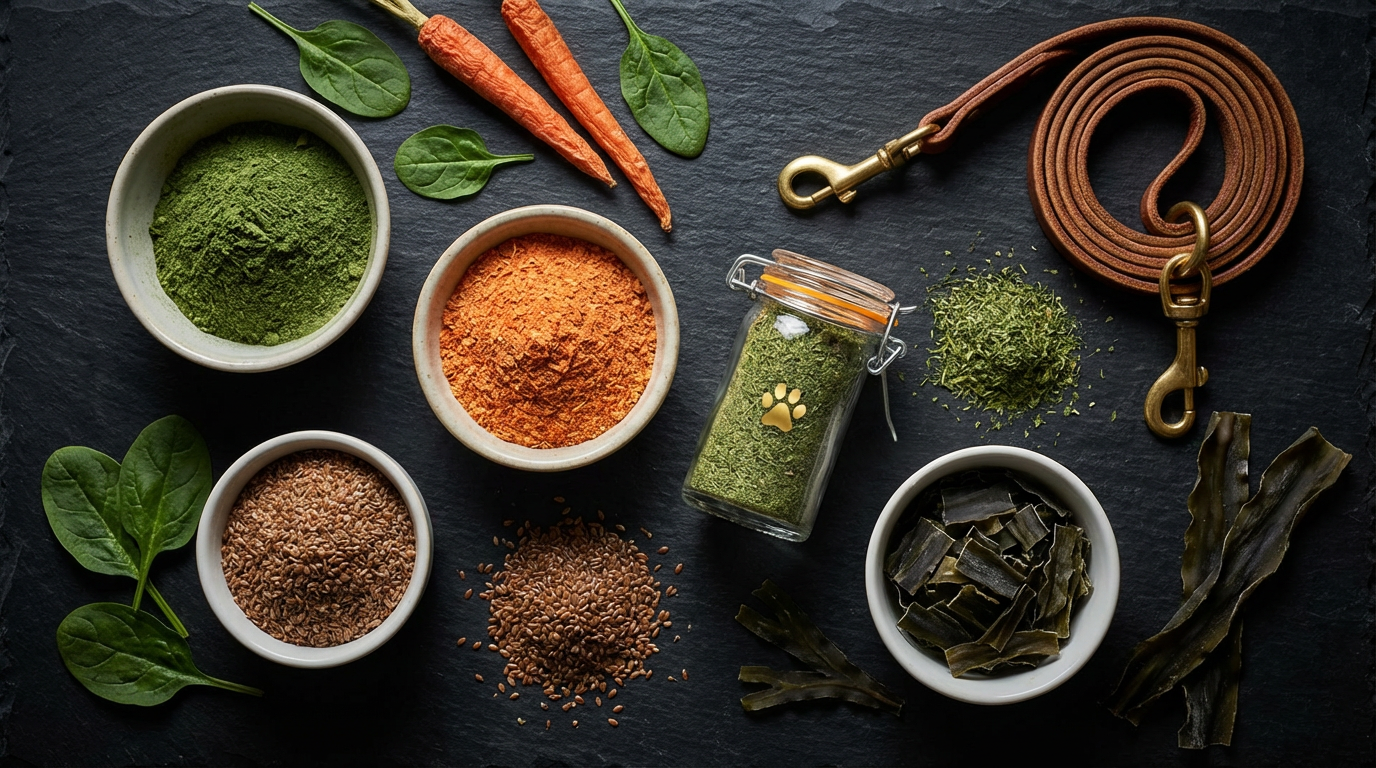
Ingredients:
- 2–3 boneless, skinless chicken breasts (organic if possible)
- 1 tbsp coconut oil (optional, for extra flavor & benefits)
- 1 tsp turmeric (optional, for anti-inflammatory benefits)
Instructions:
1️⃣ Preheat Oven to 170°F (75°C) or the lowest setting on your oven. If using a dehydrator, set it to 160°F (70°C).
2️⃣ Trim the Fat: Remove any excess fat from the chicken to prevent spoilage.
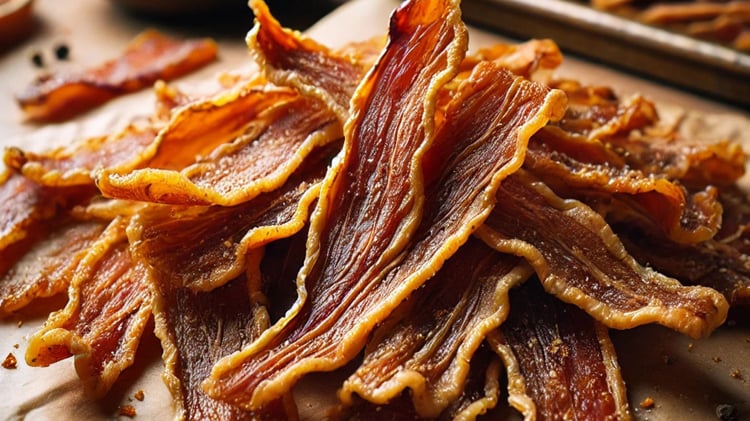
3️⃣ Slice Thinly: Using a sharp knife, cut the chicken into thin strips (1/4-inch thick). Cutting with the grain will make chewier jerky, while cutting against the grain makes it easier to break apart.
4️⃣ Lightly Coat (Optional): If using coconut oil & turmeric, toss the slices in a bowl to coat them lightly for extra health benefits.
5️⃣ Arrange on a Baking Sheet: Lay the strips out on a baking sheet lined with parchment paper or a wire rack (for better air circulation).
6️⃣ Bake Low & Slow: Bake for 2 to 3 hours, flipping halfway through. The jerky should be dry and firm but not burnt.
7️⃣ Cool & Store: Let the jerky cool completely before storing. Keep in an airtight container in the fridge for up to 2 weeks or freeze for up to 3 months.
🐾 TIP: If you want extra crunch, leave the jerky in the oven with the door slightly open for an additional 30–60 minutes after baking.
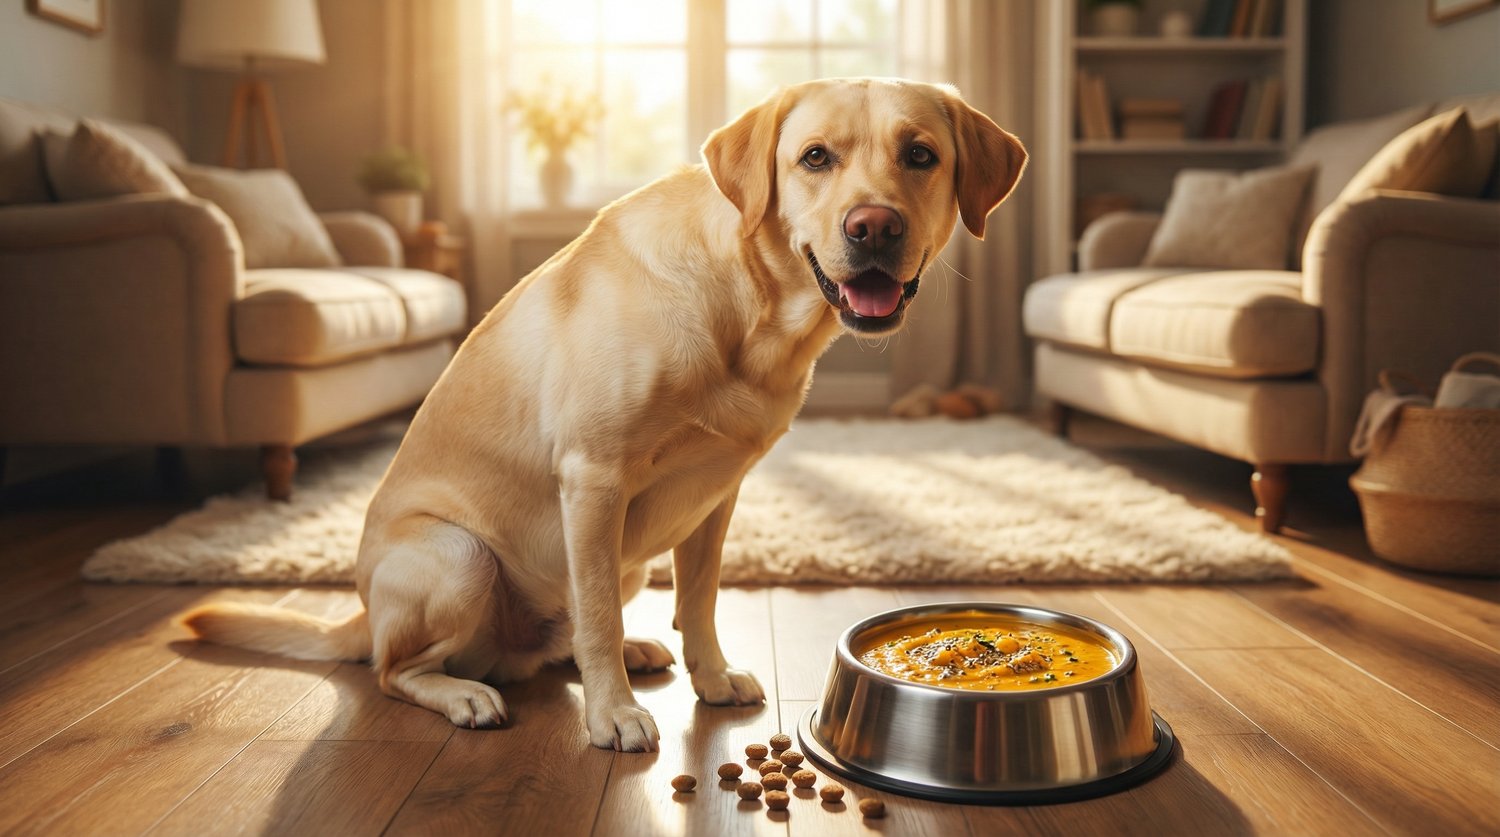
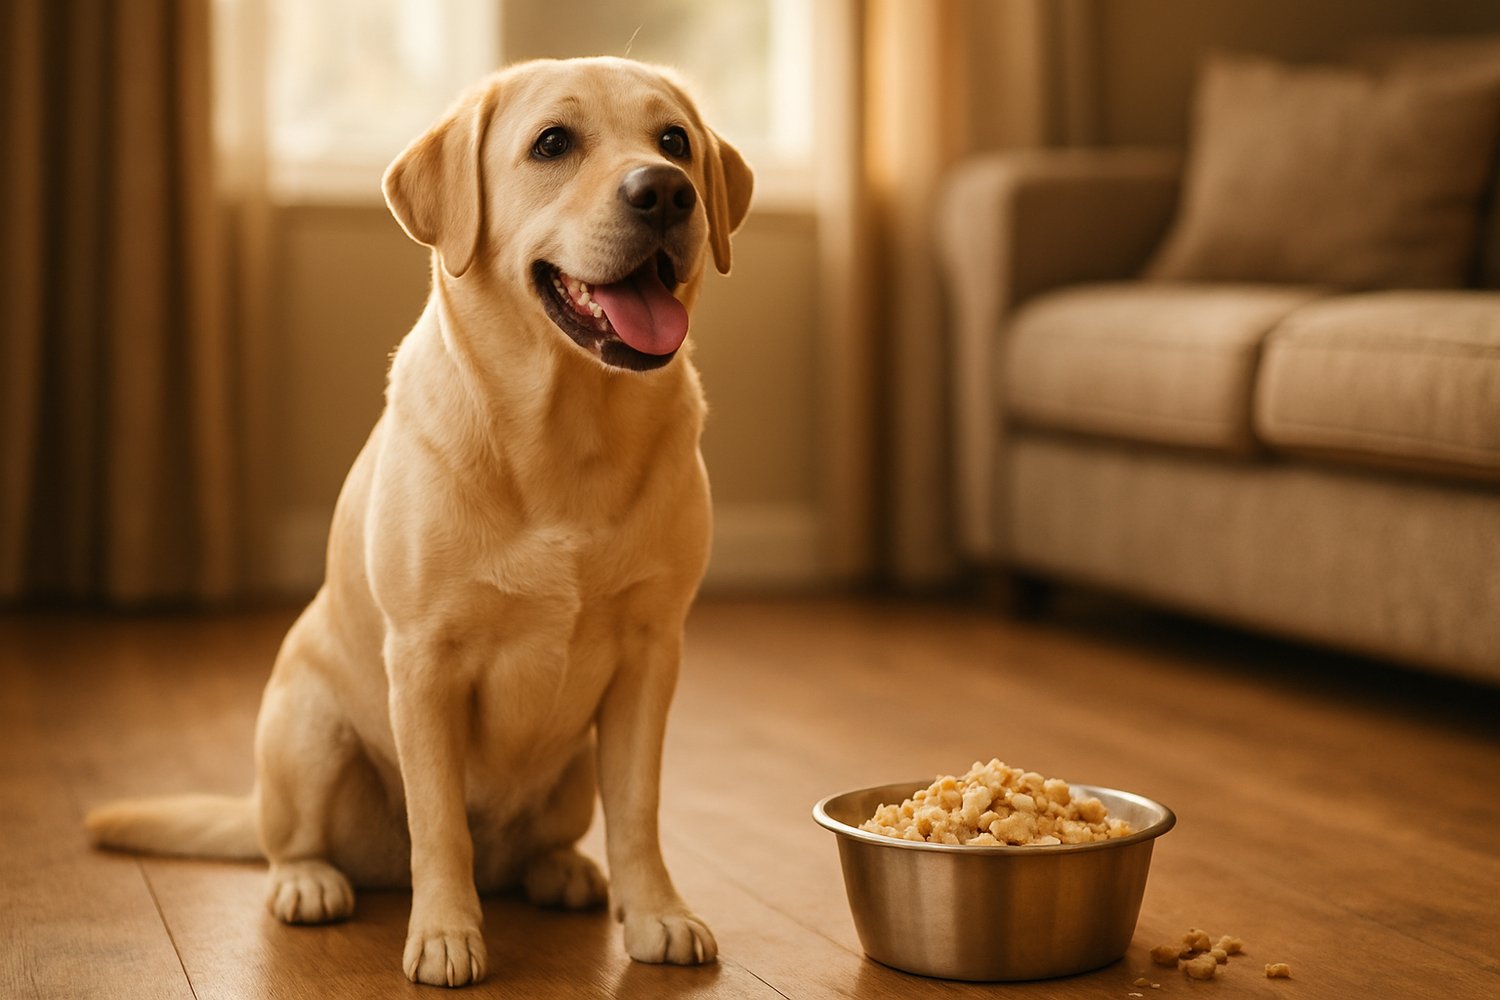
Why Homemade? Because Your Dog Deserves the Best!
After switching to homemade treats, I noticed so many positive changes in Max—his coat looked shinier, he had more energy, and even his digestion improved! Many commercial dog treats are filled with fillers, artificial preservatives, and unhealthy additives that don’t belong in a dog’s diet.
By making treats yourself, you’re giving your dog real, whole-food nutrition that supports their health and longevity. And let’s be honest—watching Max’s excitement every time I open the jar of jerky makes it totally worth it!
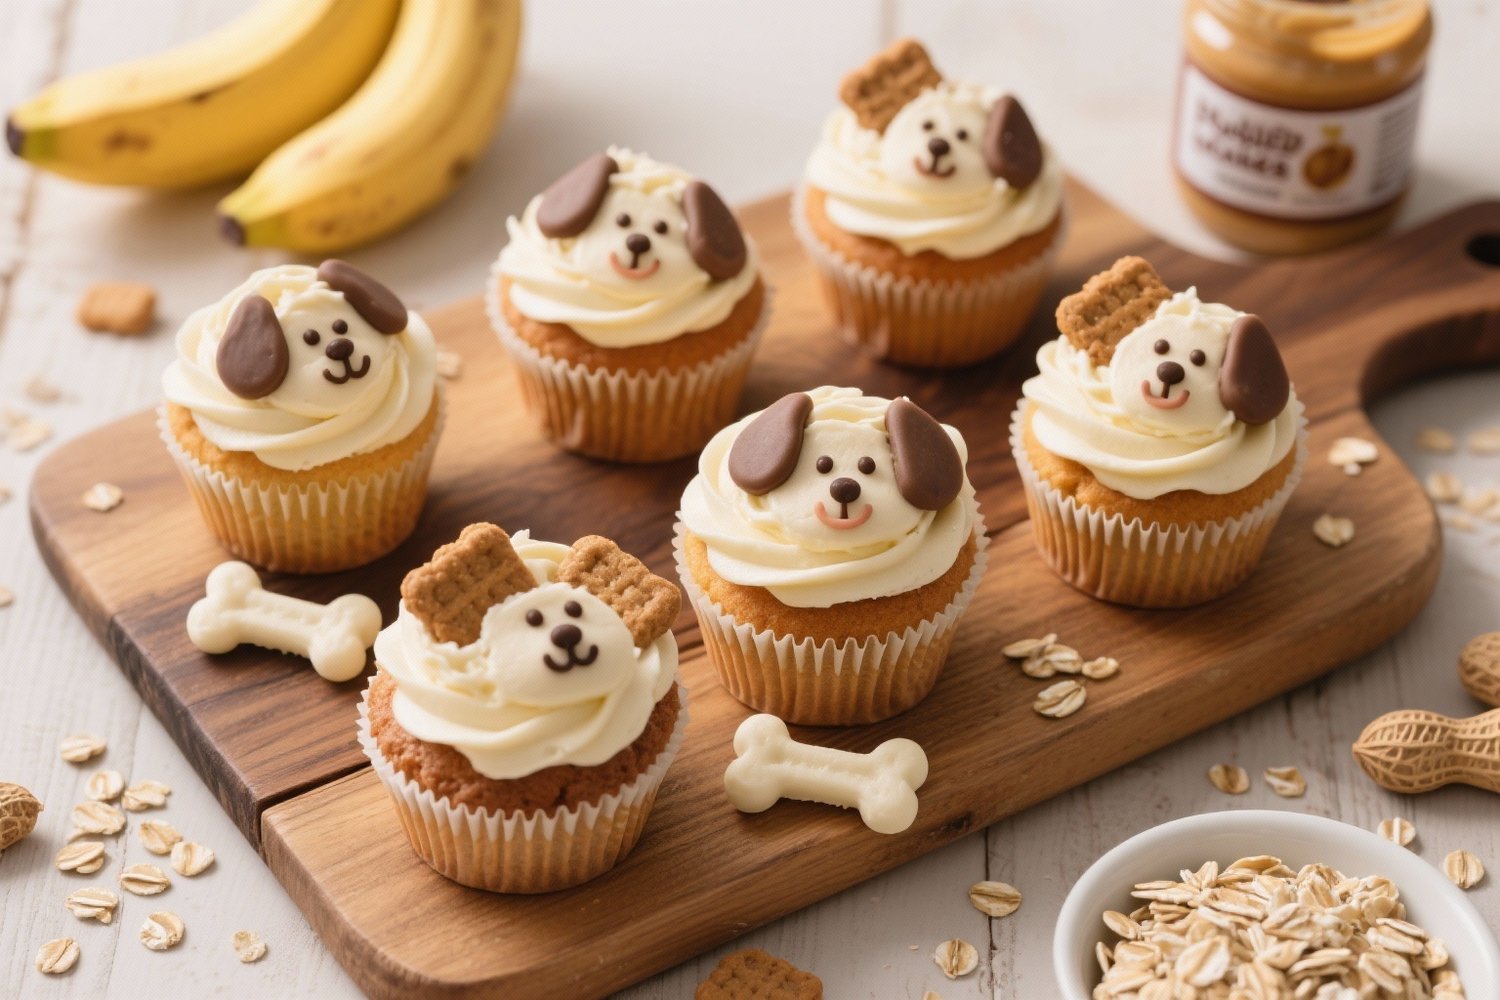
Want More Healthy & Guilt-Free Dog Treat Recipes?
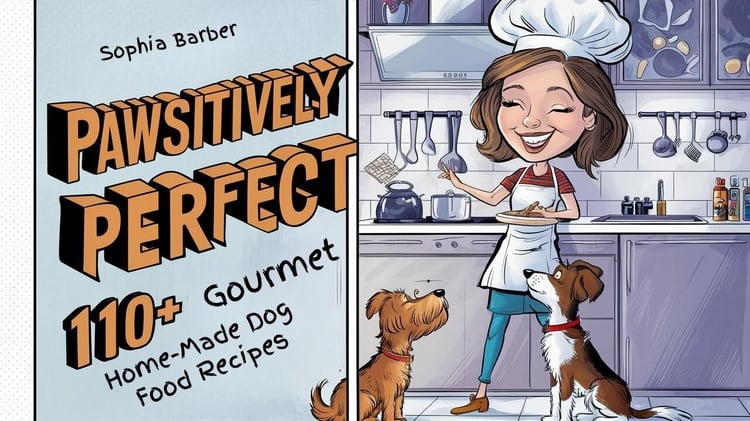
If your pup loved this homemade jerky, wait until you see what else you can make! My book, Pup-tastic Treats: Guilt-Free Snacks for Your Four-Legged Companion, is packed with easy, nutritious, and dog-approved recipes that will keep tails wagging. From crunchy biscuits to frozen delights, there’s something for every pup!
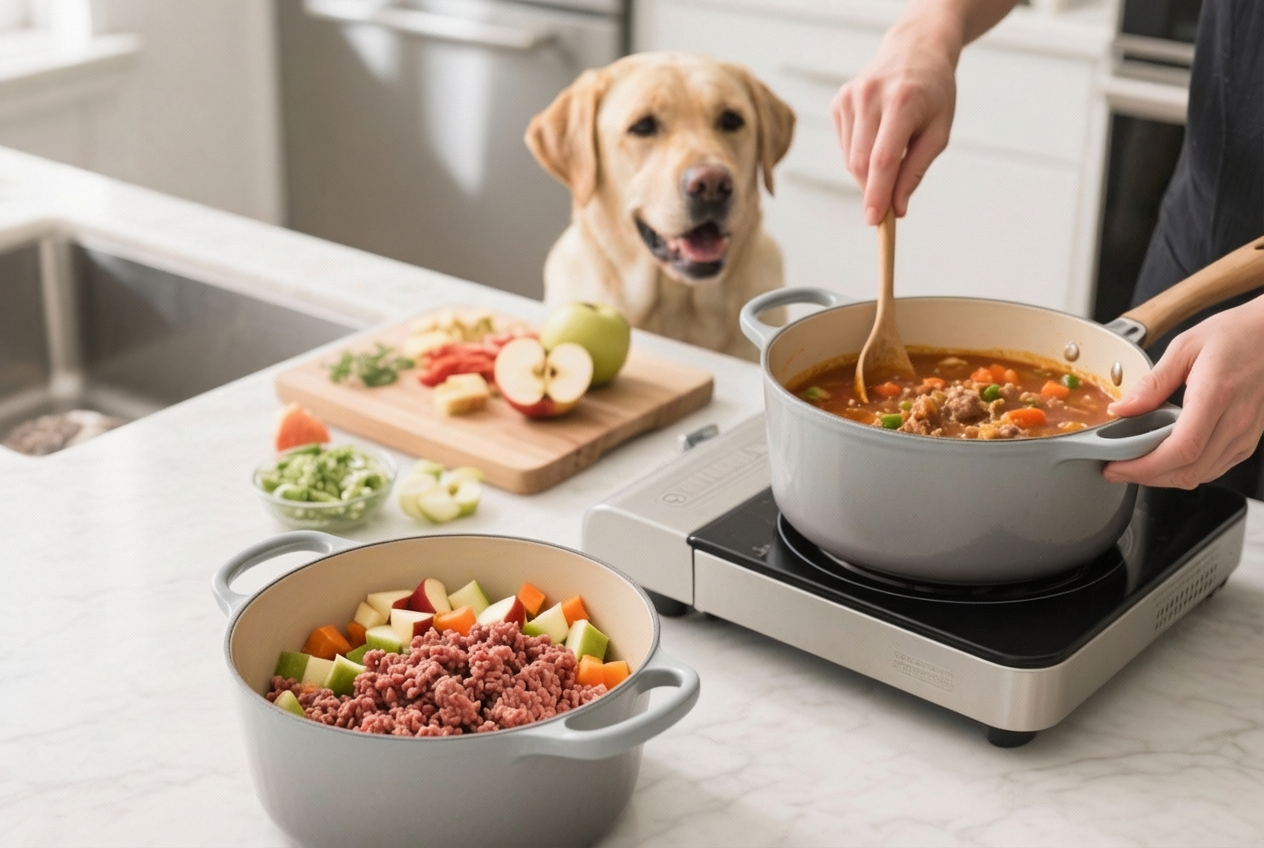
Take the Next Step: Join My FREE 30-Day Homemade Dog Food Challenge!
Want to take your dog’s health to the next level? Join my FREE 30-day homemade dog food challenge and learn how to transition your pup to a healthier, homemade diet step by step! Get daily tips, recipes, and guidance to make feeding your dog healthy, homemade meals simple and stress-free. 🐾 Sign up now for FREE!
Your pup deserves the best—start making healthy changes today! 🐶❤️


Comments ()